Easy DIY Autumn Coasters
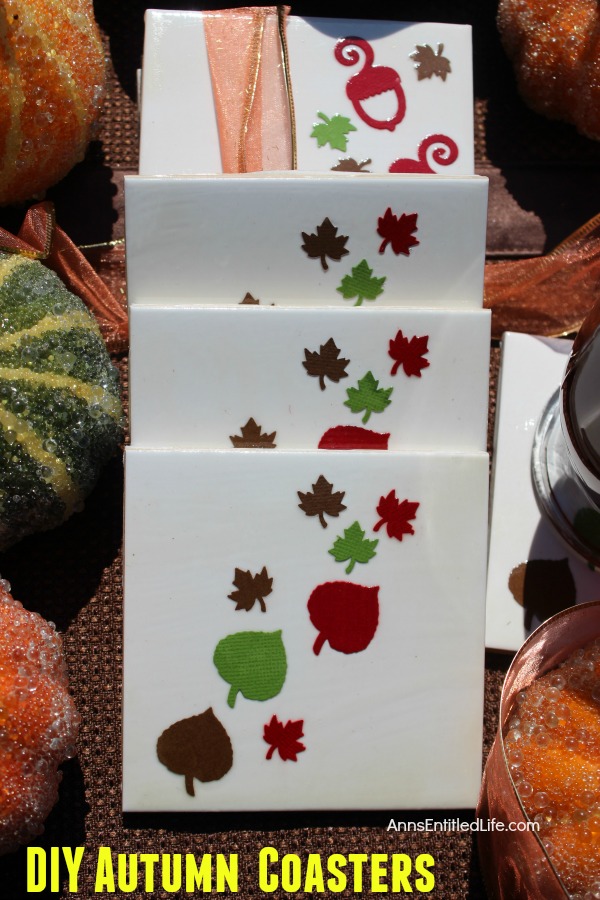
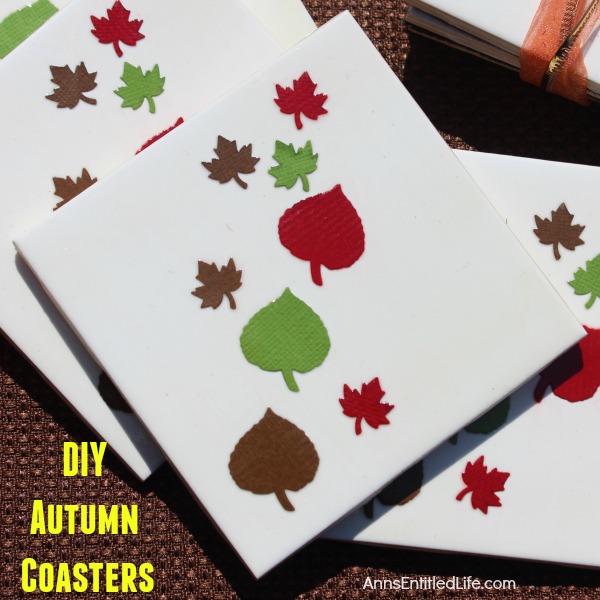
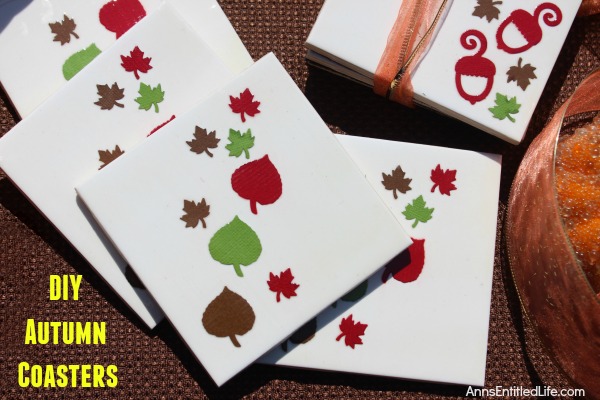
These DIY Autumn coasters are simple to make. Instead of resin, they use a spray to form a heat resistant coating (to 500 degrees!) which seals and protects. Add a touch of fall decor to your living area with these easy to make autumn coasters.
● I ended up making two batches of Autumn Coasters. They were so easy to make, and I wanted to experiment a bit with the backings.
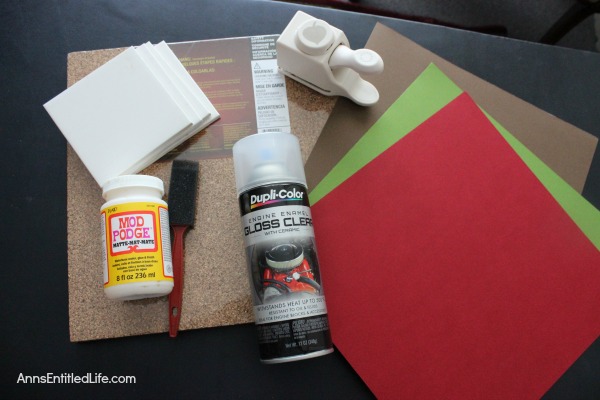
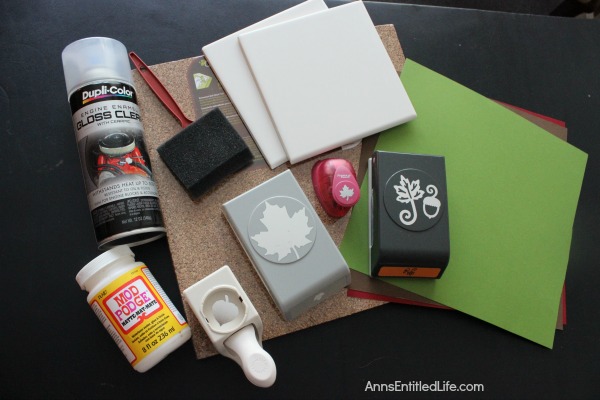
● 4 White Ceramic Tiles 4″x4″
● Maple Leaf Punch
● Leaf Punch
● Fall Cardstock Colors
● Mod Podge
● Foam Paint Brush
● Dupli-Color Ceramic Clear Engine Paint
● Painters Tape
● Plastic Garbage Bag
● Cardboard
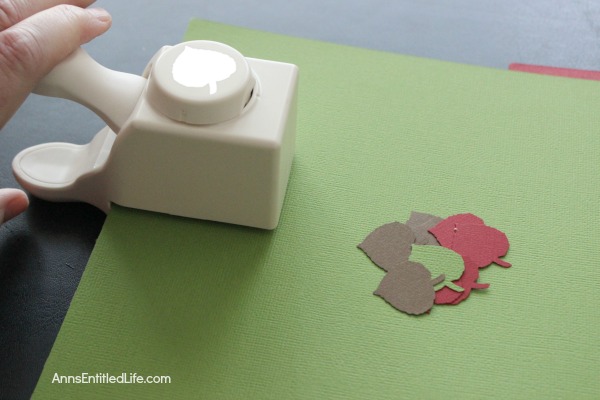
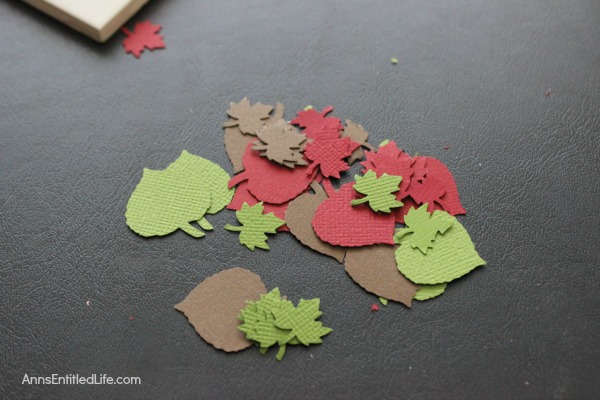
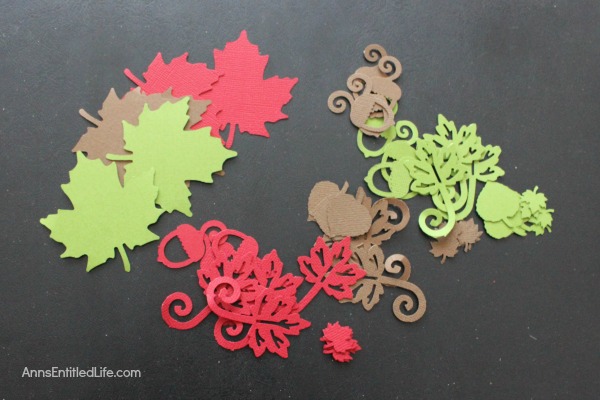
● Clip out fall leaves, stems, twigs, etc from colored card stock. Use whatever type of design you would like.
● It you are making a set of four coasters, make certain you have 4 alike of all fall art clipped out.
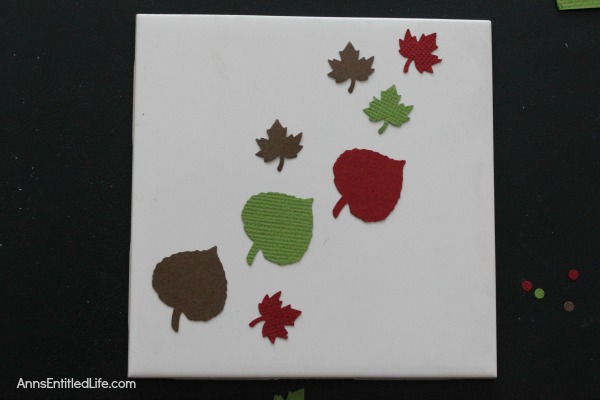
● Lay out your cut-outs on top of each tile.
● I laid out all four tiles, and then always had one I was not working on so I could see my pattern.
● Paint on a thin, even layer of Mod Podge on top of your tile.
● Make sure you have as few brush strokes as possible. Even though the Mod Podge does level-out, the spray used is a pretty high-gloss that shows all uneven strokes.
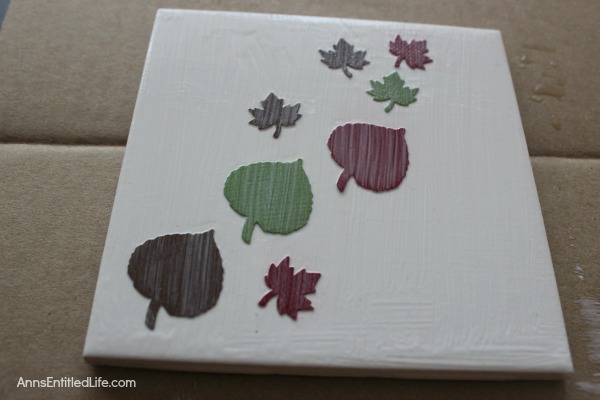
● Place your cut-outs on top of the wet Mod Podge to glue in place.
● Allow to dry completely.
● Place a thin layer of Mod Podge on top of the dried cut-outs.
● Allow to dry completely.
● 4 White Ceramic Tiles 4″x4″
● Maple Leaf Punch
● Leaf Punch
● Leaf Punch with Acorn
● Fall Cardstock Colors
● Mod Podge
● Foam paint Brush
● Dupli-Color Ceramic Clear Engine Paint
● Painters Tape
● Plastic Garbage Bag
● Cardboard
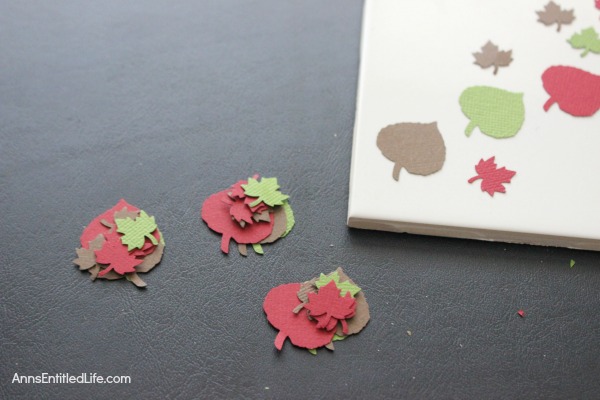
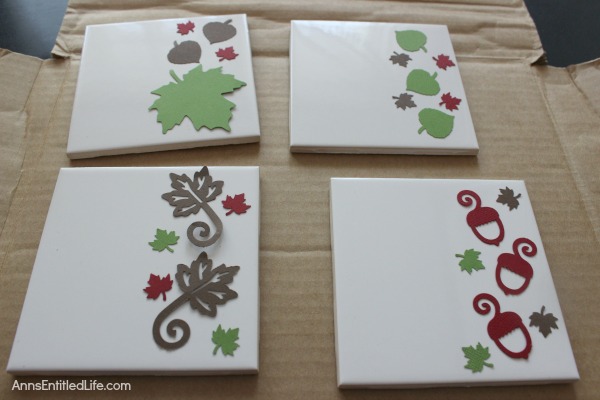
● For my next set I clipped out enough different autumn leaves, acorns, etc from my colored card stock to make four different coasters that had the same type of theme and general lay-out. I didn’t watch matchy-match, but I did want coasters that went together.
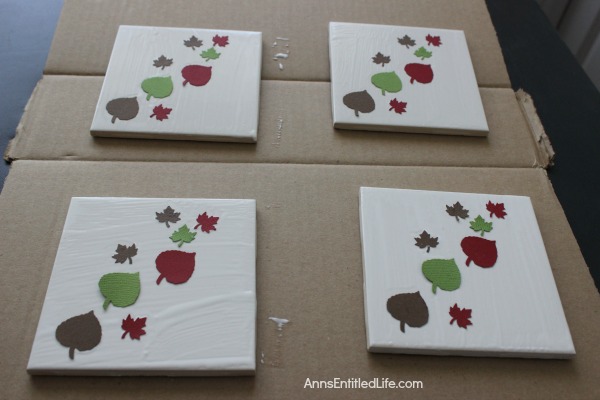
● I laid out the cut-outs on all 4 coasters and made certain they looked like they “matched” while all being unique.
● The most difficult part of this application was remembering my layout. Since I didn’t have identical patterns, I did the following for each one:
● Paint layer of Mod Podge on the tile in a thin, even line.
● Attached my cutouts to glue in place.
● I did this four times – completing the underlay of Mod Podge and the cut-out attachments one tile at a time – instead of painting Mod Podge on all four tiles at once.
● Allow to dry completely.
● Place a thin layer of Mod Podge on top of the dried cut-outs.
● Allow to dry completely.
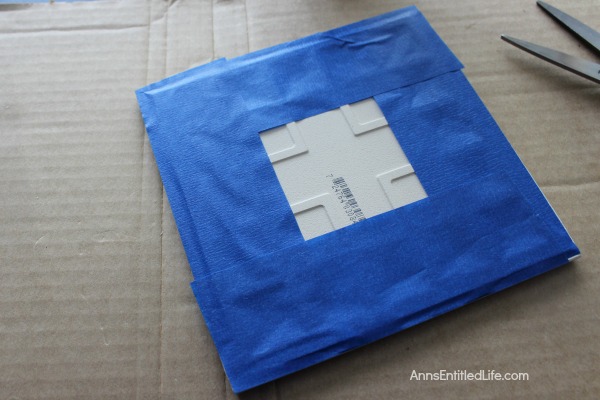
● When your coasters have dried completely, tape the back with painter tape. This will help avoid drips on the back of the coasters.
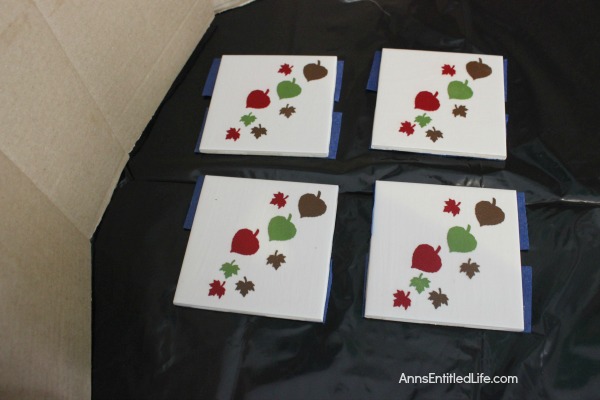
● In a well ventilated area outside of direct sunlight (I set up in the garage), place down a large garbage bag (this is to prevent sticking).
● Set the autumn coasters face up on top of the garbage bag.
● Place cardboard or some other barrier around the coasters as you will have some over-spray.
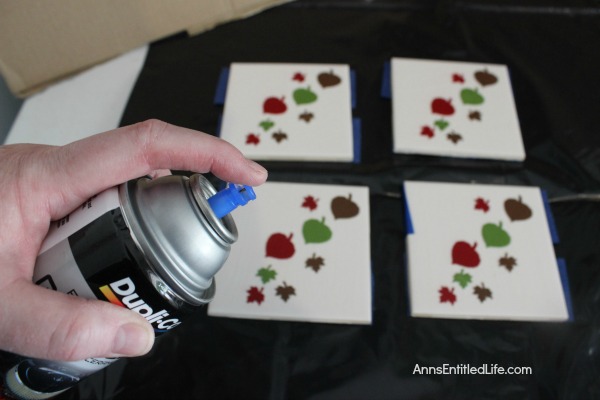
● Following the directions on the Dupli-Color Ceramic Clear Engine can, shake well for 1 minute.
● Spray a thin coat on all your coasters.
● Allow to dry (15 minutes)
● Spray a second, thin coat, allow to dry (15 minutes).
● Spray a third, heavier coat, allow to dry completely (I left them there overnight).
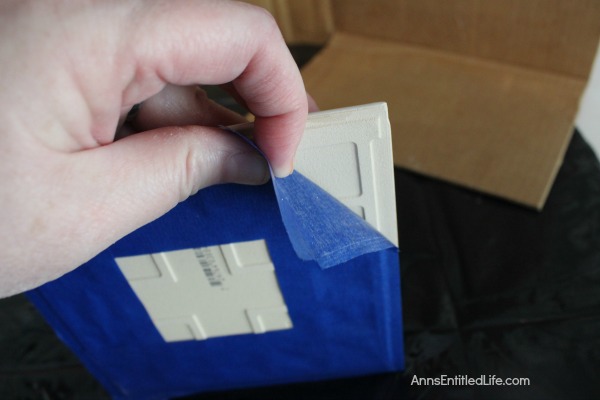
● Remove painters tape from the back of your autumn coasters.
● The autumn coasters are now technically complete. However, I like backings since have wood furniture.
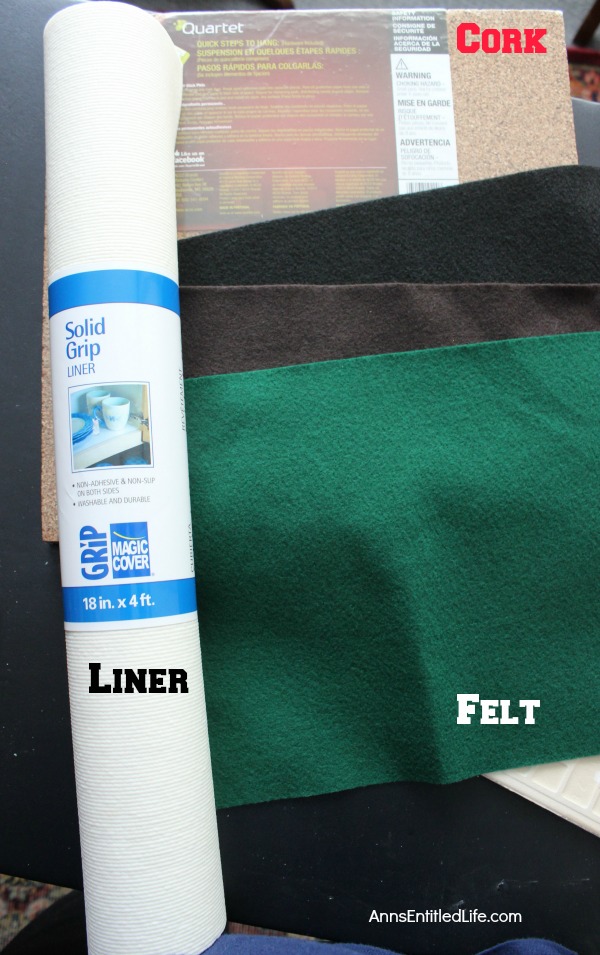
● I tried three different backing materials:
● Cork The most expensive option. Cork is prime for heat and durability. It is difficult to cut as it is much thicker than the other two options I tried.
● Felt: The cheapest solution. It is anti-scratch although it picks up dust and direct. Simple to cut and adhere, it is the classic solution.
● Liner: Hubby bought me a kitchen liner to try when he was at Big Lots. It is fairly inexpensive. I admit this was my favorite solution. It was easy to cut and adhere and is non-skid on the tabletop (these are the ones I kept for us in our family room). An interesting positive and negative – when I stack these, they “stick” to one another. That means I do not need to find something to store them in, nor do I need to use twine or a ribbon to keep them in a pile. The negative is… they stick to one another. The first time I had to pull to separate these, I nearly had a heart attack. hehe I thought that I had not allowed them to dry long enough (which was silly, it was 3 days later)!!
Materials Used for Backing:
● Cork
● Liner
● Felt
● Self-Healing Cutting Mat
● Straight Edge
● Cutter
● Mod Podge
● Foam paint Brush
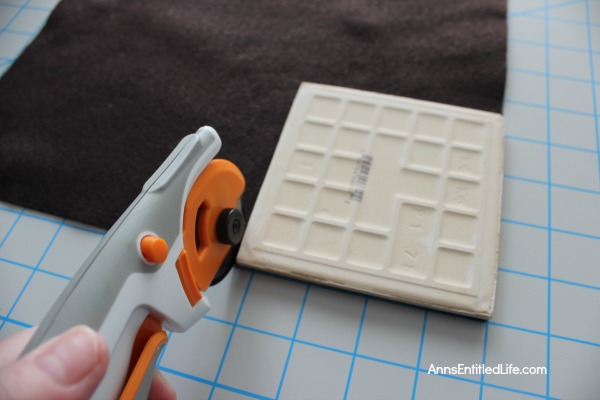
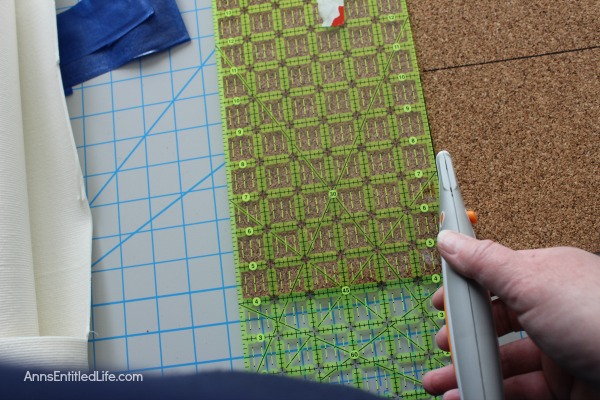
● On top of a self healing mat, lay out the felt and tile.
● Turn the tile over or place flat with bottom down.
● Using your rolling cutter, cut out four felt squares to match your four Autumn Coasters.
● Note: You can cut against the tile so you are not tracing lines, or trace lines using the tile and then cut. You can also use a straight edge to measure out the tile, and cut along the traced lines.
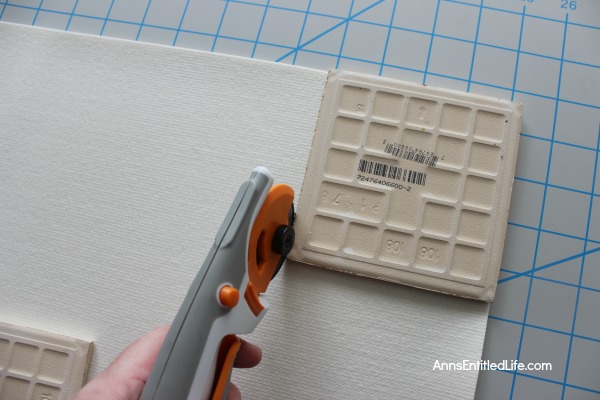
● On top of a self healing mat, lay out the liner and tile.
● Turn the tile over or place flat with bottom down.
● Using your rolling cutter, cut out four liner squares to match your four Autumn Coasters.
● Note: You can cut against the tile so you are not tracing lines, or trace lines using the tile and then cut. You can also use a straight edge to measure out the tile, and cut along the traced lines.
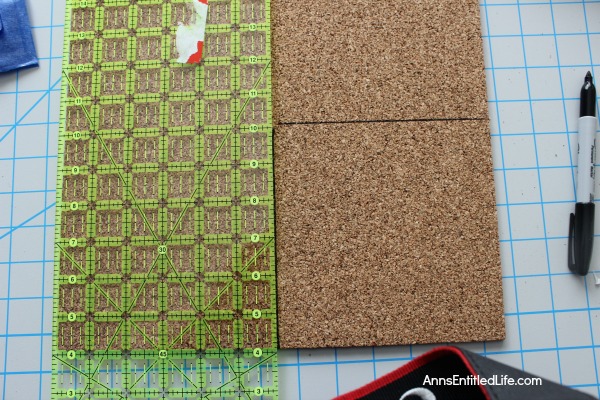
● On top of a self healing mat, lay out the cork.
● Measure out on the cork the size of your tile.
● Drawn lines according to the length and width of your tile. Use a marker or pencil or pen – use something that you can easily see the drawn lines to cut along.
● Using a straight edge and roller cutter or X-taco knife, cut along the lines. Make certain you use the straight edge to follow the lines as it is very easy to get off track!
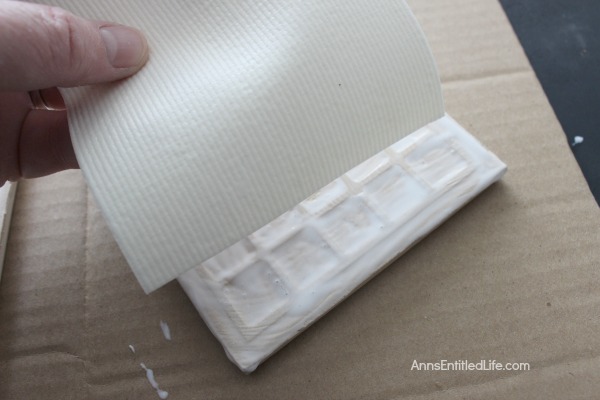
● Spread a layer of Mod Podge on the back of your tile.
● Attach your chosen backing.
● Allow to dry completely.
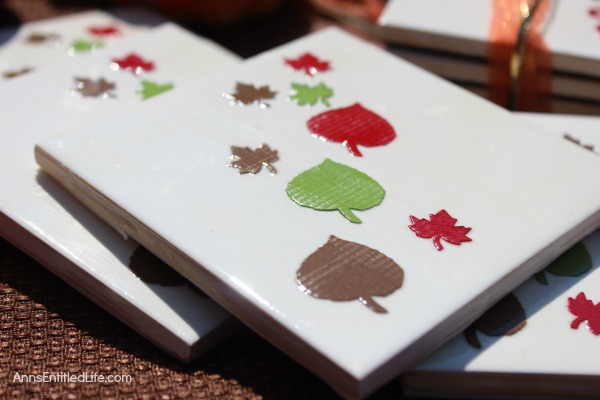
● Since this is a spray-on, you can actually feel the attached cut-outs.They are not high enough to impact a can, bottle, glass, mug, etc when placed on top. In other words, nothing wiggles.
● These clean up easily! I have goobed coffee on them and just wiped them down with a wet dishrag.
These DIY Autumn Coasters really are as simple to make decor project as you can get. Changing from the resin to the spray made all the difference in time and simplicity!
Need more DIY coasters? Check out these homemade coaster tutorials:
● Tie Dye Coasters Tutorial – How to make your own tie dye coasters step by step tutorial. A fun, easy coaster craft perfect for home decor or as a housewarming gift!
● DIY Pine Moose Coasters – These DIY Pine Moose Coasters are cute and quite simple to make. This is a fantastic project to make using scrap wood, and can be finished very quickly. These easy to make Moose coasters are unique, and something fun for your rustic decor, a gift, or for use as holiday coasters!
● DIY Christmas Coasters – These DIY Christmas Coasters are cute and quite simple to make. This is a fantastic project to reuse old Christmas cards and to make a wonderful homemade gift for friends and family. These easy to make Christmas Coasters are unique, but usable. Plan ahead though because they do take time to cure.
● Disclosure: the links in this post may be affiliate links.
● For more Craft posts on Ann’s Entitled Life, click here.
● If you enjoyed this post, be sure to sign up for the Ann’s Entitled Life weekly newsletter, and never miss another article!
Katy SkipTheBag says
These are really cute! I wish I had stamps like that. And you could make them for every holiday or season! Oh the possibilities! 🙂
Cindy says
Those are so cute. Visiting from Thoughts of Home today. Hugs and blessings, Cindy
Sandra Garth says
These would make great hostess gifts and I think I just added some items to my Christmas gift list!
Dee says
These are adorable, and I love the fall colors! Thanks for sharing at Merry Monday!
Shanna says
This is awesome, I was looking into finding a sealant or product that can tolerate high heat, like hot tea/coffee mugs because I’ve seen people complained about the coasters sticking together or rings being left on the coaster from the mugs.
Thank you