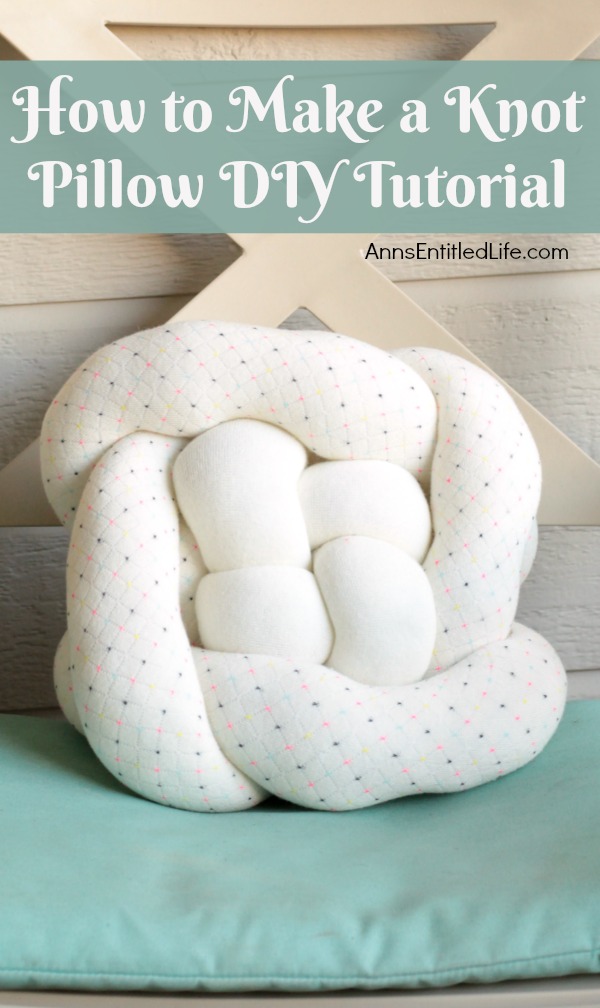
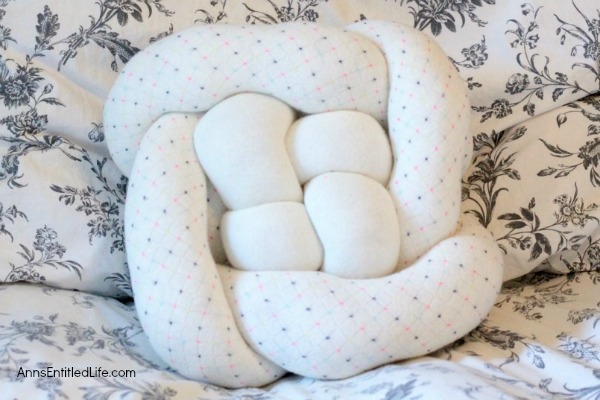
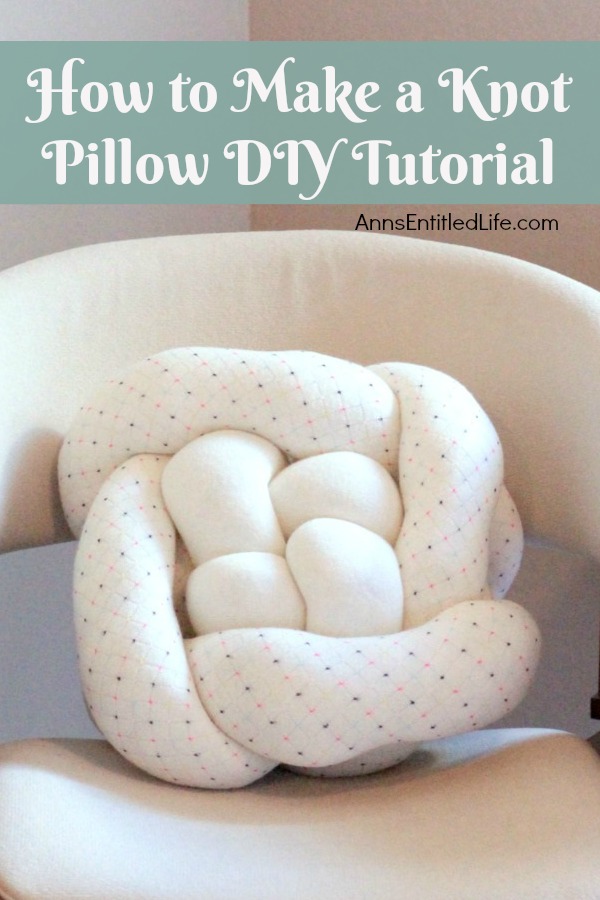
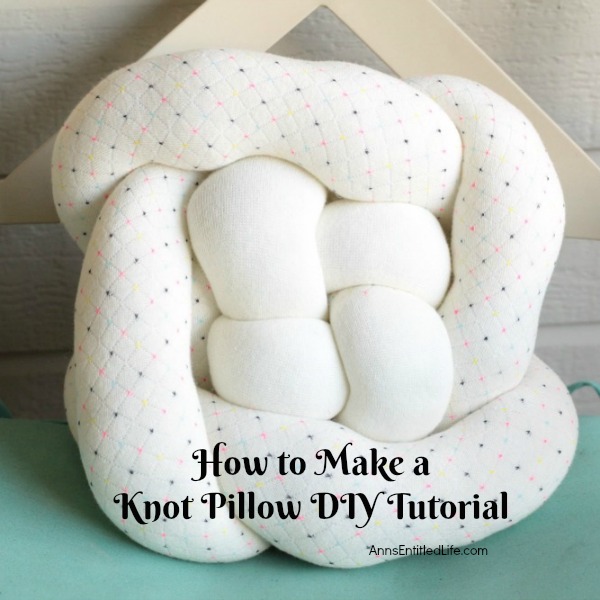
Knot pillows are trendy right now. Like really trendy. You will not believe how simple it is to make this trendy pillow knot design. This knot pillow DIY version costs a whole lot less than a store bought pillow knot and only takes about an hour to make.
How to Make a Knot Pillow DIY Tutorial
Make sure to sign up for my Ann’s Entitled Life weekly newsletter, and never miss another article!
I love how this looks. I think it is a fun design. There are many types of diy pillow knot designs, including traditional celtic knot pillows, but this one is great because it is just plain simple to make.
You can customize this to whatever color you like that fits your decor. You can make it monochrome, or use two different tights colors (like shown) to add a bit of depth and interest (whoever would have thought tights + depth + interest would be used in a sentence together!?) The tights used in this tutorial are actually winter tights, so a bit heavier material. When you purchase your tights, look for a heavy weave as opposed to thin tights. You do not want your stuffing slipping out, and you do not want the knot pillow to be see through!
How to Make a Knot Pillow DIY Supplies:
● 2 pair Sweater Tights (kids size 12-14)
● Polyester Stuffing
● Needle
● Thread
How to Make a Knot Pillow DIY Instructions:
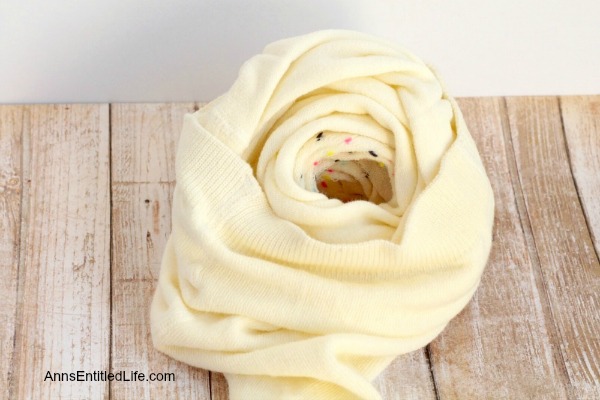
● Bunch your tights up so you can reach the toe easily.
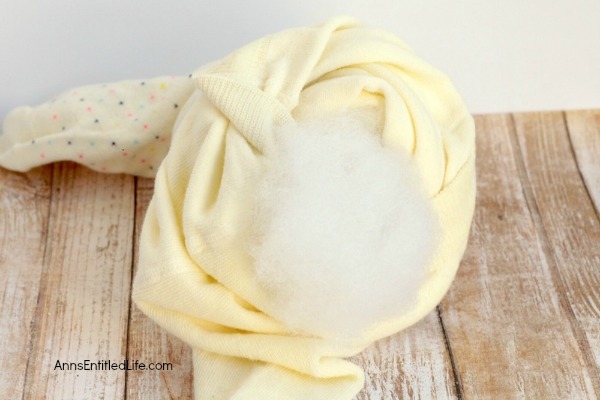
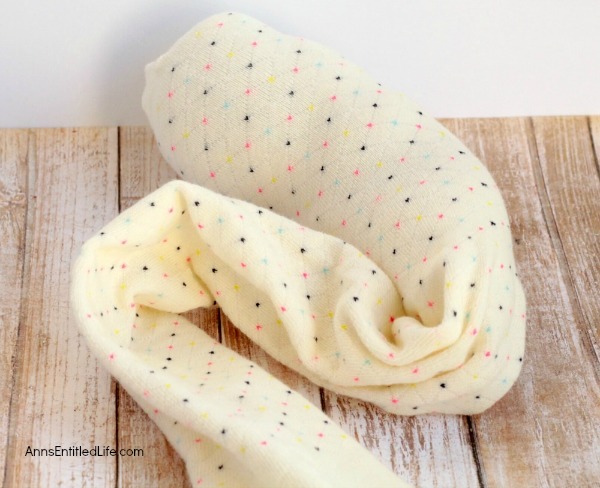
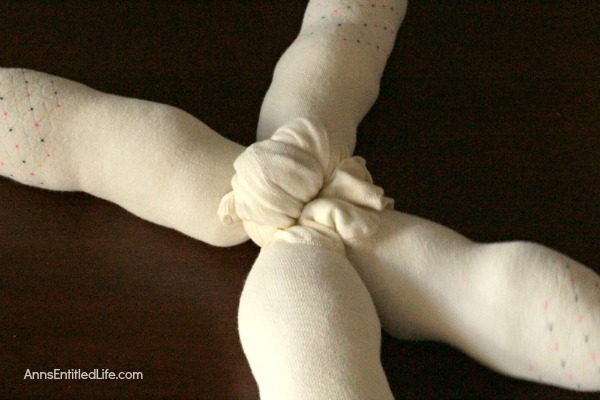
● Fill your tights with stuffing one leg at a time, from toe to top of the leg. Do not pack the tight leg with polyester stuffing so tightly that you cannot shift it around a bit, because you will need to manipulate it later when folding the knot. Do not stuff the waistband.
● Tie the two pairs of tights together with a basic square knot. (Left over right and under, right over left and under.)
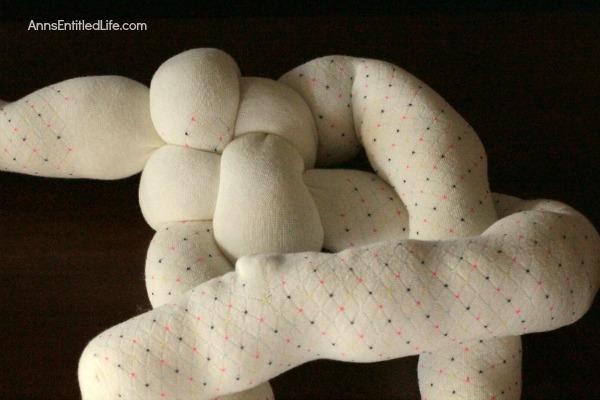
● Lay your stuffed tights out on a large table or the floor in a “t” shape.
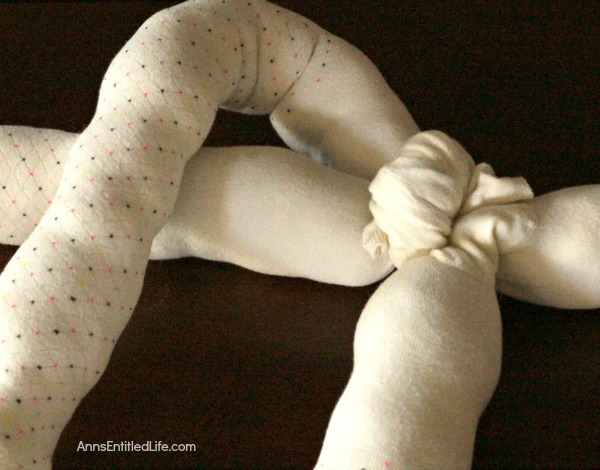
● Fold the top piece down over the left piece.
● Fold the left piece over the bottom piece.
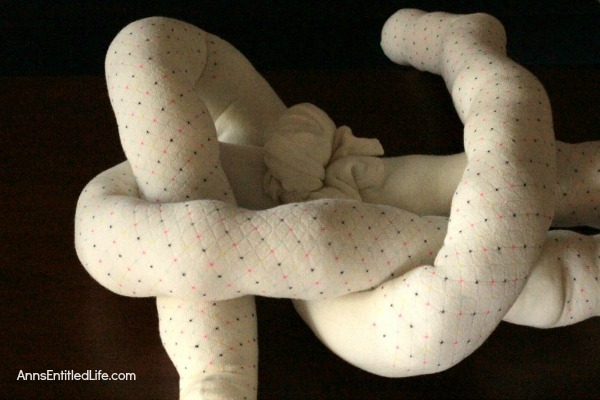
● Fold the top piece over the right piece.
● Fold the right piece inside the loop made by the top piece.
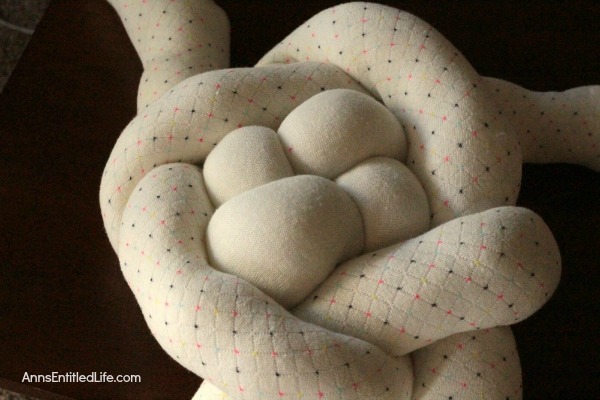
● Gently tighten your knot.
● Repeat from the top, but this time, go clockwise rather than counter-clockwise:
● Fold the top piece down over the right piece.
● Fold the right piece over the bottom piece.
● Fold the top piece over the left piece.
● Fold the left piece inside the loop made by the top piece.
● Gently tighten your knot.
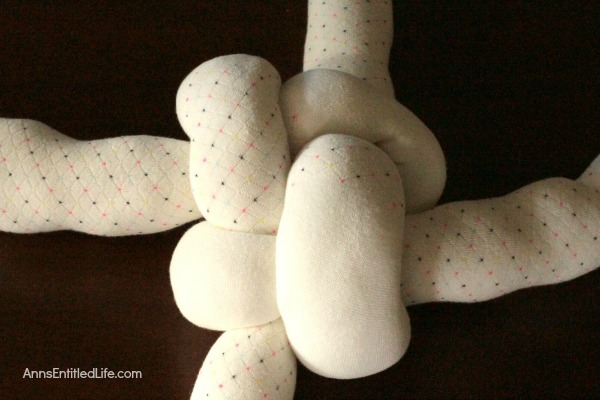
● Spend some time adjusting your knot at this stage. More time was spent on this step than the all the rest of the steps because the positioning needed to be “just so”.
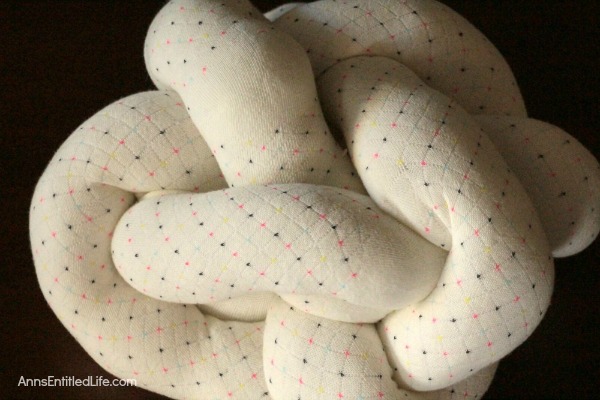
● If you have enough material left, you can go around a third time counterclockwise (optional, this tutorial only goes twice).
● Tuck the leftover ends where they fit naturally in the knot. The knot will hold together on its own, but you will want to sew the legs in place to prevent the knot from coming undone.
● Once the pillow is sewed together, you are finished! Give the pillow knot one final fluff and place it wherever you would like.
● To print the Knot Pillow DIY Tutorial Instructions, click here.
● Disclosure: the links in this post may be affiliate links.
● For more Craft posts on Ann’s Entitled Life, click here.
● If you enjoyed this post, be sure to sign up for the Ann’s Entitled Life weekly newsletter, and never miss another article!

Claire says
Love the pillow and your tutorial!
Debrashoppeno5 says
I always wondered how a knot pillow was made. You make it look so simple and it is a cool looking pillow.
Julie says
That’s really clever and a great upcycled for old tights.
Stehanie says
Love that you used upcycled sweater tights! Cute!
Heidi says
I’ve never seen a knot pillow-fun! Thanks for linking up with Funtastic Friday!