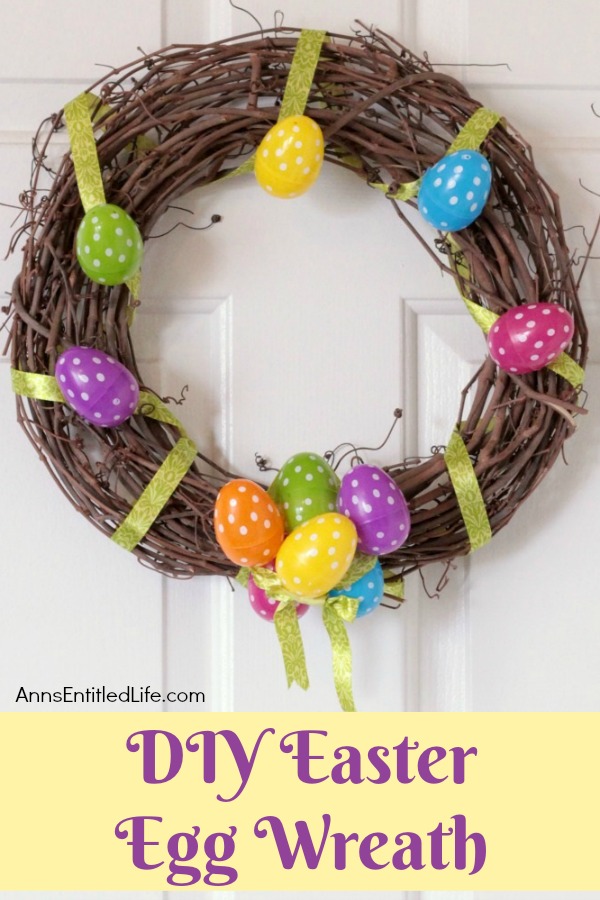
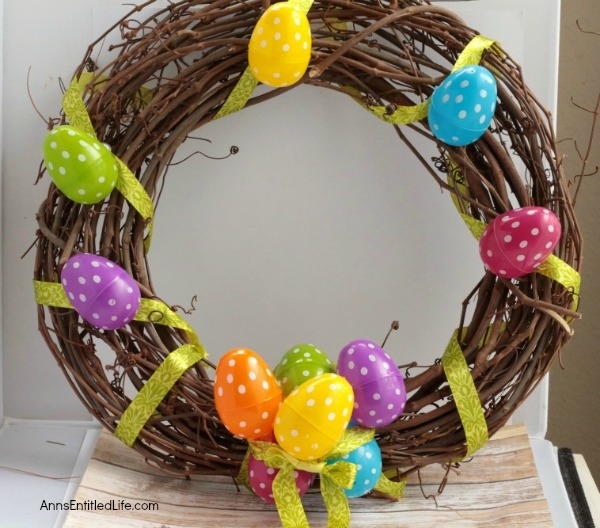
This Easter egg grapevine wreath is a wonderful spring door craft. This cute, simple to make, Easter egg wreath is an inexpensive Easter decoration, perfect decor for your door, over your fireplace, or on a wall.
DIY Easter Egg Wreath
I love everything flowers, bunnies, green, yellow, pink springtime things, and of course, Easter eggs. For this wreath design, it was decided to use up some of those plastic Easter eggs that we all always seem to have way too many of! Spring has sprung and the Easter eggs are multiplying!
Like most of the crafts you will find on this blog, this is easily customizable. Different ribbons, different eggs, monochrome, lots of different colors – you decide what works best with your decor and your personal decorating taste. It is all fun and Easter-y. There is no need to follow a pattern – which is great for the patterned-challenged!!
Tips and variations for making this DIY Easter Egg Wreath:
● A 12″ Grapevine Wreath was used to make this DIY Easter Wreath. If you go larger or smaller, adjust your materials accordingly.
● You will need more or less ribbon depending on the width you purchase and how many times you decide to go around the wreath.
● If you do not want a cluster of eggs at the bottom (or top or side) of this wreath, substitute a bow.
If you would like some other cute and easy spring/Easter crafts, this No Sew Sock Bunny is adorable! Had a different wreath idea in mind? How about this Easy DIY Bunny Butt Wreath!? This Spring Themed DIY Framed Dot Art is simple to make, and those of you with children may want to consider this Easter Bunny Garland!
The materials needed are linked below if you wish to see exactly what they are and/or buy online. Otherwise, write down the list and head over to your nearest Michaels for the supplies that you do not already have handy.
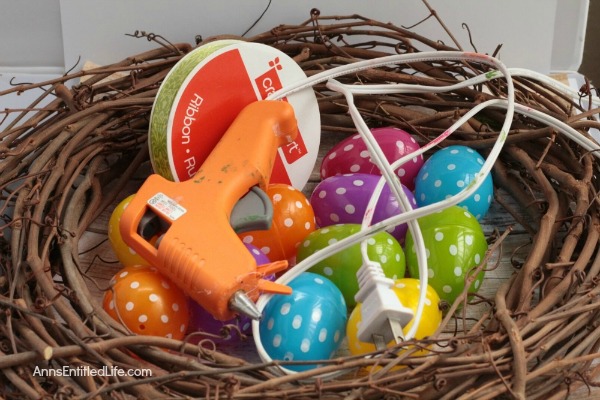
DIY Easter Egg Wreath Supplies Needed:
● Scissors
● 1 12″ Grapevine Wreath
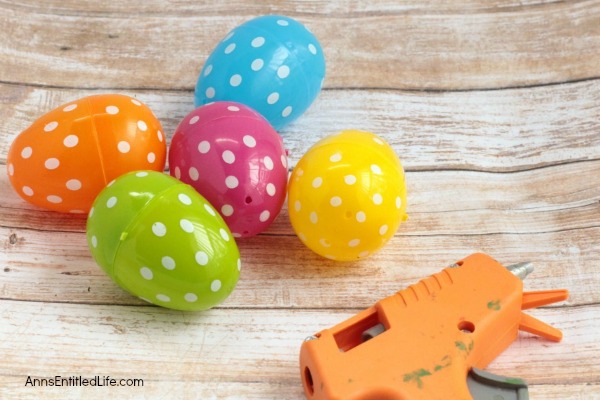
● Glue Gun
● Glue Sticks
● 3 yards ½ inch Spring Ribbon (any color!)
● 12 Plastic Polka Dot Eggs, Large, Multicolor (more if you want to double or triple up the eggs, or if you used a larger wreath)
DIY Easter Egg Wreath Directions:
● Make a decision on where you are placing your plastic Easter eggs,
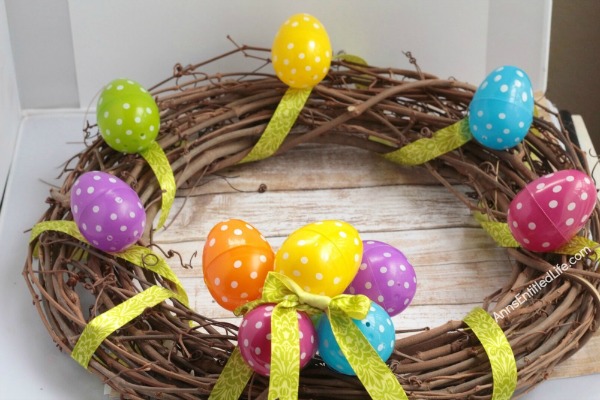
● This tutorial uses single eggs around the grapevine wreath with a bunch of eggs in the bottom center. You may prefer clusters of two or three.
● Do not yet attach your eggs.
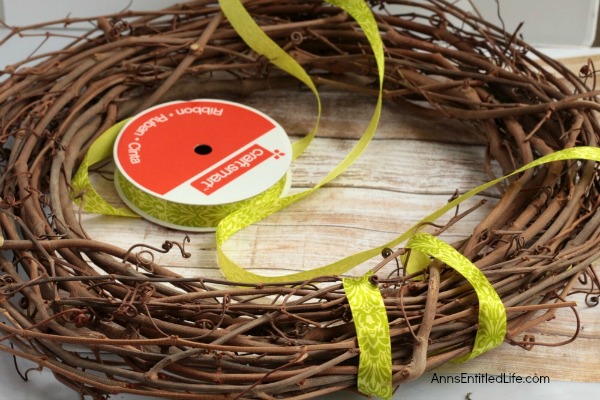
● Wrap the spring-colored ribbon around your wreath.
● Tie the ribbon around the wreath and knot it so it does not slip away.
● Wrap the ribbon around the entire wreath several times until you reach your starting point. How many wraps you make is dependent upon how many plastic eggs you have decided to use. You can space closer together or further apart.
● Tie the ribbon together and cut off any excess.
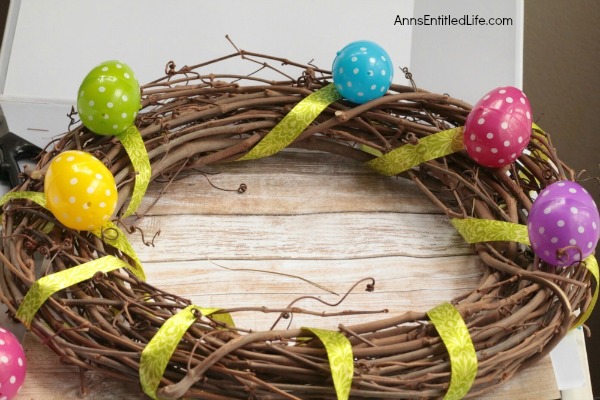
● Hot glue the plastic eggs where you want them on the grapevine wreath.
● If you will be removing the eggs after the holiday and reusing the grapevine wreath, hot glue the eggs to the ribbon (as shown).
● If you are not reusing the grapevine wreath for another project, securely fasten the eggs to either the ribbon or the grapevine wreath with hot glue.
● Leave a space at the bottom or side of your grapevine wreath to attach the egg cluster (you are making it next, see below).
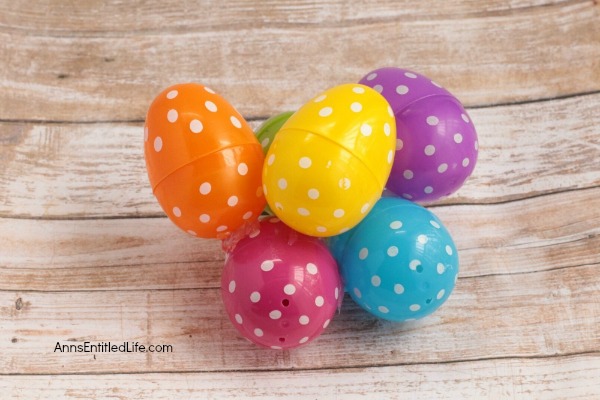
● Glue several eggs together to form a cluster. Leave the back flat for easy attachment to the grapevine wreath. This tutorial used six Easter eggs, but you can use them more or less according to taste.
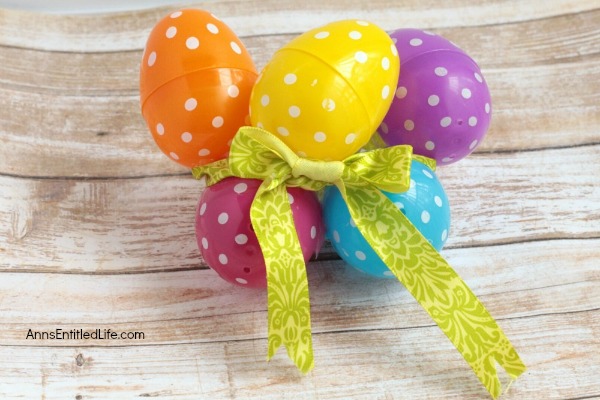
● Tie the remaining spring ribbon around the bunch of eggs and make a pretty bow. Secure with hot glue if necessary.
● Glue the bunch of eggs to the center of your wreath.
● You can glue it to the bottom like shown in this tutorial, at the top with the ribbon strands hanging in the center of the wreath or off to the side.
Hang your wreath from a doorway, place it over your mantle, hang it over a doorknob, display it on the wall, or put it in front of a hallway mirror. You could also place it in the center of your dining room or kitchen table to become part of an Easter or Spring tablescape!
DIY Easter Egg Wreath

DIY Easter Egg Wreath. This Easter egg grapevine wreath is a wonderful spring door craft. This cute, simple to make, Easter egg wreath is an inexpensive Easter decoration, perfect decor for your door, over your fireplace, or on a wall.
Materials
- 1 12″ Grapevine Wreath
- 3 yards ½ inch Spring Ribbon (any color!)
- 12 Plastic Polka Dot Eggs, Large, Multicolor (more if you want to double or triple up the eggs, or if you used a larger wreath)
Tools
- Scissors
- Glue Gun
- Glue Sticks
Instructions
- Cover your work surface against glue burns or scissor cuts.
- Make a decision on where you are placing your plastic Easter eggs.
- This tutorial uses single eggs around the grapevine wreath with a bunch of eggs in the bottom center. You may prefer clusters of two or three.
- Do not yet attach your eggs.
- Wrap the spring-colored ribbon around your wreath.
- Tie the ribbon around the wreath and knot it so it does not slip away.
- Wrap the ribbon around the entire wreath several times until you reach your starting point. How many wraps you make is dependent upon how many plastic eggs you have decided to use. You can space closer together or further apart.
- tie the ribbon together and cut off any excess.
- Hot glue the plastic eggs where you want them on the grapevine wreath.
- If you will be removing the eggs after the holiday and reusing the grapevine wreath, hot glue the eggs to the ribbon (as shown).
- If you are not reusing the grapevine wreath for another project, securely fasten the eggs to either the ribbon or the grapevine wreath with hot glue.
- Leave a space at the bottom or side of your grapevine wreath to attach the egg cluster (you are making it next, see below).
- Glue several eggs together to form a cluster. Leave the back flat for easy attachment to the grapevine wreath. This tutorial used six Easter eggs, but you can use them more or less according to taste.
- Tie the remaining spring ribbon around the bunch of eggs and make a pretty bow. Secure with hot glue if necessary.
- Glue the bunch of eggs to the center of your wreath.
- You can glue it to the bottom like shown in this tutorial, at the top with the ribbon strands hanging in the center of the wreath or off to the side.
- Hang as desired.
Recommended Products
As an Amazon Associate and member of other affiliate programs, I earn from qualifying purchases.
-
 Easter Hanging Bunny Ornaments Set of 10, Colorful Plush Bunny Gnomes Easter Gnomes Tree Ornament Decorations
 -
 MAOYUE Easter Inflatables 5Ft Easter Bunny Inflatables with Eggs Easter Decorations Outdoor Easter Blow Up Decorations Built-in LED Lights with Tethers, Stakes for Outdoor Yard Lawn
 -
 EAMBRITE Easter Centerpiece Tree 24IN 24LT White Birch Tree with Set of 10 Hanging Easter Egg Ornaments for Party Birthday Home Decoration Indoor Use
● For more Holiday posts on Ann’s Entitled Life, click here.
● For more Craft posts on Ann’s Entitled Life, click here.
● If you enjoyed this post, be sure to sign up for the Ann’s Entitled Life weekly newsletter, and never miss another article!


Allyssa says
Thanks a lot for this wonderful ideas! It’s lovely and perfect! Love it!