DIY Holiday Shimmer Candles
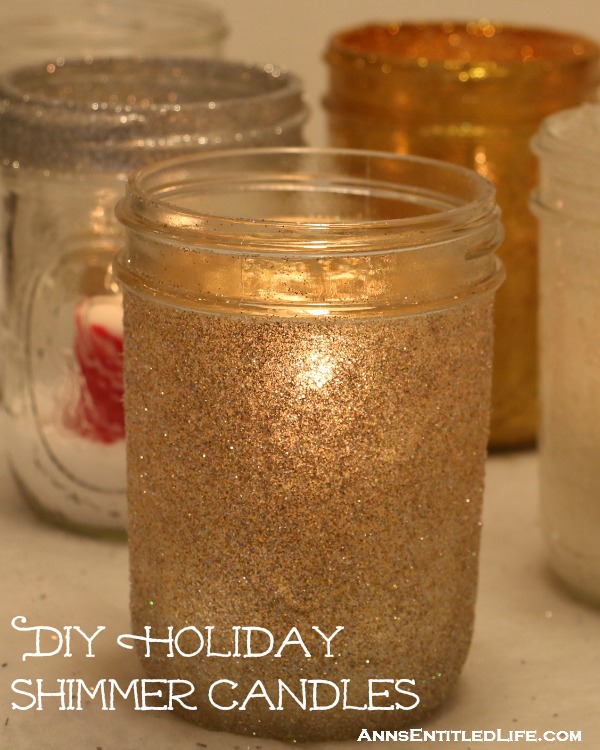
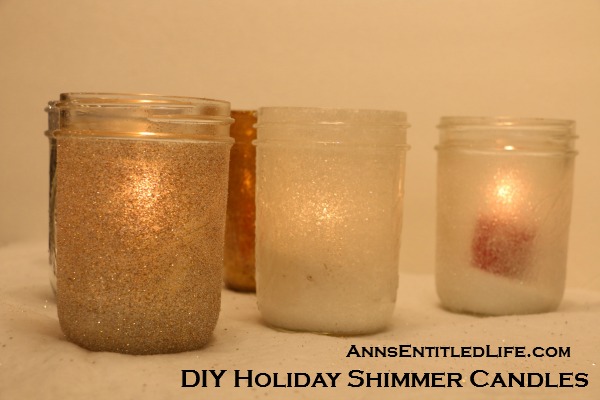
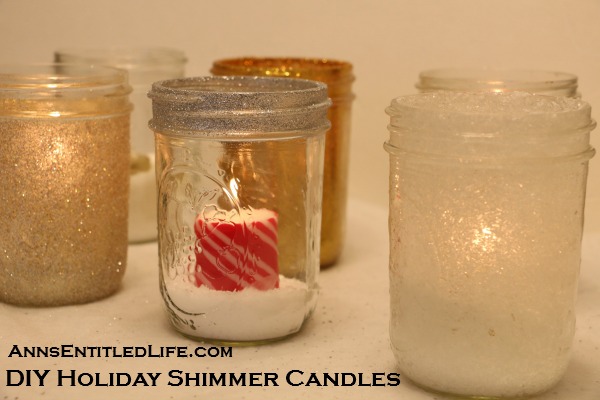
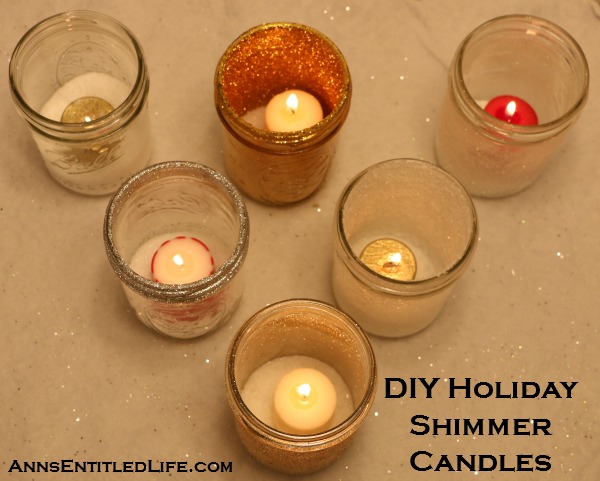
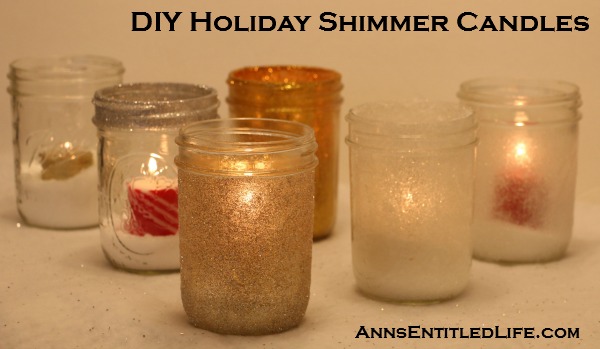
These beautiful DIY Holiday Shimmer Candles are an easy to make and produce beautiful, sparkling results! There are several different methods and looks to try, each one just a little different making for a nice contrast if you like, or make all your shimmer candles alike for a cohesive look!
As many of you know, I am in no way, shape, manner or form, crafty. This means if I can do a craft, anyone over the age of 5 (and probably a bunch of 3 and 4 year olds) can do the craft. So no excuses from you all for not giving this a go!
I am also not one to jump on a fad. I like tried and true. So something has to show signs of sticking around for me to take the time to investigate if it is a piece of decor. And Mason jar crafts, for better or worse, seem to be sticking around.
I decided to try my hand at a Mason jar craft after finding six cases of Mason jars down the basement, all courtesy of Hubby’s non-existent canning projects. I think he’s canned twice since he laid in his canning jar stock. Twice.
Now it is also true that I love, love, LOVE glitter!! Just another thing I have in common with your average 5 year old. So, when I found the Mason jars, I decided I would like to glitter them up! And with the holiday season right around the corner, the timing was perfect.
Off to JoAnn’s I went to get some craft supplies. I decided to go with super fine glitter. It just looks nicer. I also needed a spray to seal the super fine glitter onto the Mason jars when I was finished. Ten minutes and $65 later (what? you thought I was gonna stick to my list!? Heck no. I got a buncha stuff that had nothing to do with this project. JoAnn’s is dangerous that way…) I was on my way home to glitz-up some jars!
Now before I decided to do this, I read a lot of posts and watched a few videos. For the most part, they were either A ) fails or B ) I am craft-challenged (and the two are not mutually exclusive) because man, when I tried what they said things did not go well. Ever see a river of gold glitter slide down a jar? Well I have. Don’t put a glob of mod podge inside a jar and just swish it around. It spells disaster and it will never dry. Take it from someone that learned the hard way, with glitter, use a fast drying adhesive spray if you are glitzing-up the inside of a jar.
So, that was my disaster, and these are my successes! I did quite well in that regard as I was 6 for 7. Not too shabby for a craft-challenged-gal.
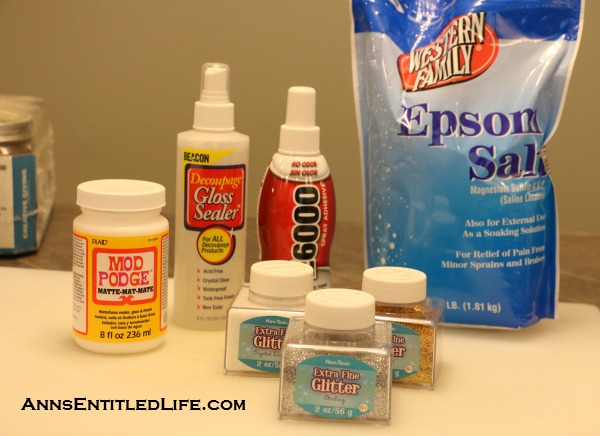
DIY Holiday Shimmer Candles Materials:
● Mod Podge
● Extra Fine Glitter in 24 Karart (gold), Sterling
(silver) and Crystal
● Epsom Salt
● Rubbing Alcohol
● Lint free rag (baby diapers work well)
● Mason Jars
● Spray Adhesive
● Sealer
● Small, flat head paint brush
DIY Holiday Shimmer Candles Directions:
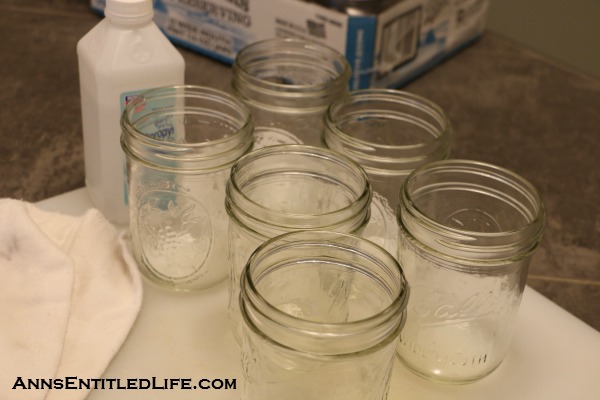
First things first: clean out your Mason jars with rubbing alcohol using a lint free rag. A bit in the jar, swish it around, and rub. For the exterior, apply using the rag and wipe clean. Allow to dry.
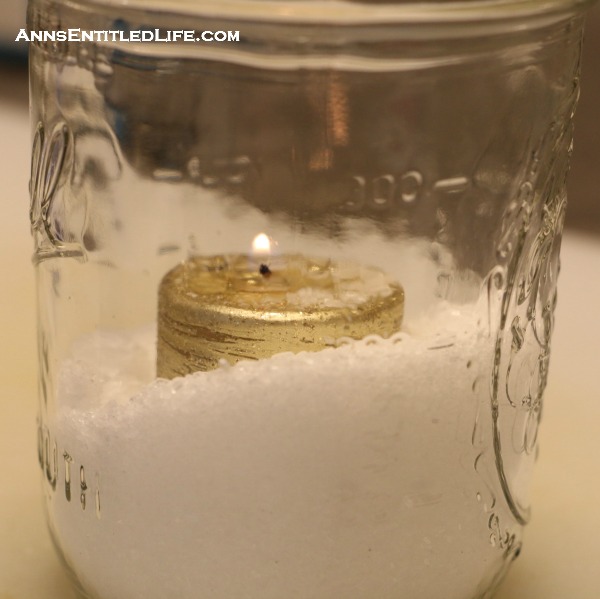
My first holiday shimmer candle attempt was just to fill the Mason Jar a bit with Epsom salts and add a candle. Very pretty snow effect! And, since I just put in 3/4 of a cup of Epsom salts, and added a candle, there was nothing to screw up.
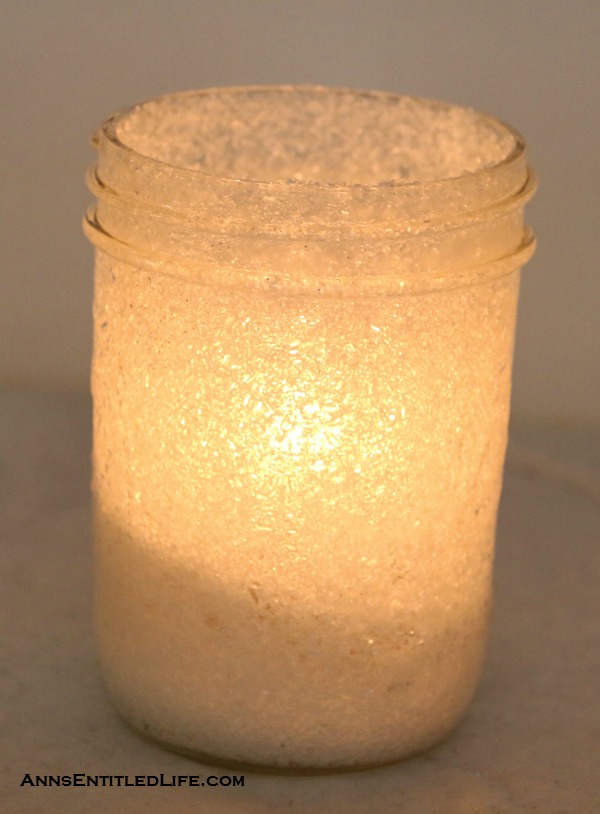
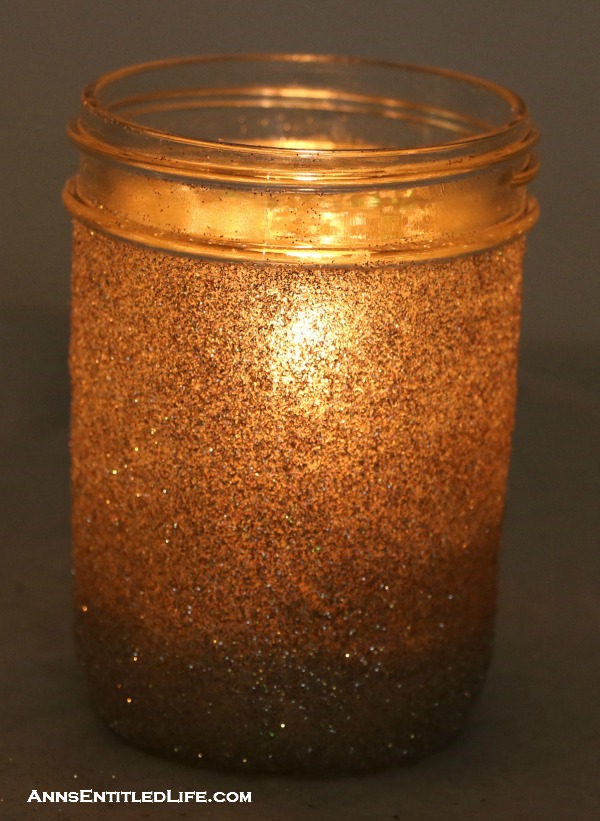
It looks lovely lit too!
Epsom salts are mostly water so not flammable. As a matter of fact, I got a few granules on the candle wick and it took F-O-R-E-V-E-R to get that wick lit! I had to scrape off the granules, and then wait for the wick to dry. It still took a while for the lighter to catch.
Tip: don’t let your candle wick come in direct contact with the Epsom Salts.
So keeping with the Epsom salts, I decided that since they aren’t flammable, why not play?
Epsom salts start clear but turn white the longer they are exposed to air. In a week they will be white as snow, so perfect for a holiday craft!
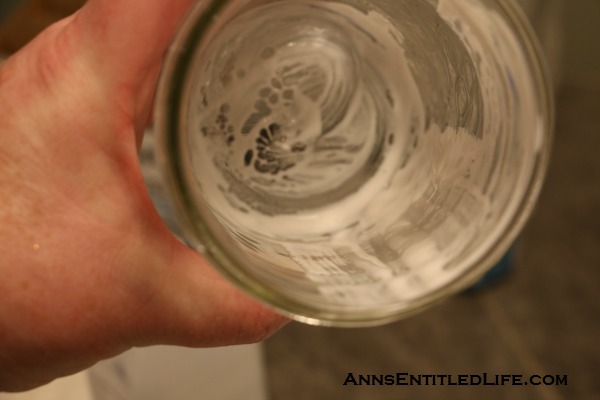
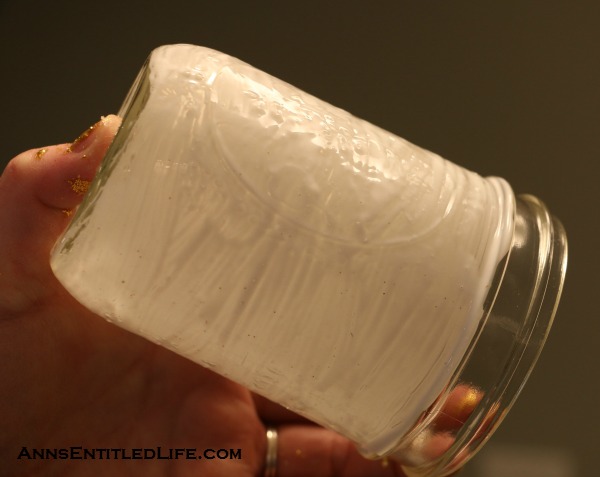
I painted mod podge inside my Mason jar.
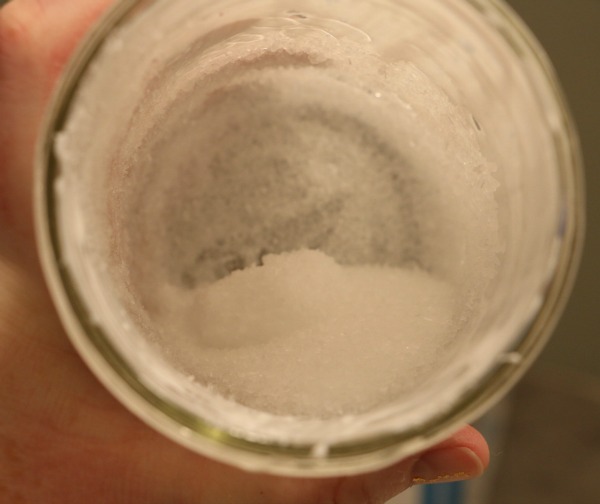
Added 3/4 cup of Epsom salt,
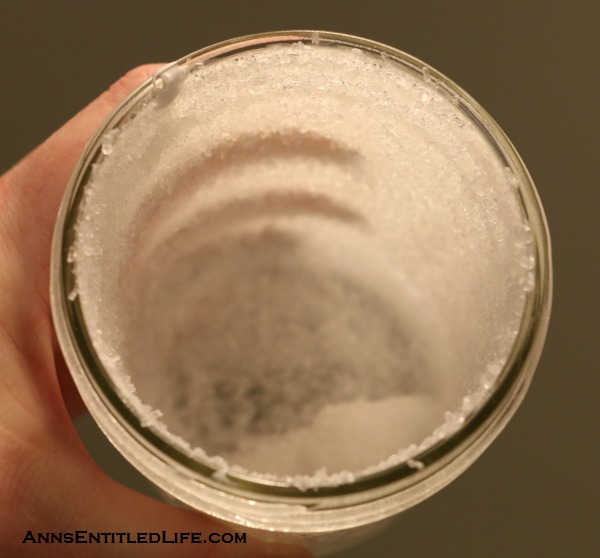
and swirled it around so the entire inside of the Mason jar was coated with the Epsom Salts. I removed any extras. Seems counter productive because I add fresh Epsom salts later to stabilize the candle, but not with the stuff I swirled. I was afraid that some would mix with the glue and harden into a lump.
I allowed to dry overnight, then added some fresh Epsom salt to the bottom of the container, a candle and lit it! Isn’t it lovely (honestly this is my favorite one in person. It is just beautiful!)
Now I moved on to the glitter! YAY Glitter!!
After the interior mod podge/glitter disaster (see above), I decided to line the inside with glitter using the adhesive spray.
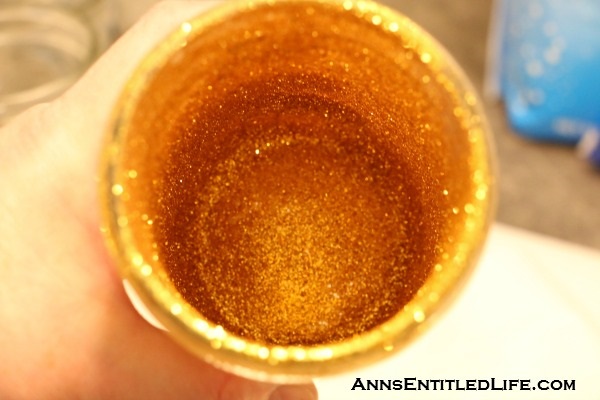
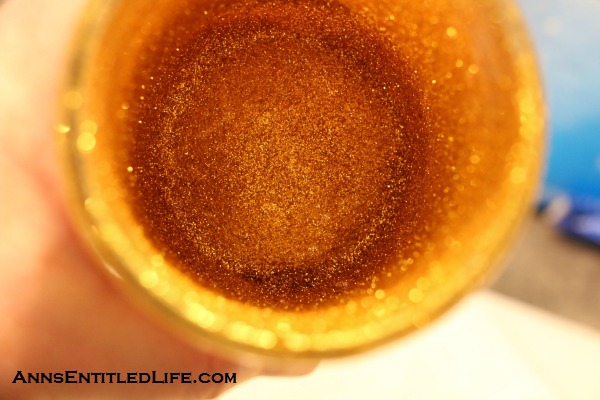
I gave the inside of my Mason jar a good spritz all around, then quickly dumped a decent amount of glitter inside my Mason jar. I swirled until the inside was completely covered. I had to add a bit on a few bare spots.
After I completely covered the inside of my jar, I tapped the excess onto a sheet of aluminum foil for later use.
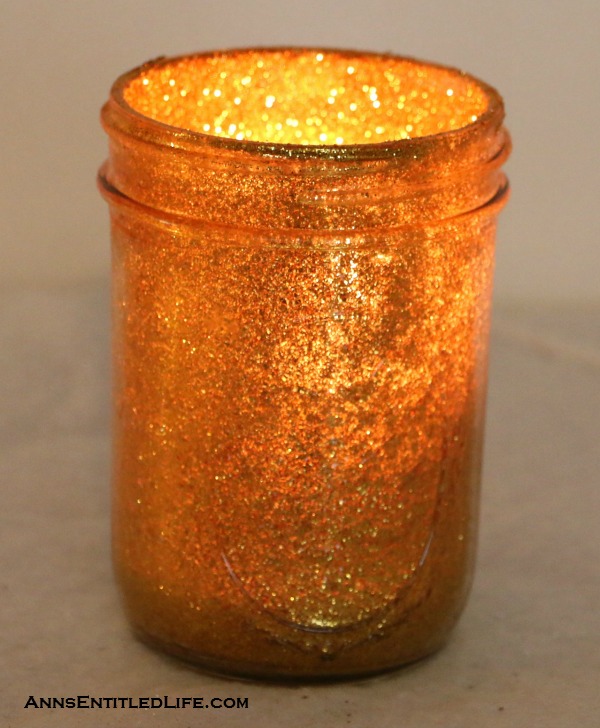
I allowed the gold glittered Mason jar to dry overnight.
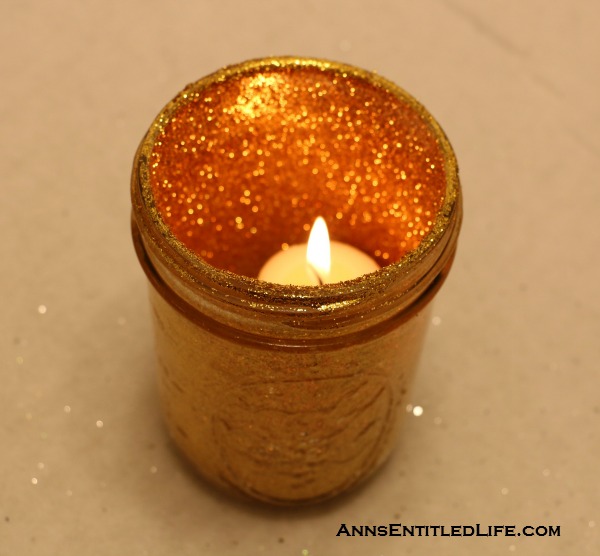
I poured a small quantity of Epsom salts into the bottom of the jar, added a candle and lit it.
This is one beautiful jar! I am just not sure it is non-flammable, so be careful if you do this – I wouldn’t want you to start a fire in your house!
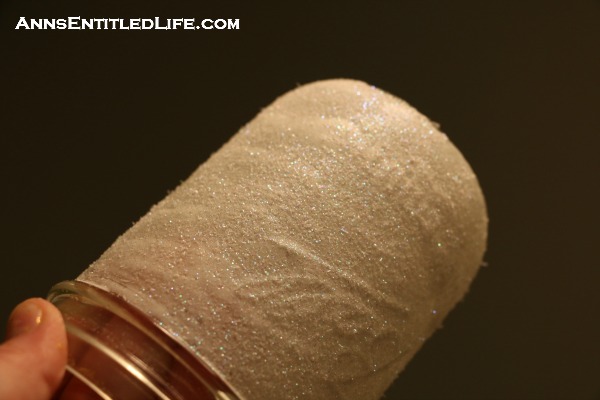
On to the exterior in the crystal glitter. Now the crystal glitter is one of my favorites! The greens, blues, pinks, whites combine to make for an unusual, translucent quality.
To accomplish this, I “painted” the exterior of a Mason jar with the mod podge using a flat tipped paint brush. Most people will be able to find these in the craft or acrylic paint section of their local paint store.
Sprinkle lightly with the glitter. I did this over the same aluminum foil as I shook off the gold as I wanted a multicolored jar to finish the project.
When sprinkling the crystal colored glitter, it is a bit tougher to tell if you got the entire jar, so hold it up to the light to be sure you completely covered everything. I wiped off the excess from the upper rim (that overflowed my “clean line”) with rubbing alcohol.
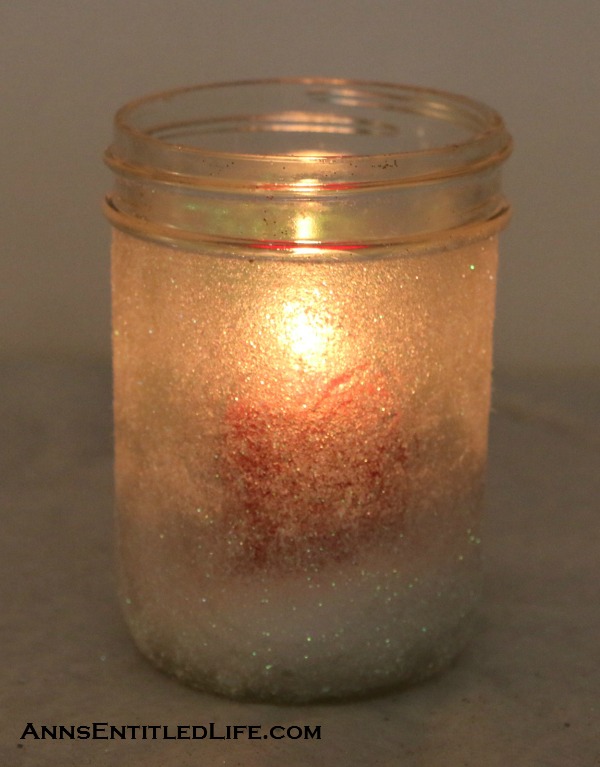
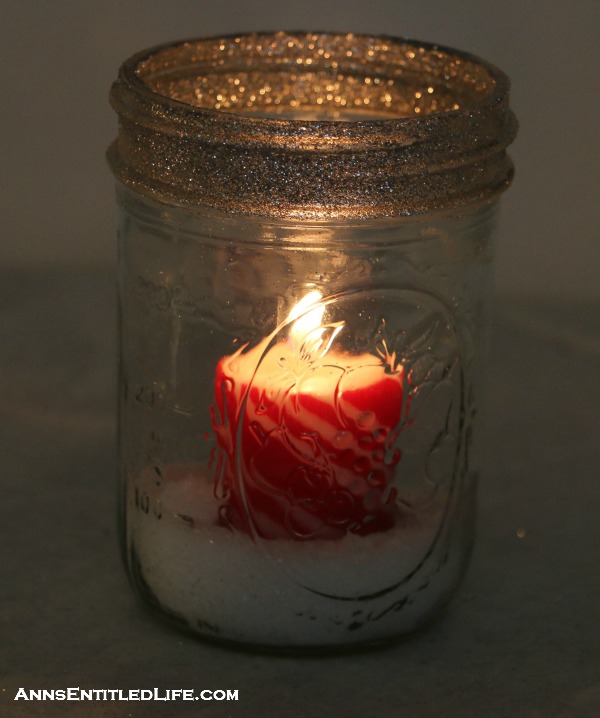
Again I allowed this to dry overnight, sprayed with the sealer (so I won’t have glitter everywhere in the future), poured a little bit of Epsom salts in the bottom for stability and so it would look like “snow”, and added a candle. Since this one is a bit see-through, I chose a colored candle for contrast. It looks beautiful!
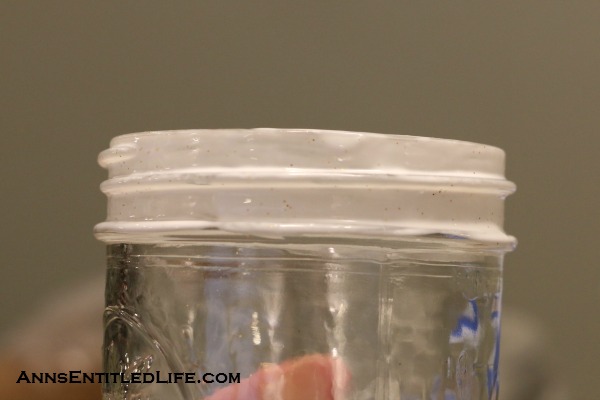
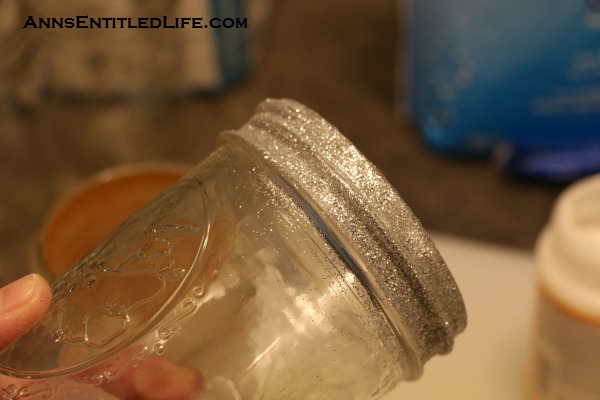
For the silver glitter, I chose to just rim the top of the jar. I painted the screw portion of the jar, and removed excess glue (that overflowed my “clean line”) with the rubbing alcohol.
I think sprinkled the rim with the silver glitter, again over that same piece of aluminum foil. I wiped off the excess (that overflowed my “clean line”) with rubbing alcohol.
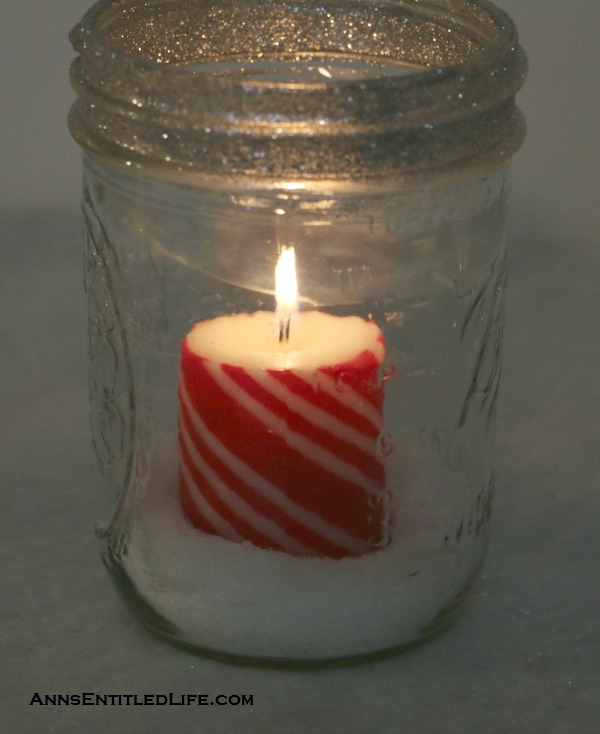
I let dry overnight, sprayed with the sealer, added a bit more Epsom salts for candle stability and “snow”, added my colored candle, and lit it!
I had high hopes for this one, but I honestly do not care for the effect. *shrug*
Now it was time for my multicolored jar!
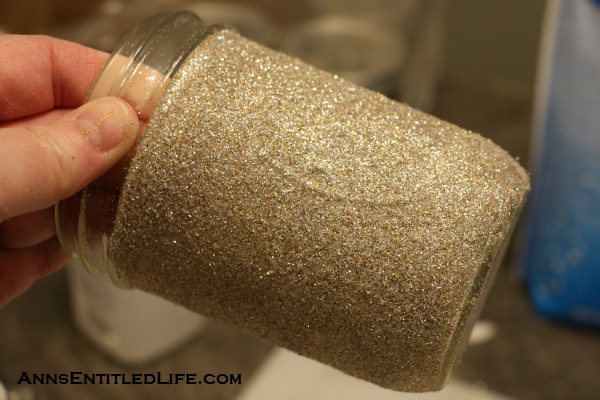
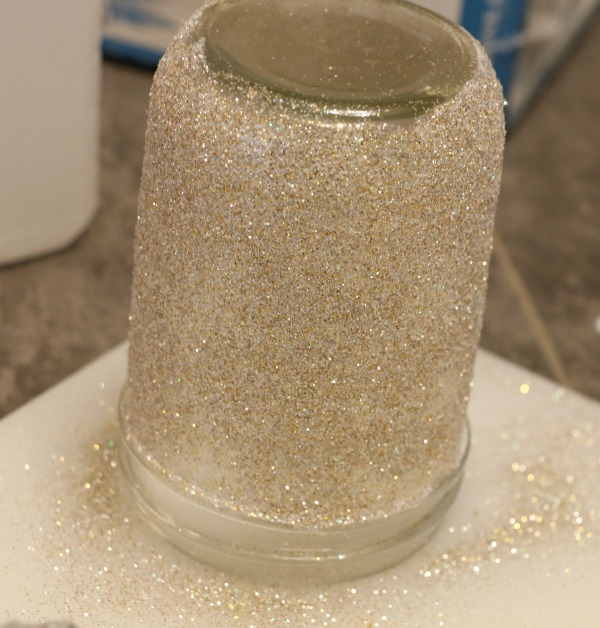
I had to add more glitter to what I had gathered on the aluminum foil as I wanted full coverage. I mixed the glitter well with my fingertips. Just like with the crystal glitter, I painted the exterior of my Mason jar with a flat tipped paint brush, and wiped off the excess with rubbing alcohol (that overflowed my “clean line”). I covered the entire exterior painted exterior with the multicolored glitter on my aluminum foil.
I turned this one upside down to dry. Since there was nothing on the rim, I figured “why not?”
I let dry overnight, sprayed with the sealer, added a bit more Epsom salts for candle stability and “snow”, added my white candle, and lit it! This one is totally gorgeous in my opinion!
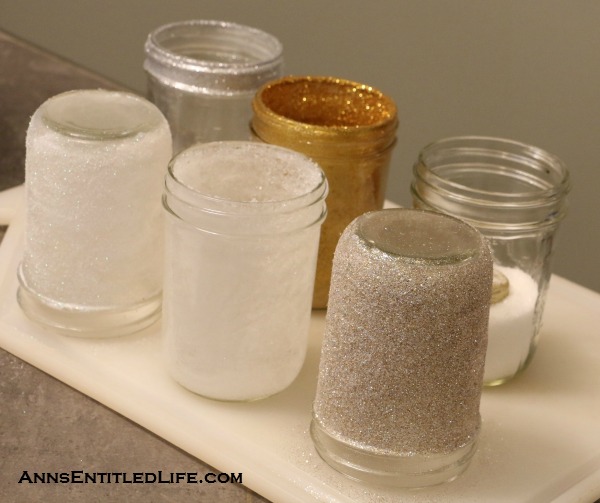
When I dried these, I kept them all together on a cutting board. If you have cardboard or a tray, that would work too. Line them as glitter will fall off and it is a lot of “fun” trying to scrub it off the cutting board.
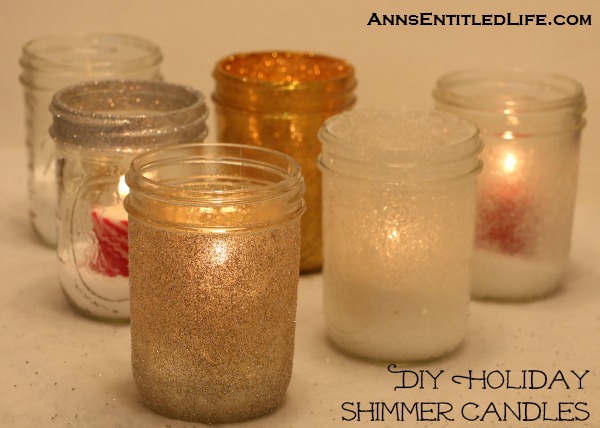
And here is the finished product. Now I took these photos in the dark, but my flash did cause them to light up a bit. Probably for the best.
If you are looking for an easy holiday project, this is definitely one to investigate. I was pretty happy with both the lit, and unlit results, and if you try this project I think you will be too!
Disclosure: the links in this post may be affiliate links.
● If you enjoyed this post, be sure to sign up for the Ann’s Entitled Life weekly newsletter, and never miss another article!
● For more Holiday posts on Ann’s Entitled Life, click here!
● Follow my Pinterest Christmas Decor board!
Stephanie K. says
These are really cute. I too have a large supply of these half pint jars and a good supply of votive candles; my 11 year old and I are so doing these this week! I think I may have a coupon for one of the craft places, but I do the same thing you do, go in for a few little things and come out with bags full of stuff I couldn’t resist. Oh well, it must be done 😉 Thanks so much for the idea!
Ann says
Good luck, Stephanie! I have a few more (super simple) crafting projects coming up, so I went over to Hobby Lobby Saturday to get a few things I needed.
That store is dangerous! O_o
They had a giant sale Saturday, so I could just not resist…. craft stores, the mother of all temptation!
Ann
Stephanie K. says
I know what you mean. I am not an impulse shopper anywhere else, but craft stores have EVERYTHING! This is the dialogue in my head, “Yeah, I can make that! Oh, this storage container will be perfect. These will make excellent stocking stuffers. Look at that decoration, I know just were it will go. These picture frames will be great gifts. Activity kits for rainy days, and they’re on sale!” I try to limit myself to a few times a year because I have no will power there, it’s like my shopping kryptonite.
Sarah Mueller says
So cute! I can’t decide if I like the glitter one better or the snowy one. I think even I could manage a project like this one 🙂 Thanks for the instructions!
Ann says
Believe me Sarah, if I can do it, anyone can!
Ann
Dorothy Boucher says
I love all these ideas, I am planning to do some this week for my mantel 🙂 can’t wait to see how they turn out 🙂 thanks for share
@tisonlym143