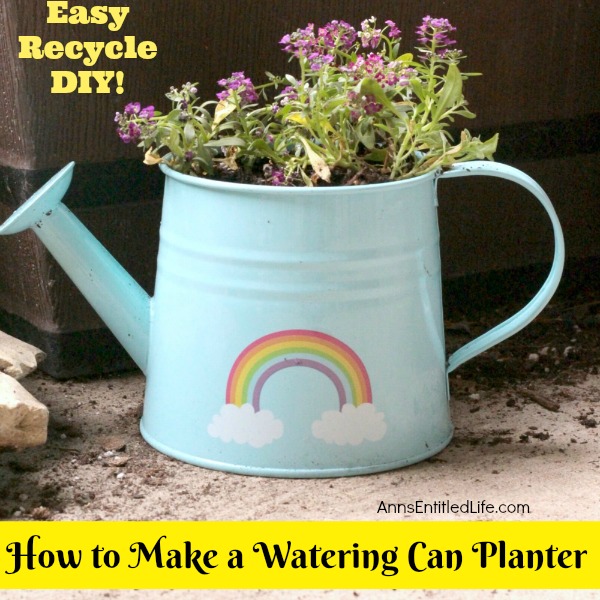
How to Make a Watering Can Planter
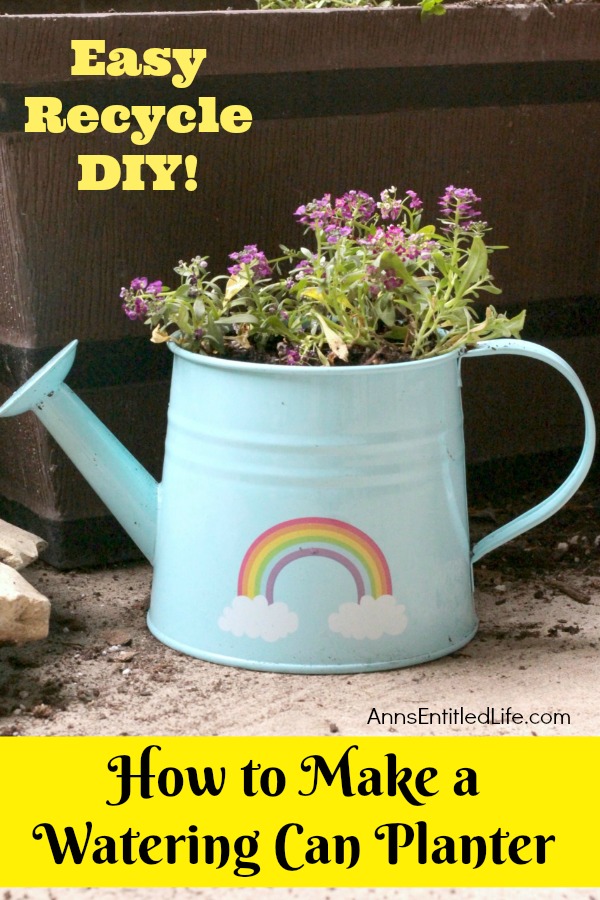
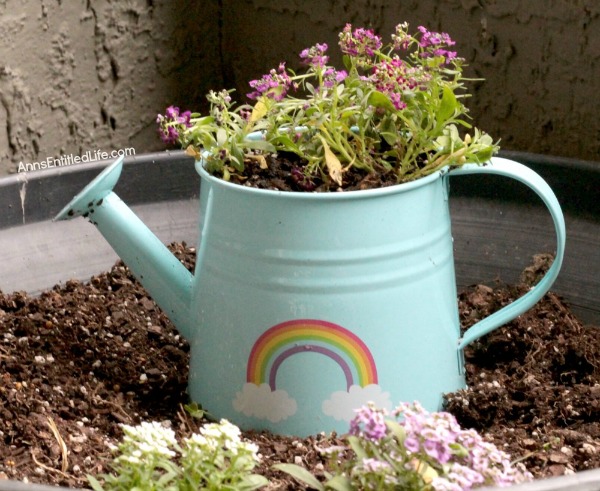
You will not believe how easy it is to transform a simple watering can into a planter for herbs, flowers, and other small plants. In just moments, transform your boring patio or yard into something amazing with the watering can planter!
This is a great recycle craft (upcycle craft?) if you have an old watering can laying about. You can use a small can (the one in this tutorial is small) a large can, or in-between! One size will be just right to fit on the deck with your patio furniture, inside your house on a windowsill or on the kitchen table, or simply in your garden as part of the garden art and decor!
A watering can planter is such an adorable way to keep pretty flowers and fresh herbs nearby at all times. Make a collection of different watering cans for some added whimsy!
If you do not have an old watering can handy and would like to purchase one to do this project, stop at your local Home Depot or nearest gardening center for a great selection!
Watering Can Planter Supplies:
● 1 Watering Can
● Drill
● Rocks, Broken Pottery, etc (for drainage)
● Potting Soil
● Gardening Hand Trowel
● Small Plants
● Tray (to catch water from watering if this is not set in your garden)
Watering Can Planter Directions:
● Make sure your watering can is free of debris and wash it with soap. If you are reusing an old watering can and had used it to mix with something besides water, this will remove any old residue that may harm your new plants. Not sure which plants to use? Well here are 75 Acid Loving Plants (from slightly acidic to OMG must have acid soil!) and 75 Alkaline Friendly Plants (from slight alkaline soil to very alkaline) to help get you started on your choices. Recognize that most potting soil is going to be closer to neutral, but read the package before deciding!
● Make a drainage hole in the bottom of your watering can using an electric drill (as always, read the manufacturer safety recommendations before using any power tool). This will help you not overwater your plants.
● Place a few rocks, stone, broken pieces of pottery in the bottom of your watering can (without blocking your drainage hole(s). This will also help promote drainage.
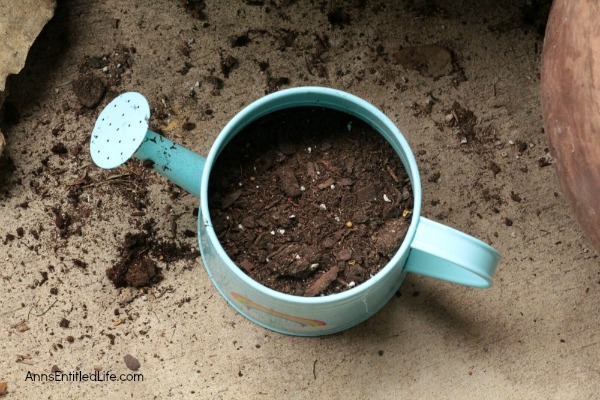
● Fill the watering can mostly full of soil.
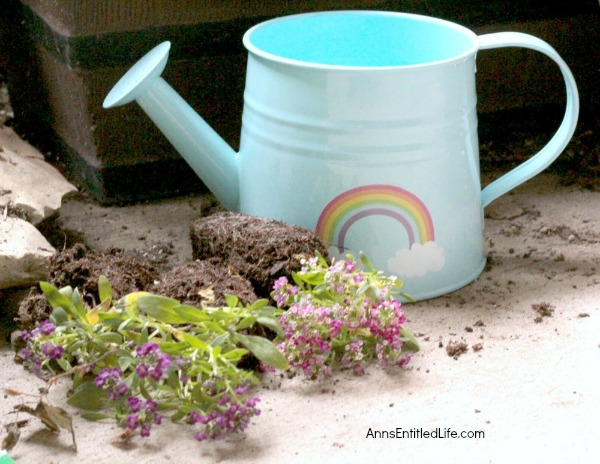
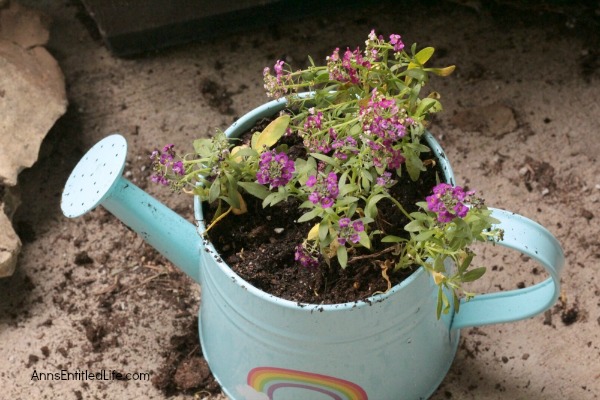
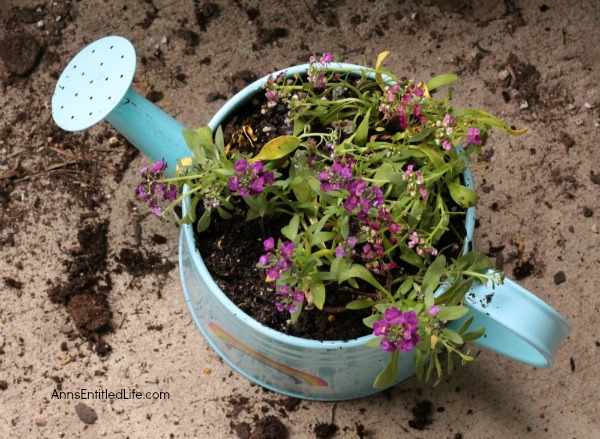
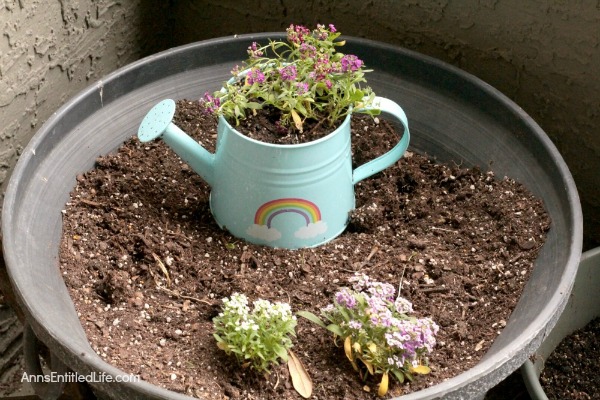
● Use the trowel to dig a hole in the center of the can for your plants. The flowers seen in this tutorial were broken into smaller sections and planted around the inside of the watering can (remember, a small can was used in this tutorial).
● Place a tray underneath your watering can to catch excess moisture from watering if you plan on placing your can anywhere other than in your garden.
● Water your soil with another watering can. Do not over-water even if you have a drainage hole in the bottom of your watering can.
● That is it! Place your watering can planter in a sunny spot or in the shade depending on what type of plants(s) you chose to grow. Make sure to check your can every day or two to see if it needs water as shallow containers dry out quickly.
● If you keep your watering can planter outside, when frost threatens, just take the watering can planter inside!
This is truly a simple and easy way to reuse old watering cans while adding a touch of garden art to your outdoor (or indoor!) garden.
● Disclosure: the links in this post may be affiliate links.
● For more Gardening posts on Ann’s Entitled Life, click here.
● For more Craft posts on Ann’s Entitled Life, click here.
● If you enjoyed this post, be sure to sign up for the Ann’s Entitled Life weekly newsletter, and never miss another article!
Leave a Reply