Easy DIY Halloween Glitter Witch’s Broomstick
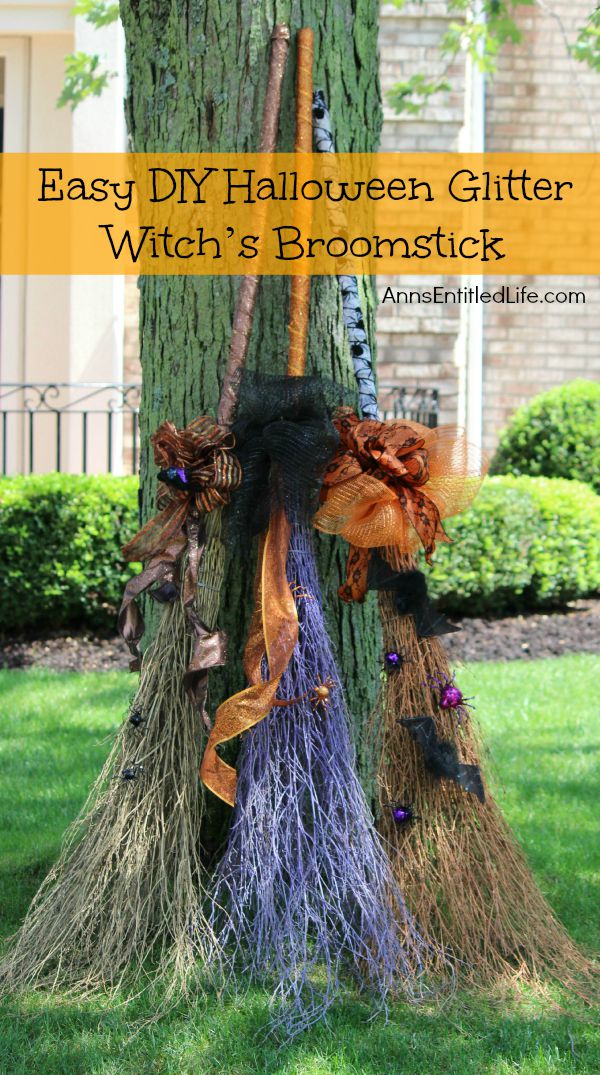
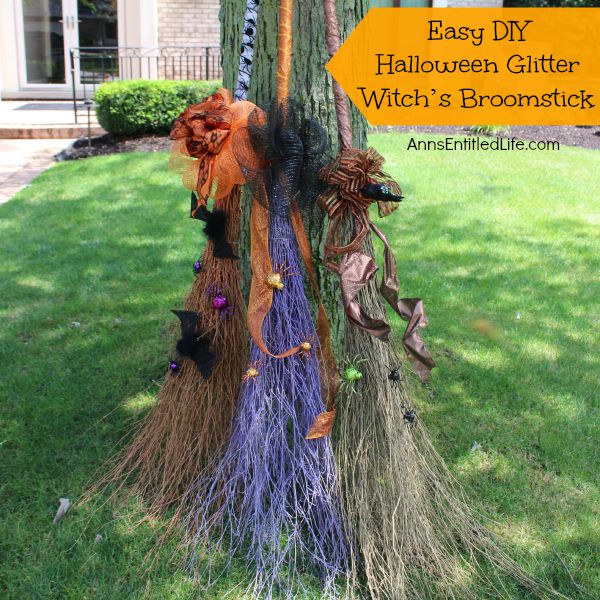
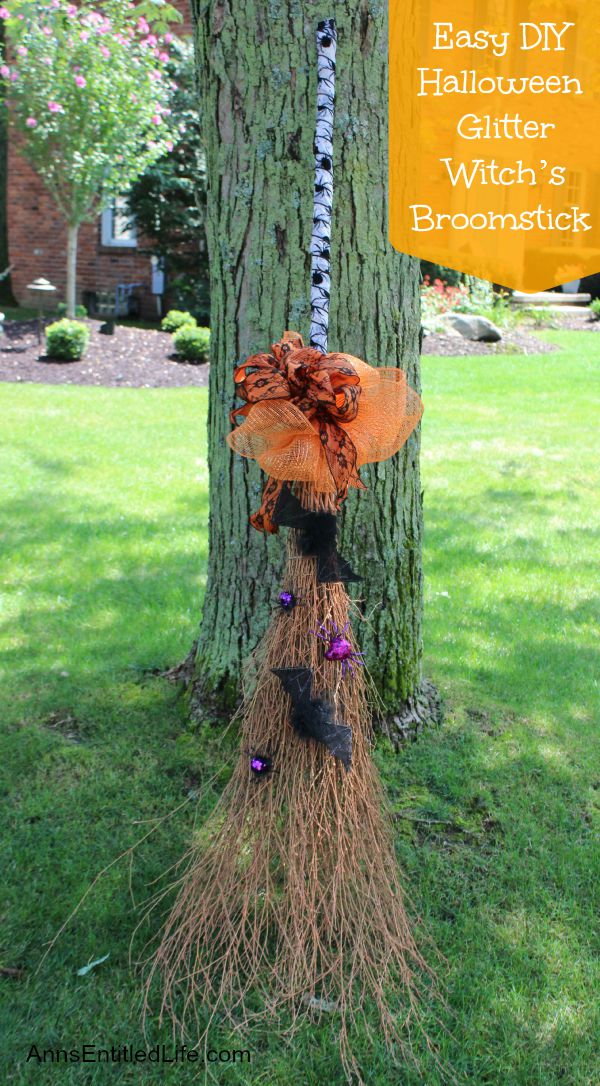
Simple and fun to make Halloween Witch’s Glitter Broomstick Tutorial DIY project. With just an hour of your time, you have a wonderful 6-foot-tall witch’s broomstick to make your Halloween decor or costume, complete!
As we approach Halloween, it has become time for me to think of the decor I’d like this year. While I do decorate for fall, I switch it up in October for Halloween. This year, my foyer is going to be spooktacular!
I saw a photograph some time back from someone who made a glitter witches broom with a regular corn broom. The photo was just that: a photograph. It did not lead to anything with directions. And while the corn broom was super cute, it wasn’t quite what I wanted for my foyer Halloween decor. I wanted an “authentic” witch’s broom!
Of course, I looked through all the costume shops, places that sold holiday decor, and other usual suspects for a witch broomstick, but they were none to be found at a reasonable price that were over 3 feet tall. All I could think of is what kind of witch only uses a 36-inch broomstick? One that can shrink herself with magic?
I wanted a 5-foot or 6-foot tall broomstick, so I googled and googled and found a few handmade creations on Etsy – for $50. That was too rich for my blood considering my plans for said broomstick. I then asked Hubby to help, and he went on a mission too.
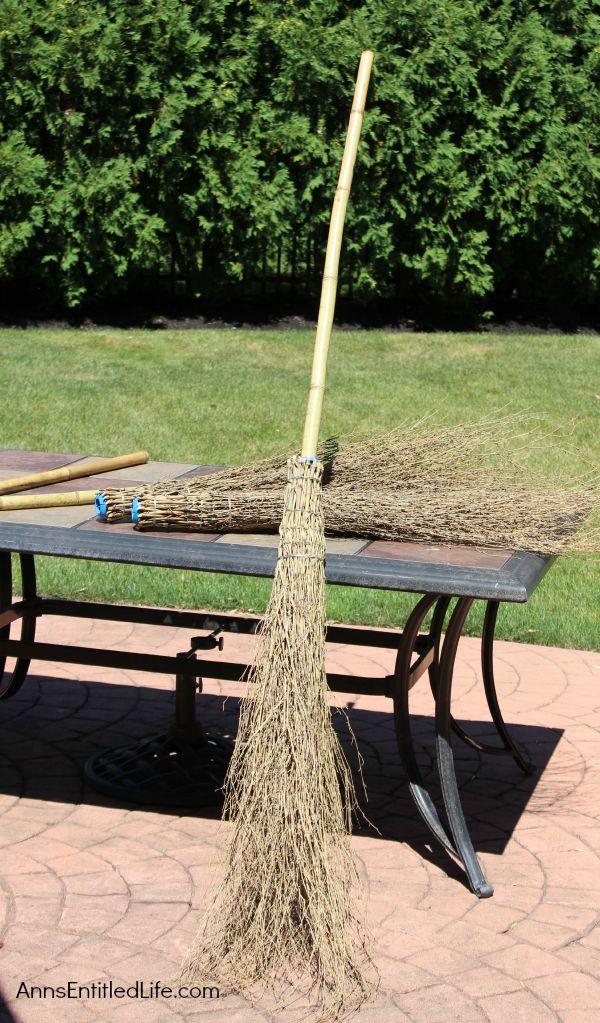
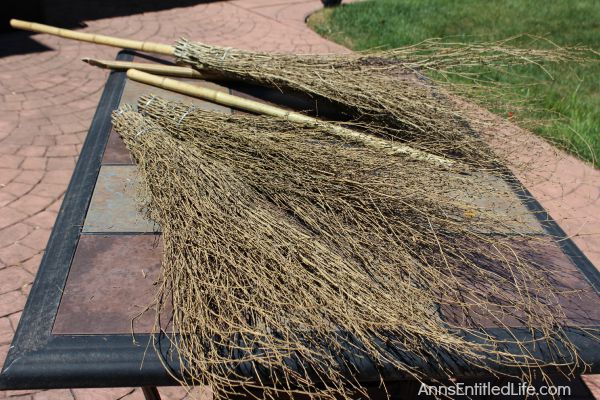
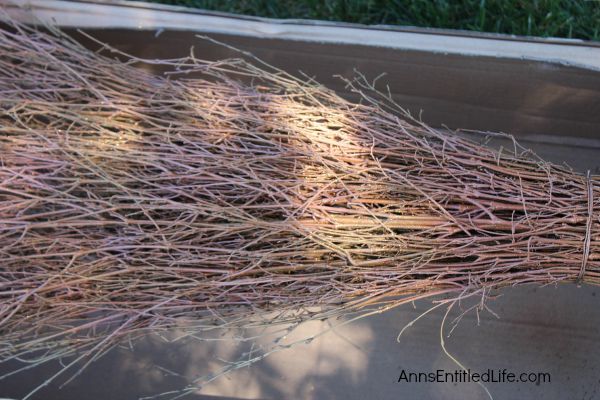
Eventually, I found these awesome cobweb brooms at Smith Brothers for $14.99 each! Sold!
Update: It is now eight years later, and Smith Brothers no longer exists (well, not the place I bought from). Here are a few spots I found online that sell cobweb brooms, besom broom, or witch’s brooms:
● Check Etsy for cobweb brooms
● Check Alibaba – they had a few that “could” work, along with the newer-type cobweb brooms that definitely will not work.
● Allen Booth
● Appalachian Cobweb Besom Brooms
● Check your local Amish or Mennonite store
● If all else fails, you can make your own cobweb broom!
● In comments, see the photo where Karrie made tall brooms from cinnamon brooms!
So now how to color the bamboo in the broomstick? Well, with glitter spray paint, of course! I had to decide between Rust-Oleum Glitter Spray and Krylon Glitter Blast.The reviews for both were underwhelming, the Krylon having some spectacularly bad stories.
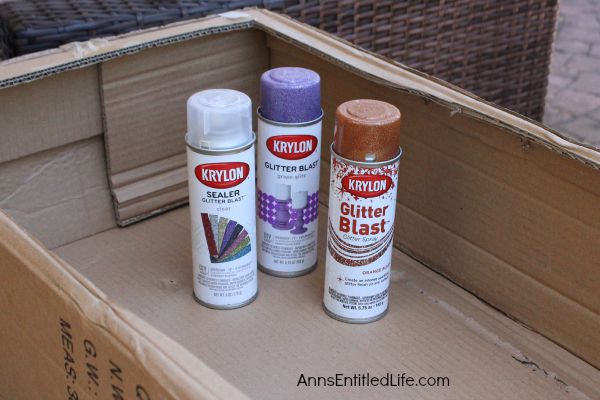
In the end, I did go with the Krylon Glitter Blast because I could get orange. I also used the Grape Glitz for my purple broom, and the glitter sealing spray.
Materials I used to make 1 Witch’s Glitter Broom:
● 1 Cobweb Broom
● 2 cans Krylon Glitter Blast – I used Krylon Orange Burst that I picked up at a local hardware store, and Krylon Grape Glitz that I purchased at Amazon (where it was cheaper).
● 1 Krylon Glitter Blast Clear Sealer (I used one can for both brooms, and still have leftover)
● Glue Gun
● Glue Sticks
● Ribbon (I used 2 1/2″ x 15″ of ribbon to cover the stick and allow a drape. You also need enough ribbon for a large bow.)
● Paddle Wire
● Wire Cutters
● Scissors
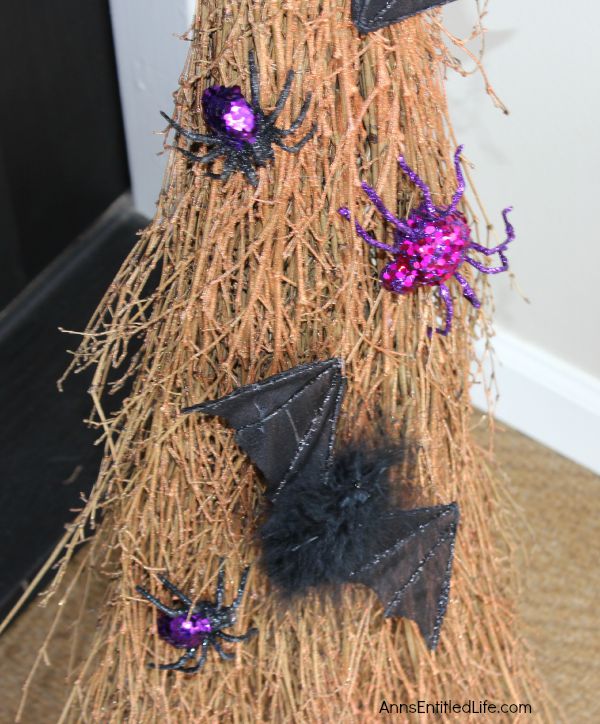
● “Creepy” Decor. I bought the bats, spiders and bird used to decorate by broomsticks at Michaels. The clips on the spiders made it super easy to reposition them until I found the placement I liked best!
Easy DIY Halloween Glitter Witch’s Broomstick Instructions:
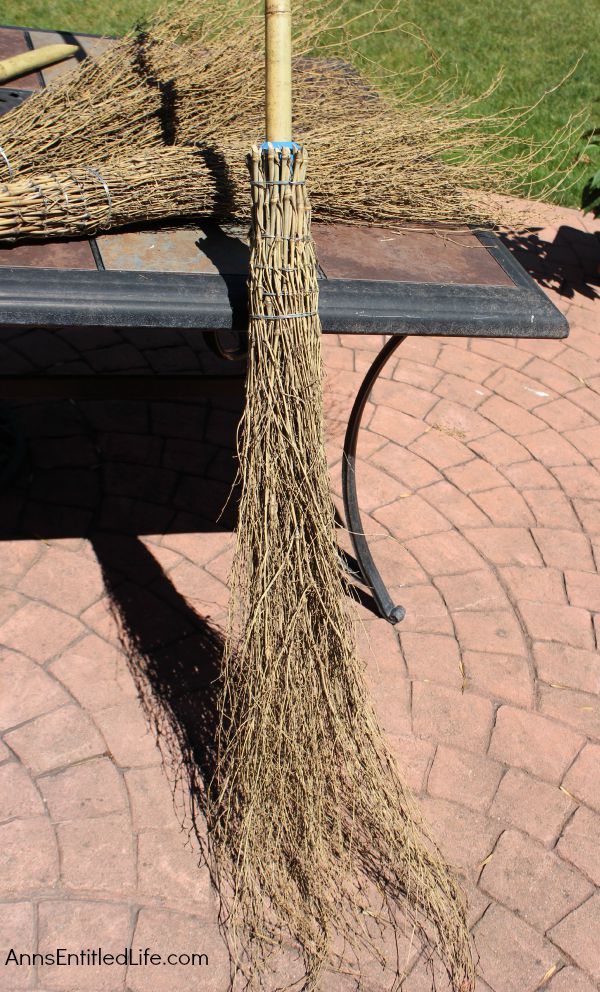
After opening up the box of cobweb brooms, I assembled one by inserting the handle, turning it upside down and pressing. That was it. I heard a “click” and knew it was attached.
I did not assemble the other two brooms. I planned on keeping one natural just in case I decided to use it… as a broom! The two I did not immediately assemble due to plans for painting the bamboo bristles – I did not want to get paint on the pole.
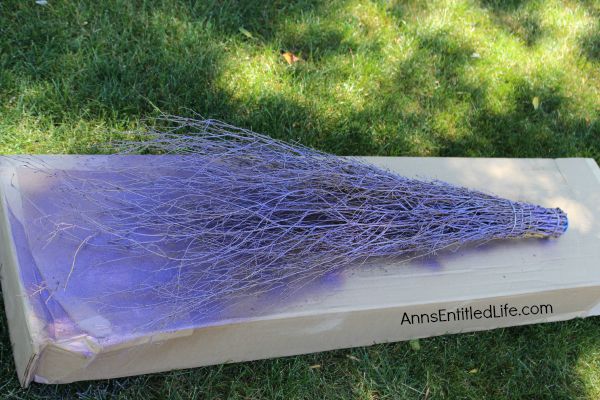
I painted these over the grass – I was concerned about overspray and ventilation, so the painting was done outside. I chose to work on the grass because any overspray would be gone with the next grass cutting! I placed down two cardboard boxes… one for each broom base.
I shook the Krylon Glitter Blastfor 2 minutes, then, with long even strokes, sprayed. I used Krylon Orange Burst on one broom and Krylon Grape Glitz on a second broom.
I then waited the 20 minutes the can suggested for dry time. I turned the broom over, and sprayed the other side. I also sprayed the sides.
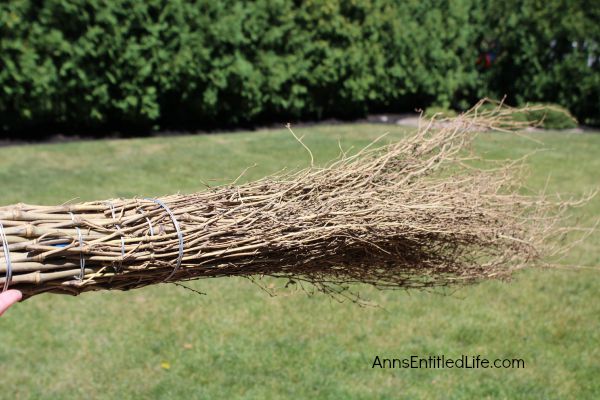
I used two cans of Krylon Glitter Blast for each broom. There were a lot of bamboo bristles in these!
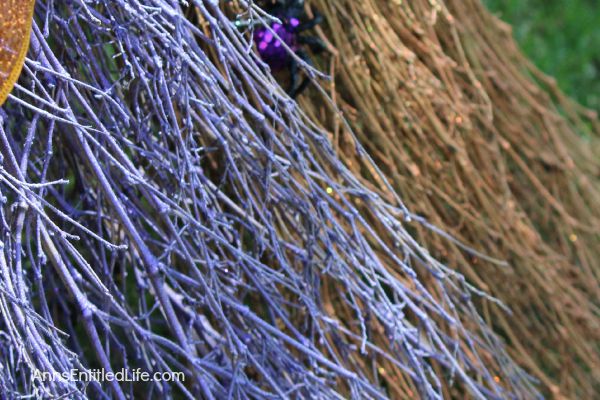
If I had left the glitter paint it as is without the sealer these would have been the glitteriest, shiniest, most sparkliest brooms you had ever seen! But, I was worried about the glitter dropping off at some point, so I sealed the broom bristles. It is still glittery, but not as glittery.
Note: after finishing these broomsticks other colors I think would look great are black or green. BUT, I have not used either so can’t be 100% certain. I like the purple one I did best because it is so vibrant (and why I have a feeling green would look fantastic). However, the orange shows better in the sunlight.
I waited a full day for the paint to dry before attaching and decorating the handles.
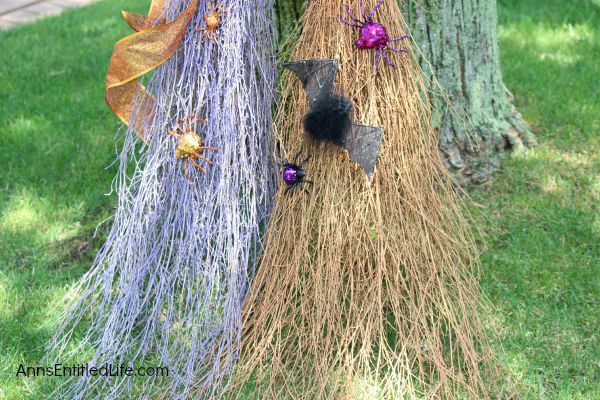
You can see some sparks in that photo. This is where my photography skills failed me. These sparkle and snap in the sunlight, even after the sealer has been applied!
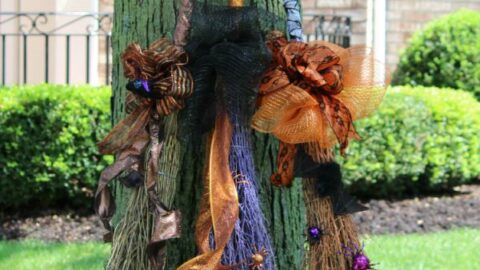
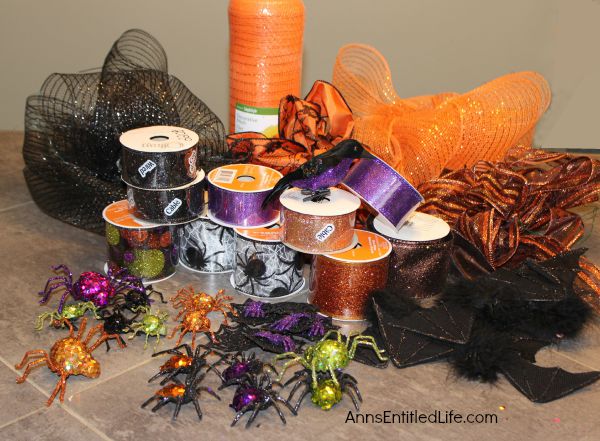
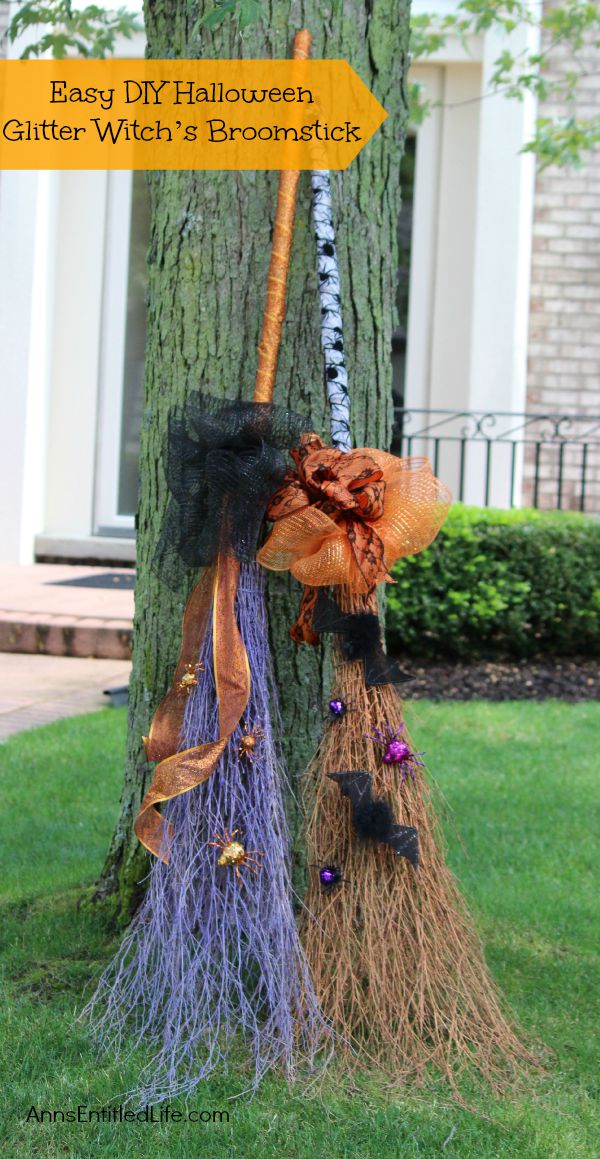
This was my collection of “creepy” decorations and ribbons that I had available to choose from. I used 15 feet of 2 1/2″ ribbon to cover the stick and allow a drape. I paid special attention to covering the blue where the handle attached to the bristles wrapping that several times to conceal it. I also used ribbon and paddle wire to make a bow (and bought one). The bats were hanging bats that I cut the hangers off of and attached to the bristles with hot glue. The spiders had clips on the back. Highly recommend the clips!
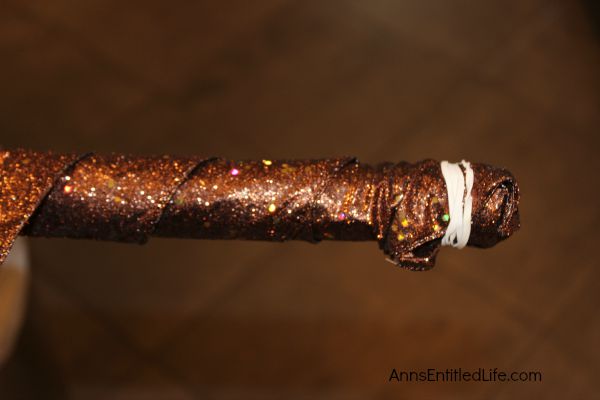
I did attach each handle before decorating it. (I was afraid of knocking off the ribbon when I inserted the handle into the base after decorating it, so attached before decorating.) Once I attached the handle, I wrapped my chosen ribbon around the shaft. I started at the top by using a rubber band to hold the ribbon in place. I hot glued it last. Every 4-5 turns I put a dab of hot glue on the ribbon and shaft to hold it in place. I did not do this on the broom I “might” use, and there is a real difference in ribbon-gap and stability. Still, if I ever plan on using that non-glittered broom as a functioning broomstick, I had to be able to get the ribbon off the handle!
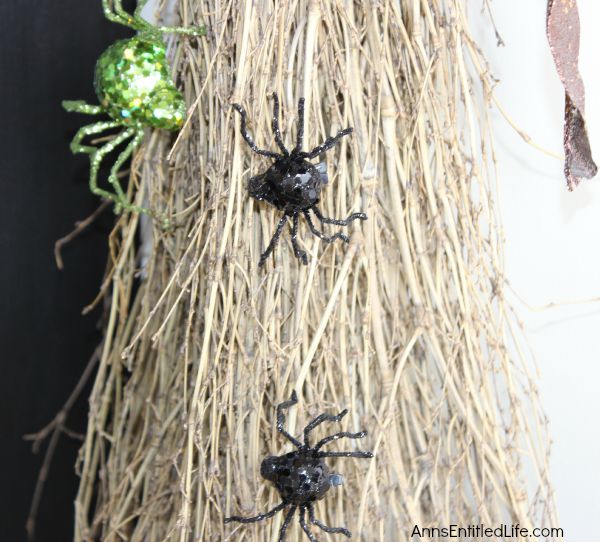
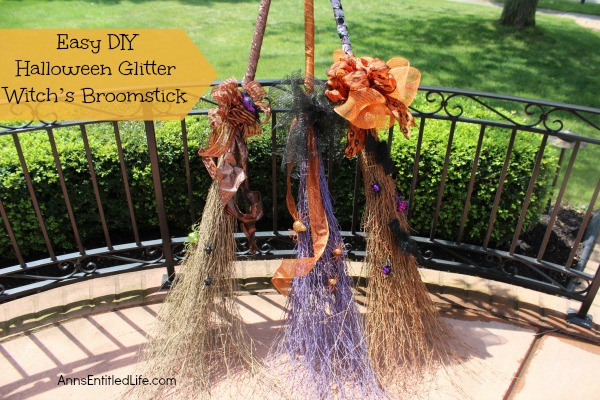
Once the ribbon was attached, I added a bow (with wire), and clipped on some creepy crawlers. I hot glued a few bats to one broom, and wired a dark bird to a different broom.
That was it!
The work time on all three brooms was approximately two hours. This was a fast and easy work project, although it DID take some time to allow the paint to dry. If you wanted to do this yourself, figure 20 minutes in between paint coats and sealer coat, and then an hour after you can work on it to be sure it is completely dry (I still recommend waiting overnight).
Decorating took about 20-30 minutes per broom. Turning the ribbon around the handle without getting it stuck was the most time consuming, and that took under 10 minutes.
If you are looking for a simple project to dress up your Halloween decor or Witch Costume, give these Glitter Brooms a go! They are so easy, unique, and pretty!
Easy DIY Halloween Glitter Witch’s Broomstick
Easy DIY Halloween Glitter Witch’s Broomstick; simple and fun to make Halloween Witch's Glitter Broomstick Tutorial DIY project. With just an hour of your time, and you have a wonderful 6 foot tall witch broomstick to make your Halloween decor, or costume, complete!
Materials
- 1 Cobweb Broom
- 2 cans Krylon Glitter Blast – I used Krylon Orange Burst that I picked up at a local hardware store, and Krylon Grape Glitz that I purchased at Amazon (where it was cheaper).
- 1 Krylon Glitter Blast Clear Sealer (I used one can for both brooms, and still have leftover)
- Glue Sticks
- Ribbon (I used 2 1/2″ x 15″ of ribbon to cover the stick and allow a drape.
- Wire Ribbon Bow
- Paddle Wire
- "Creepy" Decor
Tools
- Glue Gun
- Wire Cutters
- Scissors
Instructions
- If your brooms come unassembled, do not assemble before painting.
- Place the straw end of your broom in a well ventilated area. Cover the ground with cardboard, and up the sides. If spraying outdoors, spray over the grass.
- Shake the Krylon Glitter Blast for 2 minutes, then, with long even strokes, spray the bristles of the broom. I used Krylon Orange Burst on one broom and Krylon Grape Glitz on a second broom.
- Wait 20 minutes for the broom to dry.
- Turn broom over, and spray the other side, wait 20 minutes until dry.
- Spray the sides of the broom bristles if you did not cover them yet. Wait 20 minutes for the paint to dry.
- Spray with sealer. If I had left the glitter paint it as is without the sealer these would have been the glitteriest, shiniest, most sparkliest brooms you had ever seen! But, I was worried about the glitter dropping off at some point, so I sealed the broom bristles. It is still glittery, but not as glittery.
- Allow the paint and sealer time to dry completely.
- Attach the broom handle if your brooms came unassembled.
- Wrap ribbon around the shaft of the broom handle. Hot glue every few turns to keep the ribbon in place.
- Add a write bow between the shaft and the broom head.
- Attach creepy spiders, web, black cat, bats, and other decor to the broom straw.
- Display as desired.
Notes
If you can find clip on creepy decor, it works great!
Recommended Products
As an Amazon Associate and member of other affiliate programs, I earn from qualifying purchases.
-
 2 Pack Halloween Stake Decor, Outdoor Garden Solar Light Metal Ghost Hand Yard Stakes with LED Lights Waterproof for Graveyard Décor Home Lawn Pathway Halloween Holiday Fall Decoration
 -
 Halloween Decorations, 24 Inch Halloween Inflatables Eyeball with Built-in Battery Powered Remote Control RGB Color Changing LED Light for Indoor Outdoor Yard Party Halloween Decor
 -
 6 Foot Tall Halloween Inflatable Stacked Figures Totem Pole Ghost, Bat, Pumpkin and Cat Garden LED Lights Outdoor Indoor Holiday Decorations Blow up Yard Lawn Inflatables Home Family Outside Decor
You might also want to make these terrific Halloween decorations:
● Homemade Halloween Witch’s Cauldron – this looks perfect with the brooms!
● Homemade Halloween Witch’s Cauldron Wreath – this is the companion piece to the cauldrons.
● Halloween Deco Mesh Spider Wreath DIY – takes 30 minutes to make!
● For more Halloween posts on Ann’s Entitled Life, click here.
● For more Craft posts on Ann’s Entitled Life, click here.
● If you enjoyed this post, be sure to sign up for the Ann’s Entitled Life weekly newsletter, and never miss another article!


Stephanie K. says
OMG!!! So freaking CUTE! You are awesome. I want one (or three). I can’t even believe how adorable these turned out.
Ann says
Thanks, Stephanie! I was SO pleased! Do one. Super duper easy!!
Anita says
Me and my daughter ordered 2 of these brooms. They are exactly as you described, but I was confused about the shipping charge. I understood by looking at their shipping chart that shipping on 3 brooms would be $8.00. Was that $8 on each broom, or $8 for all three?
Ann says
Anita, the website says $8 additional shipping (for the large box size) for 1, 2 or 3. If they charged you an extra $8 each, I would definitely contact them.
Ann
Anita says
Thank you so much! My daughter said that it was $8 each, but it didn’t look like that was the case to me. I will call them, and thank you again.
Anita
Ashley says
Where do you find these cobweb brooms? I’m finding all types except this style. Thanks.
Anita McGrew says
I got mine from a place called Dover Saddlery. They don’t sell them anymore. They are called bamboo brooms, you might try googling that. I wish I could have helped you more!
Ann says
Hi Ashley,
Making your own is an option, so is buying them on etsy. I have found them by doing a search, but have not found anywhere that is cheap (like the ones I bought years ago).
I want to show you this picture of brooms Karrie sent me last week. She decided to use cinnamon brooms she found in the grocery store, and worked from those. These are simply amazing!! She took them apart, and then put them back together on the witch broom.
Ann
Katy says
I know this post is from a few years ago, but I’m wondering about these broom handles – these are different than yours but are awesome, so wondering if you know where Karrie got them?
Ann says
Hi Katy,
She said she found them in her local grocery store!
Here are a few places that may have brooms:
Spirit Halloween
Grandin Road
Broom company (very expensive)
Good luck!
Ann
Didi says
These are KILLER, KILLER I say!! I love your step by step, and I might just attempt to make one. I know!! 🙂
Ann says
Thanks Didi! They really are easy to make. Try it, you’ll like it!
Ann
Erlene says
That’s such a great transformation of a twig broom. The addition of the Halloween ribbon and decorations really make the broom special. I hope you can come and share this on the Halloween Spooktacular Link Party.
Rose Garden Malevik says
woow. I think that is a really great job 🙂
You are welcome to join
SATURDAY SHOW OFF
Hugs from Håkan in Sweden
Mary says
Thank you! Thank you! Thank you! I’ve been trying to put together a “Broom Shoppe” for Trunk or Treat this year, but, like you, I could on;y find tiny, cheap brooms or really expensive ones. I’ve been getting really discouraged. And now, BAM! I found a link to you on Pinterest. What a relief! As a bonus, you explain your instructions really well. I appreciate that, too. Am ordering from Smith Brothers as soon as I finish here. So cute! Wow!
Ann says
I am so glad you liked it, Mary!
Ann
Beverly says
I love your brooms. They turned out so adorable.
Thanks for sharing at Wake Up Wednesday,
Bev