Easy DIY Upcycled Tray Project
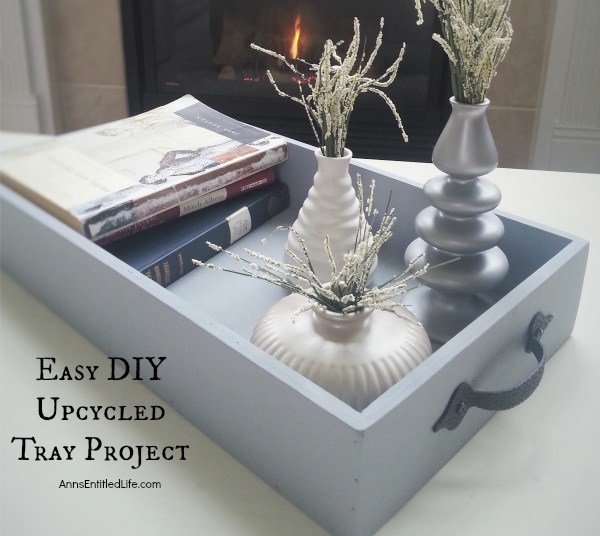
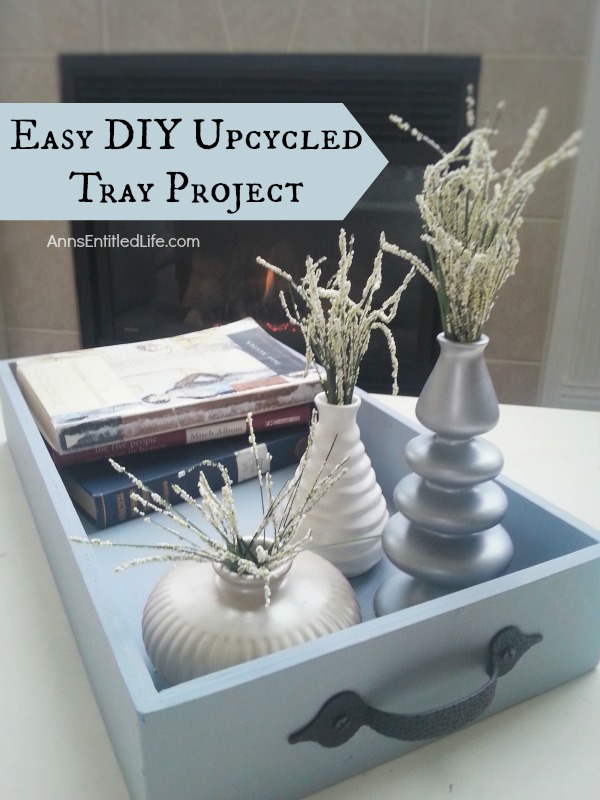
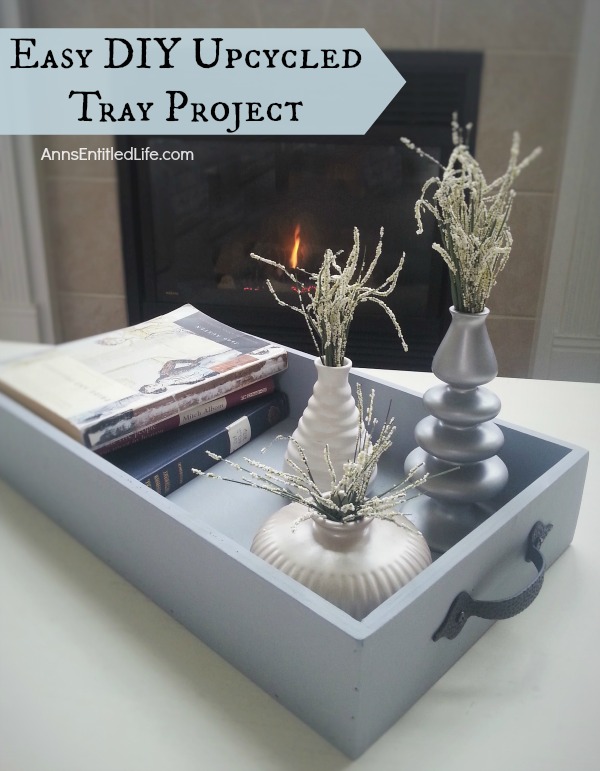
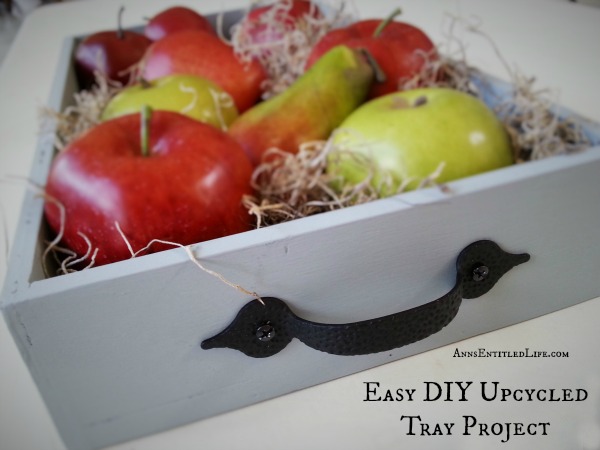
Simply, quickly and inexpensively transform an old (or new) tray into a fabulous, multi-use, accent decor piece with these simple step by step instructions.
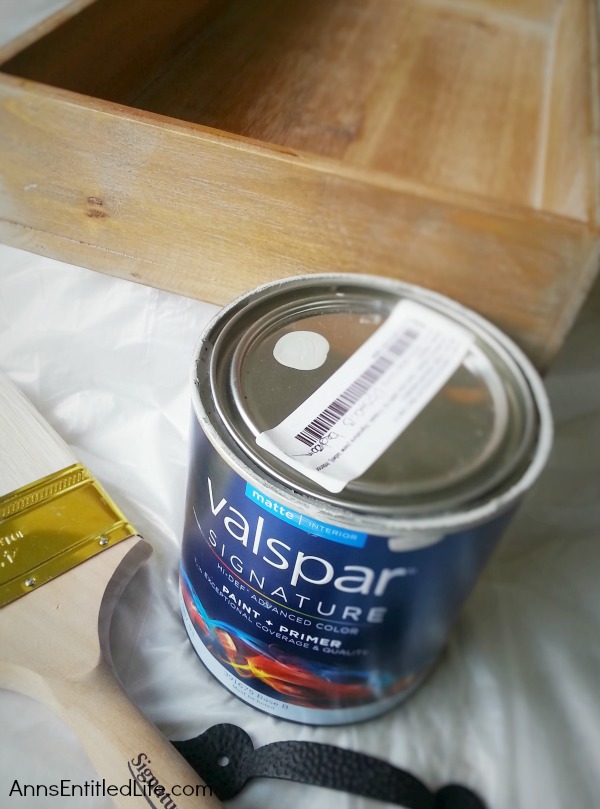
Easy DIY Upcycled Tray Project Supplies Needed:
● Wooden Tray – this can be an old tray laying around the house, or a brand new unfinished tray
● Drawer Handle – make certain there are matching screws if the handle screw in from the front
● Matte Paint – choose a color that matches your decor, a holiday or is generic enough to give as a gift!
● Paint Brush – a 1″ to 2″ paint brush is a good size. You will need to make certain you can get into the corners.
● Drill and drill bit – to predrill the holes for the drawer screw handles
● Screwdriver
● Pen or Pencil
● Sandpaper
● Drop Cloth
Easy DIY Upcycled Tray Project Supplies Instructions:
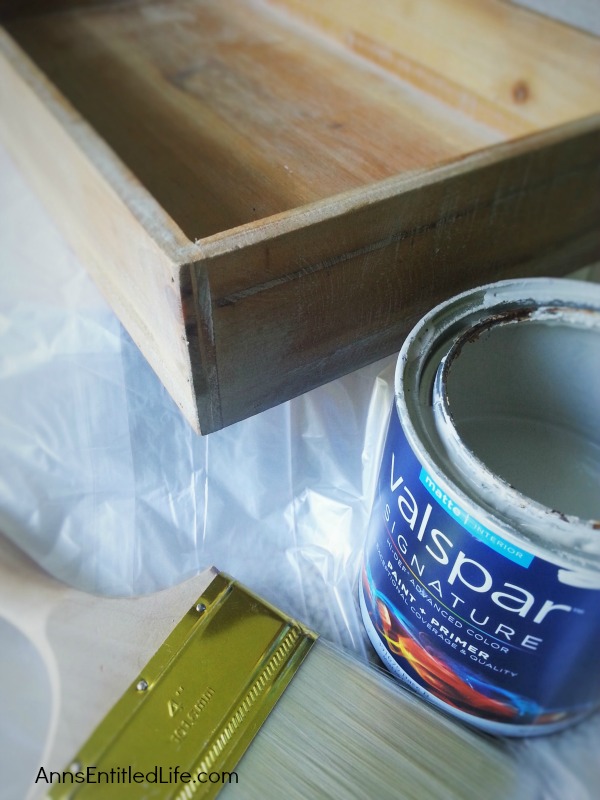
● Make sure the tray is clean and dry. Use your sandpaper to scuff up any gloss on a finished tray, or to knock off the edges on an unfinished tray.
● Paint your tray. Line the area with a drop cloth. Use two coats of paint on unfinished wood. Depending on how dark an old, finished tray you are reusing may be, you may need an additional coat of paint (or primer).
● Allow the paint to dry in between coats.
● Once your finished paint coat is dry, you will be applying your decorative drawer handle.
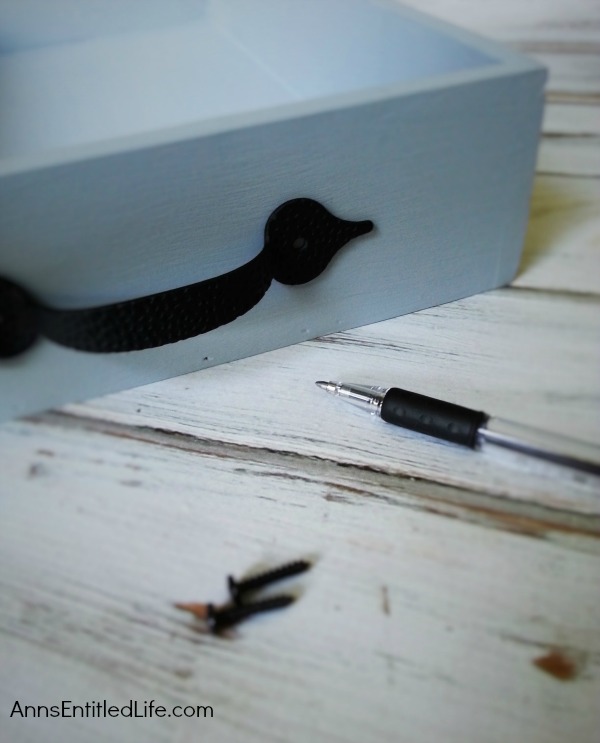
● Place the handle where you would like it on the tray. Now, using a pen (or pencil), mark the holes. Just draw a circle filled in where the empty hold spot is so you know where to predrill your holes for attachment.
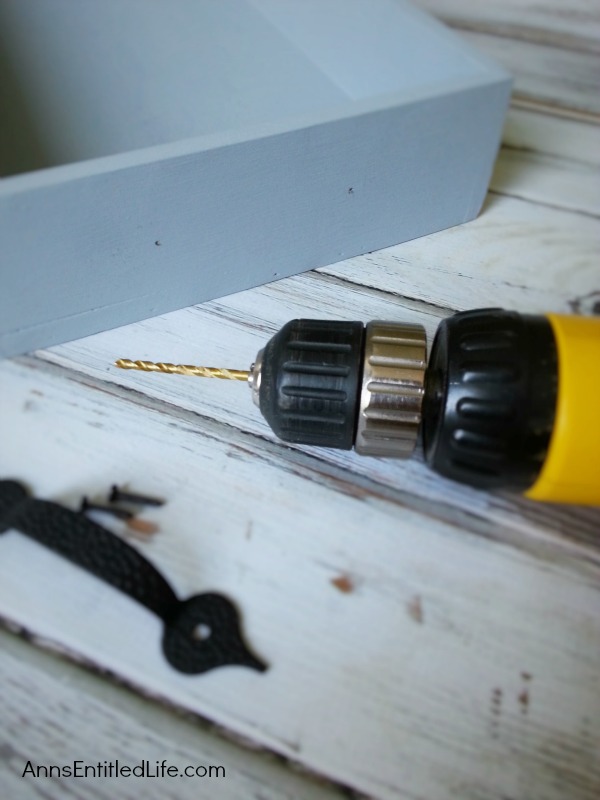
● Drill at the two points you marked with the pen with the drill bit, at just enough depth to get the screws started; do not drill all the way through.
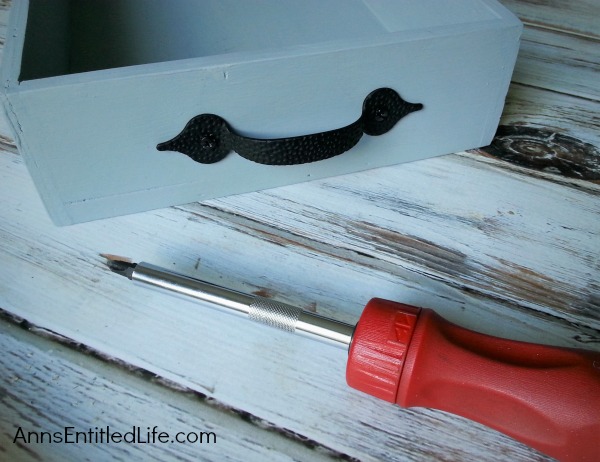
● Align the decorative drawer handle with the drilled holes and use your screwdriver to screw the screws into the drilled holes to secure the handle.
● You can line your tray with contact paper if you like, but it is not necessary.
That’s all there is to it!
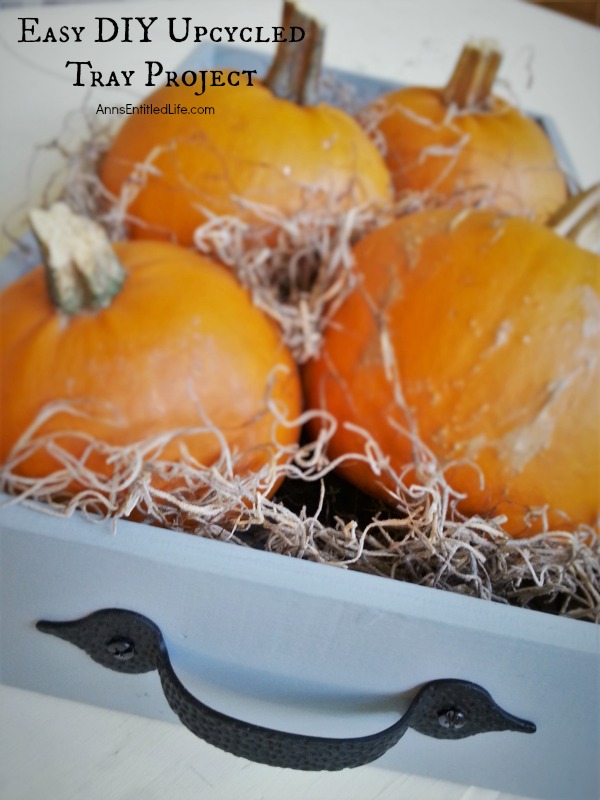
This is an easy DIY craft project that is a great way to dress up seasonal decor (pumpkins, pine cones, flowers, dried potpourri), stack books, vases or other knickknacks, or to dress up a gift you are giving to someone.
● Disclosure: the links in this post may be affiliate links.
● For more Craft posts on Ann’s Entitled Life, click here.
● If you enjoyed this post, be sure to sign up for the Ann’s Entitled Life weekly newsletter, and never miss another article!
Tiffany says
Great DIY project! I have a sort of obsession with trays, and I always include them in my decor. This tutorial will be a nice addition to my DIY Pinterest board. Thanks for sharing with us the Merry Monday Link Party! Hope to see you again on Sunday night for another rockin’ party! :0)
Sagan says
So beautiful! Pinning to try it another day 🙂 I really like how much you could do something different with the tray at various times of the year and as the seasons change.
bonbon @ Farmhouse 40 says
Love this tray. So many pretty ways to use it throughout the year. Pinning and sharing. Thanks for partying with us at Inspire Me Mondays…..I am featuring your tray as one of my Favs this week. Hope to see you again this Monday. Have a great day!