BOO-Tiful Halloween Wreath
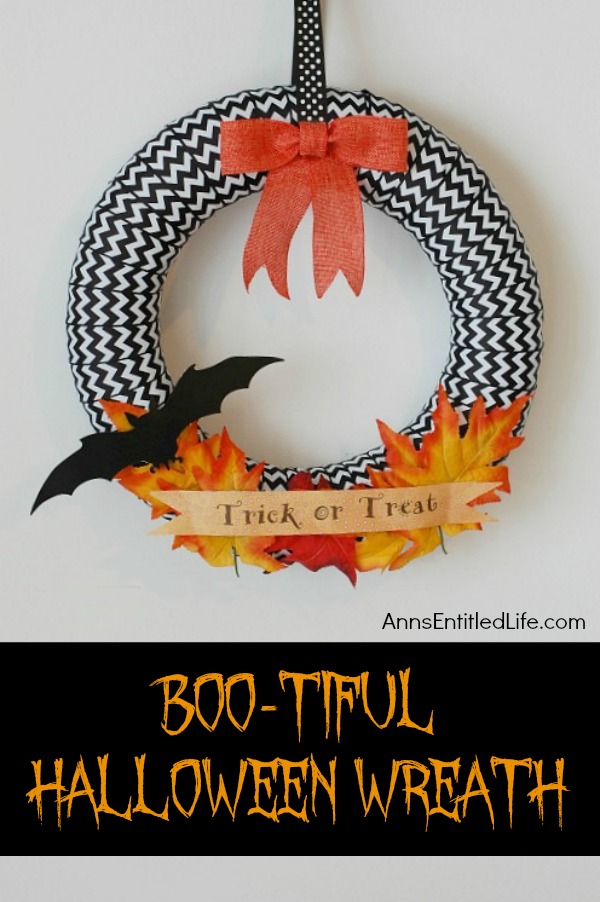
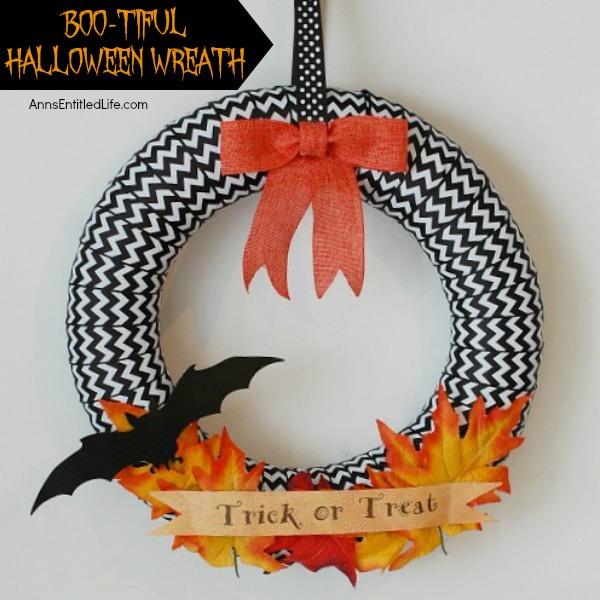
While this beautiful DIY Halloween Wreath will not scare anyone, it is lovely and stylish Halloween decor. Hang this Halloween wreath on your front door, side door, over a mantel – anywhere you place seasonal wreath decor. These easy to follow step by step instruction tutorial will have you completing this BOO-Tiful Halloween Wreath in no time flat!
To make the BOO-Tiful Halloween Wreath, you will need these materials. The step-by-step instructions follow. This is really a cute one! I hope you enjoy your BOO-Tiful Halloween Wreath.
BOO-Tiful Halloween Wreath Materials:
● Styrofoam or Straw Wreath
Form – used in this tutorial is a 14″ wreath – but a 12″ wreath would work just as well.
● Black & White Chevron Ribbon – 10 yards
● Black Ribbon with White Polka Dots
● Orange Burlap Ribbon
● Fake Fall Leaves
● Orange Scrapbook Paper
● Mod Podge
● Foam Brush
● 9″ Cardboard Bat – used from these Halloween Silhouettes Set
● BBQ Bamboo Skewer
● Glue Gun
● Glue Sticks
● Scissors
● Tape Measure
● PDF file of “Trick or Treat” (or use Microsoft Word’s AR Hermann font in size 72)
BOO-Tiful Halloween Wreath Instructions:
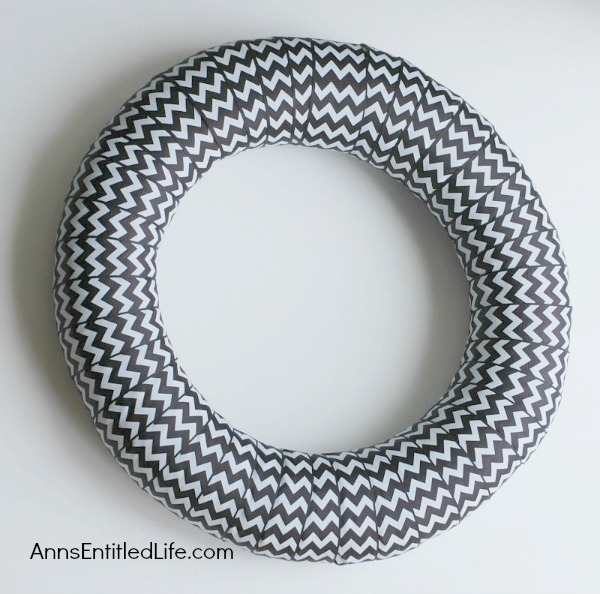
● Take your wreath, either a Styrofoam or straw one, and wrap and cover it with your black and white chevron ribbon. You should use exactly 10 yards when covering a 14″ wreath.
● Use your hot glue gun to secure the ribbon in place.
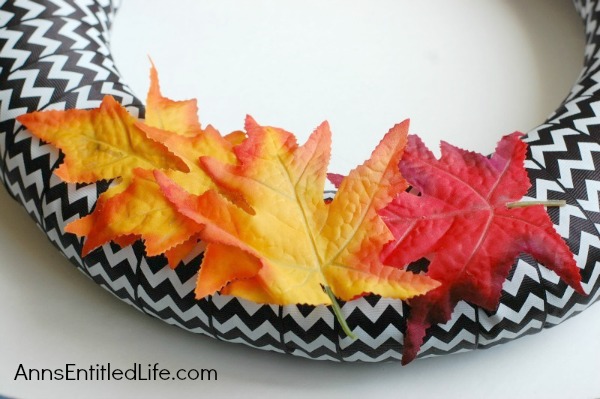
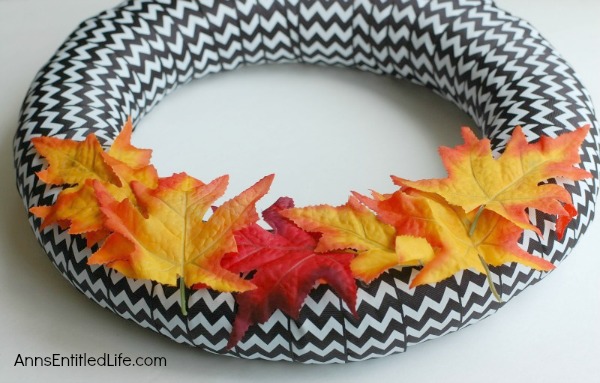
● Take 7 fall leaves and lay them out on the front, bottom of the wreath in a color pattern you deem pleasing (this is all a matter of taste!)
● Hot glue them onto the wreath.
● Take your orange scrap book paper, and trim to a 8X11″ sheet of paper if needed. Then print the “trick or treat” PDF file onto the paper. Trim the paper so it is 1 1/2″ wide and cut out “V” shaped notches at the end so it looks like a ribbon.
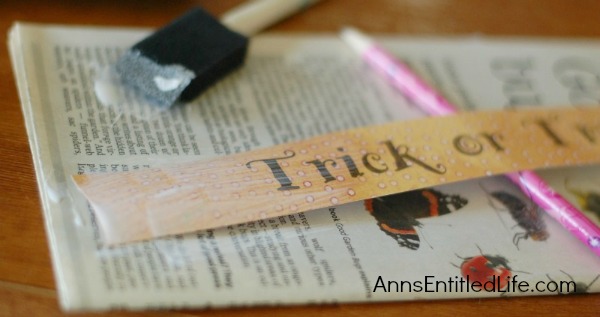
● Grab your foam brush and paint on a coat of Mod Podge over the top of the “Trick or Treat” paper.
● Place a few pencils under the trick or treat paper so it won’t stick to the newspaper (or whatever surface you have it on) while it is drying.
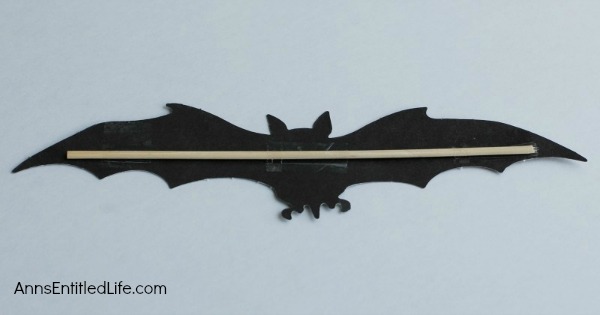
● Take a 9″ long black cardboard bat from the Halloween Silhouette kit and one of the bamboo skewers. Break off a skewer end so that it is about 8.5″ long. Securely tape or glue that onto the back of the bat. Now the bat will be a bit more sturdy when you glue him onto the wreath.
● Hot glue on the dry “trick or treat” paper ribbon over the leaves that are on the wreath.
● Hot glue on the bat to the wreath just off to the side of the “trick or treat” paper ribbon.
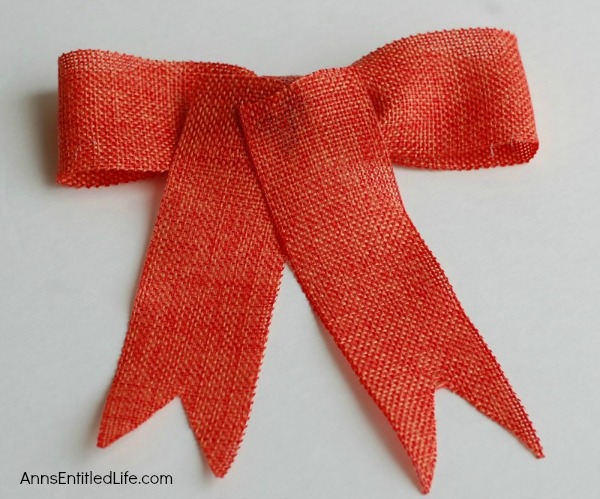
● To make the orange burlap bow:
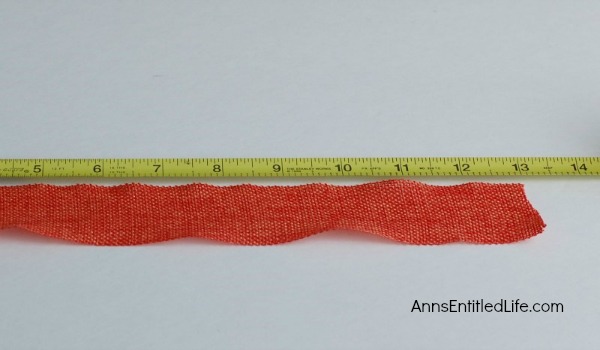
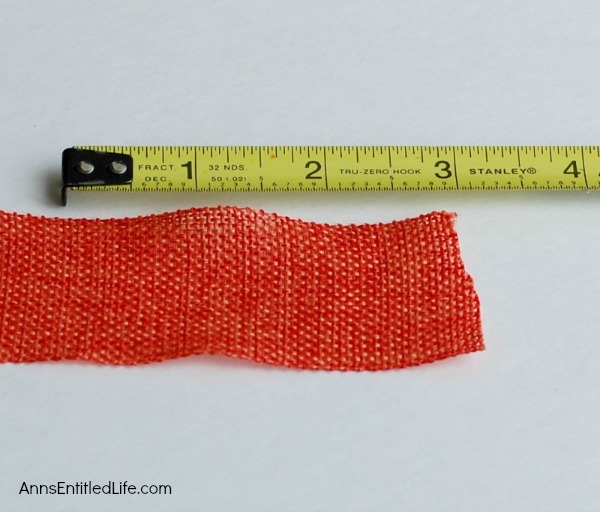
● Cut one 13″ strand, one 3″ strand and (2) 5″ strands of orange burlap ribbon.
● Use the ends of a pair of scissors or a Popsicle stick to hold the ribbon when hot gluing the ribbon together so that your skin is not touching the hot glue.
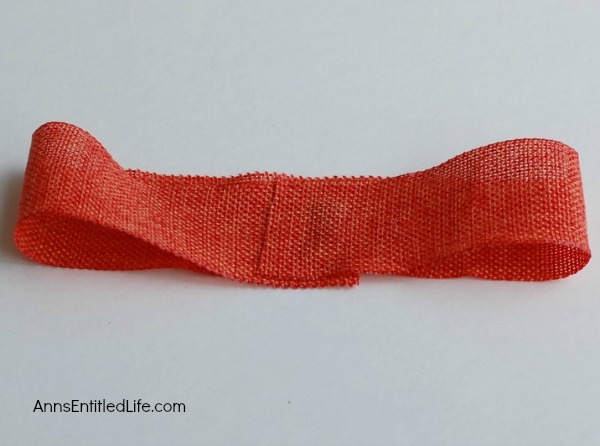
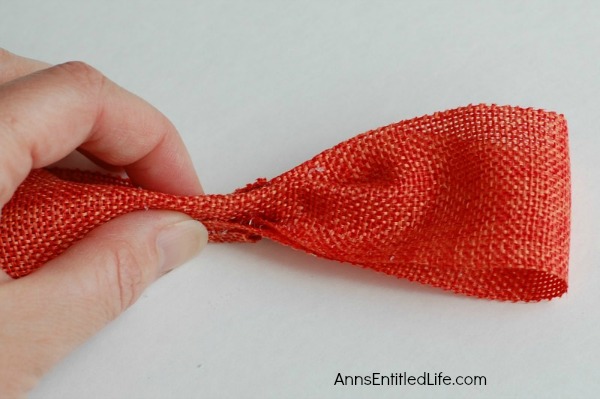
● Take your 13″ strand of orange burlap and wrap it into a loop and hot glue it together. This will form the top of the bow. You need to pinch in the middle and make a “M” shape and glue that together.
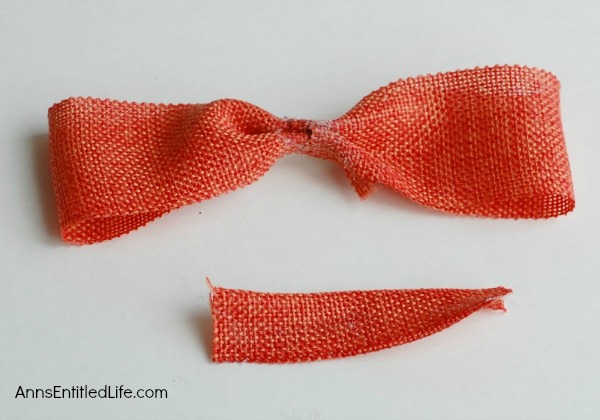
● Now take your 3 inch strand and fold it in half the long way and hot glue that together.
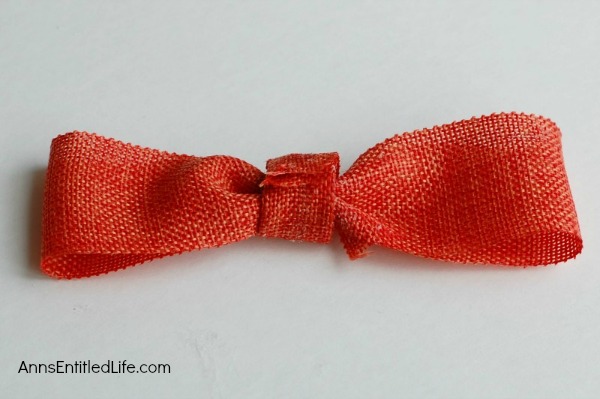
● Wrap that around the pinched part of the bow.
● Turn it over so the back of the bow is facing you and attach the (2) 5″ ribbons.
● Cut “V” shaped notches at the ends – you can paint some clear nail polish over the notch to keep it from raveling (highly suggested!).
● Your burlap bow is now complete.
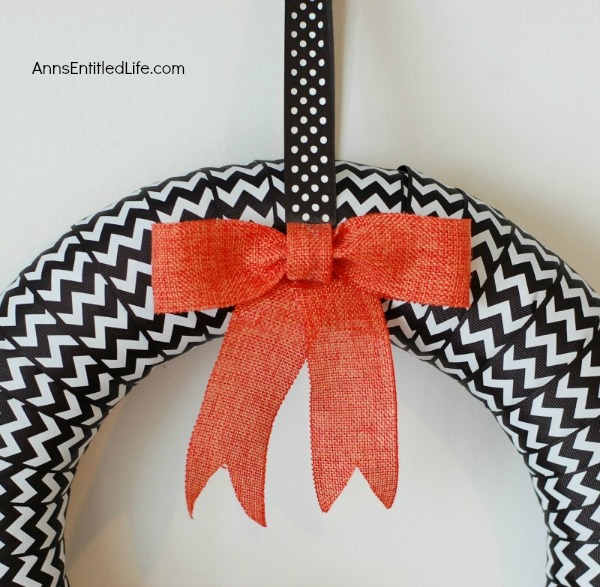
● Take the black ribbon with white polka dots and cut a 20″ strand.
● Wrap this 20″ around the top of the wreath and knot the end. This will the part of the wreath where you hang it.
● Hot glue the polka dot ribbon onto the chevron ribbon so that it stays in place.
● Once your orange burlap ribbon is completely cooled and dry – hot glue that on top of the wreath where the polka dot ribbon is wrapped around at the top.
● Your wreath is now complete – go fill your bowl with some candy and get ready to fill up the kiddos Trick or Treat bags!
● To print the BOO-Tiful Halloween Wreath instructions, click here.
● Disclosure: the links in this post may be affiliate links.
● If you enjoyed this post, be sure to sign up for the Ann’s Entitled Life weekly newsletter, and never miss another article!
● For more Craft posts on Ann’s Entitled Life, click here.
Leave a Reply