Homemade Halloween Wounds
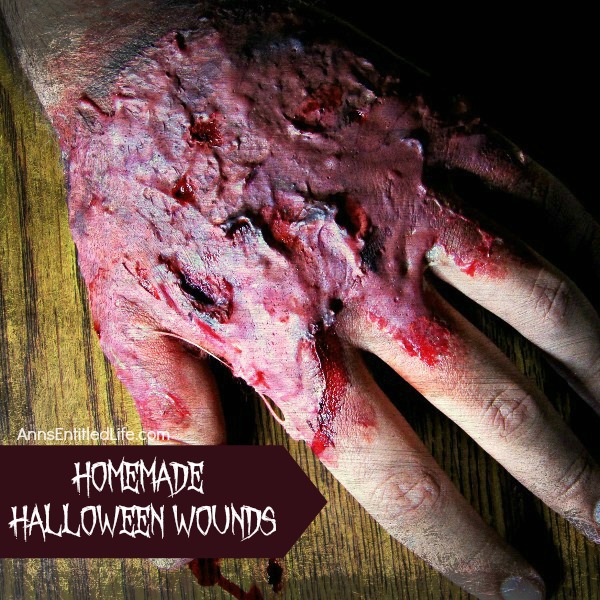
Make your own ghoulish wounds for Halloween this year! Gross-up your Halloween costume easily and inexpensively with disgusting and disturbing fake wounds you can make at home. Zombie and living dead costumes, killer costumes, monster costumes and more will be enhanced with terrifyingly realistic fake wounds! Learn how to make theater worthy wounds with this easy step by step tutorial.
Halloween is coming up for all of you ghosts and ghouls! Do you want to have the scariest costume on the block? Do you want to win that costume party at work? Of course you do, but how do you do it? You could go to the local seasonal Halloween store and buy latex and make cool prosthetics. That is an expensive and time consuming way to make fake wounds. However, if you have a few minutes and a bit of creativity you can make some awesome homemade Halloween wounds with things that are most likely already in your home. And, if you do not happen to have the materials on hand, they are very cheap to purchase at the store.
Toilet Paper and Glue
Yes, you read that correctly: toilet paper and glue! This method is great for a zombie type look where “skin” needs to be hanging off the body.
● All you do is put a small layer of glue on your skin where you want the wound to be located, then pick apart squares of toilet paper and stick the toilet paper to the glue.
● Repeat the layers building them up until the texture is what you want your zombine “skin” to be.
● Then color with makeup and fake blood.
● This is a very simple method or producing wounds, dead skin, etc.
How to Make Homemade Halloween Wounds – Gelatin
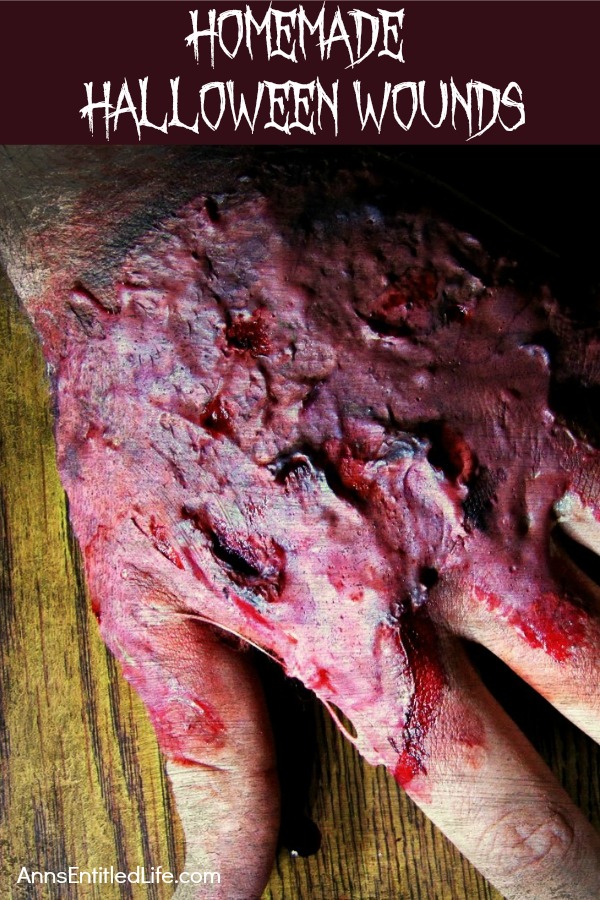
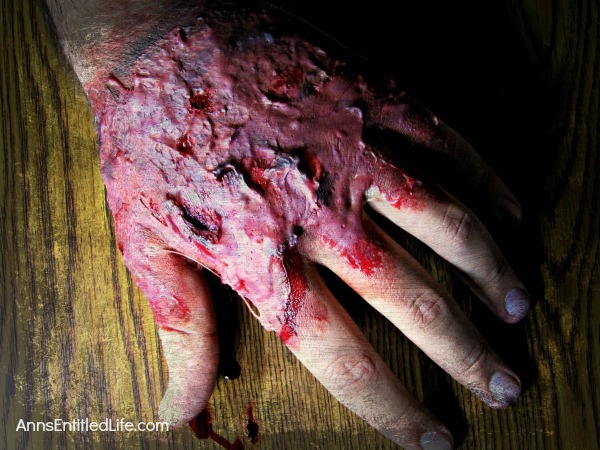
You can make a variety of wounds to simulate burns, scars, bruises, bumps (and more!) like this:
You could make gashes, reattached limbs, boils … the sky is the limit!
It is super simple to make fake wounds from gelatin. Here is the the supplies needed and instructions on how to make the fake wounds:
How to Make Homemade Halloween Wounds Fake Wound Materials:
● Unflavored Gelatin
● Makeup (foundation – liquid and powder – and eye shadow – blue, black, purple, brown, etc)
● Baby Powder (or any mineral-based powder is fine)
● Fake Blood (if you don’t want to buy this you can make it out of food coloring and glycerol. Glycerol can be found in most grocery stores near the cake mixes)
● Cotton Balls
How to Make Homemade Halloween Wounds Fake Wound Directions:
● Place some unflavored gelatin powder into a microwave safe bowl. It doesn’t matter if you measure it. You can reuse it or make more if you need it. However, a little gelatin powder goes a long way!
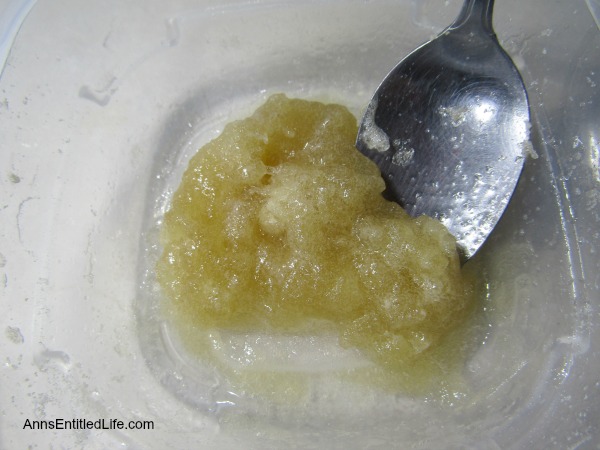
● Add a small amount of water and mix until you end up with a gritty kind of gel like this:
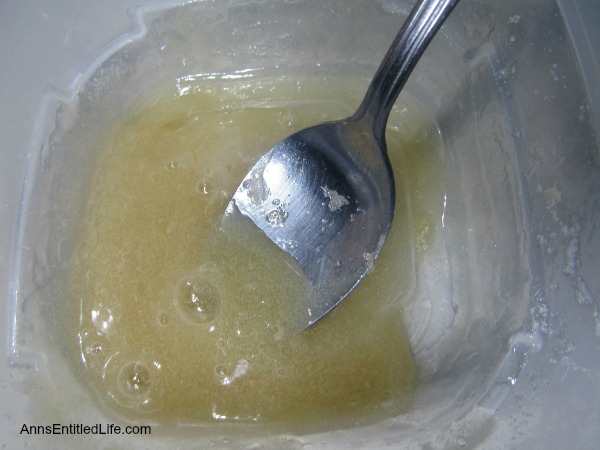
● Now microwave the gelatin mixture for 6 seconds. Any longer and you could SERIOUSLY burn yourself. It only takes a few seconds to turn the gelatin into more of a liquid.
● Apply the gelatin mixture to your skin (be sure to check that it’s not too hot) shaping it any way you want.
● For the burn look, apply a thin layer and texture it with a sponge. You want it to be kind of chunky.
● Before the gelatin dries up on your skin, brush it with baby powder. This will remove all the shine and make it look more like skin.
● Add liquid or powder foundation to the gelatin to match your skin tone.
● Now use the makeup to color in and highlight details.
● Black eye shadow works great for “charred” skin like the chunky high points.
● Blue and yellow eye shadow can be used to make bruising around the wound.
● Finally, using fake blood fill in the deep valleys of your hand, face, and between the chunks of the gelatin to add depth.
● Blot the entire “wound” with a cotton ball covered with fake blood for a great natural splattered look.
It truly is simple to make homemade Halloween wounds. Everyone can do it and anyone can make it look great! So give creepy, disgusting, downright nasty fake wounds a try this Halloween season! And let me know how it worked out.
● Disclosure: the links in this post may be affiliate links.
● For more Craft posts on Ann’s Entitled Life, click here.
● If you enjoyed this post, be sure to sign up for the Ann’s Entitled Life weekly newsletter, and never miss another article!
Leave a Reply