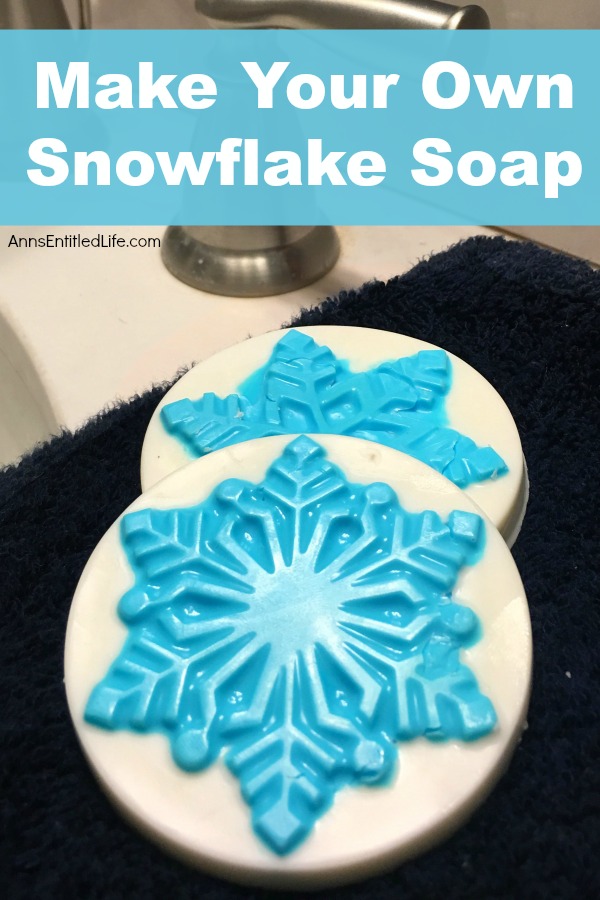
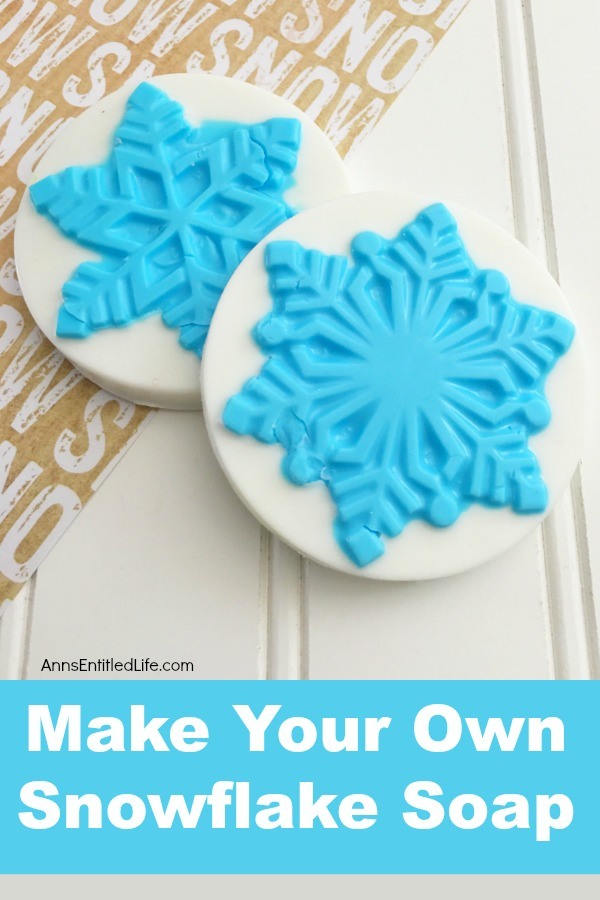
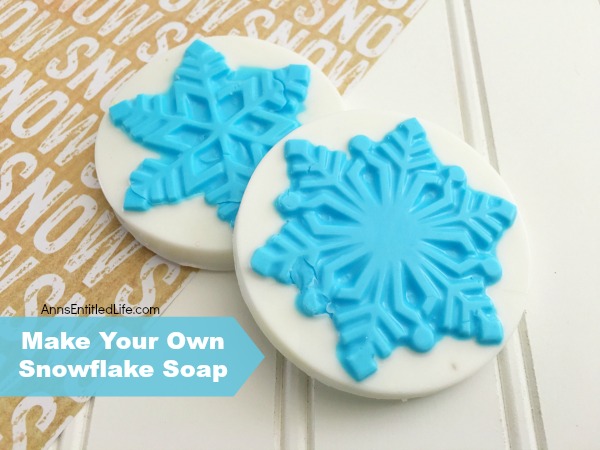
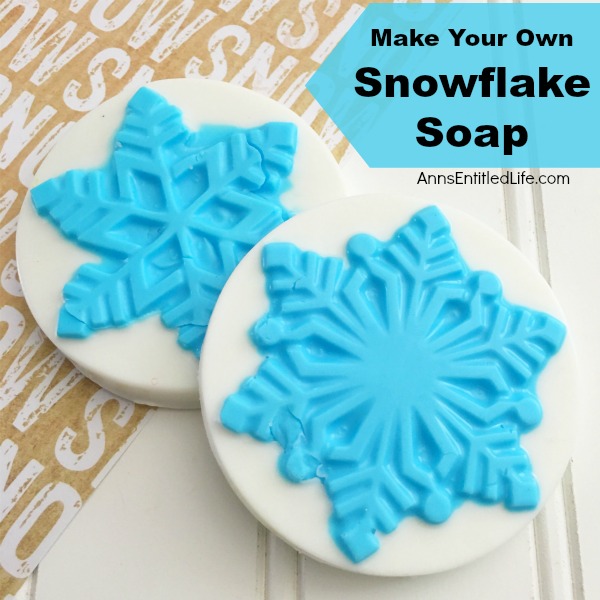
Learn how to make your own Snowflake Soap following these easy step-by-step instructions. Perfect for the holidays or winter season, these decorative snowflake soaps are highly customizable. Making homemade soap easier than you think! You control the ingredients, so you know exactly what is in the soap you are making and using.
Make Your Own Snowflake Soap
Looking for a festive holiday soap you can make yourself? These snowflake soaps are great! You can make the snowflakes any color, and choose any scent. An excellent Christmas present, or holiday gift, too! The bonus for these is they work great for Christmas, as well as January, February and March – especially up north!
I love making soap. it is wonderful to customize the scents, the colors, and really make great seasonal soaps to use at home or give as gifts. And these would make excellent holiday presents. Soap-making these days is much easier than you think. If you have not tried to make your own soap, give it a go – this snowflake soap recipe is a great one to try.
Tips and variations for making this snowflake soap:
● The scent is variable. While vanilla was used in this tutorial, you may want to give peppermint, holly berry, or wintergreen a try!
● Do not use food coloring. Use soap soap colorant!
● This was done with a white soap background, blue snowflake. You might also like to try a blue, red, green, etc background, and a white snowflake.
● If you leave soap out on a rack, it will dry out.
If you would like more soap recipes (that are also great for gift giving!) try these:
● Make Your Own Peppermint Soap
● Make Your Own Orange Creamsicle Soap
● How to Make Soap on a Rope
Make Your Own Snowflake Soap Ingredients:
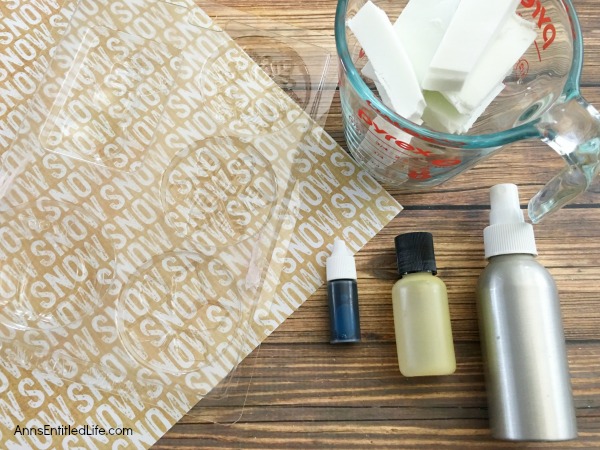
● Shea Butter Soap Base
● soap colorant!
● Soap Scent– This tutorial used Vanilla, but you can use any scent you like!
Make Your Own Snowflake Soap Tools:
● Snowflake Soap Mold
● Large Glass Measuring Cup
● Silicone or Wooden Spoon
● Rubbing Alcohol (and spray bottle if needed)
Make Your Own Snowflake Soap Directions:
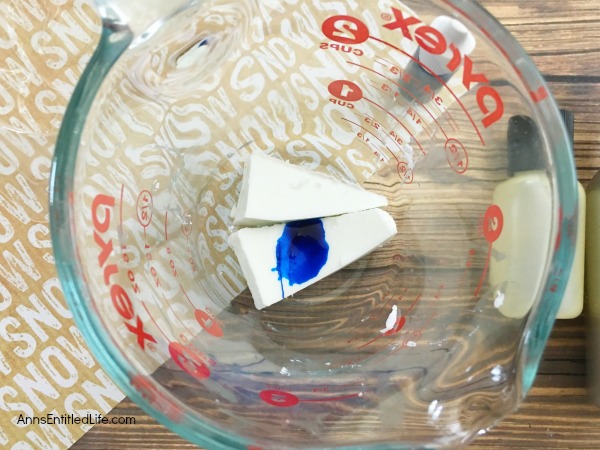
● Cut off two (2) ice cube sized pieces from your soap block and place into your glass measuring cup.
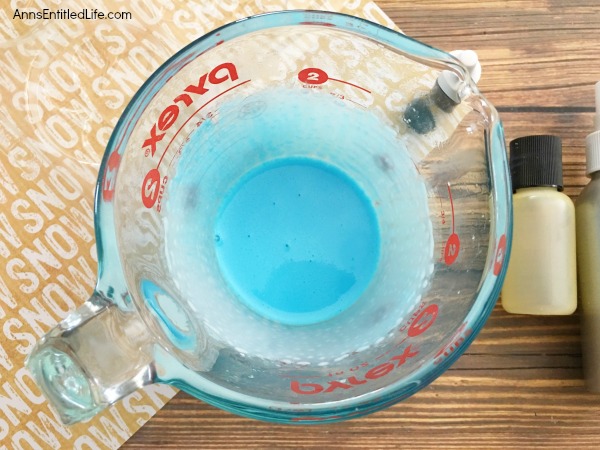
● Add 3-4 drops of blue soap colorant, and microwave for 30 seconds; stir.
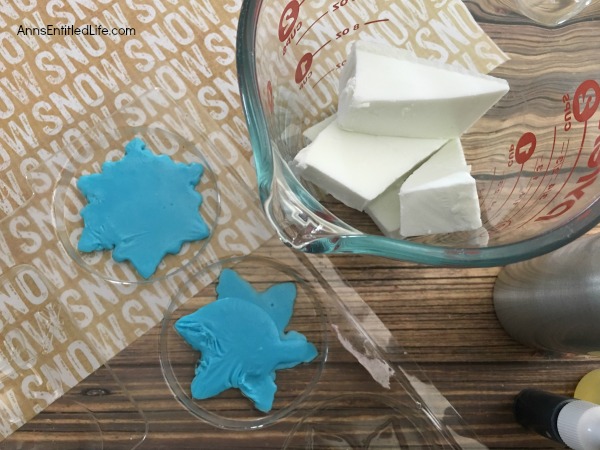
● Pour your melted blue soap into just the snowflake part of your mold. Tip: it helps if you pour from the middle and let the soap run into the outer edges of the mold on its own.
● Place your mold into the freezer for about 5 minutes.
● Clean your measuring cup (or use a second, clean measuring cup).
● Add five (5) ice cubes sized pieces of soap and place into your glass measuring cup.
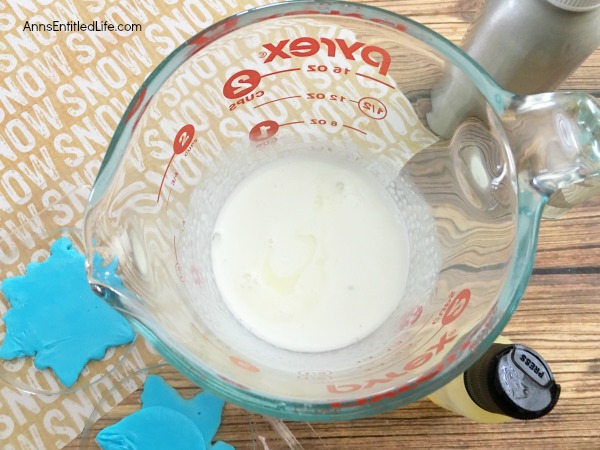
● Microwave for 30-45 seconds; stir. (If you need more microwave time to melt, do 15-second increments and stir in between each microwaving.)
● Mix in 1 teaspoon of your favorite soap scent.
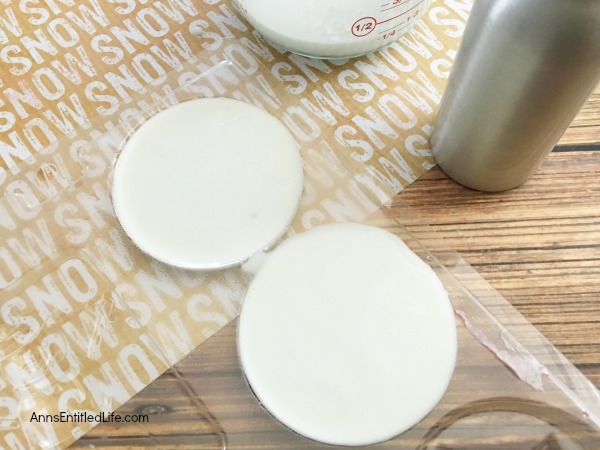
● Pour your white soap over your solid blue snowflakes, filling to the top of the mold.
● Lightly spray the soap with rubbing alcohol to prevent bubbling.
● Place your mold back in the freezer for about 30 minutes or until soap is hardened.
● Carefully press up on the bottom of your mold to remove your soaps.
● If presenting as gifts, you can tie with a ribbon, wrap with cellophane and a ribbon, etc.
● These are perfect for display, gift-giving, or to set in a linen closet. Since they are snowflakes, they are great “fancy soap decor” well into March.
Make Your Own Snowflake Soap
Learn how to make your own Snowflake Soap following easy these step-by-step instructions. Perfect for the holidays or winter season, these decorative snowflake soaps are highly customizable. Making homemade soap easier than you think! You control the ingredients, so you know exactly what is in the soap you are making and using.
Tools
- Snowflake Soap Mold
- Large Glass Measuring Cup
- Silicone or Wooden Spoon
- Rubbing Alcohol (and spray bottle if needed)
Instructions
- Cut off two (2) ice cube-sized pieces from your soap block and place them into your glass measuring cup.
- Add 3-4 drops of blue soap colorant, and microwave for 30 seconds; stir.
- Pour your melted blue soap into just the snowflake part of your mold. Tip: it helps if you pour from the middle and let the soap run into the outer edges of the mold on its own.
- Place your mold into the freezer for about 5 minutes.
- Clean your measuring cup (or use a second, clean measuring cup).
- Add five (5) ice cubes sized pieces of soap and place into your glass measuring cup.
- Microwave for 30-45 seconds; stir. (If you need more microwave time to melt, do 15-second increments and stir in between each microwaving.)
- Mix in 1 teaspoon of your favorite soap scent.
- Pour your white soap over your solid blue snowflakes, filling to the top of the mold.
- Lightly spray the soap with rubbing alcohol to prevent bubbling.
- Place your mold back in the freezer for about 30 minutes or until the soap is hardened.
- Carefully press up on the bottom of your mold to remove your soaps.
- If presenting as gifts, you can tie with a ribbon, wrap with cellophane and a ribbon, etc.
- These are perfect for display, gift-giving, or to set in a linen closet. Since they are snowflakes, they are great “fancy soap decor” well into March.
Recommended Products
As an Amazon Associate and member of other affiliate programs, I earn from qualifying purchases.
-
 Batmerry Set of 2 Merry Christmas Decorative Pillow Covers 18x18 inch,Blue Snow Winter with Snowflakes Falling White Crystal Double Sided Throw Pillow Covers Sofa Cushion Cover
 -
 NIDITW Happy Holidays Snowflakes Falling Red Cotton Linen Throw Pillow case Cushion Cover Sofa Chair Decorative Rectangle 12x20 Inches
 -
 CaliTime Pack of 2 Cozy Fleece Throw Pillow Cases Covers for Couch Bed Sofa Christmas Snowflakes Both Sides 18 X 18 Inches Medium Grey
● For more DIY Beauty posts on Ann’s Entitled Life, click here.
● If you enjoyed this post, be sure to sign up for the Ann’s Entitled Life weekly newsletter, and never miss another article!


Leave a Reply