Yellow Chick Wineglass DIY
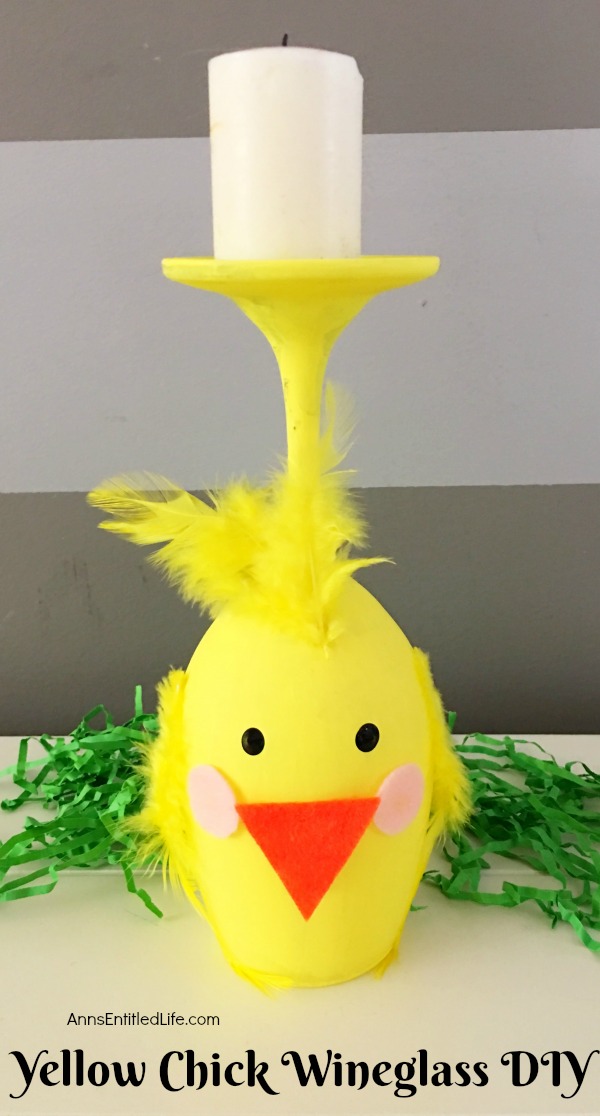
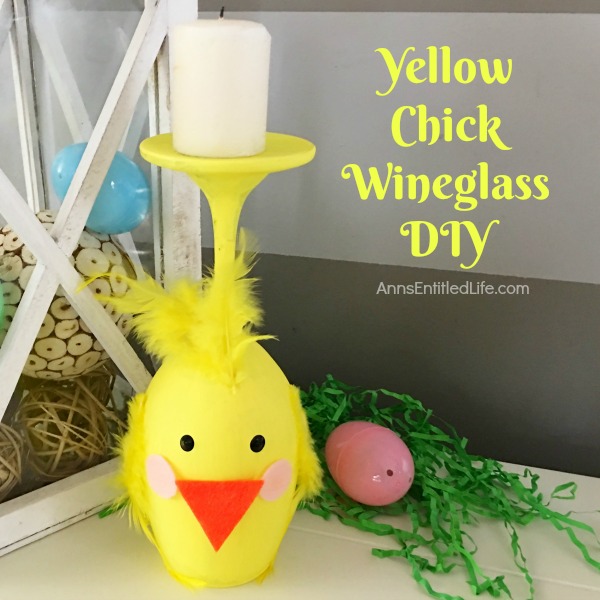
Make your own adorable Yellow Chick Wineglass. This easy step by step tutorial will show you how to easily make a sweet wineglass chickie which is perfect for a centerpiece, mantel decor or table decorations this Easter or spring! This is an easy to make, delightful spring craft project.
You can make this chickie any color and may want to vary it a bit (even with just different color yellows for depth) if you are making three or more as part of a centerpiece or a bigger holiday table decoration. These also work for spring decorating, so keep that in mind too!
I simply adore painted wine glass decor, as you can see by the Love Bug Wineglass DIY (Valentine’s Day or Summer decor), Love Monster Wineglass DIY (Valentine’s Day or Halloween) Turkey Wine Glass DIY (Thanksgiving or Fall), DIY Wine Glass Snowman (Christmas or Winter), DIY Wine Glass Witch (Halloween) and the DIY Pineapple Candle Holder (anytime!) crafts I have shared in the past. But the truth is, these painted wine glass crafts are simple to make, fun, and are finished in no time flat. Truly just about any adult can make them.
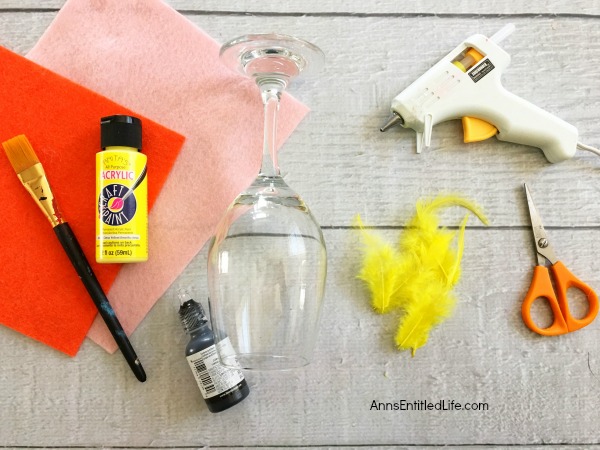
Yellow Chick Wineglass DIY Materials:
● Any Wine Glass(es)
● Paint Brushes
● Small Easel or Paper Plate
● Yellow Paint
● Black Puffy Paint
● Orange Felt
● Light Pink Felt
● Scissors
● Glue Gun
● Glue Sticks
● Yellow Feathers
● Tea Lights (for decoration)
Yellow Chick Wineglass DIY Directions:
● Lay down a covering to protect your work surface.
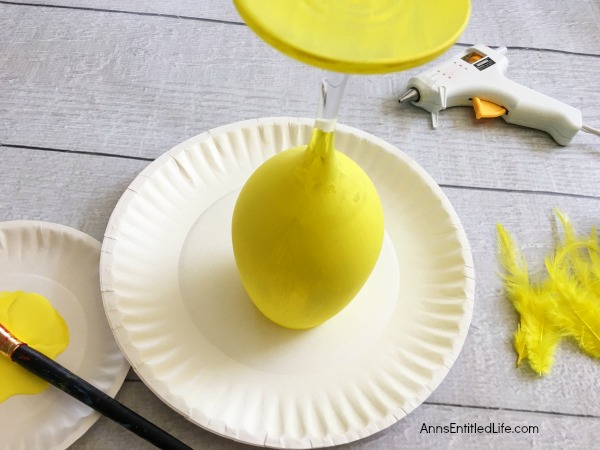
● Paint the inside of your wineglass yellow with your paintbrush (you can use a foam paintbrush).
● Allow to dry.
● Paint the outside of your wineglass yellow with your paintbrush (you can use a foam paintbrush).
● Allow to dry.
● Turn your wineglass upside down.
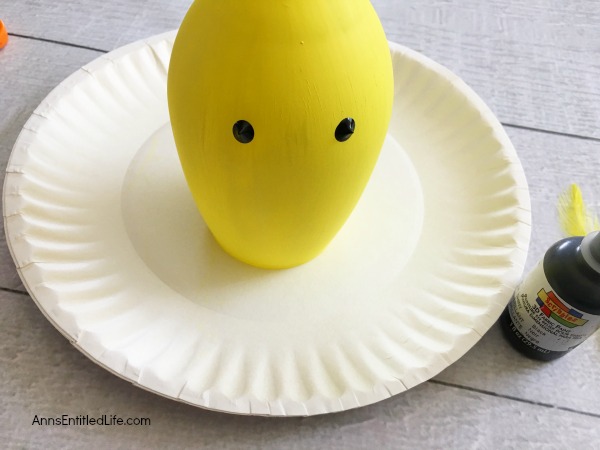
● Paint two eyes using the black puffy paint toward the top center of the wineglass globe.
● Allow to dry.
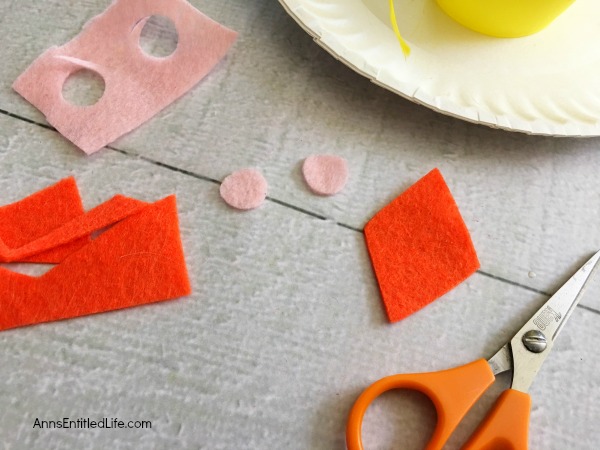
● Fold a piece of orange felt in half.
● Cut a 1″ wide triangle out on the folded edge so that when you open the cut felt piece it becomes a diamond shape.
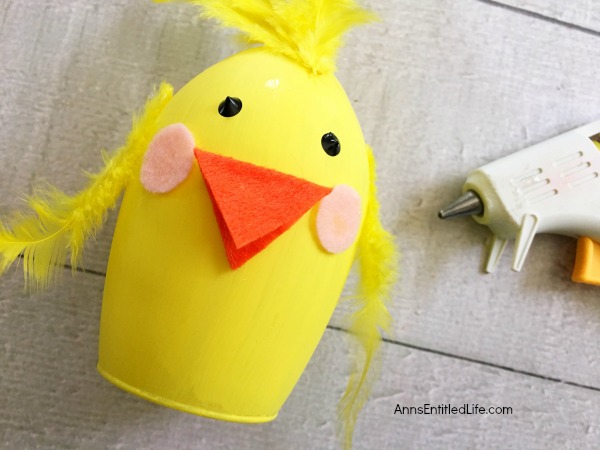
● Carefully hot glue below the puffy painted eyes for the chick’s beak.
● Now cut out two tiny circles from your pink felt and carefully hot glue one on each side of the beak for cheeks.
● Carefully hot glue several (three) yellow feathers onto the top of the chicks head, above the eyes.
● Glue one yellow feather on each side of the chicks face. (Glue one yellow feather on one side of the chicks face, glue a second yellow feather on the side of the opposite cheek.)
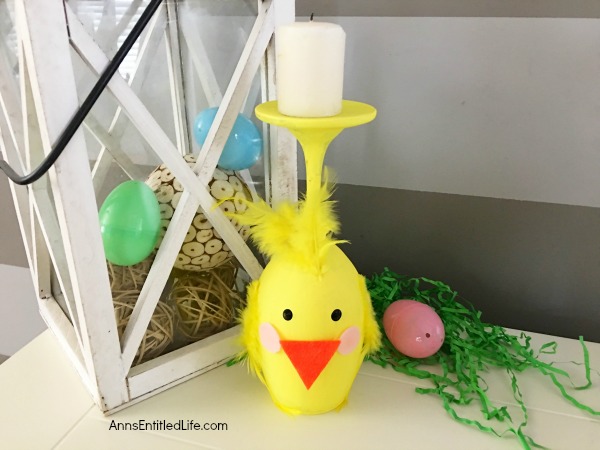
● Top off with a tea light candle for looks only! If you want to use a flameless tea light for this one to imitate a flame, that would look super cute! Due to the yellow feathers used in this project, an open flame is strongly discouraged!
● Set this cute little wine glass in the middle of your table, on your fireplace mantel or an end table for a great springtime or Easter decoration! Make a group of three in the same or in staggered height for a sweet little centerpiece.
● To print the Yellow Chick Wineglass DIY Instructions, click here.
● Disclosure: the links in this post may be affiliate links.
● For more Holiday posts on Ann’s Entitled Life, click here.
● For more Craft posts on Ann’s Entitled Life, click here.
● If you enjoyed this post, be sure to sign up for the Ann’s Entitled Life weekly newsletter, and never miss another article!
Heidi says
Cute little chick! Thanks for linking up with Funtastic Friday!
Erlene says
This is so cute and just makes me smile. Thanks for sharing your wineglass chick on Merry Monday.
Shirley Wood says
I love these easy craft projects! This post is Featured at the Merry Monday party this week. So glad you share with us. Pinned it.