Handmade Paper Flower Bouquet
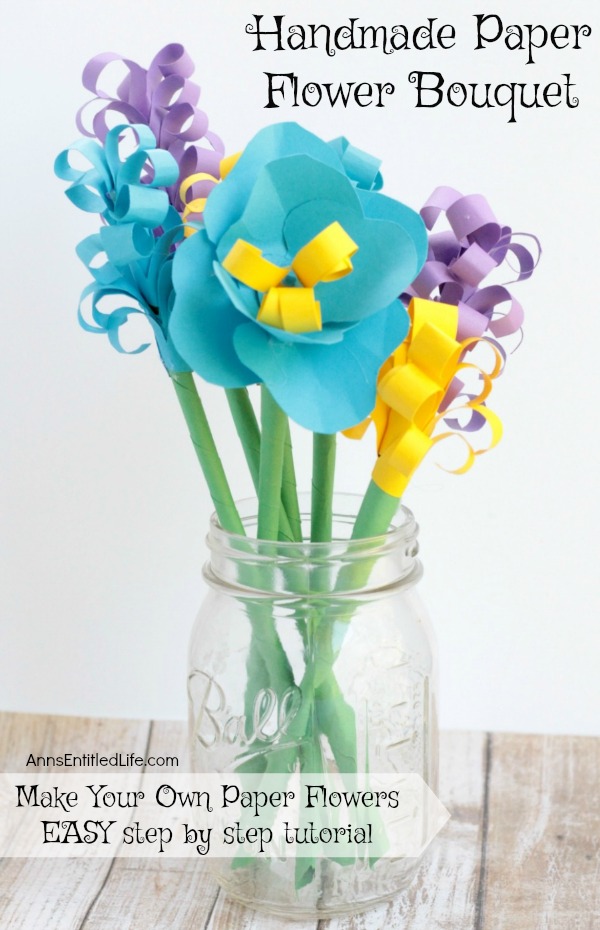
Ever wonder how to do paper flowers? It is pretty darned easy to make a flower. Simply follow the step by step directions for this handmade paper flower bouquet and you will have a wonderful flower bouquet to place in any vase or Mason jar! Perfect tabletop flower decor that you will never have to water or feed.
I absolutely love paper flowers – roses, lilies, bluebonnets, sunflowers – it does not matter, I just love them. People have been making paper flowers for eons. You can use any colored paper you like (some people use newspaper or the comics, but that is more for roses). The art of making paper flowers may seem difficult, but these two basic flower shapes are the perfect place to start if you are new to flower making. These paper flowers look beautiful and once you get the motions down, they are pretty easy to make. This flower making tutorial is for bluebells and lilies.
Handmade Paper Flower Bouquet Materials:
● Scissors
● Green Construction Paper
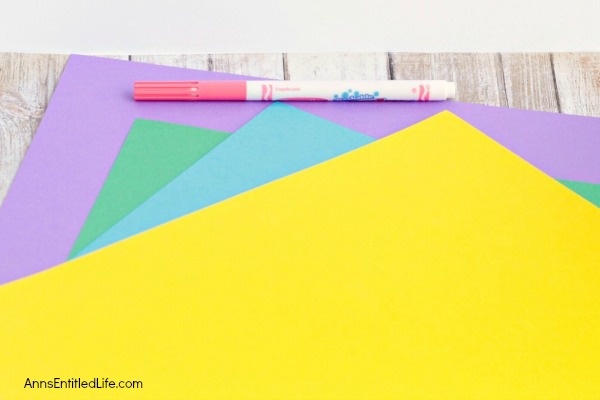
● Colored Cardstock Paper (Blue, Pink, Yellow, Green, etc)
● Ruler
● Pencil
● Glue Stick
● Glue Gun
● Hot Glue Sticks
Handmade Paper Flower Bouquet Directions:
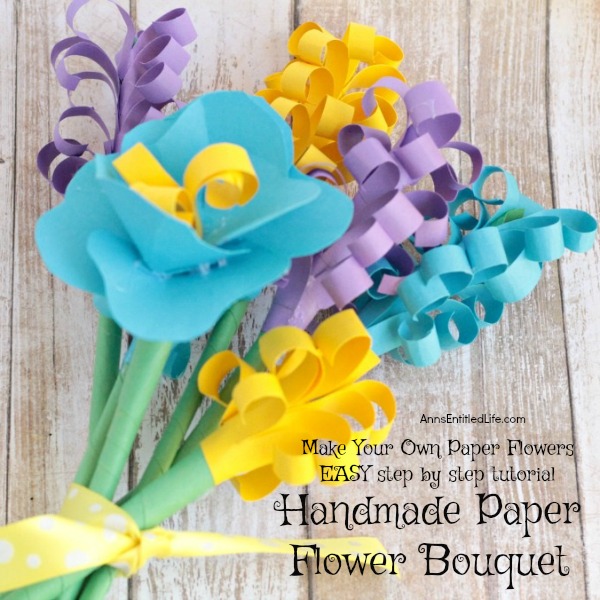
For this project, two types of flowers were made: the background flower, which is reminiscent of bluebonnets or Indian paint brushes, and the star flower, which is a made-up version of a blue lily.
How to make the paper stems for the flowers:
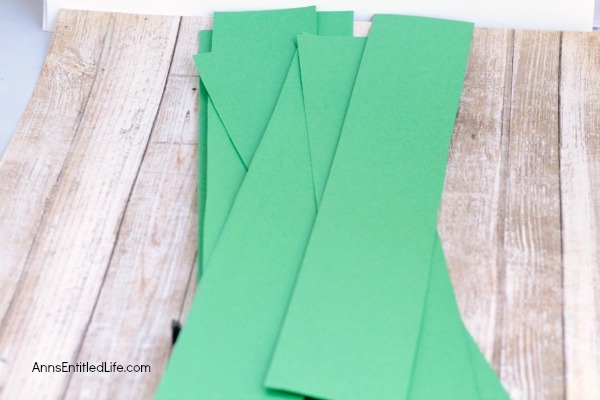
● Cut strips of green construction paper 2 inches wide and 8 inches long (or the length of your paper).
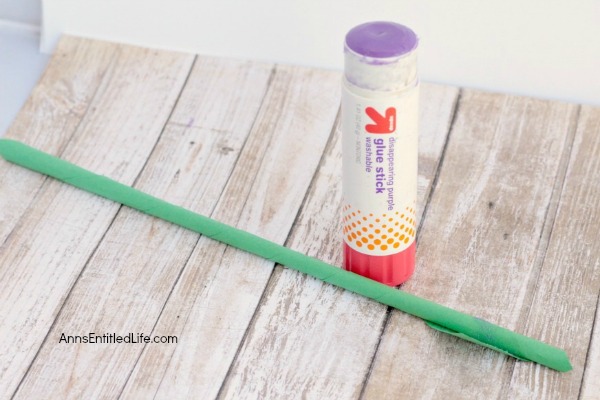
● Cover one side of the paper in glue using a glue stick.
● Start from one corner and roll the paper stem together at an angle. This will make a flower stem.
● Use hot glue to hold the ends in place (it dries fast).
How to make paper flower bluebonnets:
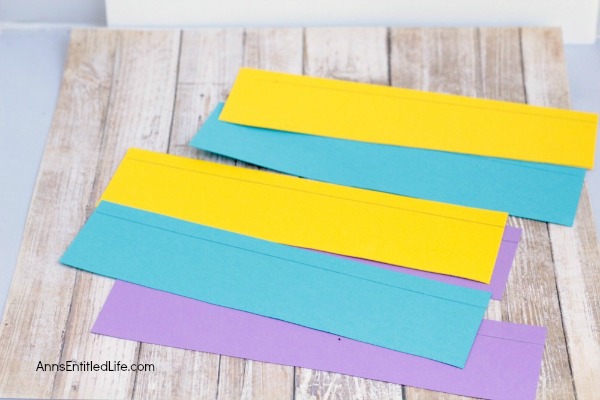
● Cut strips from the cardstock paper that are 2 inches wide and 8 inches long.
● Draw a line ¼ of an inch from one of the long sides of the paper.
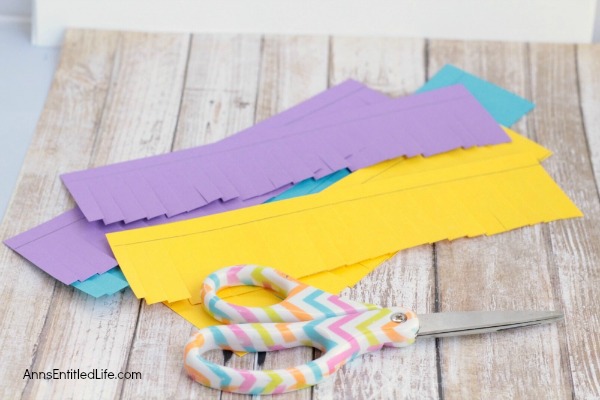
● Cut ¼ inch snips horizontally along the line to make a fringe.
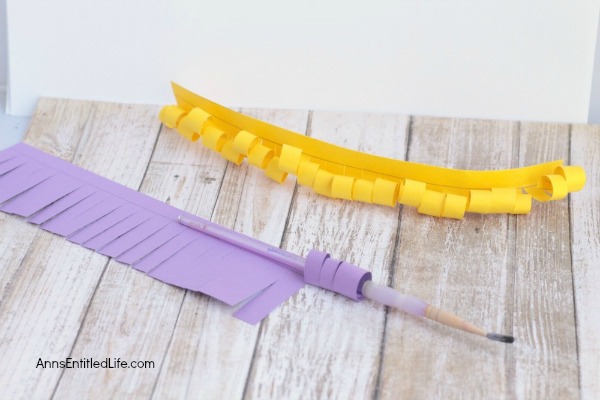
● Roll the strips of fringe with a pencil up to the line.
● Cover one side of the non-cut side of the paper fringe with glue from the glue stick.
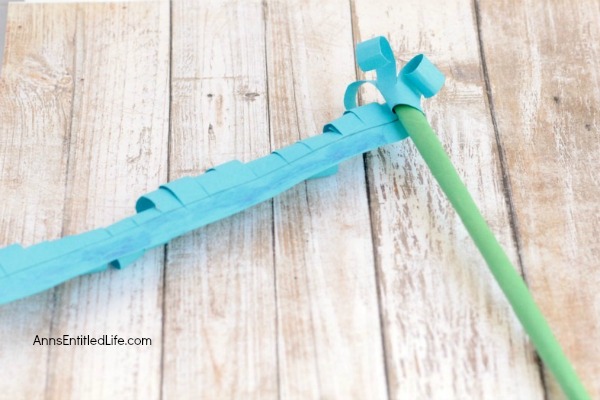
● Use hot glue to glue one corner of the flower to the top of a stem.
● Roll the flower piece around the stem at an angle, covering the top of the stem with the flower paper.
● Use hot glue to hold the bottom end of the flower in place.
How to make a paper flower blue lily:
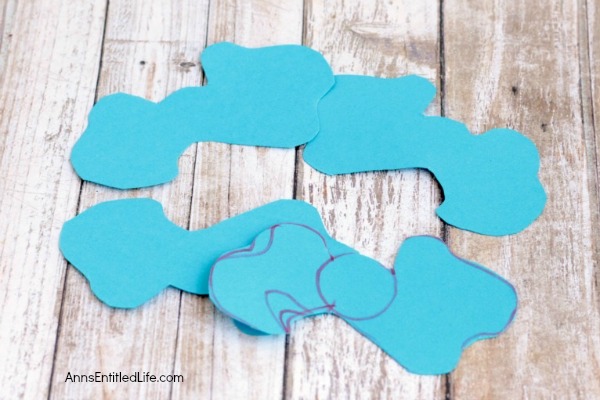
● Trace a small circle onto a piece of blue cardstock paper.
● Draw two petals on opposite sides.
● Cut out four of these flower petal sections.
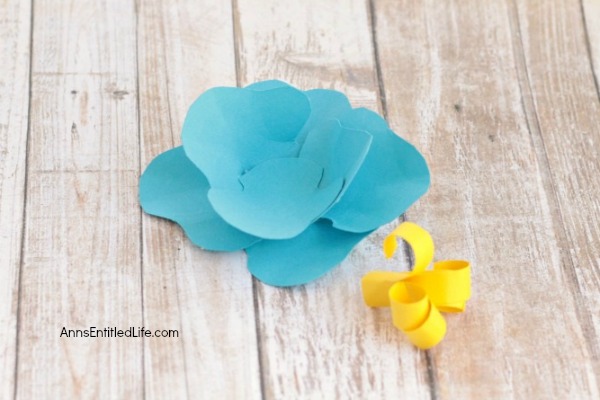
● Roll the petals around a pencil to make them easier to shape.
● Layer the petals on top of each other to make the flower shape.
● Use hot glue to hold the petals together where you want them to go.
● Cut a small piece from the paper bluebonnet and wrap it into a circle.
● Glue to the center of the blue lily.
● Glue the back of the lily to one of the stems using hot glue.
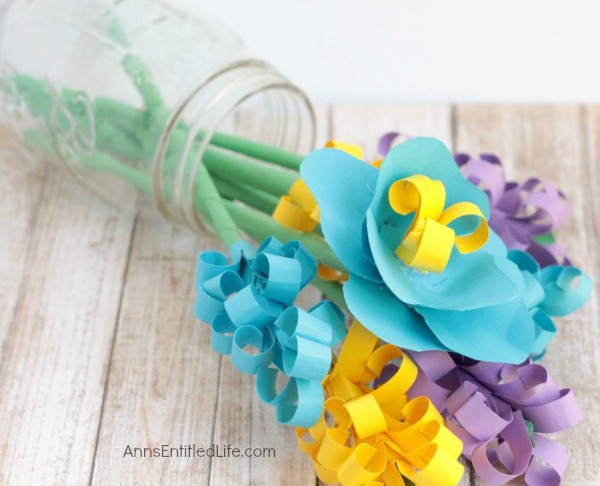
● Add your flowers to a vase or tie with a pretty ribbon, and you are done!
This paper flower bouquet would make pretty centerpieces at a party, birthday celebration, wedding, or even as a Mother’s Day gift. Consider them for a teacher’s present or to give a friend “just because”. The best thing about these flowers is that they will fade or wilt after just a few days, and they never require watering!
● To print the Handmade Paper Flower Bouquet Instructions, click here.
● Disclosure: the links in this post may be affiliate links.
● For more Craft posts on Ann’s Entitled Life, click here.
● If you enjoyed this post, be sure to sign up for the Ann’s Entitled Life weekly newsletter, and never miss another article!
Marie says
What a super cute and easy craft! The best thing about paper flowers is that they can’t die! Lol. Thanks for sharing your awesome tutorial with us at Merry Monday this week!