Tie Dye Coasters Tutorial
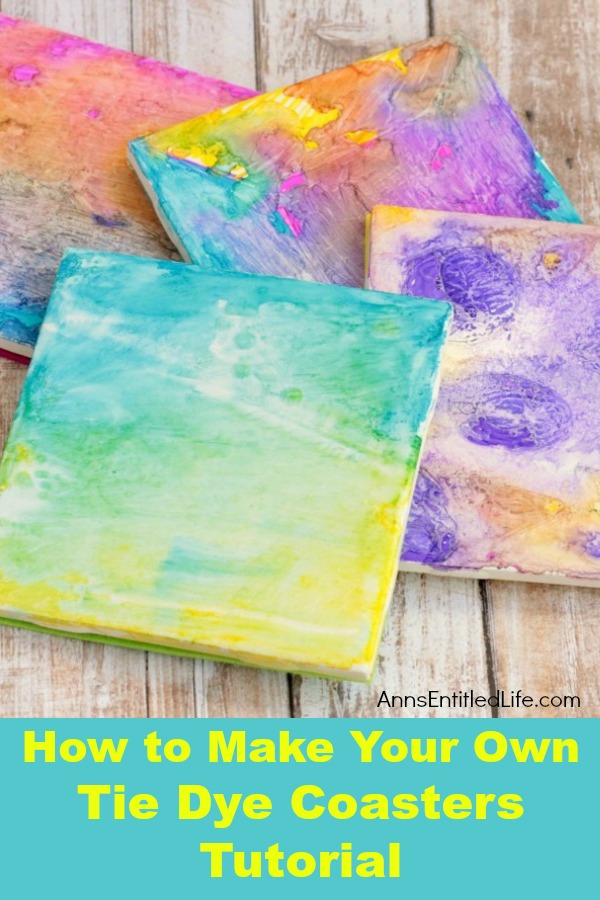
How to make your own tie dye coasters step by step tutorial. A fun, easy coaster craft perfect for home decor or as a housewarming gift!
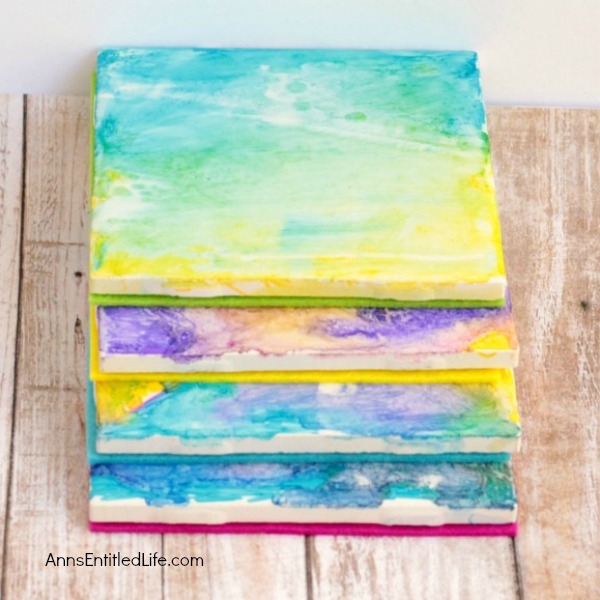
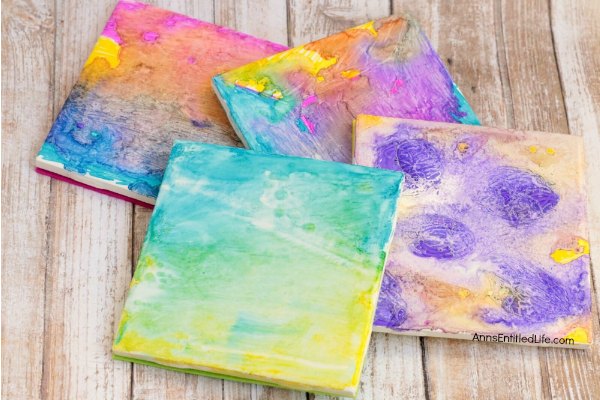
Tie dye is always a fun thing to use for DIY because the results will never come out the same twice! These fun tie dye coasters were made using permanent markers and rubbing alcohol. To keep the coasters looking similar, choose similar colors on every tile, even though the patterns will come out differently – unless you decide you would like your tiles to be closer in style, then try and follow the same pattern on each tile.
If you like to make your own coasters (I do!), you may be interested in some of these DIY coaster ideas:
● Easy DIY Autumn Coasters – also made with inexpensive tiles, these are a fun, easy, seasonal coaster to update your family room decor for Autumn.
● DIY Pine Moose Coasters – a little wood, a little spray paint, and a sealer and you have a wonderful rustic DIY coaster!
● DIY Christmas Coasters – you know those old Christmas cards you have just laying around? Make these sweet holiday coasters to use, or give as gifts! This is one awesome craft.
And now, on to the tie dye coasters…
Tie Dye Coasters Tutorial Materials:
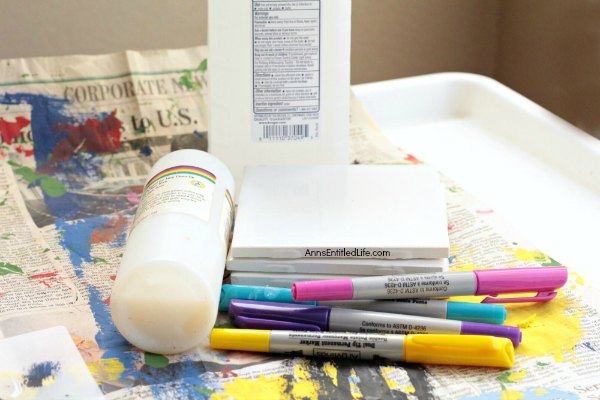
● 4 White Ceramic Tiles 4″x4″
● Permanent Markers in assorted colors
● Pipette
● Rubbing Alcohol
● Mod Podge
● Foam Paint Brush
Materials Used for Backing:
● Cork
● Liner
● Felt
● Self-Healing Cutting Mat
● Straight Edge
● Cutter or use Scissors
● Mod Podge
● Foam Paint Brush
Tie Dye Coasters Instructions:
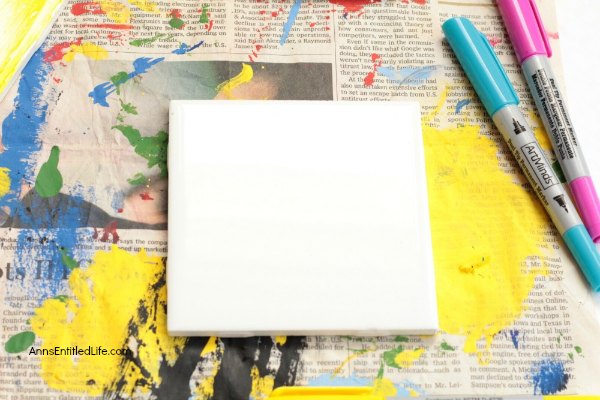
● Lay down some cardboard, newspaper or other protective material on your work surface.
● Make sure your tiles are clean by rubbing them down with alcohol.
● Let it dry before continuing.
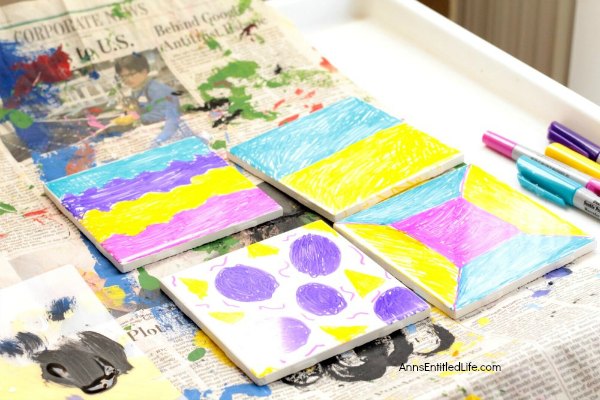
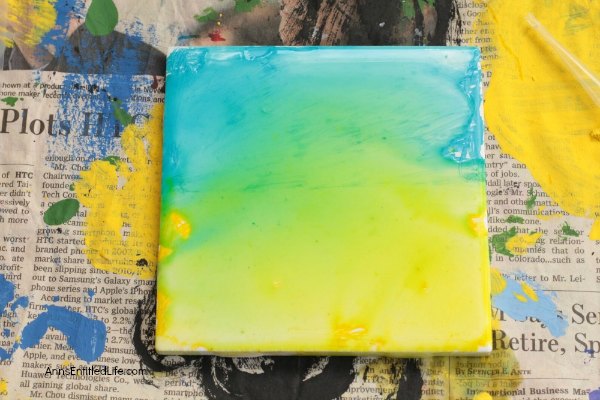
● Using various permanent markers, color your tile with whatever design you want. The colors will eventually all run together, so keep that in mind when designing. A favorite tile ended up being one just colored half blue and half yellow.
● Use a pipette to drip rubbing alcohol over the tiles. You can use just a few drops, or completely cover the surface in alcohol. Just make sure that you do not apply so much rubbing alchol that all the color runs off.
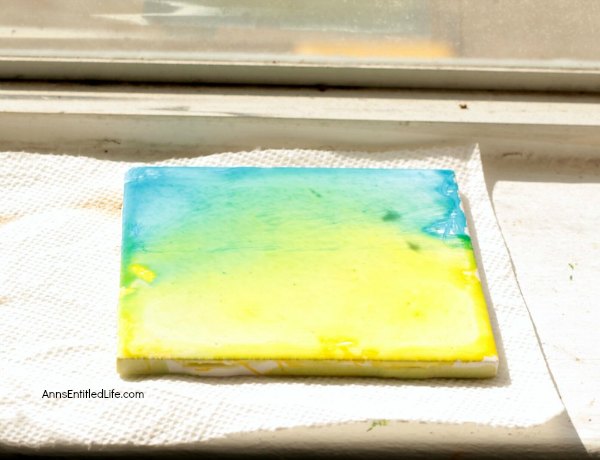
● Put your tiles in a sunny location to dry.
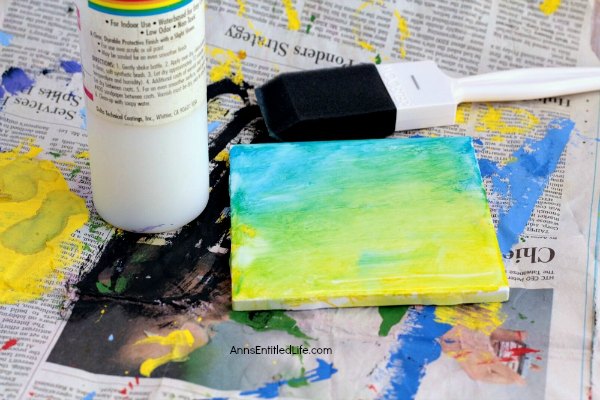
● When the tiles are dry, soak your foam brush in mod podge and gently spread it across the top of the tile. Apply a thick coat of Mod Podge over your colored tile surface. This will seal in your colors. Note: be careful not to press too hard.
● Allow the Mod Podge to dry completely.
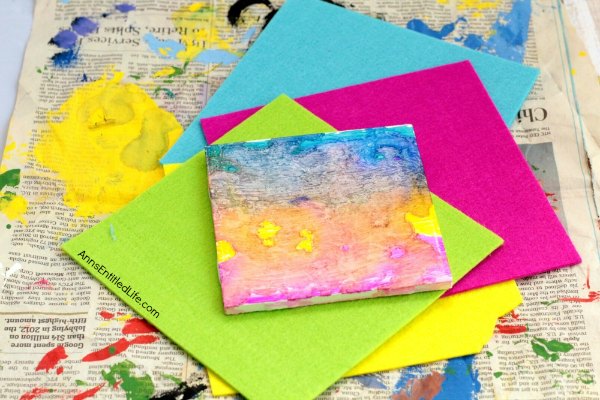
● Once the tiles are dry, cut a square of felt the same size as each tile.
● Glue the felt to the bottom of the tile using Mod Podge.
● When the glue is dry, your coasters are ready to use!
● If you do not wish to use felt backing, here is something I wrote up about various backing materials on white tiles:
● Cork The most expensive option. Cork is prime for heat and durability. It is difficult to cut as it is much thicker than the other options I have tried.
● Felt: The cheapest solution. It is anti-scratch although it picks up dust and direct. Simple to cut and adhere, it is the classic solution.
● Liner: Hubby bought me a kitchen liner to try when he was at Big Lots. It is fairly inexpensive. I admit this was my favorite solution. It was easy to cut and adhere and is non-skid on a tabletop. An interesting positive and negative – when I stack these, they “stick” to one another. That means I do not need to find something to store them in, nor do I need to use twine or a ribbon to keep them in a pile. The negative is… they stick to one another.
● Disclosure: the links in this post may be affiliate links.
● For more Craft posts on Ann’s Entitled Life, click here.
● If you enjoyed this post, be sure to sign up for the Ann’s Entitled Life weekly newsletter, and never miss another article!
Leave a Reply