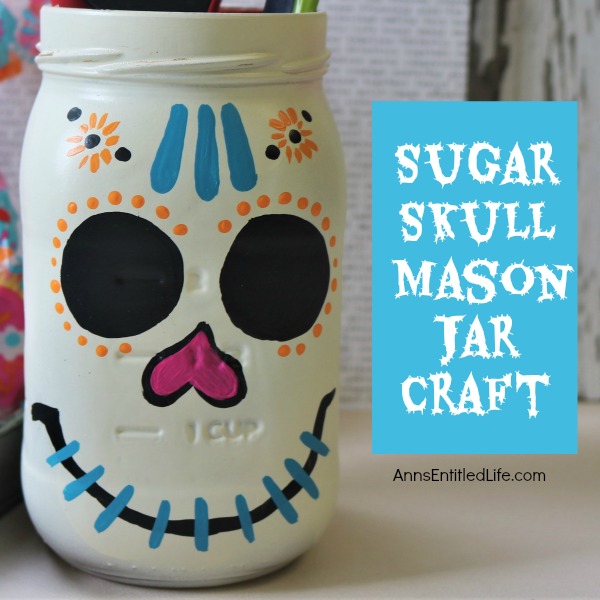
Sugar Skull Mason Jar Craft
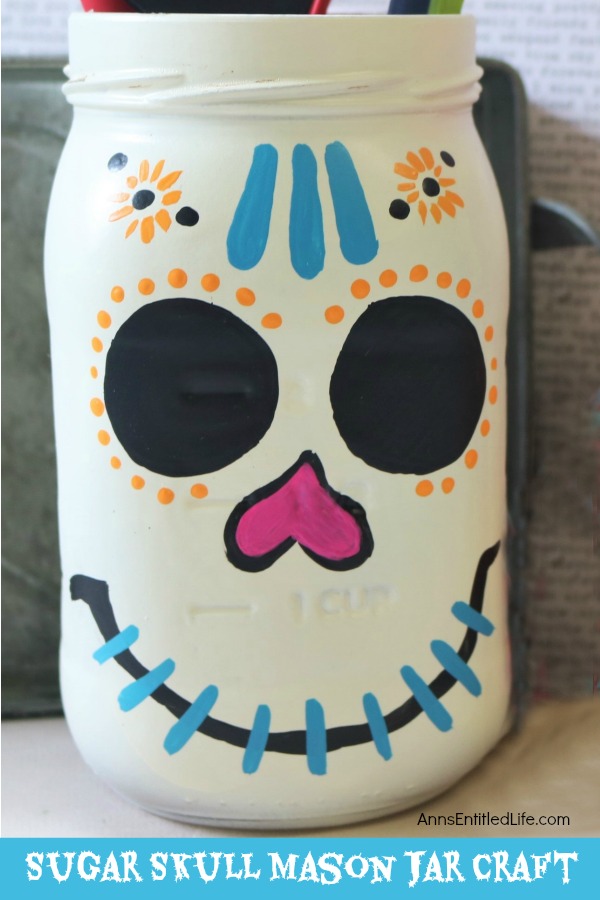
This easy to make sugar skull is fashioned from an old Mason jar. You can store kitchen utensils, candy (keep the lid!), etc in these jar for Halloween or to celebrate the Day of the Dead. Using old glass jars is a great way to get crafty at home and make your own cute décor at the same time.
From wiki: A Calavera is a representation of a human skull. The term is most often applied to decorative or edible skulls made from either sugar (called Alfeñiques) or clay which are used in the Mexican celebration of the Day of the Dead and All Souls’ Day.
If you are looking for other Halloween crafts:
● Easy DIY Halloween Glitter Witch’s Broomstick – this is one of my favorite crafts. I get so many compliments every year on these brooms as part of my Halloween decor.
● DIY Wine Glass Witch – a fun tabletop or mantel decoration that is easy to make!
● DIY BOO Pallet Project – another easy Halloween craft!!
Now, on to the Sugar Skull Mason Jars…
Sugar Skull Mason Jar Craft Materials:
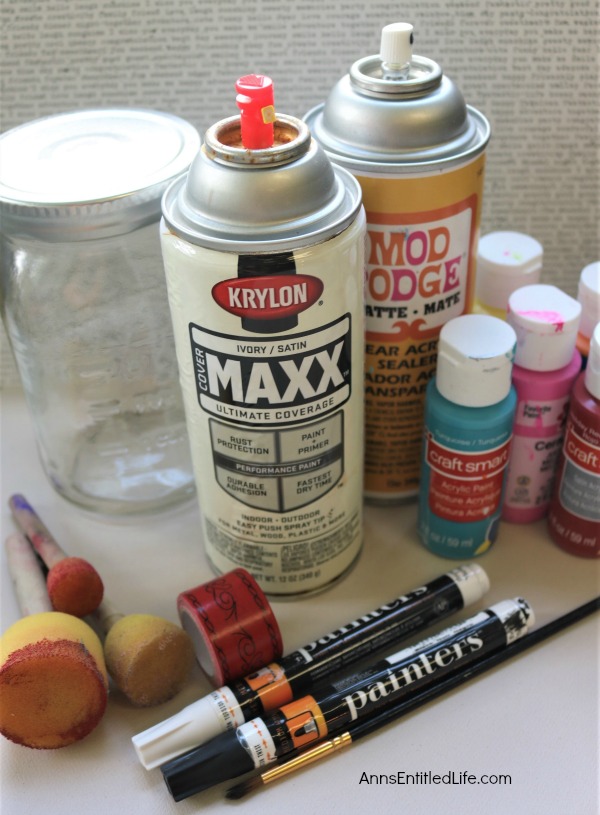
● Glass Mason Jar with lid (16oz+ size)
● White or Ivory Spray Paint (satin or matte finish)
● Mod Podge Clear Acrylic Sealer
● Acrylic Paint: Turquoise (or aqua), Pink, Orange
● Black Acrylic Paint or a Black Paint Marker
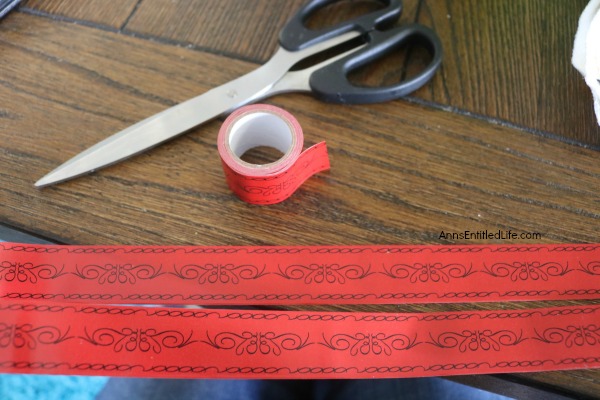
● Washi Tape
● Scissors
● Small Easel or Paper Plate
● Small Detail Paint Brush
● Round Sponge Painting Tool
● Sponge paint pounders in circle shape to make eyes if you can
Sugar Skull Mason Jar Craft Directions:
● Lay down a covering to protect your work surface.
● Wash and dry jar and lid.
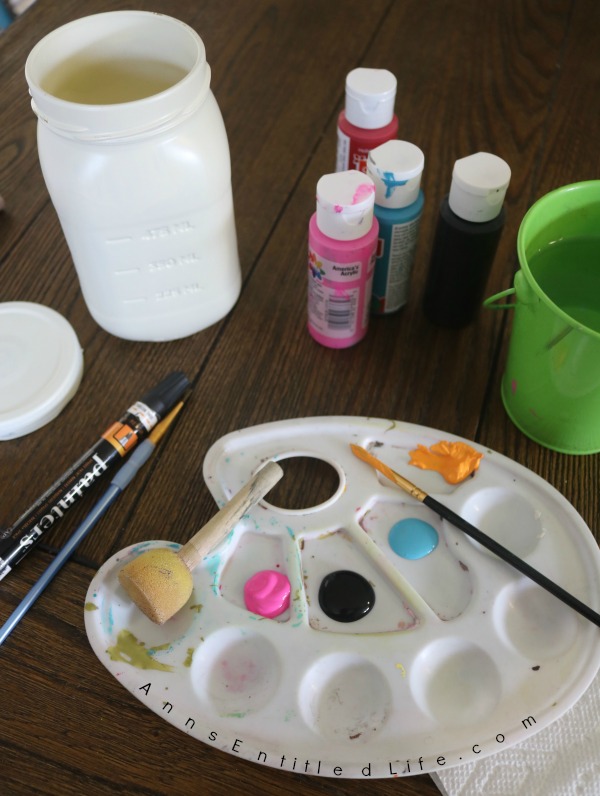
● Once the jar is dry, spray paint the entire outside of the jar. Spray at least a few inches down on the inside too.
● Allow to dry completely. If you need a second coat, spray again, and allow to dry completely.
● Spray paint lid.
● Allow to dry completely. If you need a second coat, spray again, and allow to dry completely.
● Choose the side of the jar you like the best for the face of the skull. A smooth evenly painted finish would be best.
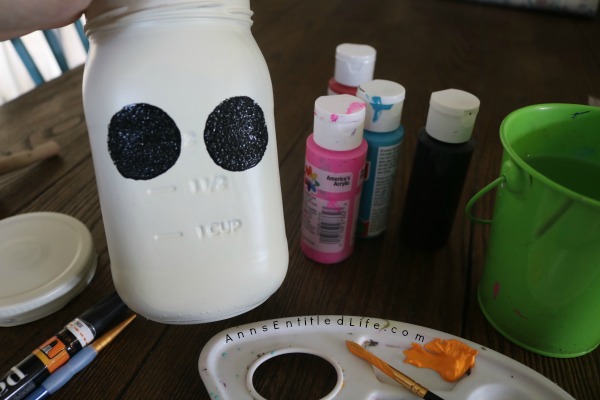
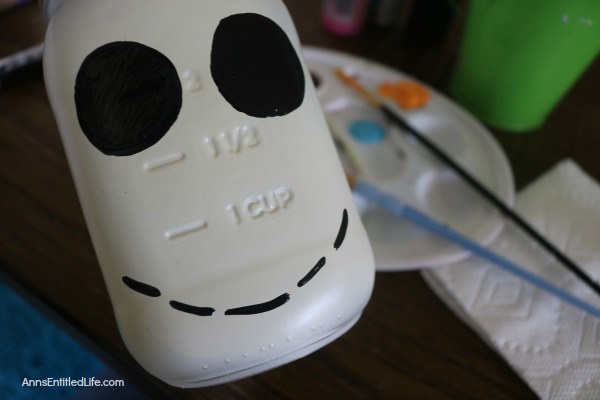
● Paint the eyes first using black paint. This sets the focus of the face so take your time with it. If you have the round sponge painting tool (pounder) they work great to help you get an even and perfectly round circle. If you do not have one you can always trace around the outside of something like a small round lid, lightly in pencil and then paint it in with black paint.
● Once you have the round eyes, take a very small paint brush and cleaned up the sponged edges with a bit of black paint so they looked a little cleaner.
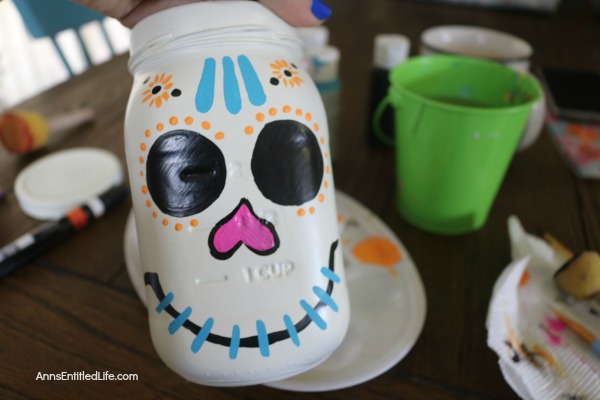
● Using a small detail brush paint some orange dots around the eyes so the black eyes will stand out. If you are using different color paint markers for this project, be certain to shake well.
● Note: If at any time you feel more comfortable allowing the paint to dry before moving on to the next step, do so.
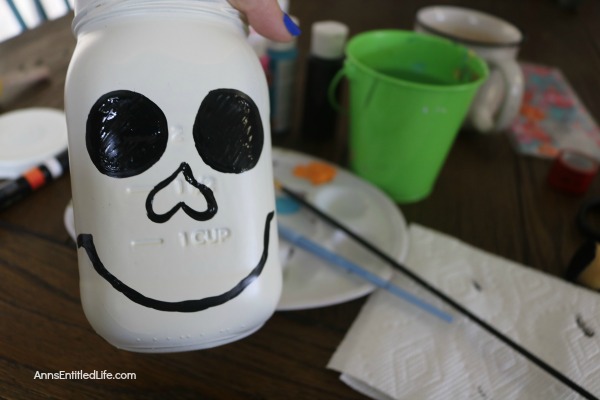
● Draw a black line for the mouth with a small paint brush making the ends of the mouth first, then the center and then in between with dash marks. Fill it in all the way across once you have the general shape of it down. Allow the mouth to dry completely.
● Draw an upside down heart for the nose in black paint. Allow to dry.
● Make turquoise (or aqua) slashes through the black mouth. Space them evenly apart.
● Fill in the black nose outline with pink paint.
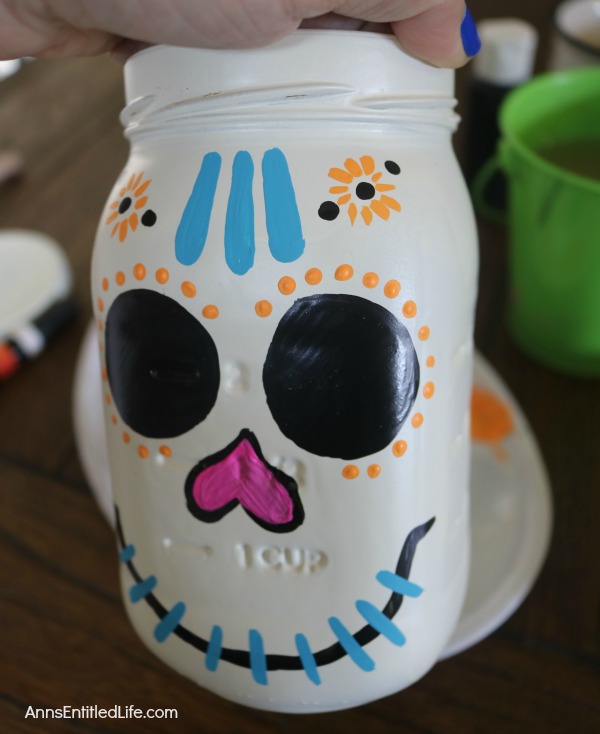
● Using your orange paint, form some “flowers” over the eyes. Simple slashes in a circle will do.
● Place a black dot of paint at the center of your flowers, and a few more around it. If you flip your paintbrush over, and use the handle tip, dipped in paint, you can make perfect dots. This is much easier than trying to use the paintbrush tip and they come out cleaner.
● A few blue slashes between the flowers complete the painting.
● Allow to dry completely.
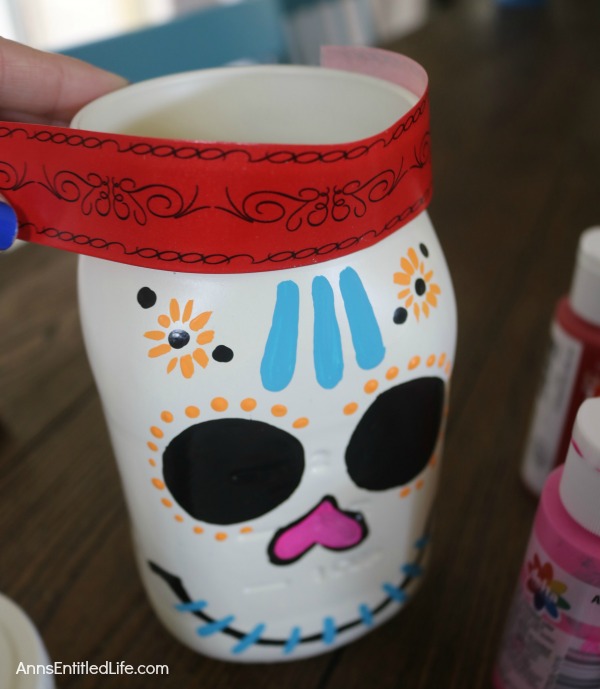
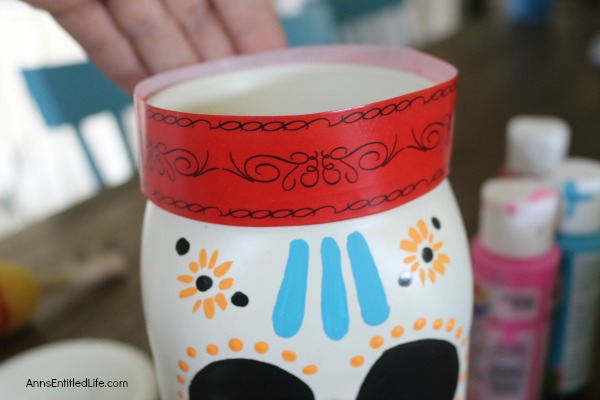
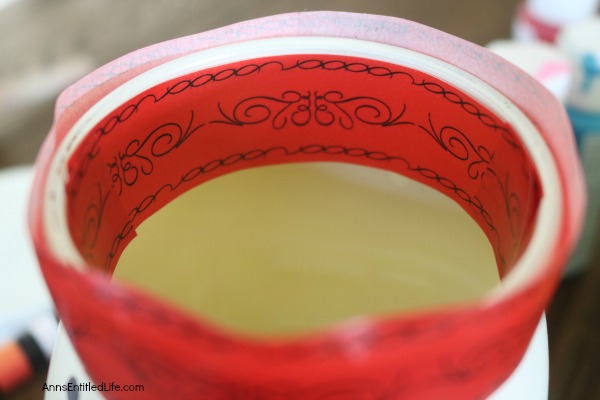
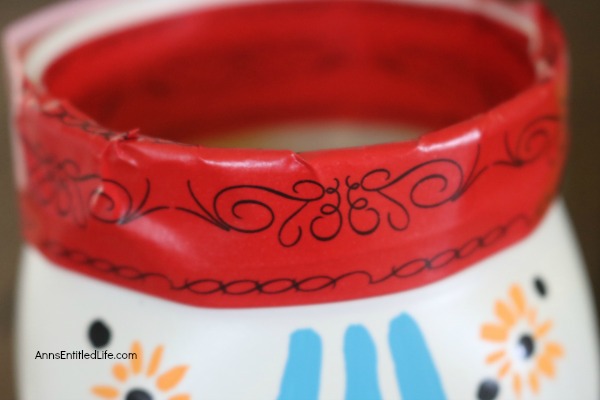
● Using washi tape, tape the top edge of your jar outside, and inside leaving room to wrap the top one over the rim to finish it off. Smooth it all down.
● Spray a clear coat of Mod Podge Clear Acrylic Sealer over the entire jar following on package directions.
● Allow to dry completely.
● Fill with candy, use as a display piece, place in your kitchen with utensils, etc. There are many ways to use this Sugar Skull Mason Jar Craft in function and decorating!
● Disclosure: the links in this post may be affiliate links.
● For more Craft posts on Ann’s Entitled Life, click here.
● If you enjoyed this post, be sure to sign up for the Ann’s Entitled Life weekly newsletter, and never miss another article!
Elise Cohen Ho says
I could not love this more. It is so awesome and uses my very favorite of Mason Jars. I will definitely be sharing this with my daughter to see if she would like to make it together.
Erin @ Making Memories says
So dang cute!
Kim Six says
This came out so adorable! I love sugar skulls!!
I am featuring it as my favorite rock star pick in this week’s Creativity unleashed. Swing by the blog later today to see the post!
Trudy says
I love this jar and I know I saw it somewhere else and pinned it already, but I’m doing it again!! Great job!