This is an unusual, easy to make craft you can fabricate with basics found at your local dollar store. If you are looking for an inexpensive, quirky craft, you can make this paper bag flower arrangement in about 30 minutes using these step-by-step instructions.
Dollar Store Craft: Paper Bag Flower Arrangement
When my niece suggested we make a few dollar store crafts, I must admit I was not very enthusiastic. When I think “dollar store” I generally think er, craptastic and overpriced (check out those per ounce prices!) Sure I buy a few things at a dollar store, most notably the garden stones for crafts and the clear stone weights for crafts. Those are a real bargain in my opinion. But, as for the rest? That is Hubby’s wheelhouse, not mine.
● One thing I have learned making these Dollar Store Crafts is that the floral foam from a dollar store is often fairly decent. Especially for a buck. The rectangle floral foam has held up very well and holds the flowers in place very nicely.
● The flowers are more cheaply made than what you would find over at Michaels, Hobby Lobby, or Joann but they are also about 1/5th the price. Still keep in mind that quality of flowers from a dollar store can be suspect. Look them over carefully when you are purchasing.
● Do not be afraid to combine flowers. Strip the stem leaves off one and combine with the flower of another. Make these arrangements personal!
● For this paper bag craft, make certain the bag is not see through. You want it to have a bit of weight to it so that the foam will remain secure.
A few tips about making a dollar store floral arrangement:
● When selecting flowers, bushier flower will be better for filling in “holes” (see above).
● When choosing flowers, stay in the same theme (fall flowers, spring,. etc.) and do not be overly “matchy”. The key to a nice arrangement is height differential.
● Wispy tall grasses will make the arrangement look more realistic.
● Cut stems longer than you think you will need (stand it next to the “pot” and see how it lines up). You can always cut more off, but you cannot add back length (well, beyond the length of a pick).
● Do not work on one side at a time, try and work the whole arrangement. It will help with balance. These are three dimensional arrangements, so be conscious of the space. Turn and work to fill in the foam in the pot/tin/bag/planter.
● Taller flowers are inserted in the center, and then the other flowers are filled in around.
● Tall wisps are inserted last (first on a wreath, last on a flower arrangement).
● If you like Dollar Store Crafts, you might enjoy this Dollar Store Craft: Fall Centerpiece.
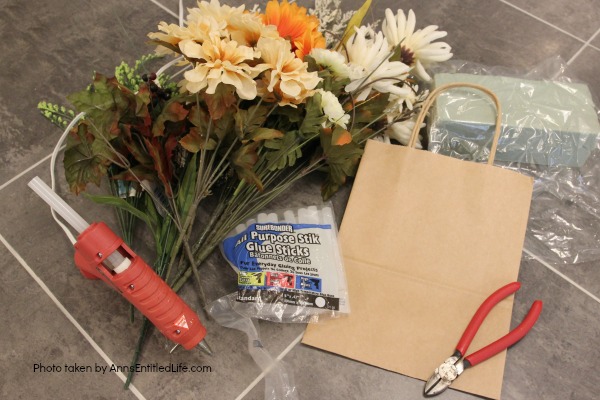
Dollar Store Craft: Paper Bag Flower Arrangement Materials:
● Dollar Store Flowers
● 1 Paper Bag (a gift bag was used for weight and opaqueness)
● 1 Rectangluar Floral Foam
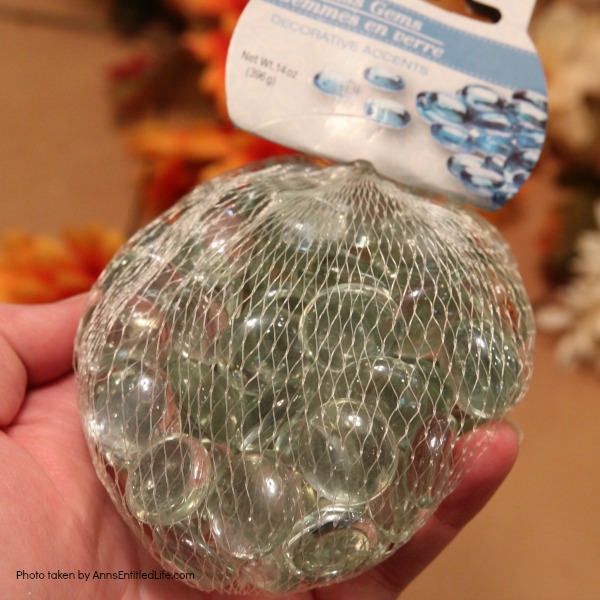
● 1 Bag Clear Accent Gems
Please note that even though this is a dollar store craft, you will need a few items that can not be purchased at a dollar store (or at least not at any dollar stores where I have shopped!):
● Wire Cutters
● Glue Gun
● Hot Glue Sticks
Dollar Store Craft: Paper Bag Flower Arrangement Directions:
● Note that no picks or floral tape were used in this paper bag arrangement. You can always pick and wrap stems if you like.
● There is an accent color in this arrangement, orange. You could do this arrangement with red, blue, yellow, etc., accent flowers.
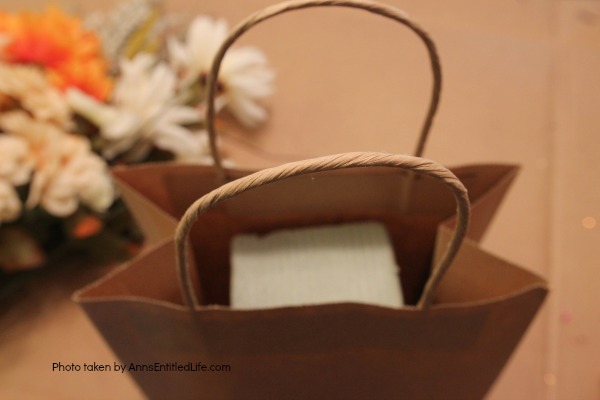
● Open paper bag.
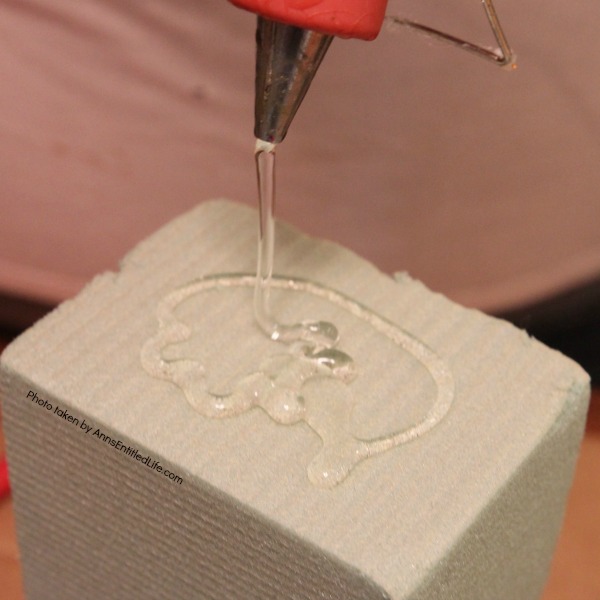
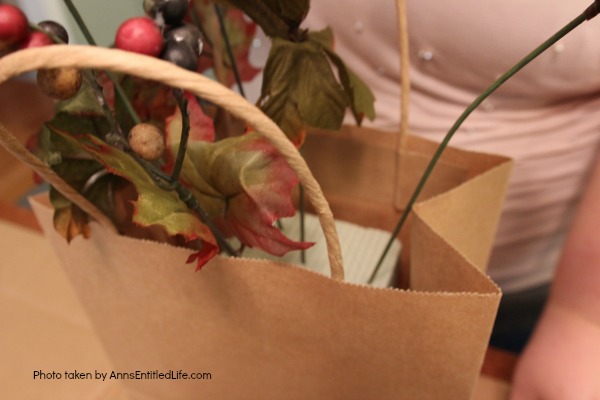
● Liberally apply hot glue to the floral foam (small end of the rectangular shape) and insert it into the bag. Hold until dry.
● Add a bag of clear accent gems evenly distributed in the bottom of the bag around the foam. This will give this a bit of weight so it isn’t too top heavy and does not tips over (you could do two bags, but make sure the bottom of your bag will support that extra weight).
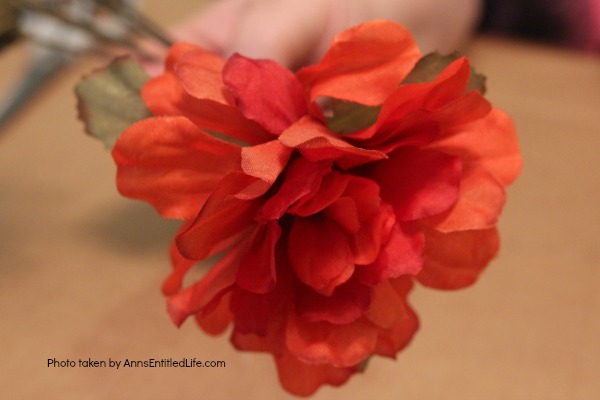
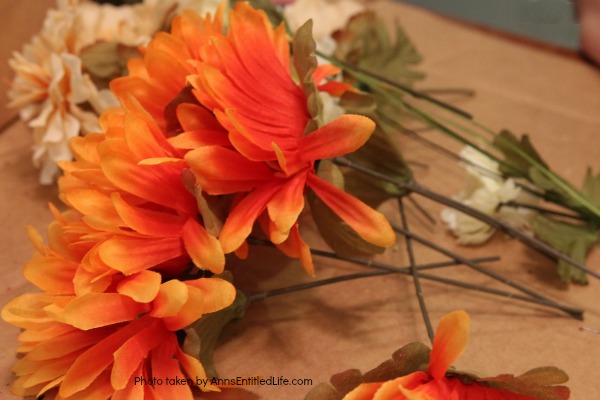
● If you purchased bushes of flowers, clip them off the bush. You want individually stemmed flowers.
● Measure the flowers against the bag and eyeball where they will hit when inserted. This is a taller arrangement, not a deep-seated one, so keep that in mind when cutting. Err on the side of too long as you can always cut more off.
● Drop a dot of hot glue onto your floral foam where you want to place your flower. Insert the picked flower on top of that hot. Hold until the glue cools and hardens.
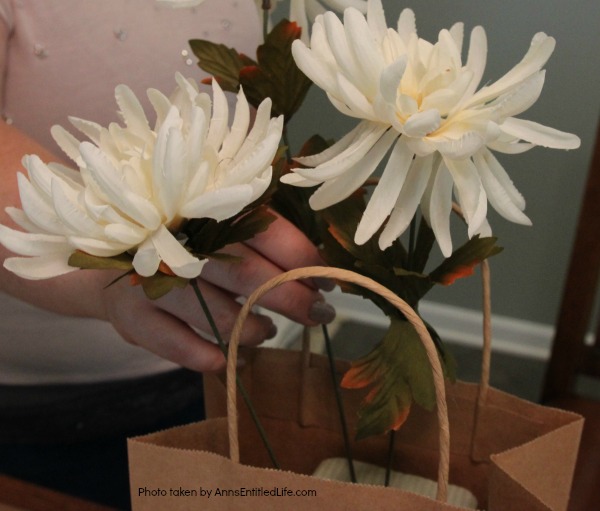
● Taller flowers are inserted in the center, and then the other flowers are filled in around it at staggered, lower heights.
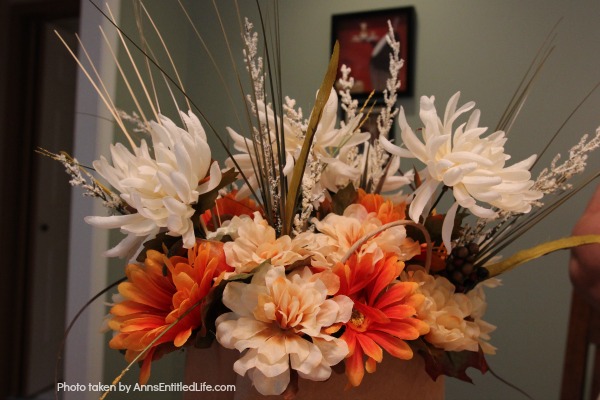
● Once the taller flowers (in this case white, ummm, big ones) are inserted, begin adding the next size down flowers. Do not work on one side at a time, try and work the whole arrangement. It will help with balance. This is a three dimensional arrangement, so be conscious of the space. Turn and work to fill in the foam in the tin.
● Insert the smaller flowers to fill in the lower area of the bag.
● Check for large holes and fill in the spots with fuller flowers.
● Tall wisps are inserted last for balance and whimsy.
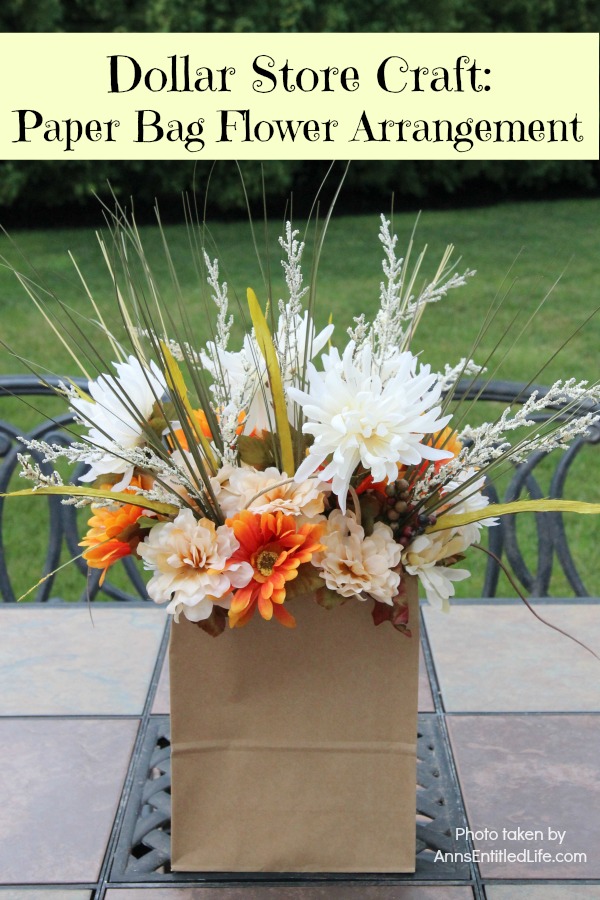
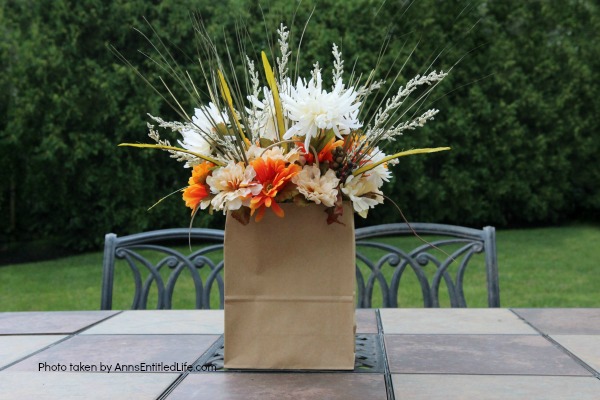
● This is what mine ended up looking like. Yours may be different depending on the paper bag you use, whether you want to add a bow to the side or front (but be conscious of the weight and relative lack of bag stability), whether you picked up different colors or flowers, etc. All flower arrangements are highly personal, and you want that! Make it yours even if it is based on an idea you saw somewhere else.
● Disclosure: the links in this post may be affiliate links.
● For more Craft posts on Ann’s Entitled Life, click here.
● If you enjoyed this post, be sure to sign up for the Ann’s Entitled Life weekly newsletter, and never miss another article!

wendy robbins says
This is very sweet! A great little idea. I’m sharing it to FB as My French Twist’s DAILY DIG!
Ann says
Thank you, Wendy!
Ann
Carol ("Mimi") says
This is a clever and inexpensive craft idea. It turned out looking very nice. Thanks for sharing the tutorial.
Carol (“Mimi”) from Home with Mimi
Ann says
Thank you, Carol!
Ann
Liz@Home and Gardening With Liz says
A very creative and cute idea!
Didi from Dishin with Didi says
Well that is just beautiful, who knew? Great tutorial my friend!
Ann says
Thank you, Didi!! I hope all is well with you and yours.
Ann
Didi from Dishin with Didi says
Thank you Ann, we are well. Busy as always my friend, busy as always…