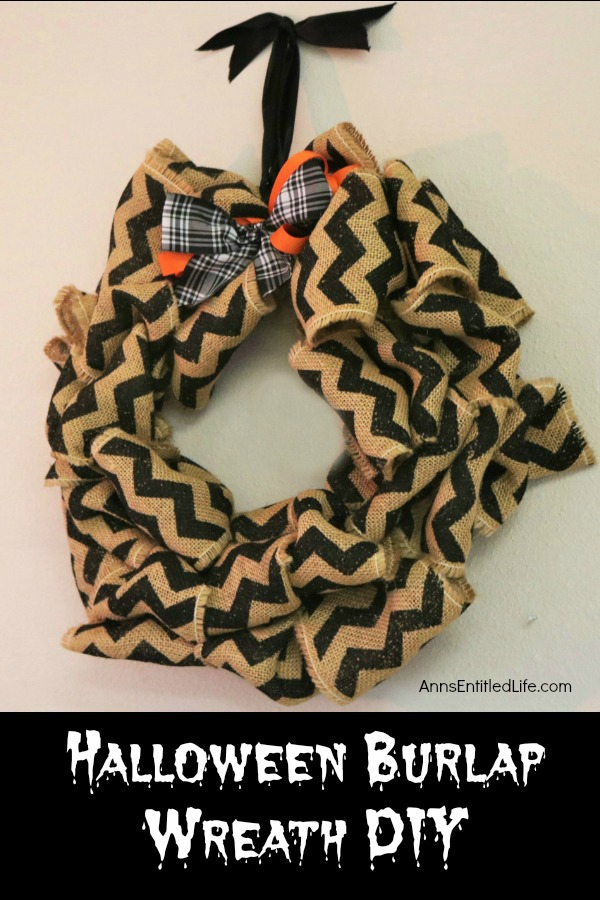
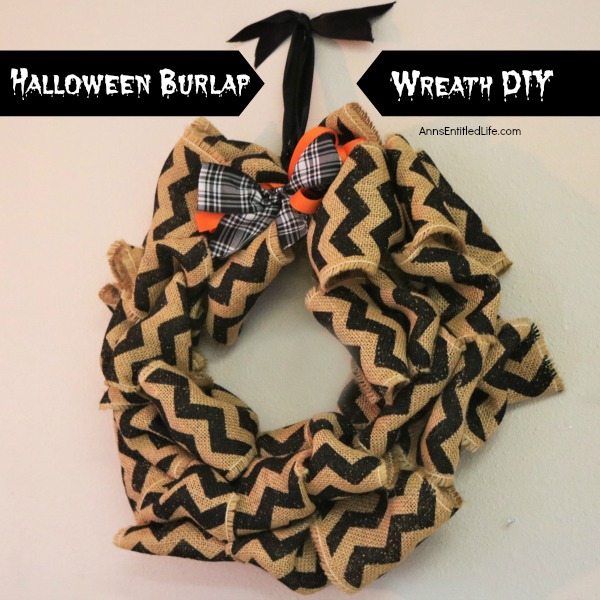
An easy to make Halloween wreath craft, perfect to display over your fireplace, or on your front door.
Halloween Burlap Wreath DIY
Using burlap in your home décor has become very trendy the past few years and is a great way to get a rustic feel in your home. It adds charm to your house!
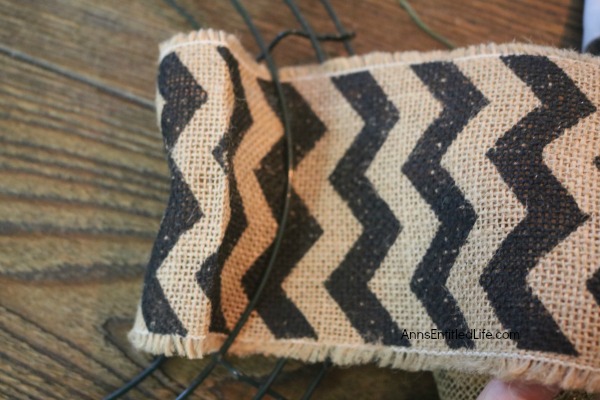
You can find several patterns and colors of burlap now in your local craft store. They come in long and skinny rolls. You can use the plain tan (which is the standard one) and dress it up with colors or choose a pattern (like the black chevron pattern shown here).
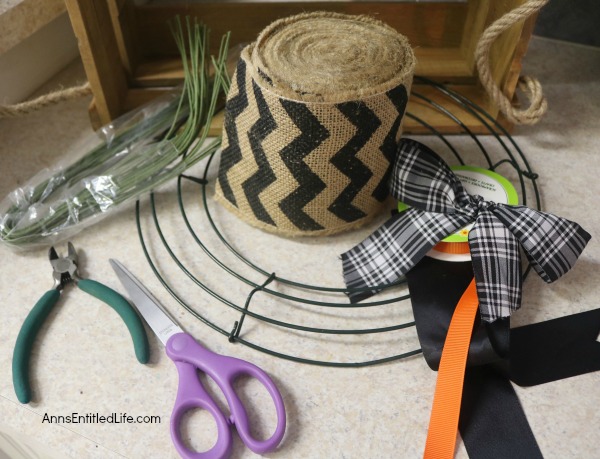
Halloween Burlap Wreath Materials:
● Round Wreath Frame (12″ is used in this craft)
● 2 rolls Burlap
● Bows (or ribbon to make bows)
● Wide Black Satin (for the hanger)
● Floral Wire
● Wire Cutters
● Glue Gun
● Hot Glue Sticks
● Scissors
● Decorations – optional
Halloween Burlap Wreath Directions:
● Take a long piece of floral wire and cut each long piece in half. You will need at least 2 of these for every strip of burlap you put on the wreath. For this wreath, two strips per section were used.
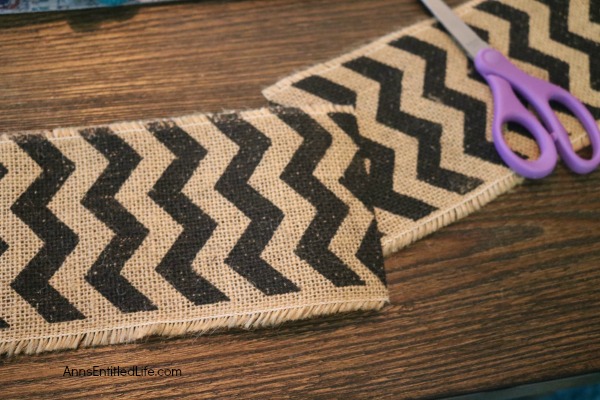
● To begin, cut your burlap into strips, about 2½ feet long. More burlap allows for more body and a less “flat” wreath. Using two strips per section should end up being about five feet per section.
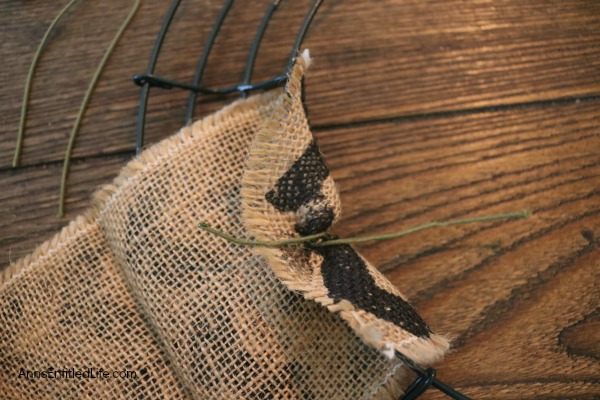
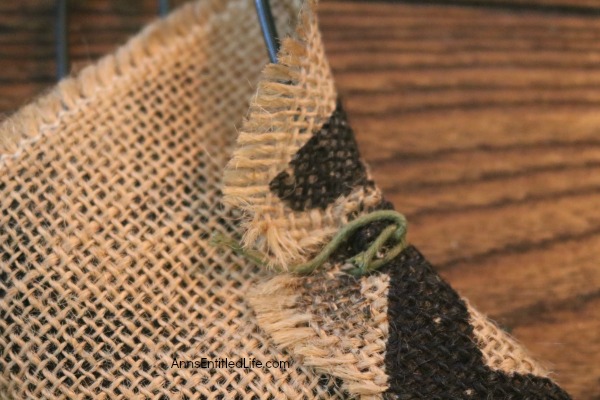
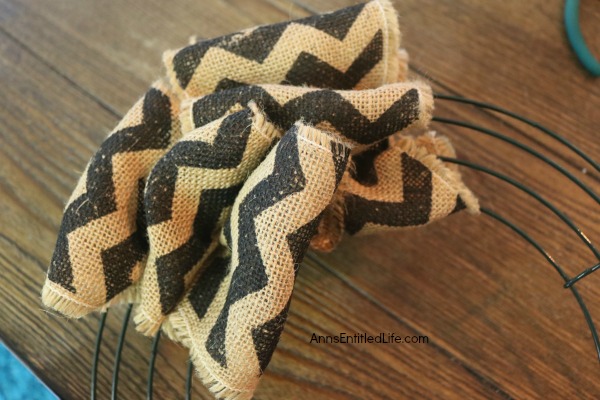
● Start to wrap the burlap by folding the strip over the outside edge of the wreath, making sure that the patterned side is facing out the right way. Then, take a piece of the floral wire and run it through that and over the base and twist it tight to secure the burlap, so the burlap will not unroll off the base. This is key to the whole process, and once you do it a few times, it will become easier.
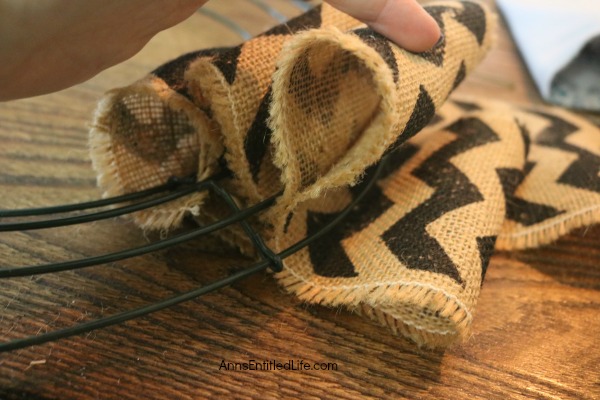
● Turn the burlap over and under the wreath base in that section and leave the loops a little loose to build the body of the wreath. If you pull it too tight, the wreath will be flat and the look of this is meant to have the movement like a ribbon would move. When you come to an end and need to go back the other direction, you will need to turn the burlap facing the right way as you come back over the wreath.
● It is easy to get your burlap turned backward, so just keep checking as you go to be sure you are not showing the back side of the burlap instead of the front.
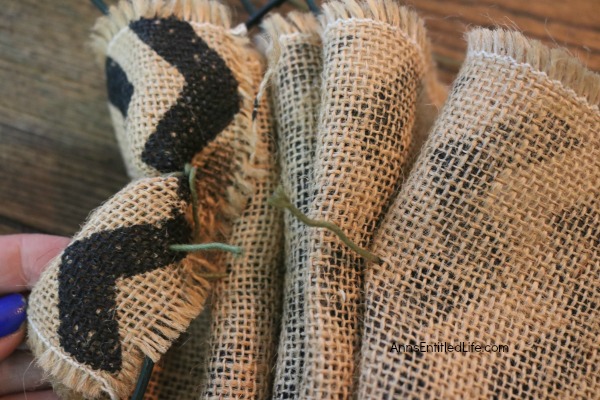
● Once you have the piece on all the way and your loops all done, use another piece of floral wire and carefully run it through each loop of the burlap, and then once you have it all the way through, pull it together in the back and twist it.
● Repeat until each section of the wreath is full. If you have any odd loops that stick out too much at the end, just use a small piece of wire and loop it through to the frame with wire to pull the excess loop down and secure it.
● Once the wreath frame is completely covered, you may need to pull some burlap or fluff it a bit to get every bit of the base covered.
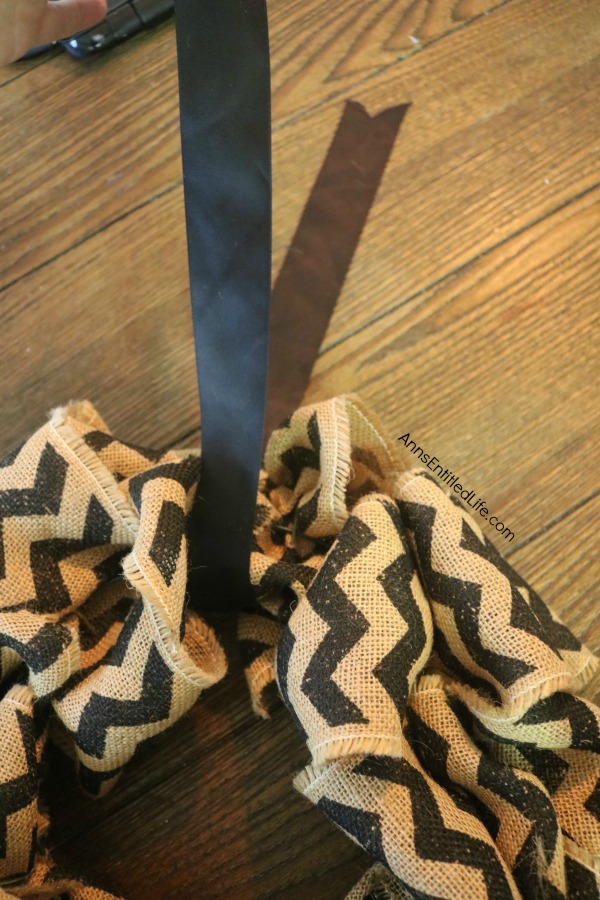
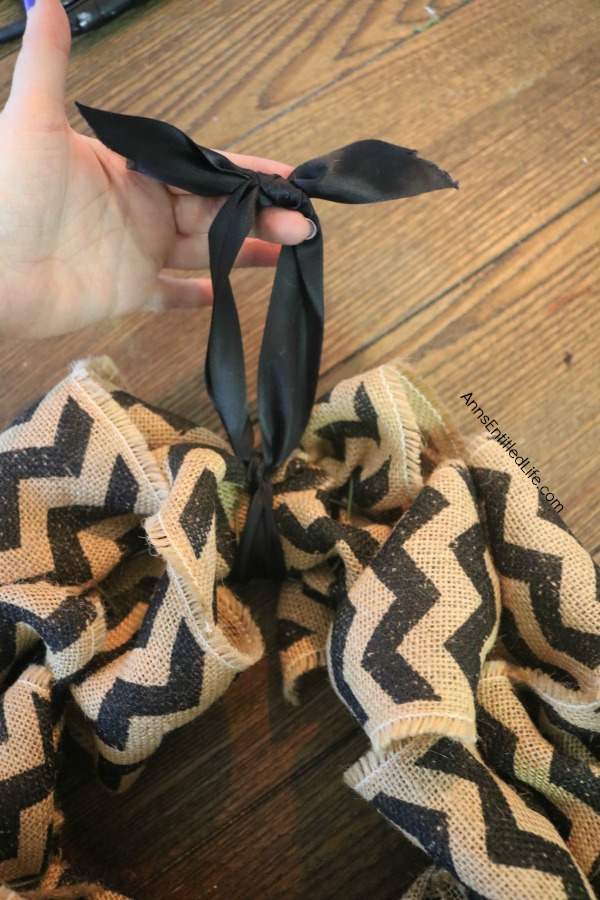
● Attach the hanger. You may want to check the length against the area where you plan to hang your wreath before deciding on a length of ribbon.
● Use a simple square knot: left over right and under, right or left and under, or another knot that will not loosen and drop your wreath.
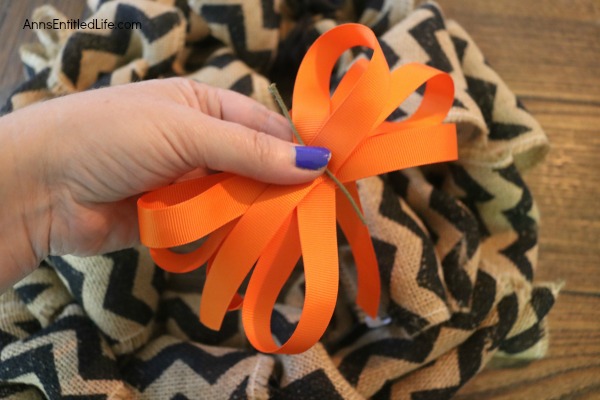
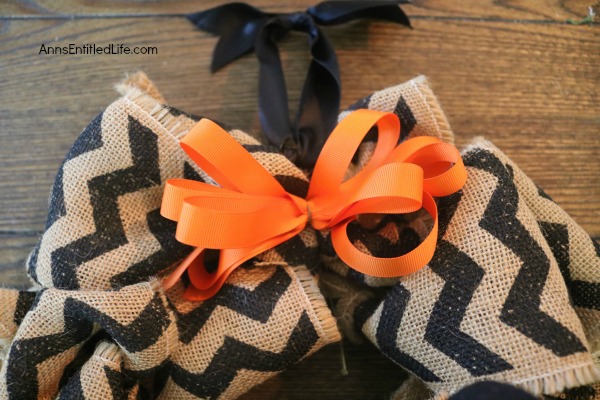
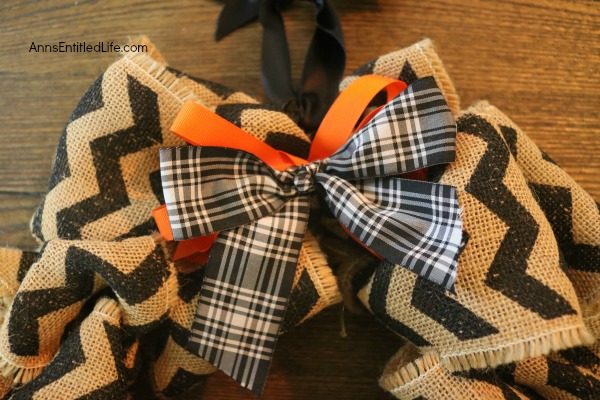
● Attach the bow(s) with wire and/or hot glue.
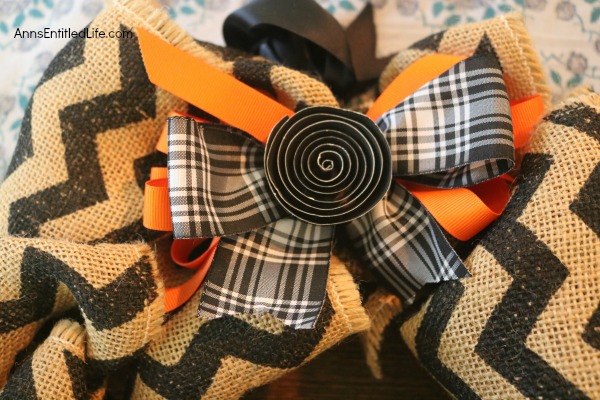
● Add any extra embellishments you might like and hot glue them in place. As with all crafts you want to start with an idea, then make it your own! (This is simply an optional flower rosette added in the middle of the bows.)
● Once your items are all glued on, your wreath is ready!
● Because this is so simple, you could leave it up for all of the fall season, and not just for Halloween!
● Disclosure: the links in this post may be affiliate links.
● For more Craft posts on Ann’s Entitled Life, click here.
● If you enjoyed this post, be sure to sign up for the Ann’s Entitled Life weekly newsletter, and never miss another article!
Leave a Reply