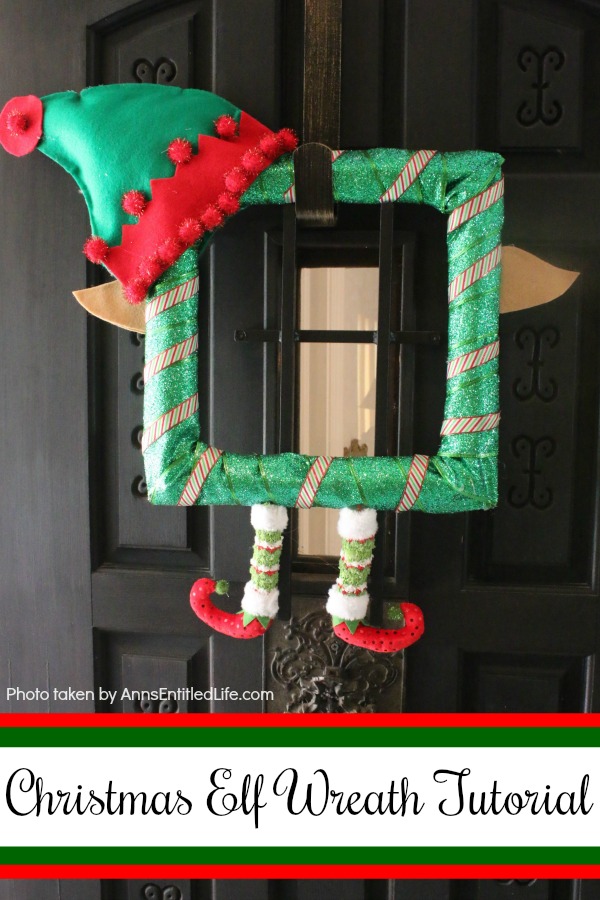
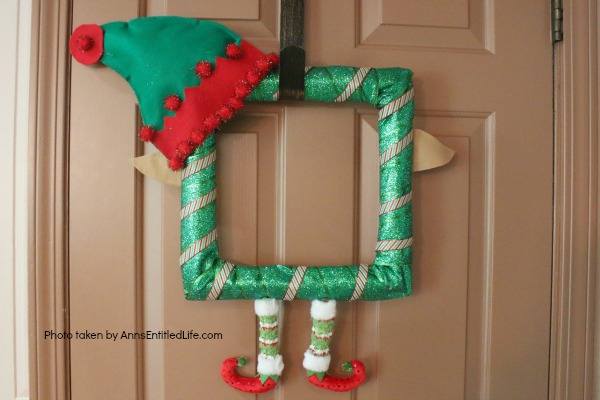
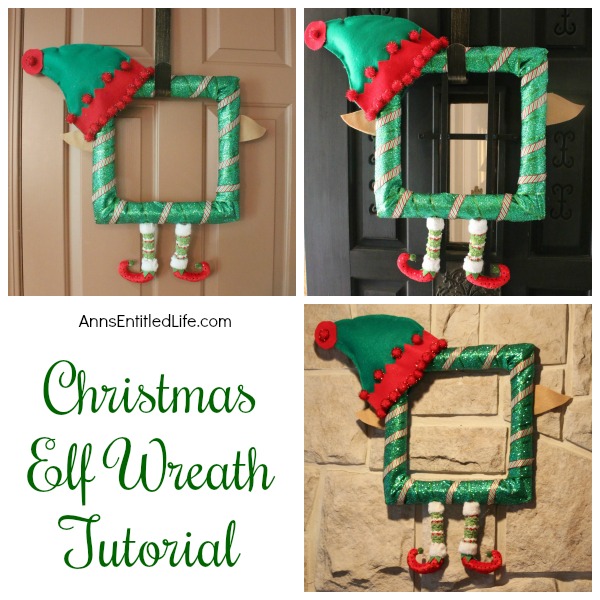
This step-by-step tutorial will show you how to easily make this darling Christmas Elf Wreath in about 30 minutes.
Christmas Elf Wreath Tutorial
This is a super easy to make wreath. It took less than 30 minutes to put together. I am sure you noticed it is a square framed wreath. That was intentional… just to be different. While I like a round wreath as much as the next person, this square wreath really came out well.
If you go the round-wreath-frame route, please let me know how it worked out for you! Did you use metal or foam, and how did the feet placement go?
Note: The templates are all pdfs. You need a pdf reader to open them. The most common pdf read is Adobe Reader. If your computer did not come with it pre-installed (or if you need to update your adobe), you can download it for free here. Just make sure you unclick that “Yes, install the free McAfee Security Scan Plus utility to check the status of my PC security. It will not modify existing antivirus program or PC settings.” box before you begin the install or update.
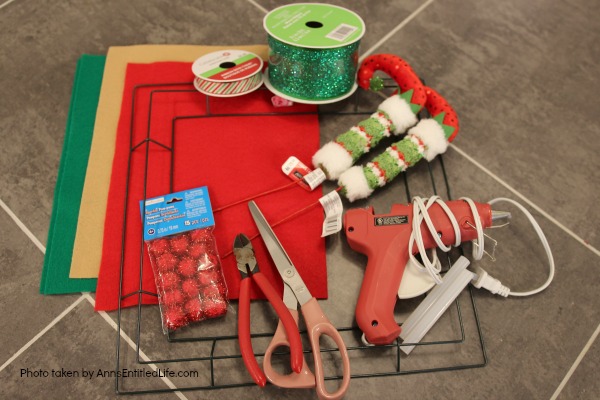
Christmas Elf Wreath Tutorial Materials:
● 14″ Square Wreath Frame
● 2 Green Felt Squares
● 1 Red Felt Square
● 1 Tan or Blush or Pink or Brown Felt Square (pick one, this is the skin color)
● Wire Cuttters
● Fiber Fill
● Glue Gun
● Hot Glue Sticks
● Scissors
● 2½” Wired Ribbon, 25′
● ½” Ribbon (optional)
● Elf Feet
● Sparkly PomPoms
Templates:
● Elf Hat Template
● Circle Template
● Elf Hatband Template
● Ear Template
Christmas Elf Wreath Tutorial Instructions:
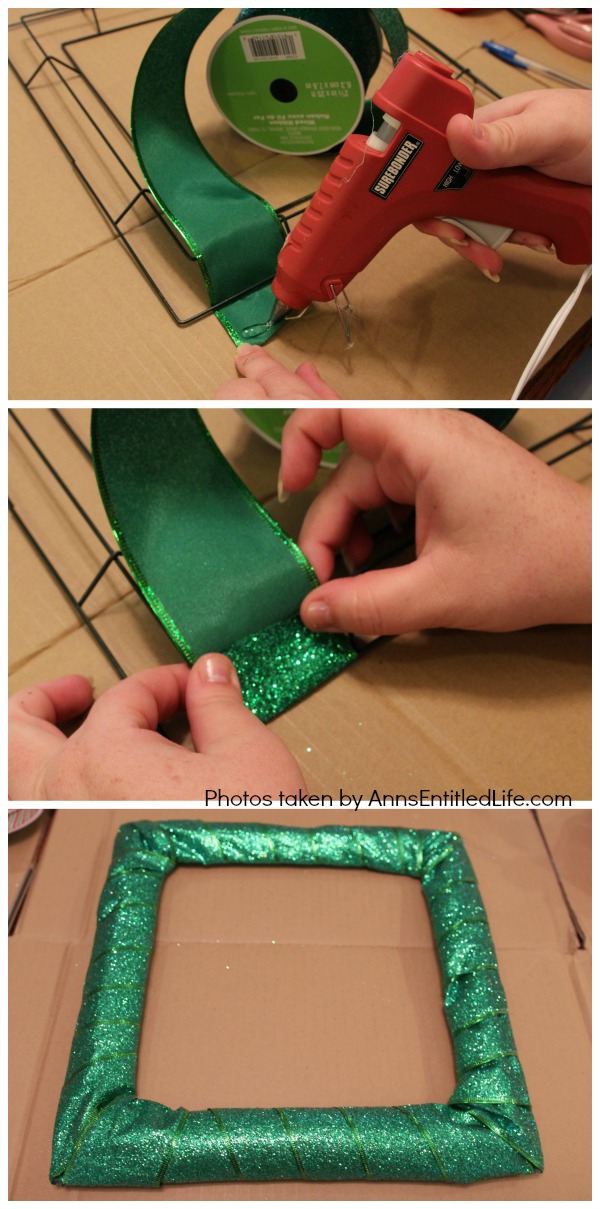
● Wrap the wreath frame with wired, sparkly ribbon (we used green).
● Hot glue as much necessary to hold in place. To begin, pull the ribbon through about half an inch, line the end with hot glue and flip it up to the underside of the green ribbon. This will hold the ribbon in place.
● If you are not using a wired ribbon, you will have to hot glue much more frequently.
● Hot glue every few wraps to hold the ribbon in place.
● Glue down the corners if they are sticking up.
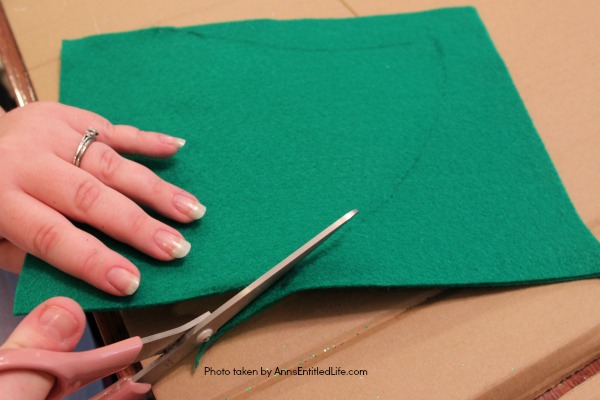
● Cut out the hat on green felt using this template: Elf Hat Template Note that you align this template with the bottom of the short side of the felt (of you are using a rectangular piece).
● You need a front and a back. You can stack the two pieces, make one tracing and then cut on top of one another.
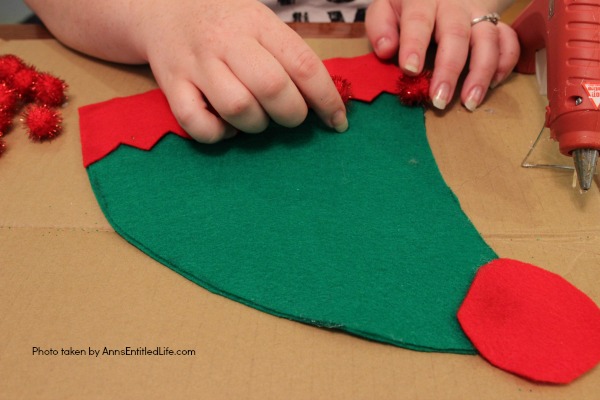
● Hot glue the sides of the hat together, but not the bottom!
● Cut a circle from red felt using this template: Circle Template
● Cut out a hatband from red felt using this template: Elf Hatband Template
● Note: the hat orientation in this tutorial is a lefty. If you need a right-sided hat, plan accordingly.
● Glue the red circle to the top of the hat in the corner.
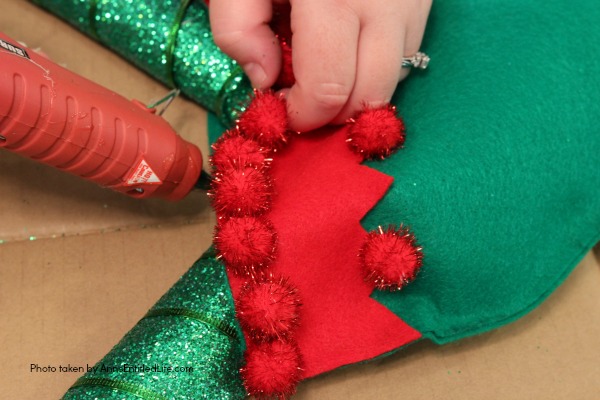
● Glue the hatband to the front of the hat.
● Glue red sparkly pompoms to the center of the red circle, and along the hatband.
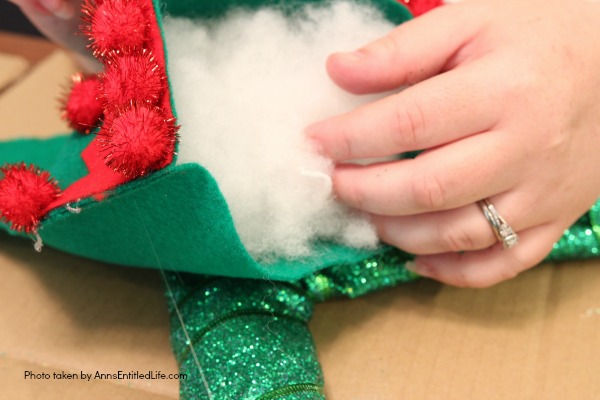
● Insert some fiberfill into the hat. Not a lot, you want to it have some shape but not be overfilled.
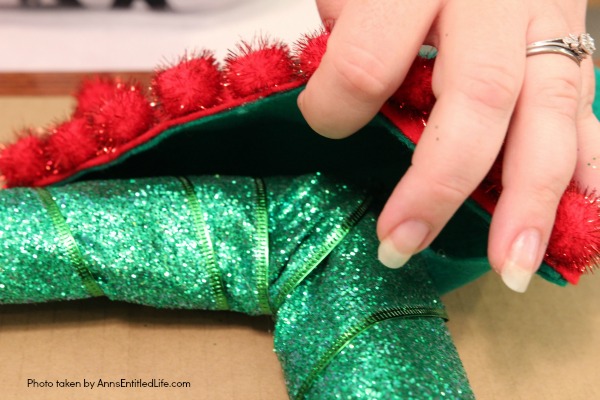
● Open the hat and place it in a corner of your wreath (lefty hat left side, righty hat, right side). This is a left-sided hat, so you are inserting on the left upper corner of the wreath frame.
● Hot glue in dabs the front and the back of the hat to the wreath.
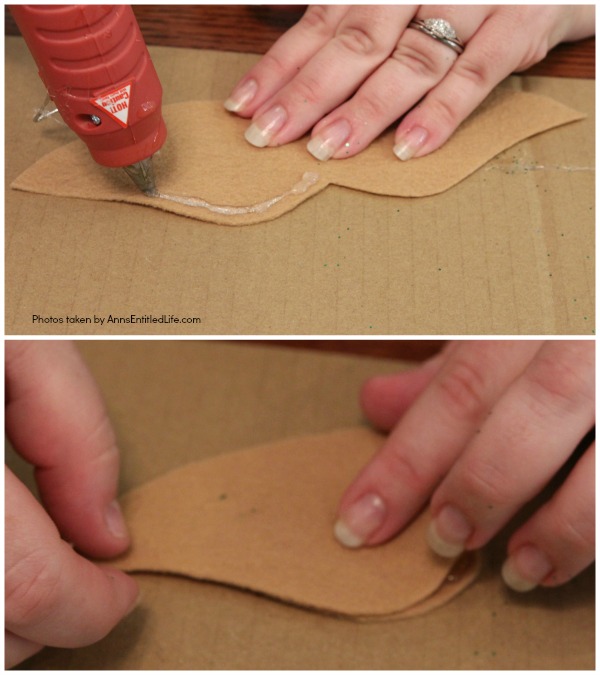
● Cut out two elf ears from your skin colored felt using this template: Ear Template
● Hot glue one side of the ear and carefully fold in half (one point to the other) to form an ear.
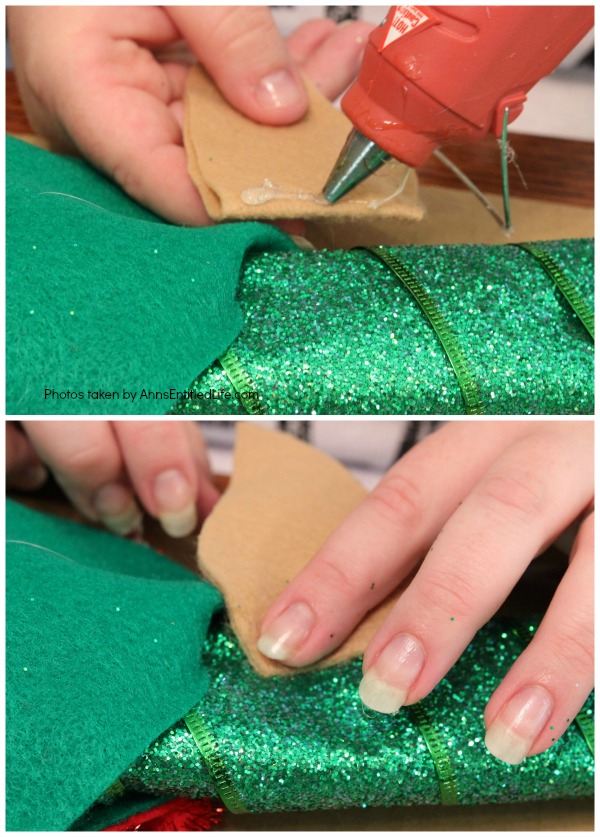
● Decide where you want your ears to be placed on the wreath (on either side of the hat? on either side of the frame?)
● Hot glue one ear in place to the wreath.
● Double check the second ear for correct placement (make sure it is even with the first one) and hot glue to wreath.
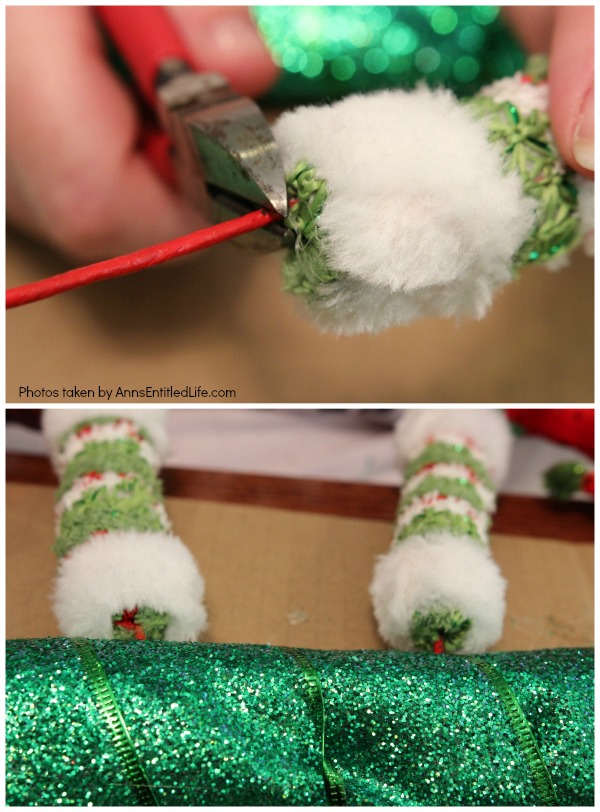
● Cut the wire base off the elf’s feet.
● Position your elf’s feet at the bottom of the wreath, making sure the toes are pointing out.
● Hot glue in place.
● This next step is optional…
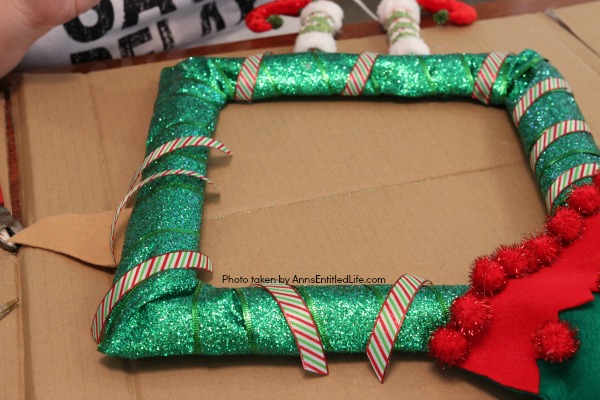
● There is a LOT of green on this wreath. To break that up a bit, cut some small, thin, pieces of ribbon and glue them in place around the wreath.
● That is it! Your wreath is ready to be hung.
● For more Craft posts on Ann’s Entitled Life, click here.
● If you enjoyed this post, be sure to sign up for the Ann’s Entitled Life weekly newsletter, and never miss another article!
Leave a Reply