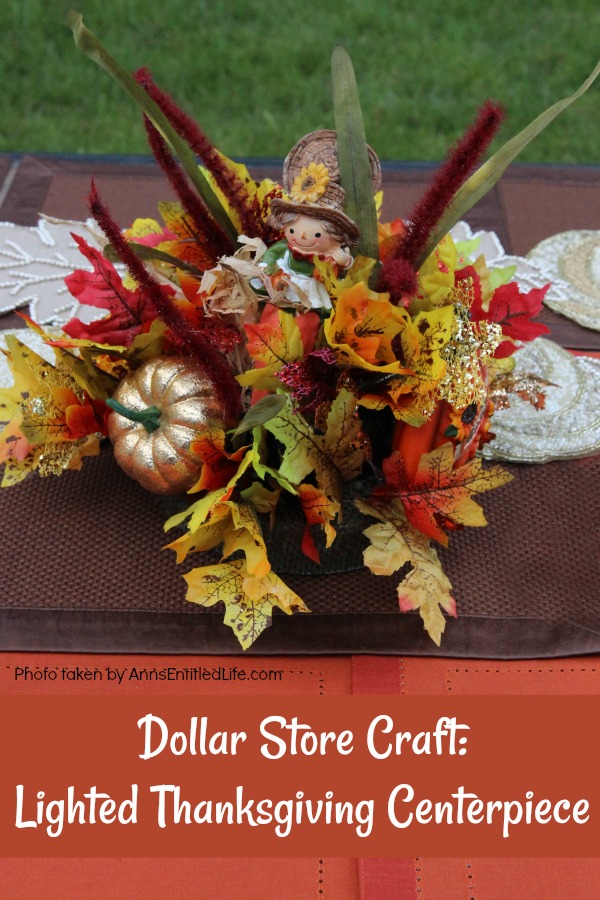
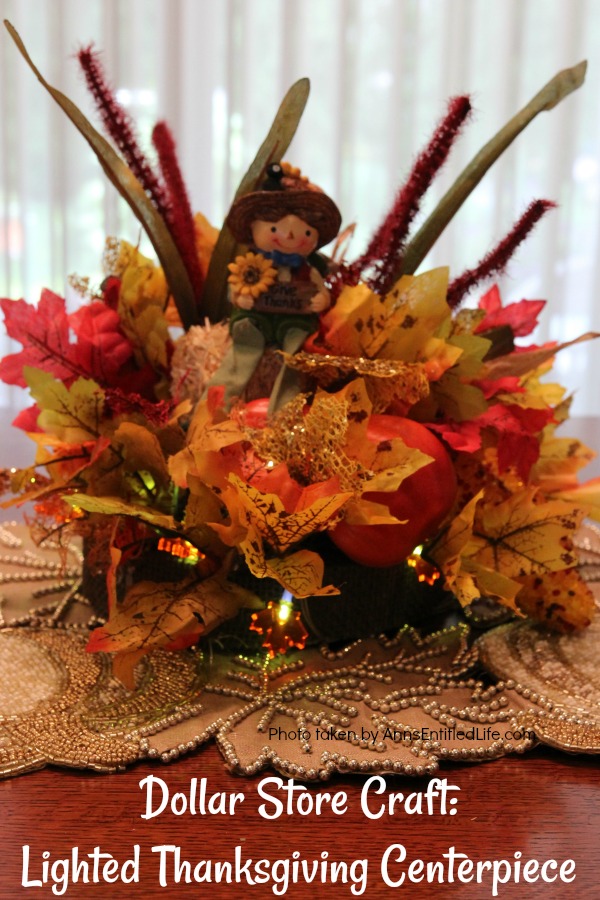
This lighted Thanksgiving centerpiece can be made with basics found at your local dollar store. If you are looking for an inexpensive, yet beautiful centerpiece, you can make this lighted Thanksgiving centerpiece in about 30 minutes with these step-by-step instructions.
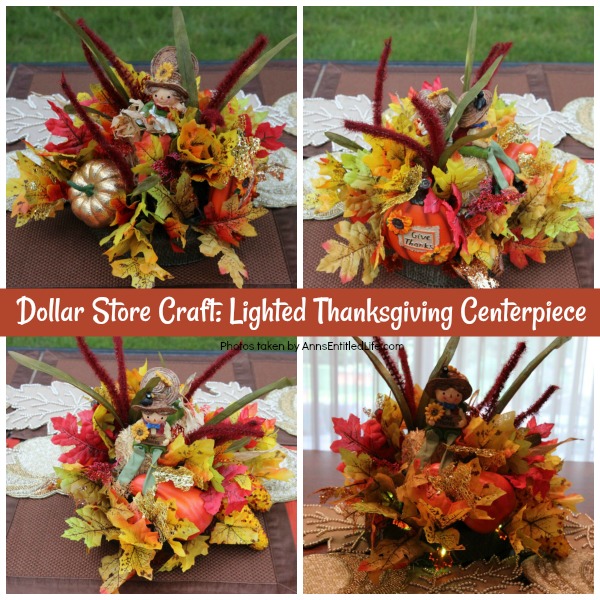
Dollar Store Craft: Lighted Thanksgiving Centerpiece
When my niece suggested we make a few dollar store crafts, I must admit I was not very enthusiastic. When I think of a “dollar store” I seldom think of it as “quality” or “cute.” Sure I buy a few things at a dollar store, most notably the garden stones for crafts and the clear stone weights for crafts. Those are a real bargain in my opinion. But, as for the rest? That is Hubby’s shopping store, not mine.
However, we did a couple of dollar store crafts including this Fall Centerpiece and Paper Bag Flower Arrangement and I must admit I have seen that lovely crafts can be made with dollar store items.
The flowers are more cheaply made than what you would find over at Michaels, Hobby Lobby, or Joann but they are also about 1/5th the price. Still keep in mind that quality of flowers from a dollar store can be suspect. Look them over carefully when you are purchasing.
While I have been sold on the dollar store floral foam (a buck!) while doing past crafts, the foams used in this craft were no where near as nice. Still, the white pieces and the floral ring were each a dollar (so $2 total), and it is difficult to argue with a little bit of extra caution (use a light touch) when the floral foam is that price!
The battery operated lights were so worth the price!! A dollar for a set of leaf lights… that is very difficult to beat anywhere.
A few tips about making a dollar store floral arrangement:
● When selecting flowers, bushier flower will be better for filling in “holes” (see above).
● When choosing flowers, stay in the same theme (fall flowers, spring, etc.) and do not be overly “matchy”. The key to a nice arrangement is height differential.
● Wispy tall grasses and fronds will make the arrangement look more realistic.
● Cut stems longer than you think you will need. You can always cut more off, but you cannot add back length.
● Do not work on one side at a time, try and work the whole arrangement. It will help with balance. This is a three dimensional arrangement, so be conscious of the space. Turn and work to fill in the foam.
● Taller flowers are inserted in the center, and then the other flowers are filled in around.
● Tall wisps are inserted last (first on a wreath, last on a flower arrangement).
If you are looking for more Fall or Thanksgiving centerpieces crafts, you might like:
● Dollar Store Craft: Fall Centerpiece – a fun, easy to make fall craft you can make with basics found at your local dollar store. This comes together in about 45 minutes.
● Floral Horn of Plenty DIY – This beautiful floral horn of plenty is a wonderful centerpiece or end table decorative piece, perfect for the fall season. This cornucopia is gorgeous (if I do say so myself!)
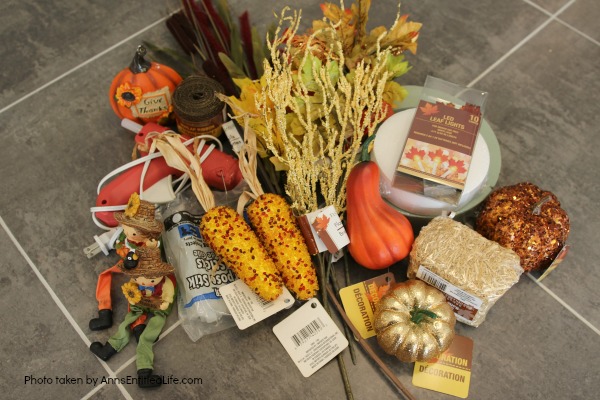
Dollar Store Craft: Lighted Thanksgiving Centerpiece Materials:
● Circular foam/floral Foam (you want this to look like a cake)
● Leaf Lights (they need 2 AA batteries and small screwdriver to open the battery case)
● Small Haystack
● Assorted Fall Figurines (a boy and a girl farmer were used in this craft… look for Pigrims, etc.)
● Assorted Fall Foliage (leaves, gourds, pumpkins, corn, etc.)
● Brown Wired Ribbon
● Scissors
Please note that even though this is a dollar store craft, you will need a few items that can not be purchased at a dollar store (or at least not at any dollar stores where I have shopped!):
● Wire Cutters
● Glue Gun
● Hot Glue Sticks
Dollar Store Craft: Lighted Thanksgiving Centerpiece Directions:
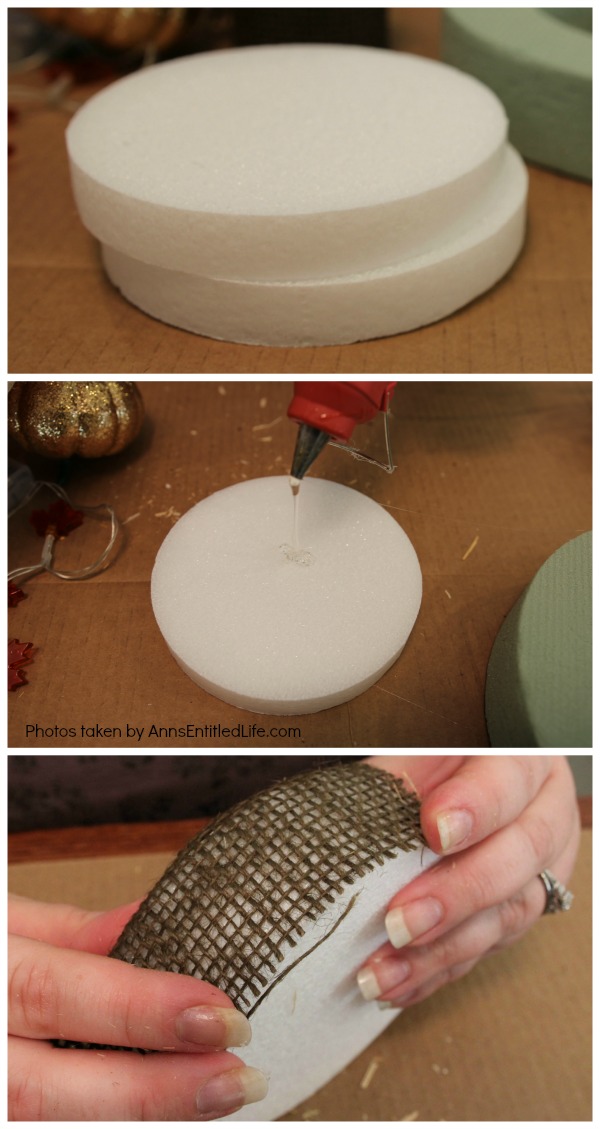
● Glue together white foam pieces.
● Hot glue the brown wired ribbon around the foam.
● Test your lights to see if they work (don’t forget to insert the batteries!)
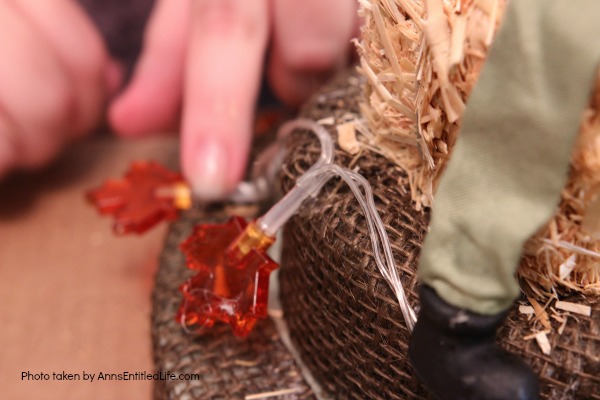
● Attach the lights in one spot only, with hot glue.
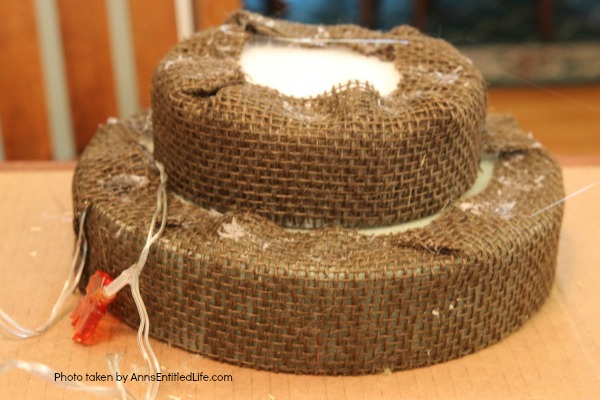
● Hide the wire under the burlap.
● Cut a trough in the bottom green floral foam.
● Tuck the light wire into the trough, and secure the battery pack the to the underside of the floral foam with hot glue.
● Hot glue the brown wired ribbon around the foam.
● Hot glue the top and bottom foam round together.
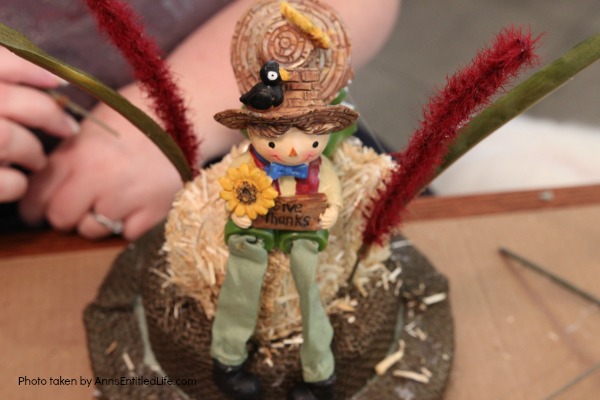
● Hot glue the haystack in place at the top of the rounds.
● Hot glue the figurines in place on top of the haystack (these are sitting figurines, and they worked great!)
● Glue down the rest of the lights hiding the wire underneath the wired burlap ribbon – make sure the leaves are facing out. Stagger them top and bottom, all on the bottom – you decide how you want your lighting to look.
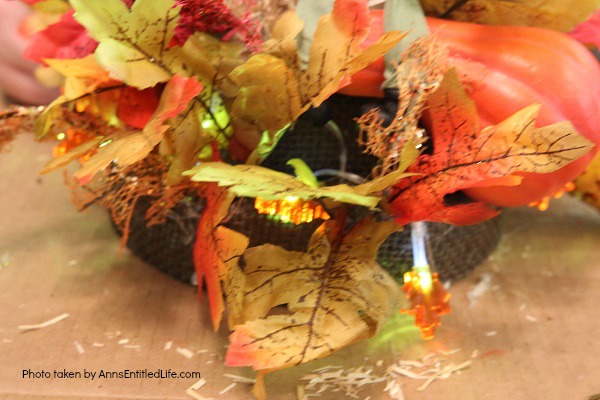
● Strip any bushy floral and insert piece by piece. If you are using large gourds, Indian corn, or pumpkins, attach them first. It is easier to fill in the leafy or flowery floral after the gourds, then the reverse. This worked very well with a few gold pumpkins.
● When you are inserting your floral be aware of your lights and make certain they don’t get lost in the foliage.
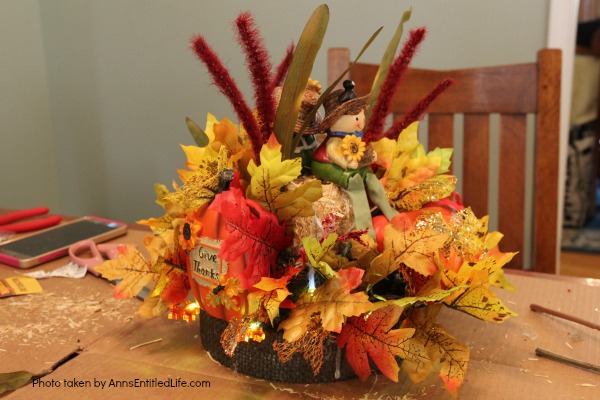
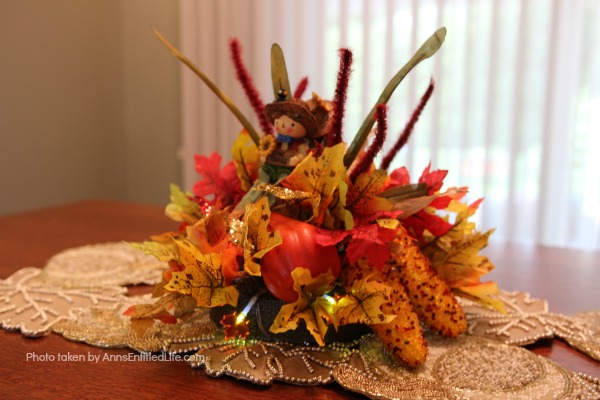
● And you are done!
● This is a super simple craft that yields big results for a half an hour of your time!
● This is what mine ended up looking like. Yours may be different depending on the floral you choose, the figurines, the color ribbon, the type of lightes, etc. Highly customizable, and you can do this for Thanksgiving or Autumn depending on the floral and figurines chosen.
● Disclosure: the links in this post may be affiliate links.
● For more Holiday posts on Ann’s Entitled Life, click here.
● For more Craft posts on Ann’s Entitled Life, click here.
● If you enjoyed this post, be sure to sign up for the Ann’s Entitled Life weekly newsletter, and never miss another article!



Marie says
This is beautiful! Adding the lighting is so smart. It adds an extra dimension without being too much. Thanks for sharing your tutorial with us at Merry Monday this week!