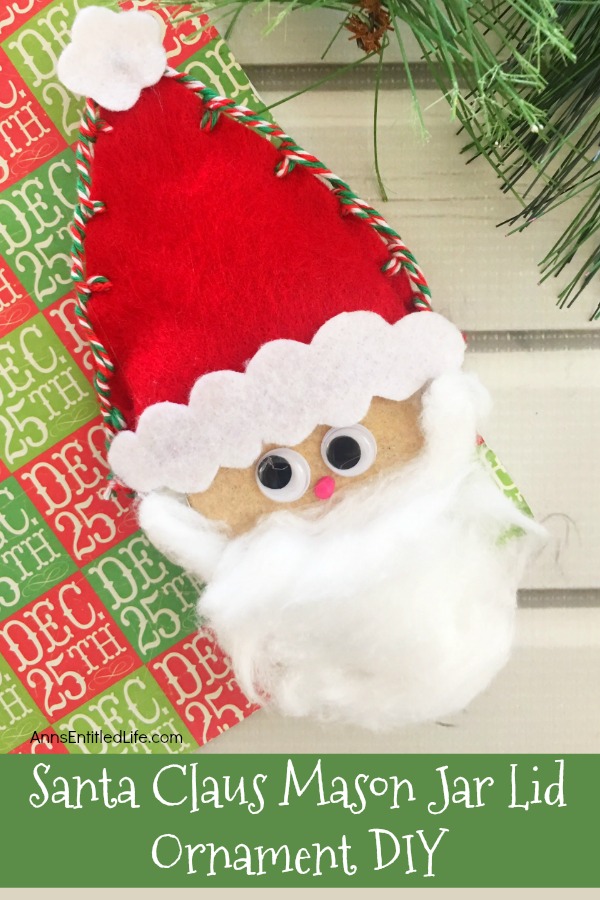
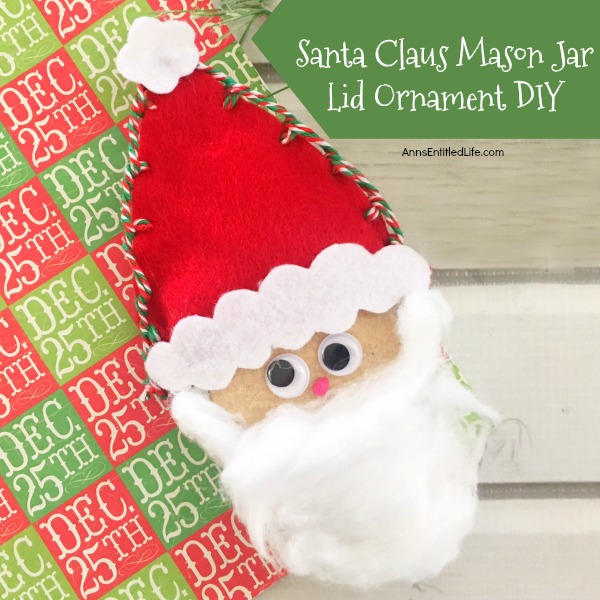
Give your Christmas tree a personal touch and make your own ornaments this holiday season. Follow these step-by-step tutorial instructions to make this adorable Santa Claus Mason Jar Lid Ornament!
These would also be so cute on top of a present as a little “extra” gift. Just attach one under the bow, or even in place of the bow, when you give a Christmas gift.
Santa Claus Mason Jar Lid Ornament DIY
I love making Christmas Tree ornaments! If you are looking for more DIY Christmas ornaments (some crafty, some upcycling existing ornaments), you may want to make these:
● Elf Mason Jar Lid Ornament DIY – this is simply adorable!
● How to Make Your Own Rudolph Ornament – upcycle, and so cute!
● oy Decoupage Christmas Ornament – upcycle, more traditional.
● Paw Print Ornaments – perfect for preserving furring little paws.
● DIY Cork Snowflake Ornament – got wine corks!?
● Essy DIY Button Snowflake Ornament – so simple to make!
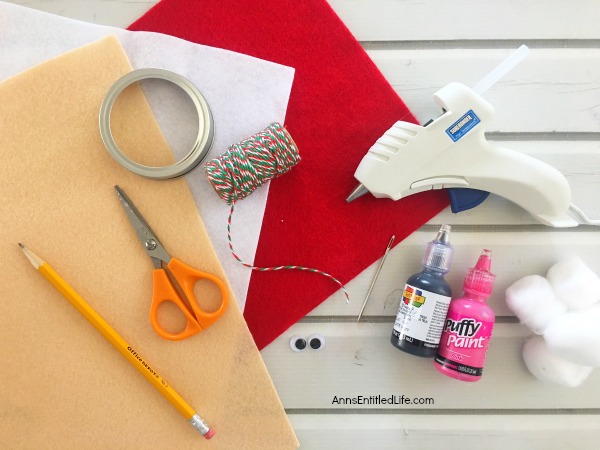
Santa Claus Mason Jar Lid Ornament Materials:
● Mason Jar Lid Ring
● Felt: Red, White and Flesh Colored (blush, brown, black… up to you)
● Christmas (holiday) Twine
● Small Googly Eyes
● Puffy Paint Black or Pink
● Scissors
● Cotton Balls
● Glue Gun
● Hot Glue Sticks
● Yarn Needle
● Pencil
Santa Claus Mason Jar Lid Ornament Directions:
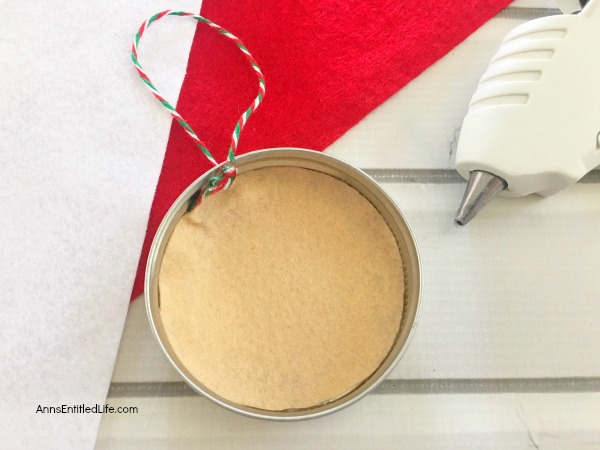
● Tie a piece of 8″ twine onto the Mason Jar Lid Ring. Tie the ends into a knot and glue the knot right onto the backside of the lid ring.
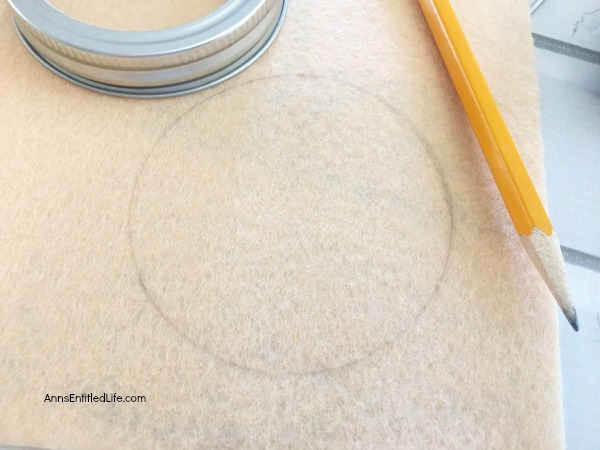
● Trace the outside of your lid ring onto a piece of flesh-colored felt, cut out with scissors and carefully glue into the back side of your lid ring.
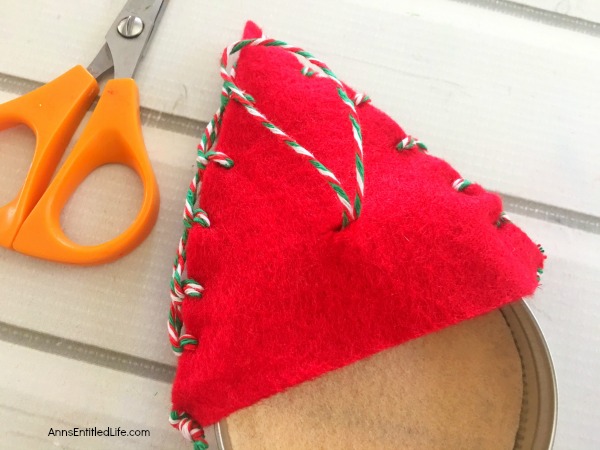
● Measure the top of your lid ring about ¼ of the way down and cut two pieces of a Santa hat out of red felt by making the bottom with ½” inch wider than your measurement to give room for the sides.
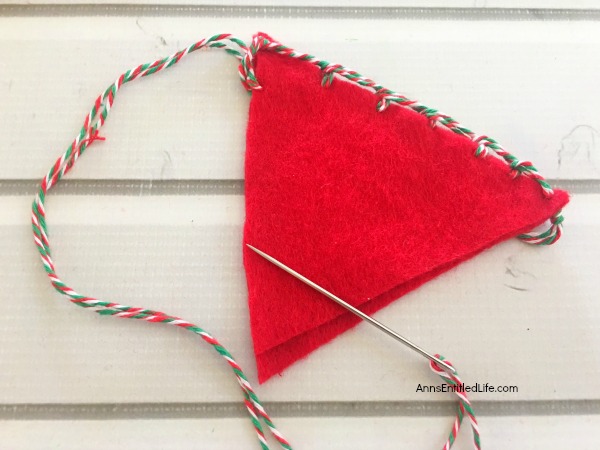
● Place your two hats together and sew the sides together using your yarn needle, twine, and a basic blanket stitch. Bring the needle out directly below again, just below the edge of the fabric. Loop the thread around the needle where it emerges and pull the thread taut. You can read more here. (If you like, you can add a tad of fiberfill to the hat to make it puff-out just a bit.)
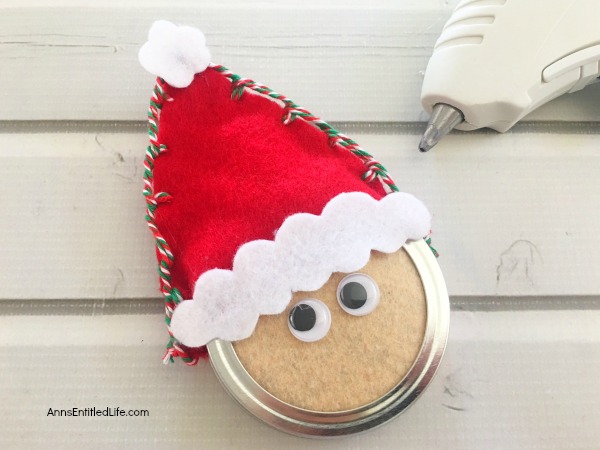
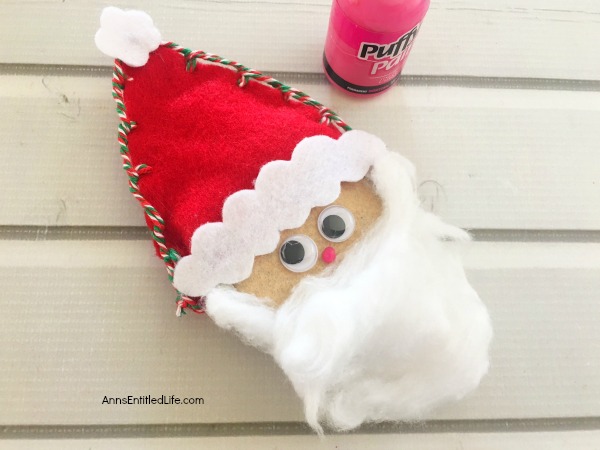
● Cut out a white cloud like-piece from your white felt for a hatband. Glue it to the bottom of your hat.
● Cut out a small white circle cloud for a “poof” at the top of the Santa hat. Glue it to the top of your hat.
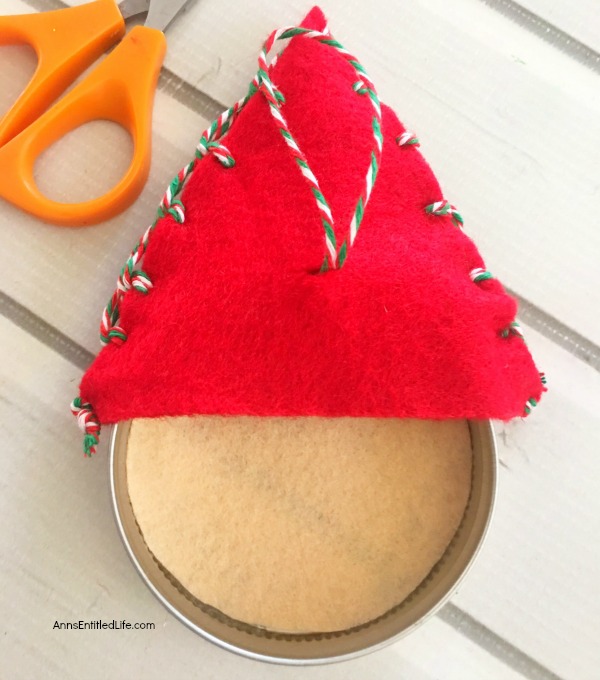
● Cut a small sliver into the back middle of the hat, slide the hat onto the top of the Mason jar and slide the loop through the back sliver cut and secure the hat with hot glue.
● Glue two googly eyes below the hat onto the flesh colored circle.
● Pull apart your cotton balls and glue onto your Santa face below the eyes for a beard (see above).
● Use your black or pink puffy paint to draw on a dot for a nose.
● Let your ornament dry overnight and hang by the Christmas Twine loop.
● Disclosure: the links in this post may be affiliate links.
● For more Holiday posts on Ann’s Entitled Life, click here.
● For more Craft posts on Ann’s Entitled Life, click here.
● If you enjoyed this post, be sure to sign up for the Ann’s Entitled Life weekly newsletter, and never miss another article!
Beth says
LOVE this ADORABLE Santa ornament, Ann! We will be featuring you starting Wednesday at the Creative Crafts Linky Party!
Creatively, Beth