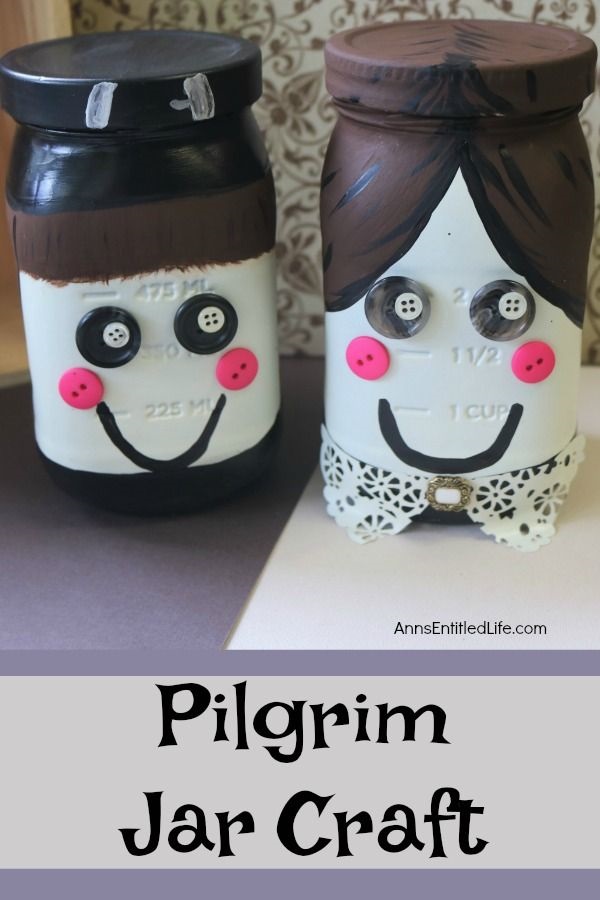
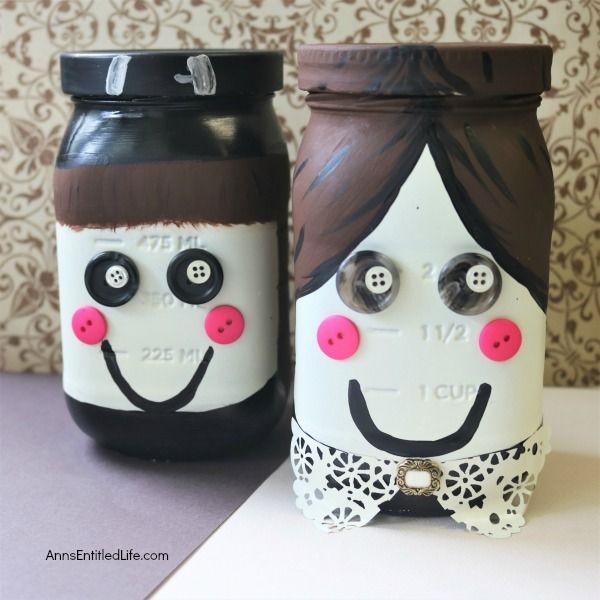
Use this step by step instructional tutorial to make this adorable these Pilgrims Jar Craft for Thanksgiving! Simple to make, these cute little Pilgrims would look great as part of a Thanksgiving centerpiece, or on a fireplace mantel or side table as standalone decor.
Pilgrims Jar Craft
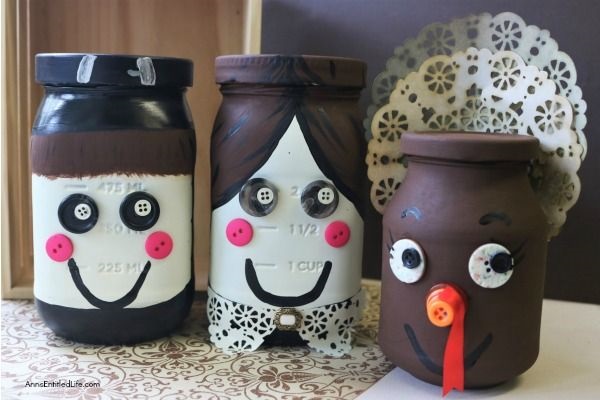
These little Pilgrims jars match perfectly with this Thanksgiving Turkey Jar Craft– so make both crafts and use them as a centerpiece with a few leaves and flameless candles, or place them in other areas of your living room or family room for perfect Thanksgiving day decorations.
When it comes to decorating for the Fall season, you see a lot of things related to Halloween and then, other than Fall leaves and pumpkins, there just isn’t a lot of decorations out there for November and Thanksgiving. To me, that is a shame, because Thanksgiving should truly be celebrated.
Pilgrims are one thing that instantly makes you think of the holiday, so this set of mason jars are meant to do just that. They can be used for storage of course, but are primarily meant to be a fun kitchen decoration.
You can put your own twist on them, too, using different buttons, ribbons, or anything you may have to make them your own. Once the basic part of the painting is done, adding the final touches is what makes them unique.
Another thing you can do as well, to take it a step further, is to make a turkey to go with them.
Pilgrims Jar Craft Materials:
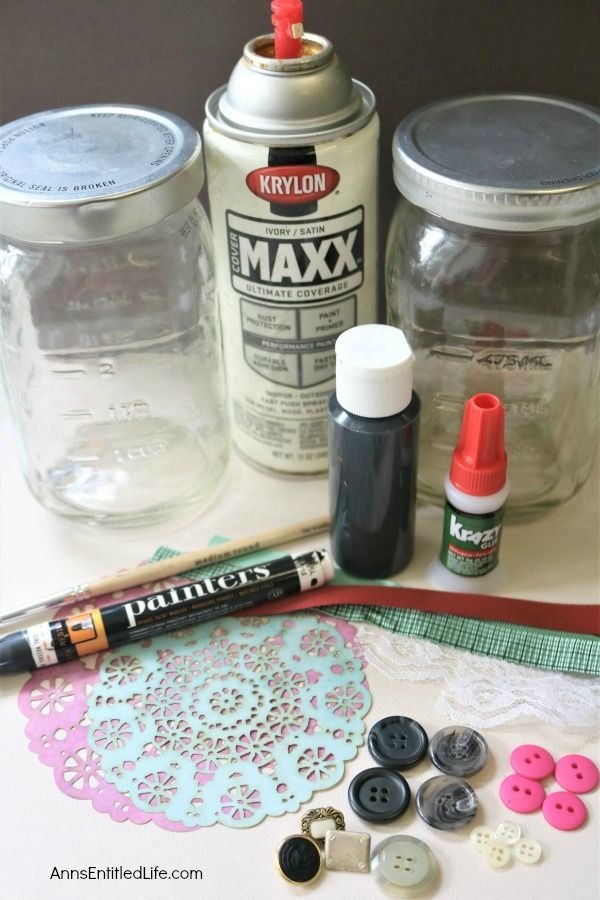
● 2 matching mason jars, with lids – I used 2 that were from pickles we buy all the time, that are a little bit larger than the standard Ball jars are.
● White or cream-colored spray paint – or a flesh color, if you can find that, would be good too.
● Black and brown acrylic paint, plate, brushes and water cup
● Paper towels
● Pencil
● Paint markers in black and white if desired, or you can use the black acrylic with a thin, tiny brush instead
● Buttons for the eyes and cheeks in matching sets (also, you can make a cute mouth from small buttons if you want to go that route) also, buttons for accents like a “broach” for the girl or a buckle for his hat
● Paper Doily
● Ribbon instead of a collar in color of your choice
● Super Glue (or hot glue if you prefer)
Pilgrims Jar Craft Directions:
● Be sure your jars are free from dust or debris, and dry.
● Then, spray paint both the jars and the lids in the cream or flesh colored paint. If you intend to possibly use the jar for storage, I would also paint the inside, at least a few inches down, so that it looks more finished off when you open and close it. The more it gets used, it will take paint off on the rim of the jar, so just keep that in mind. Also, if you are using paper doilies, and want to make them white (if they are not already white), then spray paint them at this time as well. It does help them to become more sturdy too.
● Give the paint a good 20 minutes to dry, and check to see if it is well-covered in the paint. If you have any spots that need another coat, go ahead and do that and then let them fully dry.
● Before you begin designing the Pilgrims choose the best side of the jar. I had one area on one of mine where the spray paint ran, so I turned it to the back.
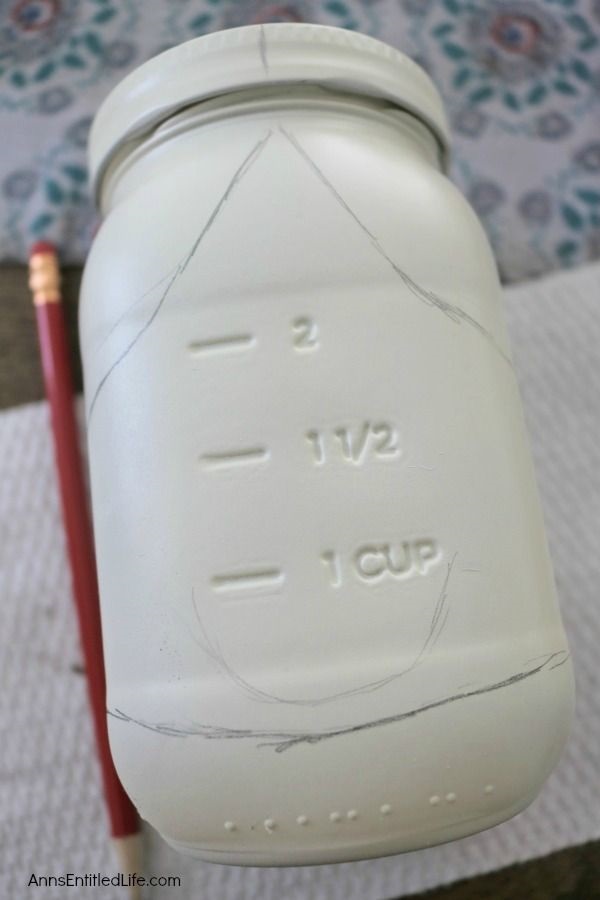
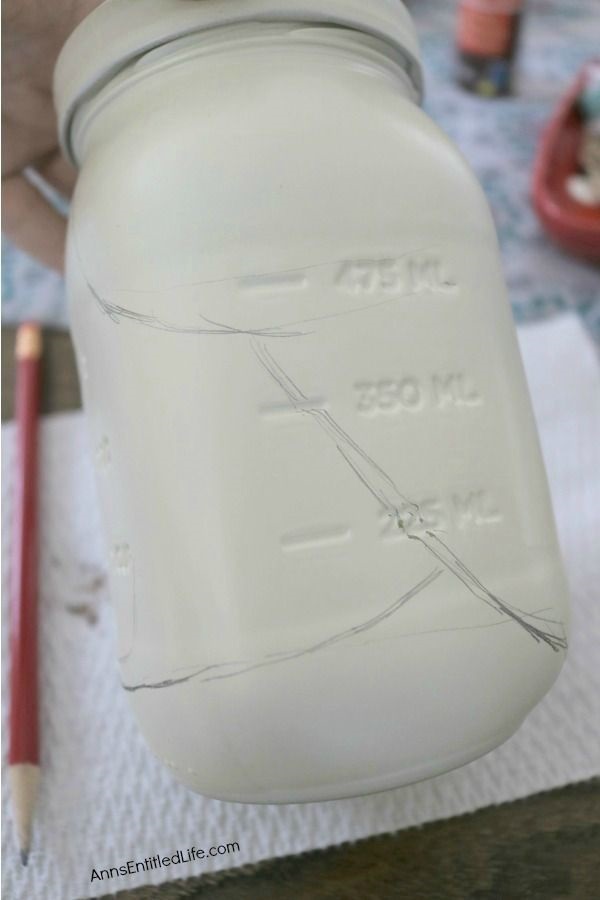
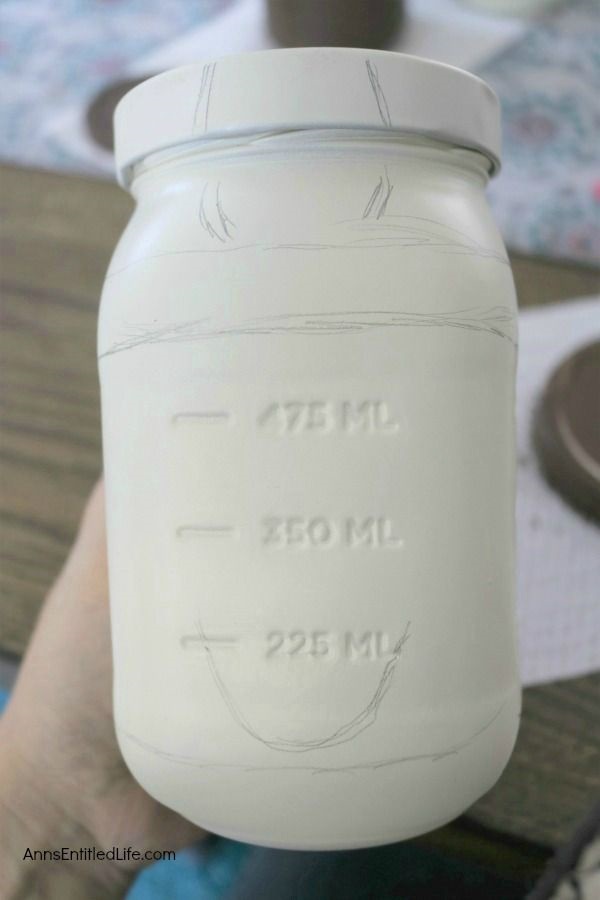
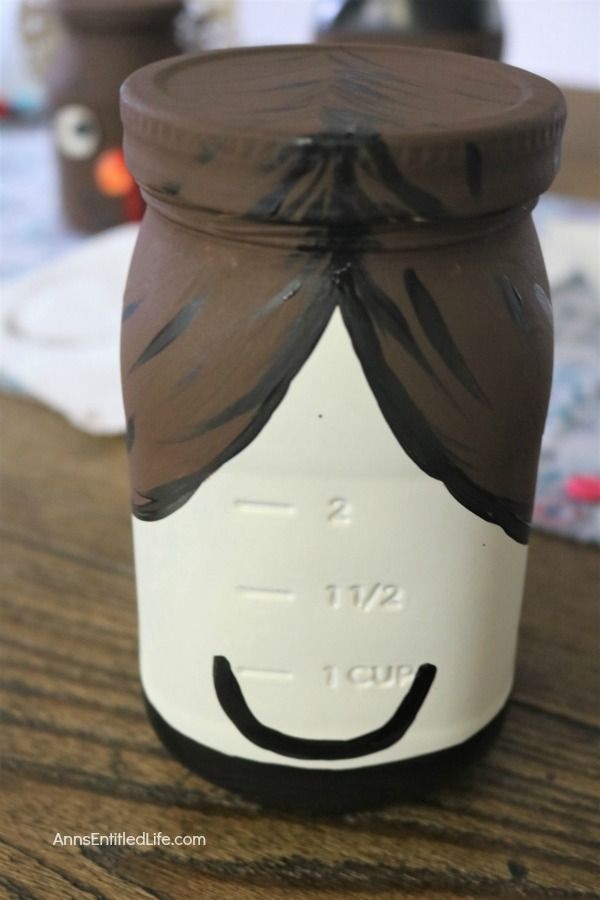
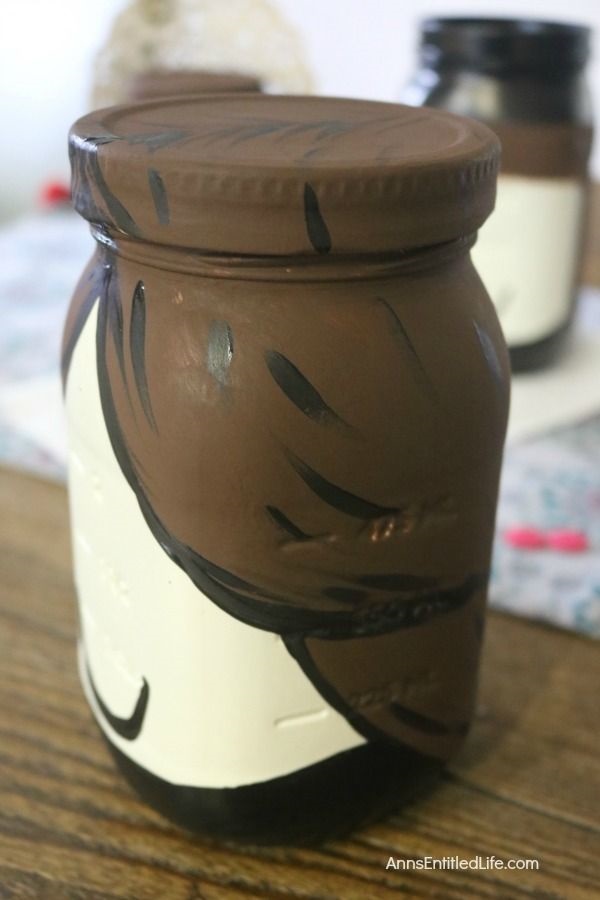
● Next, you will be painting on their hair. Start by using a pencil to sketch in the lines you want to create first. I made my girl have her hair go all the way around the back but gave her a few layers so it didn’t look as square since I knew he needed a more square hair style, but they are obviously your creation, so how you make them is up to you!
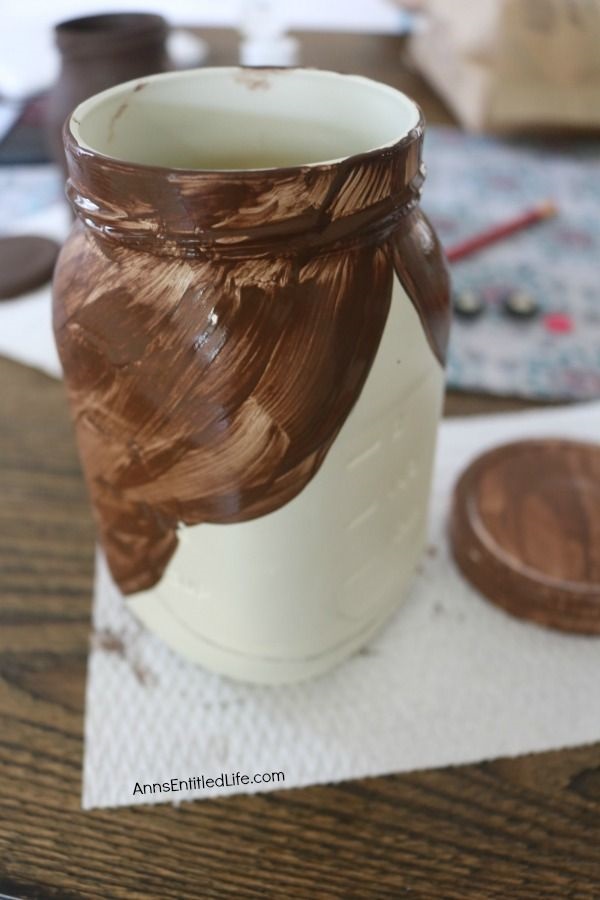
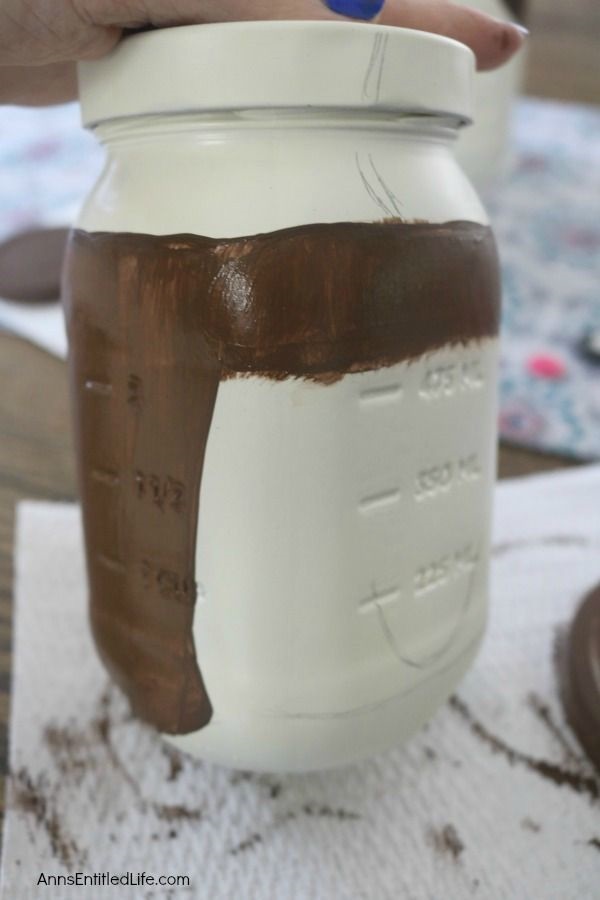
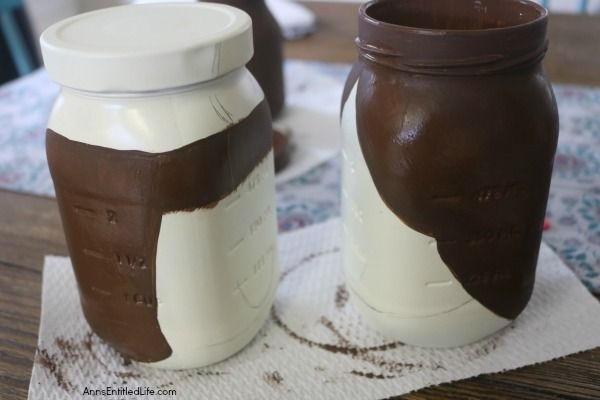
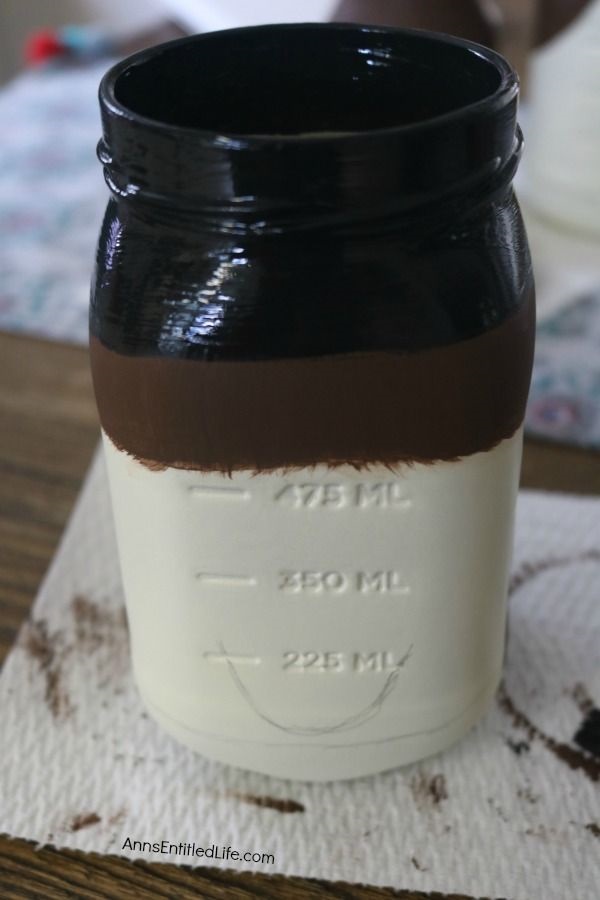
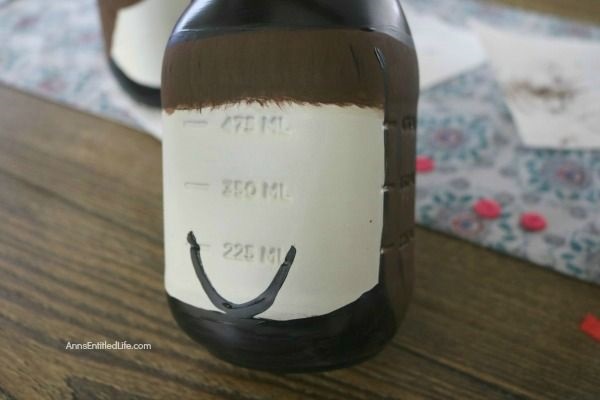
● Then begin with the brown paint to fill in all the areas that are hair. The brown will most likely need 2 coats of paint, so start on the black areas if you have any, while the first coat of brown is drying. I added a black collar line to mine, especially on the girl, so her doily collar would stand out. For her, the brown hair went all the way to the top of the lid, but for him, I made a hat line, and a good amount of his head was black on the top.
● You can also paint in the smile while you are doing the black unless you are using buttons for that part. Use a very thin brush for the smile, and if you need to, draw it on in pencil first to get it even and set. Otherwise, use the paint marker to make the smile, but you can also choose to wait until you are putting the eyes and cheeks on later, too.
● Go ahead and do any second layers of paint that you need, and just be sure as it’s drying to check for empty spots and fill them in. On mine, I noticed a few times near where the jar curves on the corner, that the paint had a harder time staying and I had to touch it up a few times. Then, using a thin brush, use the black paint, or the paint marker, and give the hair some lines to help it stand out. Do some along the edges where the face is, and then random lines here and there in the hair to give it dimension.
● Let the paint dry all the way before you begin gluing anything on.
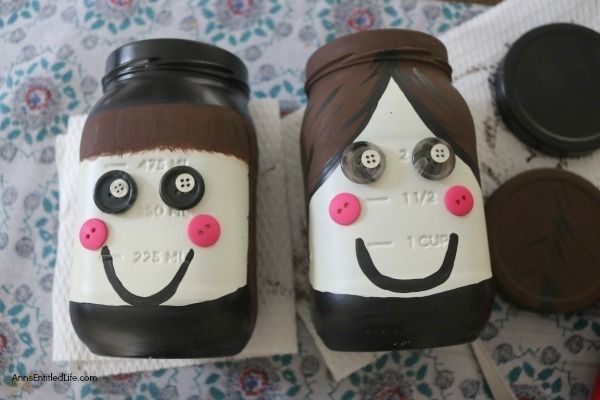
● This is a good time to get your buttons arranged if you have not already figured out how they are going on. You can layer them for the eyes, doing black on the bottom with a smaller white button on the top, or vice-versa. I gave my girl a more gray pair or buttons for the eyes and him the black ones. They were the same size buttons and very similar so they still matched well. The pink cheeks could also be painted on too, if you didn’t have any pink buttons.
● If your jars are dry, go ahead and glue the buttons on. I would recommend doing one at a time once you have the places figured out, so that you can hold the button in place, pressing down to let the glue set for a minute. Then go on to the next. Repeat the process until both jars have their buttons all on the faces. If you waited to do the smile line, go ahead and do that now.
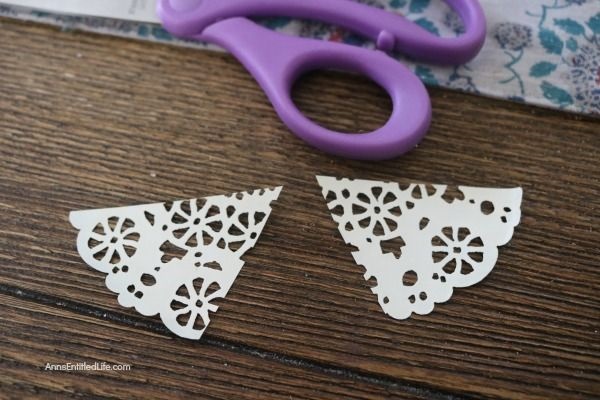
● Let that dry if it was painted, and then attach any ribbon or doily collar you have. I cut my doily into two matching triangles after playing with it. It lays on the table a little bit too, which I think gives it more dimension, but if that bothers you, you can trim that part off to be even with the jar edge. ● Glue on any other accents like the button broach now.
● Check to be sure everything you glued on is well secured, and if it is, you are all done!
If you would like to make more Thanksgiving day crafts here are a few for you!
● Floral Horn of Plenty DIY – this. is. gorgeous. My photos do not do it justice, but it is sitting in my foyer right now, and I smile every time I look at it – it is that beautiful.
● Dollar Store Craft: Lighted Thanksgiving Centerpiece – this is lovely, and everything was purchased at a dollar store making it a very inexpensive craft!!
● Turkey Wine Glass DIY – these little gobblers are adorable!
● Disclosure: the links in this post may be affiliate links.
● For more Craft posts on Ann’s Entitled Life, click here.
● If you enjoyed this post, be sure to sign up for the Ann’s Entitled Life weekly newsletter, and never miss another article!
Leave a Reply