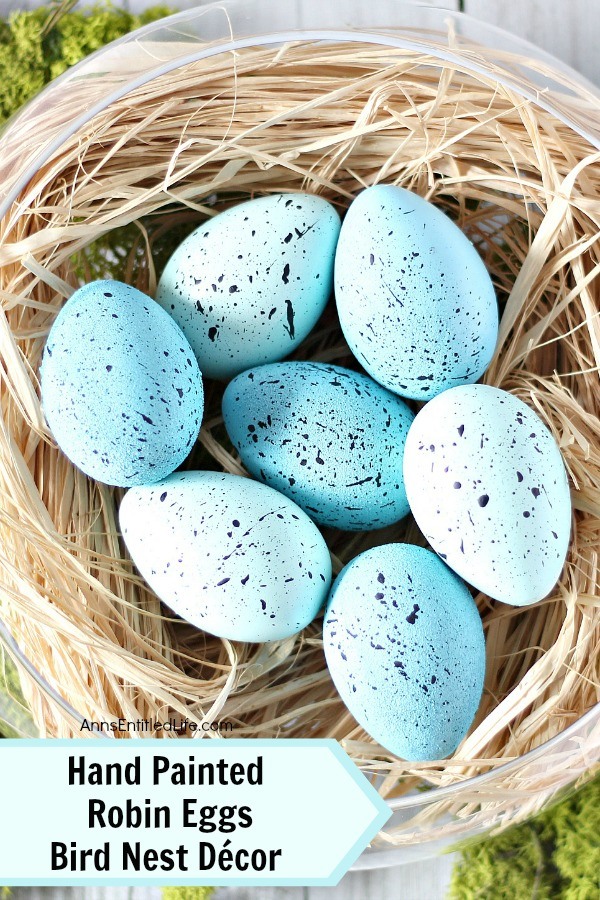
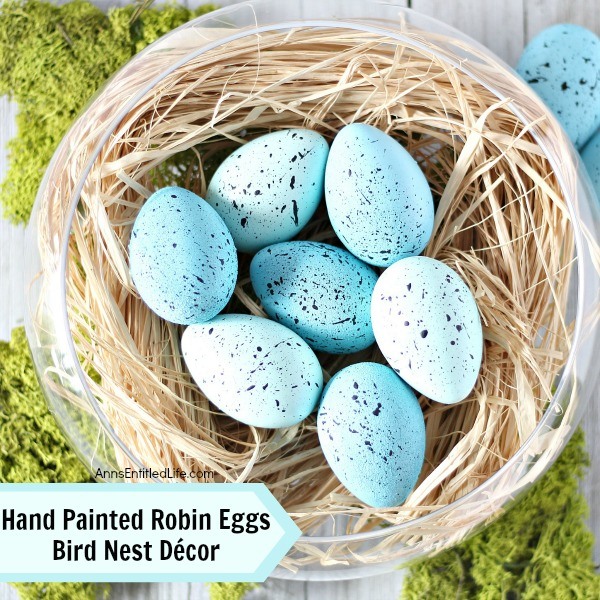
These beautiful blue robin eggs make perfect springtime décor! Simple to make, these robin eggs are ready in no time flat. Your centerpiece never looks so festive with so little effort! These are great for Easter too. Simply follow this easy step-by-step tutorial to make your stunning spring centerpiece, tabletop side piece, or mantel decoration, today!
Hand Painted Robin Eggs Bird Nest Décor
These easy to make hand-painted robin eggs make for super cute springtime or Easter decor. This is a very fast craft project with most of the time coming in for drying of the eggs.
Hand Painted Robin Eggs Bird Nest Décor Notes:
● You can prime your eggs with a layer of spray paint for plastic if you like. You could also use wooden eggs and prime for a wood base. It doesn’t matter if the fake eggs are brown or white. You could use “chicken” eggs, but realize they will be larger than “robin” eggs. Do purchase plastic eggs that do not come apart for a more “realistic” look.
● While you do not have to, you may want to use a spray paint that claims it is better for plastics.
● While this is done in two shades of blue you can do any color of your choice. Some other great options would be pink, yellow, or green. While not exactly “robin” eggs in all those shades, they are very much great springtime egg colors (or Easter egg colors).
● While two different shades of blue were used for these eggs, you can do one shade or three or four shades! It is really up to you how you’d like your egg nest to look.
● You can hot glue your nesting to the bottom of your bowl if you like.
● You can make a ton of these eggs and place them into a tall vase. Whether you choose to have the moss and nesting at the bottom alone, or in layers as you add eggs to your tall clear vase, is up to you!
● For your glass bowl – check the dollar stores or Target. You could use an old terrarium bowl, or something from delivered flowers too!
Hand Painted Robin Eggs Bird Nest Décor Materials:
● Round Clear Glass (or plastic) Vase
● Fake Moss
● Paper Shred Nesting Material
● Fake Plastic Eggs
● (2) different color Blue Spray Paints: aqua or seaside might be good choices for you
● Black Acrylic Paint
● Stiff Paint Brush
● Pencil
● Small Easel (optional)
Hand Painted Robin Eggs Bird Nest Décor Directions:
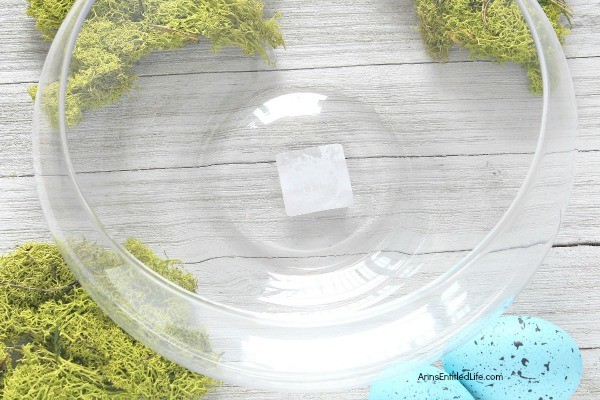
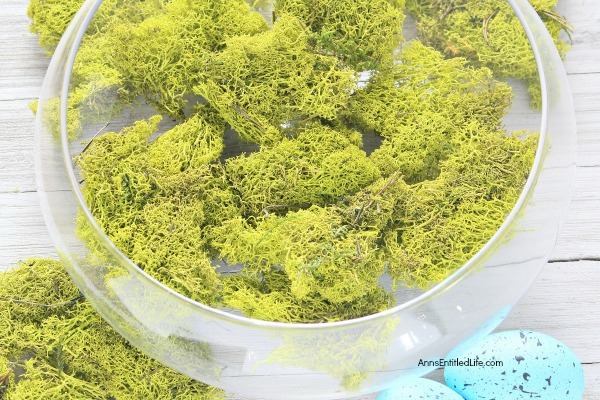
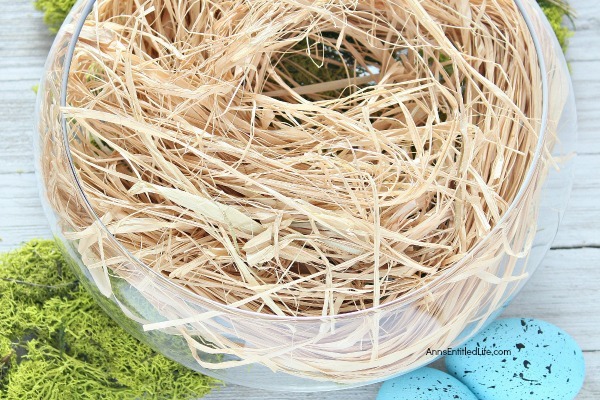
● Start by filling the bottom of your vase with fake moss.
● Add nesting material (as shown in the image).
● Cover your work surface against paint spray. Watch for overspray too! (or spray outdoors on the lawn).
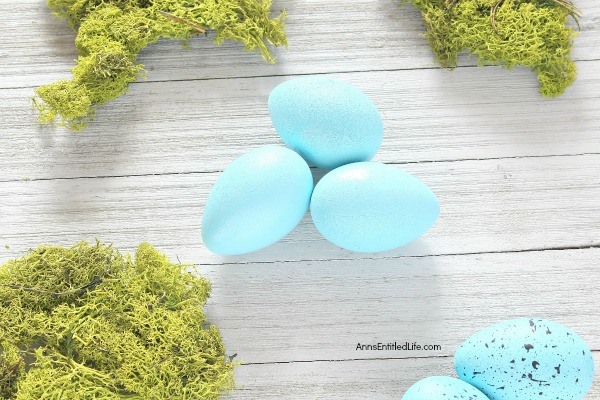
● Spray paint half of your eggs one color blue and half the other color blue. Make certain you are spraying evenly (no drips) and completely. Use two light coats if necessary.
● Allow the eggs to dry completely.
● Dip the stiff paintbrush into black paint, less is more.
● Hold your paintbrush over the eggs and using a pencil, run it back and forth across the bottom of the brush flicking black paint onto the eggs.
● Allow the eggs to dry completely.
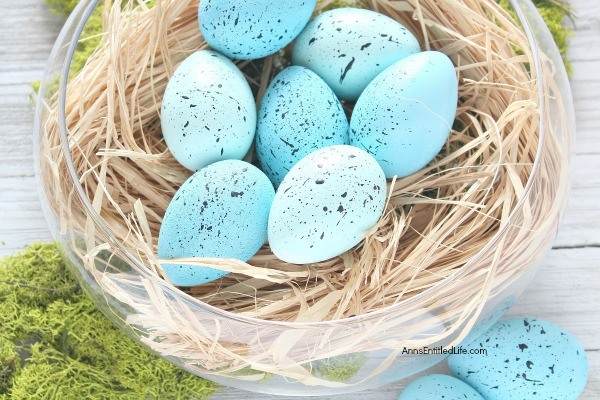
● Place the colored eggs into the prepared round glass vase.
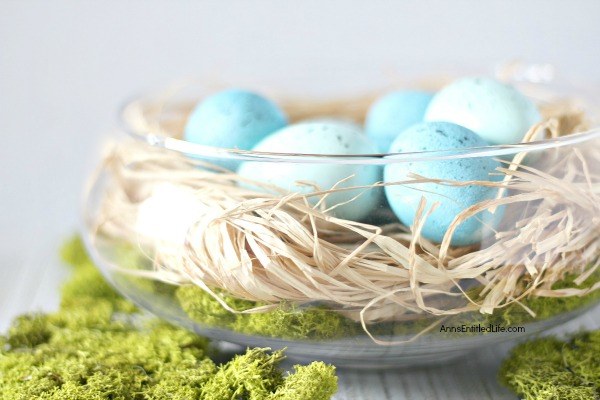
● Display as desired.
Hand Painted Robin Eggs Bird Nest Décor
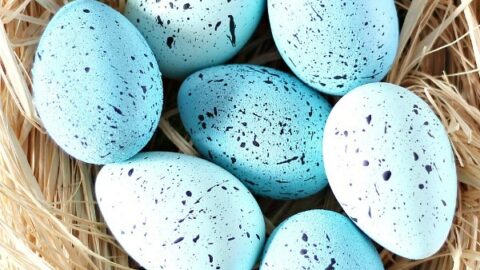
Hand Painted Robin Eggs Bird Nest Décor. These beautiful blue robin eggs make perfect springtime décor! Simple to make, these robin eggs are ready in no time flat. Your centerpiece never looks so festive with so little effort! These are great for Easter too. Simply follow this easy step-by-step tutorial to make your stunning spring centerpiece, tabletop side piece, or mantel decoration, today!
Materials
- Round Clear Glass (or plastic) Vase
- Fake Moss
- Paper Shred Nesting Material
- Fake Plastic Eggs
- (2) different color Blue Spray Paints
- Black Acrylic Paint
Tools
- Stiff Paint Brush
- Pencil
Instructions
- Start by filling the bottom of your vase with fake moss.
- Add nesting material (as shown in the image).
- Cover your work surface against paint spray. Watch for overspray too! (or spray outdoors on the lawn)
- Spray paint half of your eggs one color blue and half the other color blue. Make certain you are spraying evenly (no drips) and completely. Use two light coats if necessary.
- Allow the eggs to dry completely.
- Dip the stiff paint brush into black paint, less is more.
- Hold your paint brush over the eggs and using a pencil, run it back and forth across the bottom of the brush flicking black paint onto the eggs.
- Allow the eggs to dry completely.
- Place the colored eggs into the prepared round glass vase.
- Display as desired.
Recommended Products
As an Amazon Associate and member of other affiliate programs, I earn from qualifying purchases.
If you would like more springtime and/or Easter crafts to make, consider these easy to make crafts:
● No Sew Sock Bunny – Make your own adorable no-sew sock bunnies! These no-sew sock bunnies are the perfect craft for Easter. Easy to make, the no-sew sock bunny will delight work well as table decor, make a cute gift, and more. Versatile and highly customizable, these No-Sew Sock Bunnies will delight children and adults alike.
● Easter Egg Wineglass DIY – Make your own adorable Easter egg wineglasses! This easy step by step tutorial will show you how to easily make sweet Easter egg wineglass decor which is perfect for a centerpiece, mantel decor, or table decorations this Easter! This is an easy to make, delightful Easter season craft project.
● Easy DIY Bunny Butt Wreath – Bunny bottoms are adorable crafts. This cute, simple to make, bunny butt wreath is an inexpensive to make spring craft, perfect decor for your door, over your fireplace, or on a wall.
● For more Holiday posts on Ann’s Entitled Life, click here.
● For more Craft posts on Ann’s Entitled Life, click here.
● If you enjoyed this post, be sure to sign up for the Ann’s Entitled Life weekly newsletter, and never miss another article!

Lauren | Mom Home Guide says
I love these beautiful eggs! I chose them as a feature for this week’s Merry Monday party. They are a perfect spring project! Thanks for sharing’