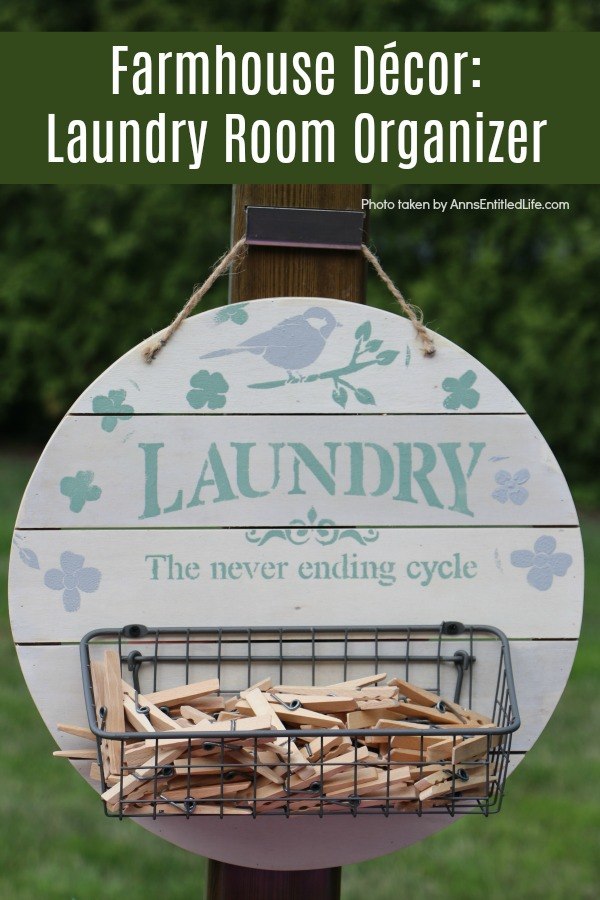
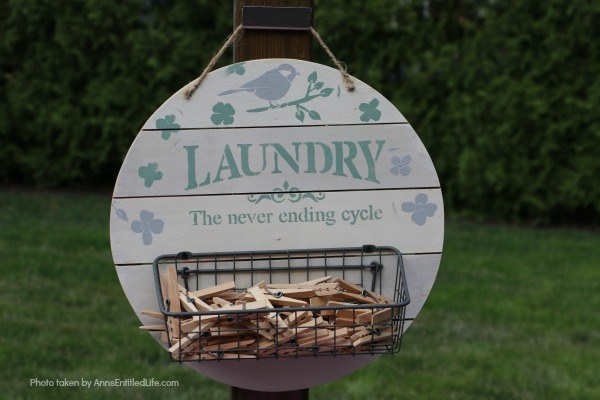
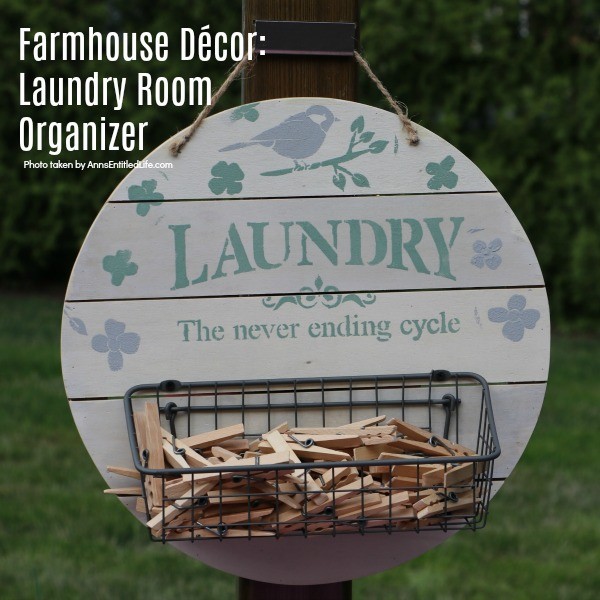
Need to organize your laundry room? Looking for a place to store your outdoor clothesline clothespins? Make your own laundry room organizer! This adorable little DIY organizer is stylish and functional. A perfect place to keep clothespins, stain treatments, dryer balls, and more, this rustic organizer is a farmhouse winner.
Farmhouse Décor: Laundry Room Organizer
I wanted to explore the farmhouse décor trend and asked my niece if she had any outdoor farmhouse style decorating ideas. I have that flower wheelbarrow in the backyard, the wooden table to grow my bagged vegetables, and we installed a shed (a much-needed shed!). Now, I wanted something that might match.
She brought in four ideas, including the terrific little DIY farmhouse house number sign I shared a last month, this sweet little jar flower holder and this Farmhouse Décor: Age and Stencil a Crate. This painted mirror is number four, and we have a fifth in this laundry room organizer!
We actually made everything at the same time as these five projects use a lot of the same materials for all the projects. Not only did it keep costs down, but it also sped things along.
Farmhouse Décor: Laundry Room Organizer Notes:
● If you plan on hanging this outside, you may want to varnish the frame first. The more coats, the more water resistent.
● The vinegar solution you make MUST sit for at least 24 hours uncovered. If you cover the solution, it might oxidize and turn orange.
● The vinegar solution smells. Do this outside if possible, a well-ventilated area if not.
● When you stain this wood (or any cheaper wood) the colors of the wood will reveal themselves differently during the staining (tea and vinegar) process depending on the wood used. One board may be one color, the next a different color, and it may vary if you purchase two alike items. That is why a rustic or farmhouse décor is perfect for cheaper woods – it is by definition a more forgiving décor.
● White a farmhouse or rustic style decoration is indeed very forgiving, if you end up with a splotch of paint from your stencil, just go over it with a leave or flower to create more florals. Or, simply leave it. As I said, forgiving.
● Optional: if your tray does not have a hanger on the back, add some twine and staple and /or tack the twine on the back of the plaque. You can braid three pieces of twine together for added strength, tie off the ends and then staple the twine to the back of the tray and added two brads on each side to hold it as the last thing you want is for it to slip and fall.
● Nearly all the materials necessary to make this simple Farmhouse Décor: Laundry Room Organize can be purchased at at JoAnn, Michaels, or Hobby Lobby.
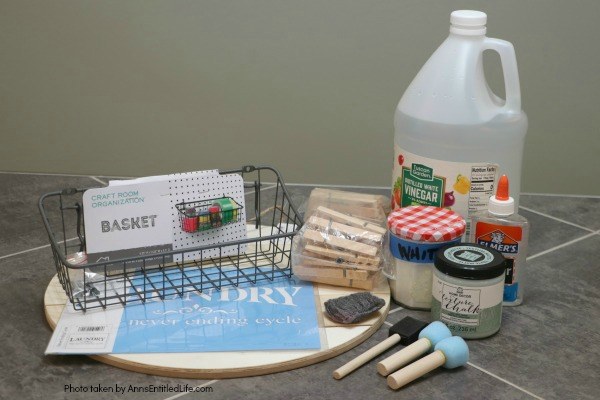
Farmhouse Décor: Laundry Room Organizer Materials:
● Vinegar
● Jar(s)
● Steel Wool
● White Paint
● Cup (or jar)
● Water (for whitewash)
● Paint – FolkArt 34838 Texture Chalk Painting and Drawing, 8 oz. Dovetail and FOLKART 34832 Texture Chalk Paint Finish, 8 oz. , Green Shadow were used on this project.
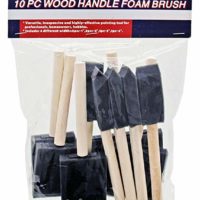
● Foam Paint Brushes
● Dabbers
● Stencils
● Basket
● Hanging Tray
Farmhouse Décor: Laundry Room Organizer Directions:
● 24 hours before making this craft, prepare a vinegar solution. In a small jar, fill ¾ of the way to the top with vinegar and insert a steel wool pad. Allow to sit for 24 hours uncovered.
● Create a whitewash-like paint: simply add a little bit of white paint and water to a jar with a lid. Shake vigorously to combine. You want the whitewash-like paint to be the consistency of cream.
● Cover your work surface against any spills.
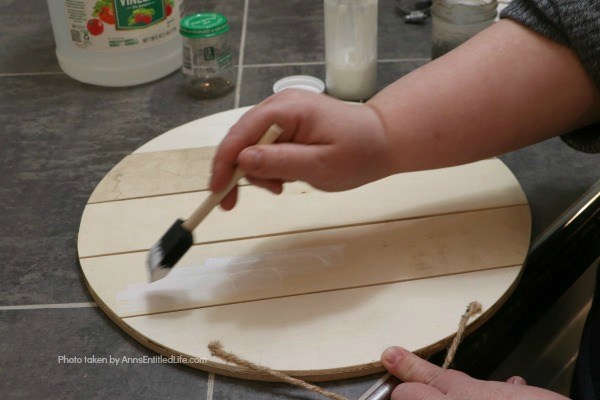
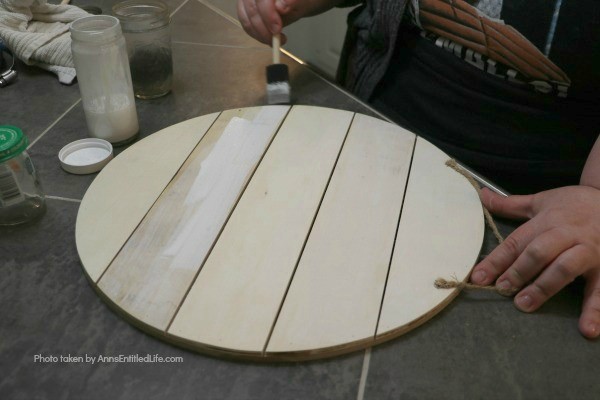
● Using a foam brush, paint on some of the whitewash-like paint onto the tray (do not wipe this one). Continue until the entire body of the tray is completely whitewashed.
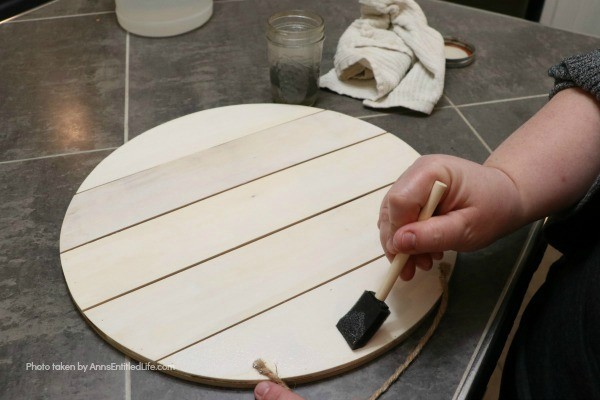
● While the whitewash is still wet (do not allow to dry), “paint” your tray with the vinegar solution. Note: some of the paint will come off on your foam brush.
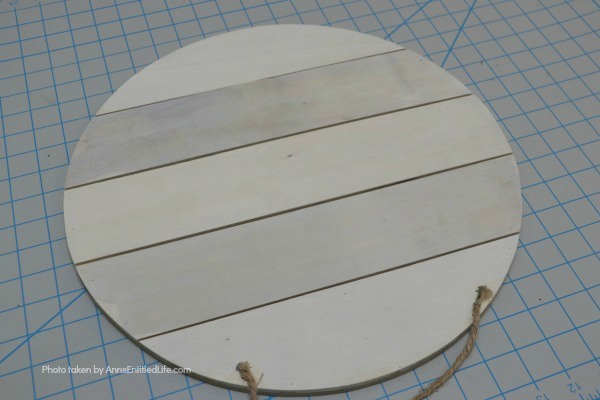
● Allow to dry.
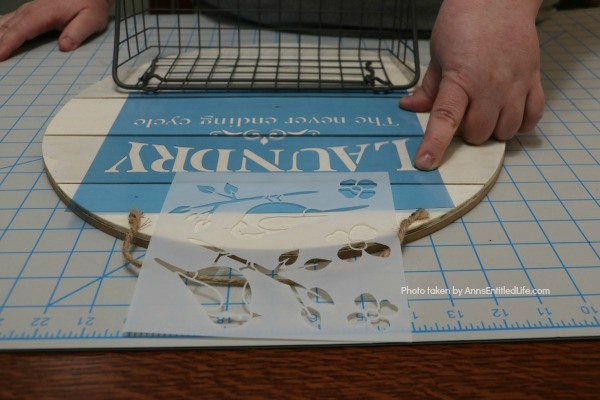
● Lay out the stencil. Make sure it is straight. Tack down the stencil with tape if you like.
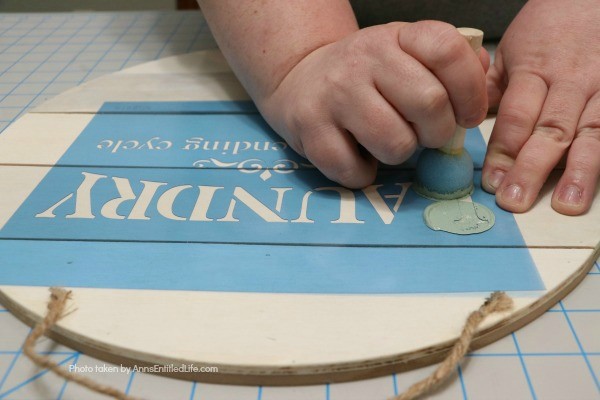
● Green Shadow was used to paint the laundry stencil. This paint dries darker. Using a dabber brush, paint the stencil sign,
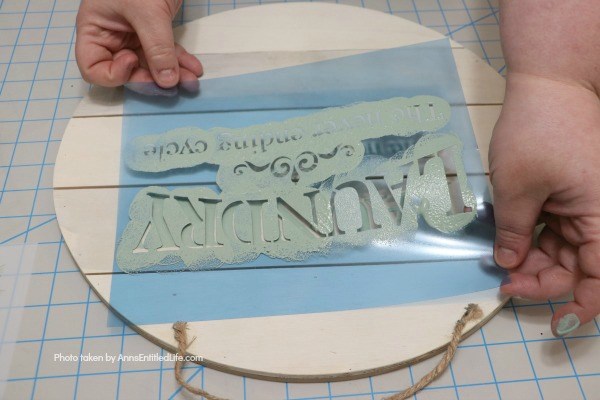
● Lift straight up to remove.
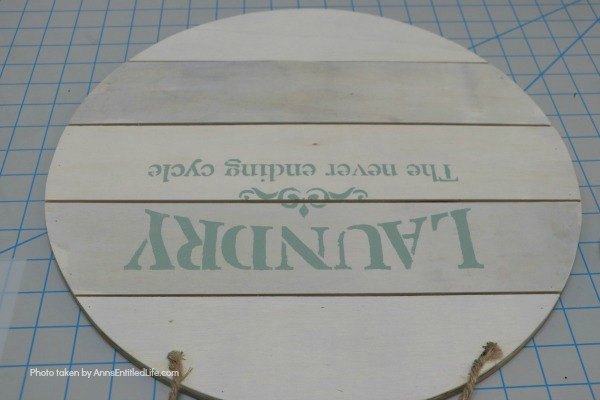
● Allow to dry completely.
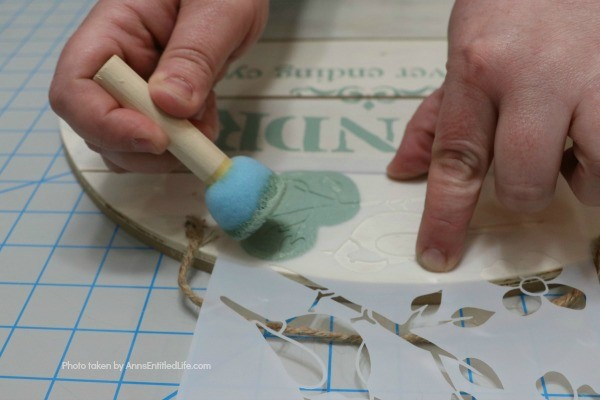
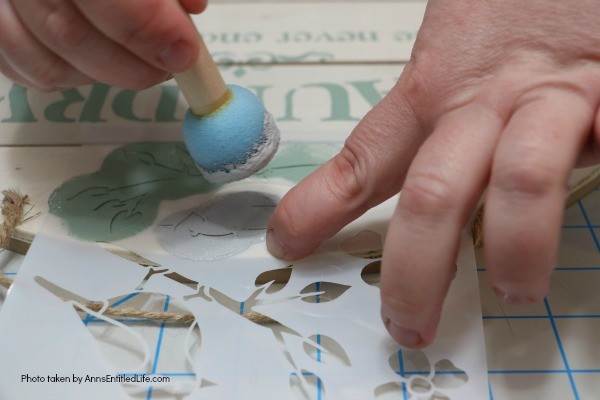
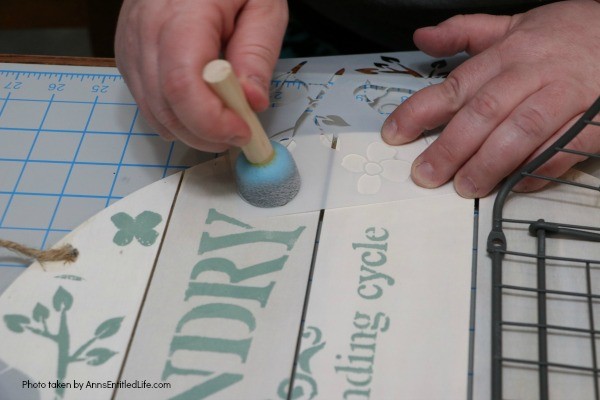
● Paint the bird stencil – blue, grey, green, you choose! On this project, Dovetail was used.
● Lift straight up to remove.
● Allow to dry completely.
● Wash the stencils using soap and water so you can use them for a future project.
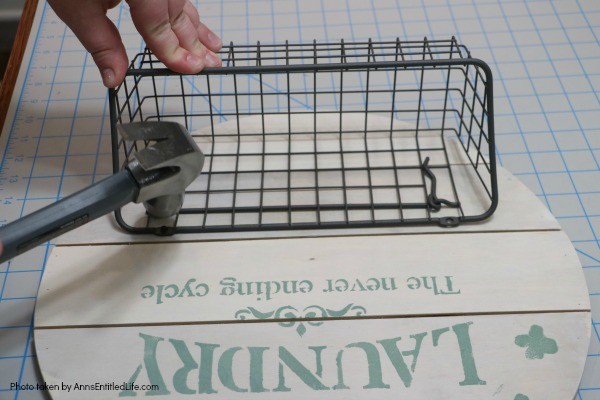
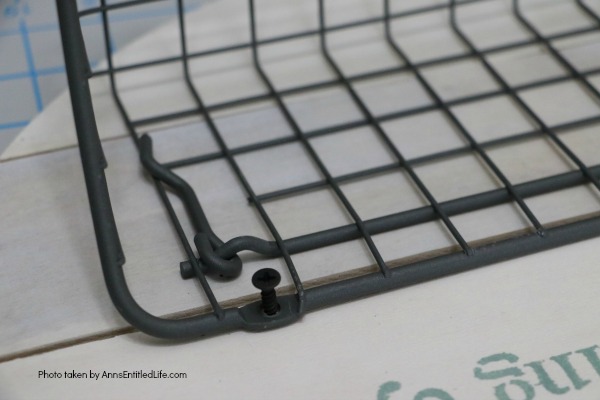
● Once the tray is completely dry, attach the basket. Be careful your screws or nails do not go through the wood to the other side (and be careful your work surface isn’t marred underneath). If they do come through, either dremel the excess off, or use a putty to prevent scratches from the longer nail or screw.
● Hang as desired.
Farmhouse Décor: Laundry Room Organizer
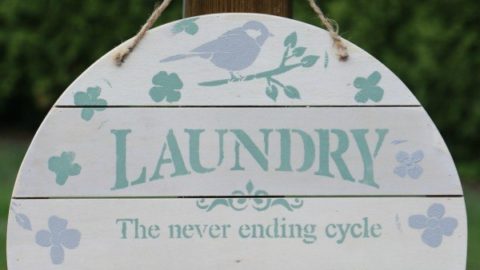
Farmhouse Décor: Laundry Room Organizer. Need to organize your laundry room? Looking for a place to store your outdoor clothesline clothespins? Make your own laundry room organizer! This adorable little DIY organizer is stylish and functional. A perfect place to keep clothespins, stain treatments, dryer balls, and more, this rustic organizer is a farmhouse winner.
Materials
- Vinegar
- Jar(s)
- Steel Wool
- Stencils
- Basket
- Hanging Tray
- White Paint
- Water (for whitewash)
- Paint (for stencils)
Tools
- Cup (or jar)
- Foam Paint Brushes
- Dabbers
Instructions
- 24 hours before making this craft, prepare a vinegar solution. In a small jar, fill ¾ of the way to the top with vinegar and insert a steel wool pad. Allow to sit for 24 hours uncovered.
- Create a whitewash-like paint: simply add a little bit of white paint and water to a jar with a lid. Shake vigorously to combine. You want the whitewash-like paint to be the consistency of cream.
- Cover your work surface against any spills.
- Using a foam brush, paint on some of the whitewash-like paint onto the tray (do not wipe this one). Continue until the entire body of tray is completely whitewashed.
- While the whitewash is still wet (do not allow to dry), "paint" your tray with the vinegar solution. Note: some of the paint will come off on your foam brush.
- Allow to dry.
- Lay out stencil. Make sure it is straight. Tack down the stencil with tape if you like.
- Green Shadow was used to paint the laundry stencil. This paint dries darker. Using a dabber brush, paint the stencil sign,
- Lift straight up to remove.
- Allow to dry completely.
- Paint the bird stencil - blue, grey, green, you choose! On this project, dovetail grey was used.
- Lift straight up to remove.
- Allow to dry completely.
- Wash the stencils using soap and water so you can use them for a future project.
- Once the tray is completely dry, attach the basket. Be careful your screws or nails do not go through the wood to the other side (and be careful your work surface isn't marred underneath). If they do come through, either dremel the excess off, or use a putty to prevent scratches from the longer nail or screw.
- Hang as desired.
Recommended Products
As an Amazon Associate and member of other affiliate programs, I earn from qualifying purchases.
-
 JMAF 40-Pieces Assorted Size Round Sponges Brush Set, Paint Tools for Kids
 -
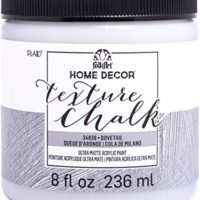
 FolkArt 34838 Texture Chalk Painting and Drawing, 8 oz. Dovetail
 -
 Rock Ridge Tools Variety Pack of Foam Sponge Wood Handle Paint Brush Set (Value Pack 10). Lightweight, Durable and Great for Acrylics, Stains, Varnishes, Crafts and Art Projects for Kids and Adults
● Disclosure: the links in this post may be affiliate links.
● For more Craft posts on Ann’s Entitled Life, click here.
● If you enjoyed this post, be sure to sign up for the Ann’s Entitled Life weekly newsletter, and never miss another article!
Marie says
What a super cute idea for clothespins! I always hang my clothes to dry but my clothespins are stuffed in an ugly bag. Thanks for the idea! Pinned 🙂
Erlene says
I don’t know what it is, but I love wire baskets. This is such a fun way to store clothespins. Pinned.