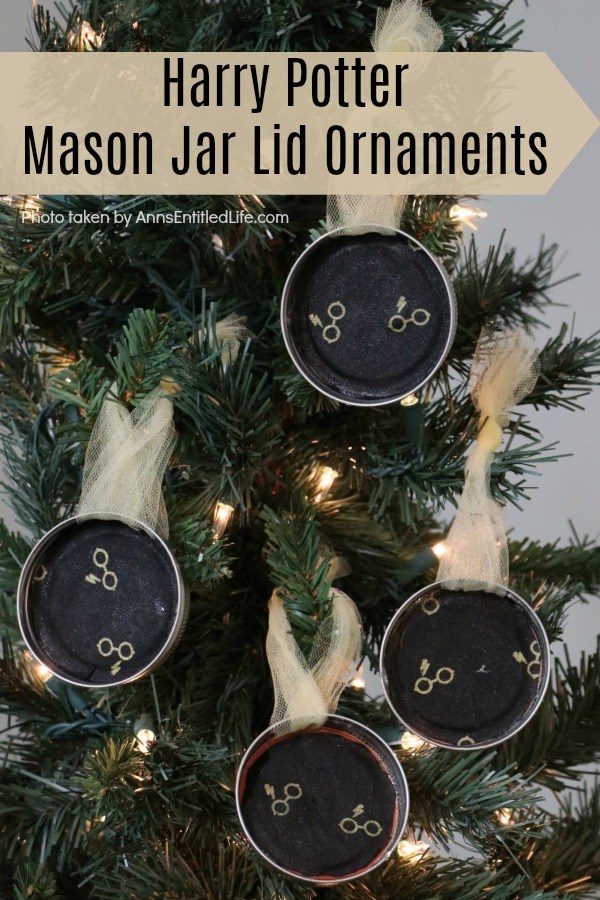
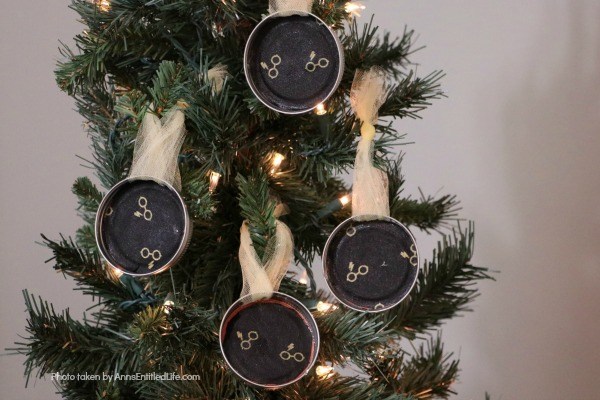
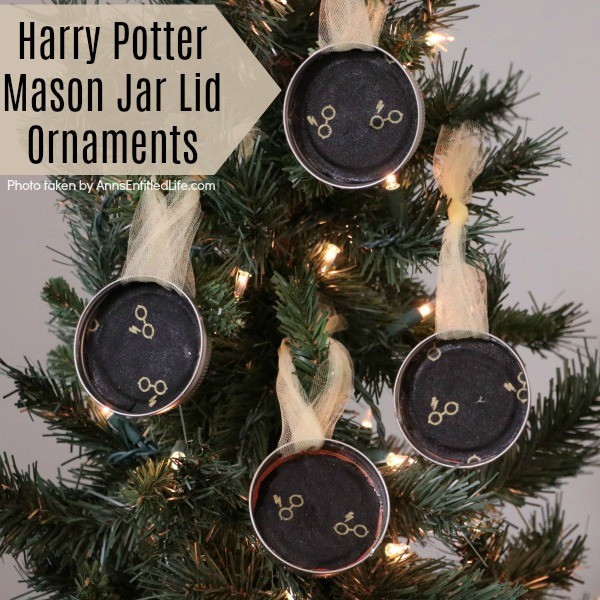
Are you, or your children, Harry Potter fans? These easy to make Harry Potter Mason Jar Lid Ornaments come together in about 10 minutes! These are perfect for your holiday tree, to give as a gift, or for a Harry Potter or Hogwarts themed party.
Harry Potter Mason Jar Lid Ornaments
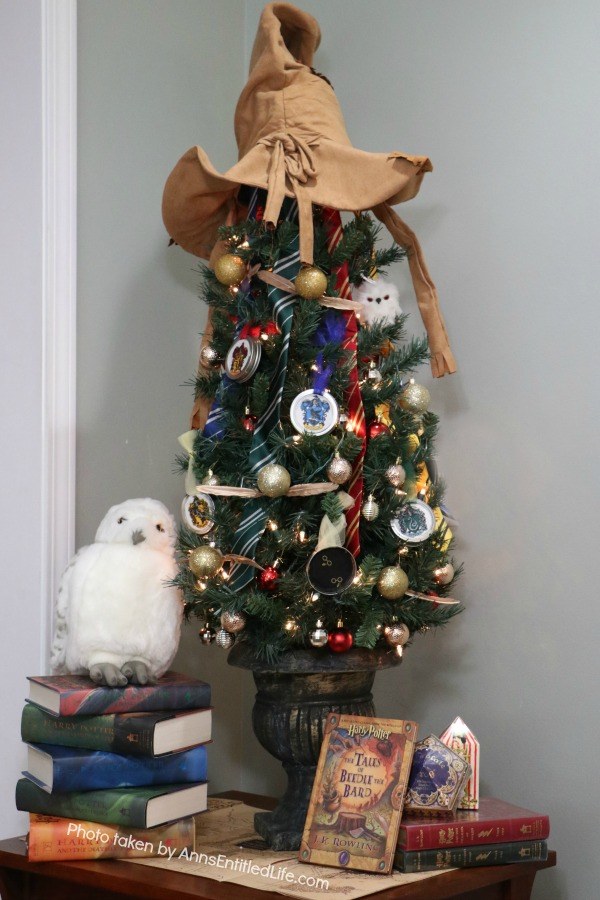
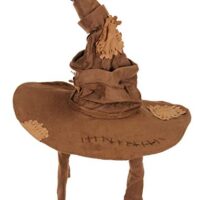
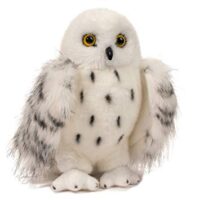
My niece loves Harry Potter. She needed a raffle donation for a friend, and since the auction was geared toward children, she decided to make a Harry Potter-inspired tree. We made a few golden snitches, some Hogwarts ornaments, and these! We draped lights, got an owl (that Hedwig and the map are from when I visited Universal Studios), purchased some neckties in the Hogwart school colors, and then added a sorting hat as a tree topper.
Harry Potter Mason Jar Lid Ornaments Notes:
● All the materials necessary to make this easy Harry Potter Mason Jar Lid Ornaments can be purchased at at JoAnn, Michaels, or Hobby Lobby
● Always cover your work surface against spills!
● There is a glitter foam sheet for backing listed in the directions, it is optional. If you do not use it, the back shown will be the back of the Mason Jar lid. And, you do not have to get a sparkly one, you can use a satin finish, and it does not have to be black, it can be gold of you got the gold glasses material.
● These take about 5 minutes to make. The extra time is dry-time.
● Make certain you purchase enough material to get as many cut-outs as you plan to make jars. There are a ton of Harry Potter branded fabrics available at Michaels and JoAnn so it is simply a matter of picking the material you like, checking the repeat, and determining how many ornaments you would like to make.
● You can do this with either the ring facing in or out. On this Harry Potter craft we went with the ring facing out (so deeper before you see the branded material).
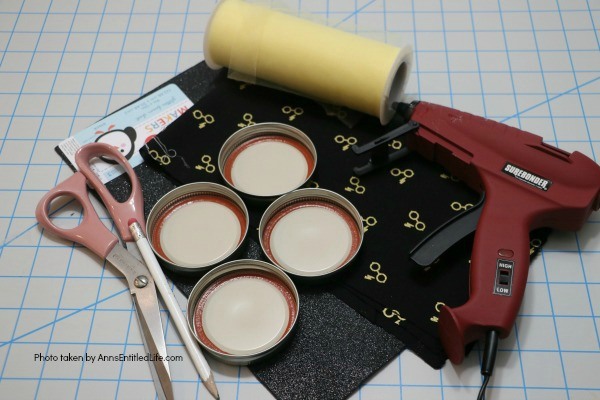
Harry Potter Mason Jar Lid Ornaments Materials:
● 1/8″ yard Branded Harry Potter Material Glasses were used to make this craft.
● 4 Mason Jar Lids with insert
● Tulle or Ribbon
● Glitter Foam Sheet
● Mod Podge
● Pencil (if you want to trace the glitter foam)
Harry Potter Mason Jar Lid Ornaments Tools:
● Scissors
● Foam Brush
● Hot Glue
● Glue Gun
Harry Potter Mason Jar Lid Ornaments Directions:
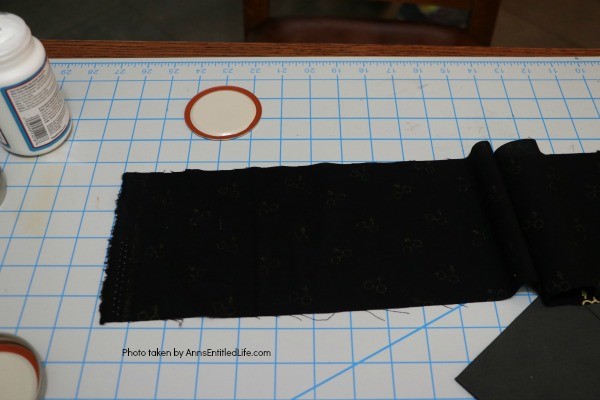
1. Lay out the fabric.
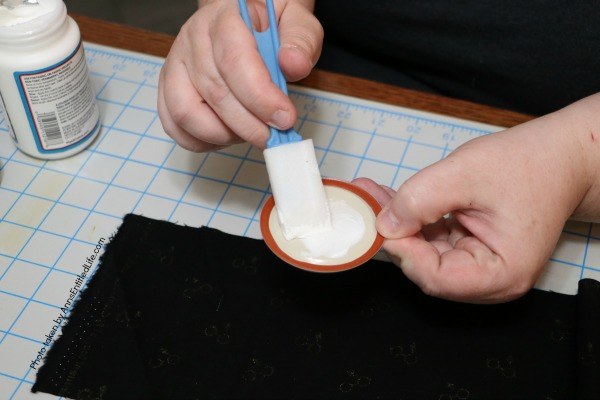
2. Brush on some Mod Podge on the backside of a Mason jar lid.
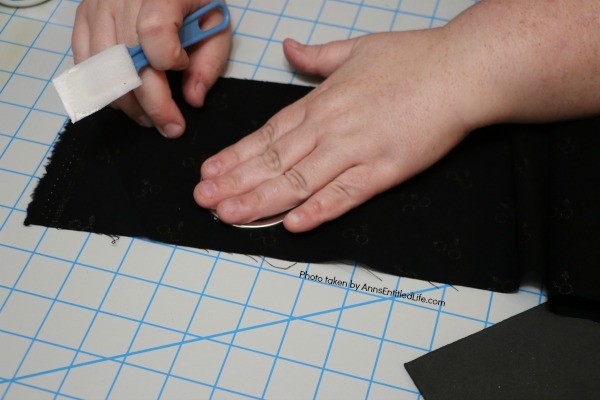
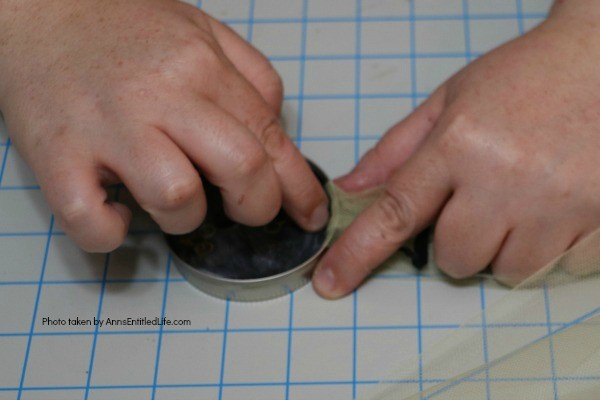
3. Place the Mason jar lid on the fabric and press down.
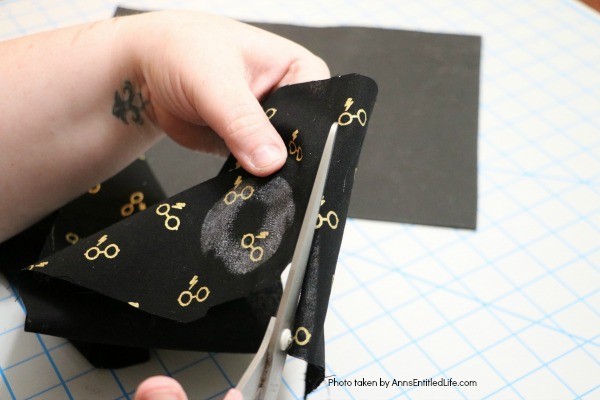
4. Cut out the circular shape of the lid with the fabric attached.
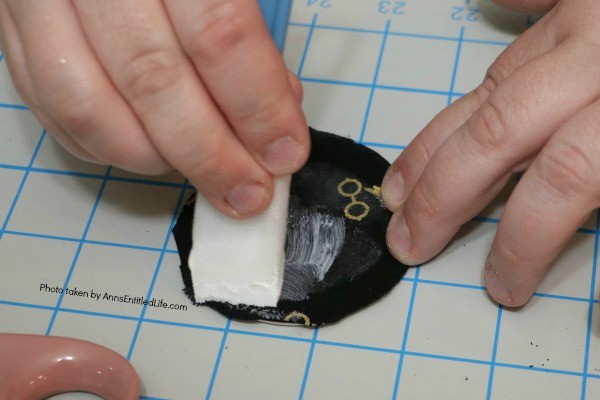
5. Mod Podge the top of the fabric.
6. optional: If you plan on using the glitter backing, cut out of a circle the same side as the Mason jar lid.
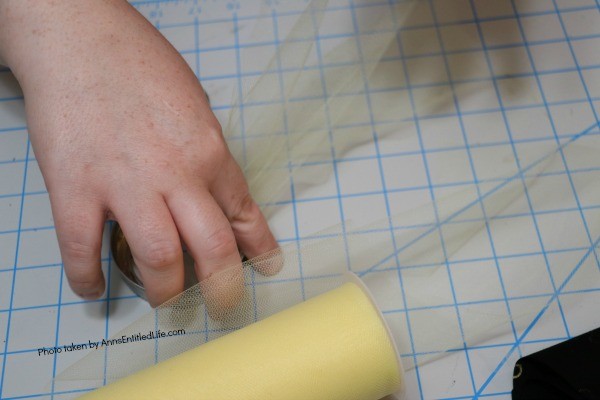
7. Cut off a length of tulle or ribbon long enough to make a hanger for your ornament.
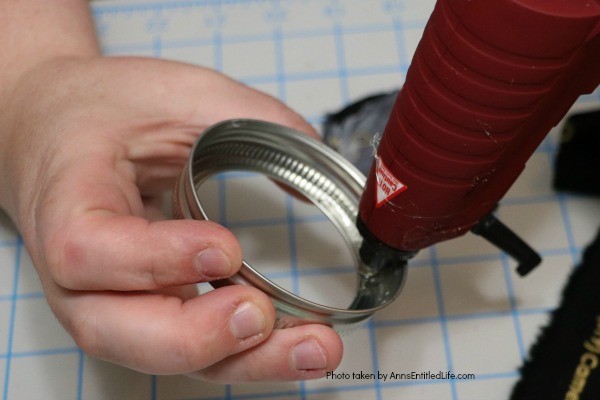
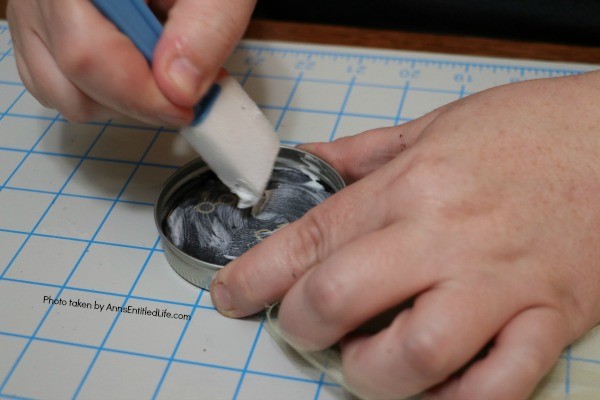
8. Place some hot glue along the rim of the Mason jar ring.
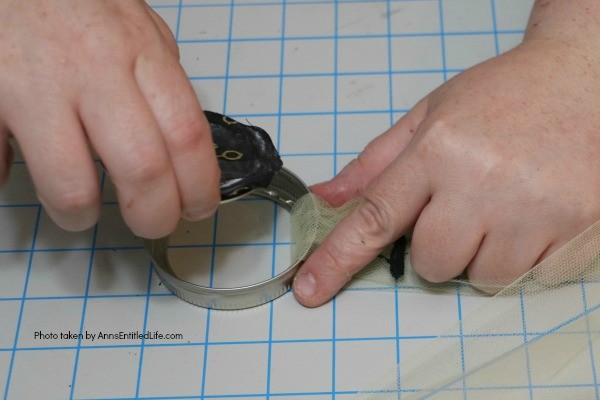
9. Place the cut out tulle through the ring and press tight.
10. optional: Insert the glitter backing glitter side out, and press. Place more hot glue on the front of the backing, and press the fabric covered Mason jar onto the lid fabric side out.
11. If not using the backing, place the fabric covered lid on the inside of the Mason jar ring, and press into the hot glue.
12. Cover the top of the fabric with Mod Podge.
13. Allow to dry.
14. Display as desired.
Harry Potter Mason Jar Lid Ornaments
Harry Potter Mason Jar Lid Ornaments. Are you, or your children, Harry Potter fans? These easy to make Harry Potter Mason Jar Lid Ornaments come together in about 10 minutes! These are perfect for your holiday tree, to give as a gift, or for a Harry Potter or Hogwarts themed party.
Materials
- 1/8" yard Branded Harry Potter Material
- 4 Mason Jar Lids with insert
- Tulle or Ribbon
- Glitter Foam Sheet
- Mod Podge
- Pencil
Tools
- Scissors
- Foam Brush
- Hot Glue
- Glue Gun
Instructions
- Lay out the fabric.
- Brush on some Mod Podge on the backside of a Mason jar lid.
- Place the Mason jar lid on the fabric and press down.
- Cut out the circular shape of the lid with the fabric attached.
- Mod Podge the top of the fabric.
- optional: If you plan on using the glitter backing, cut out of a circle the same side as the Mason jar lid.
- Cut off a length of tulle or ribbon long enough to make a hanger for your ornament.
- Place some hot glue along the rim of the Mason jar ring.
- Place the cutout tulle through the ring and press tight.
- optional: Insert the glitter backing glitter side out and press. Place more hot glue on the front of the backing, and press the fabric-covered Mason jar onto the lid fabric side out.
- If not using the backing, place the fabric-covered lid on the inside of the Mason jar ring, and press into the hot glue.
- Cover the top of the fabric with Mod Podge.
- Allow the ornament to dry.
- Display as desired.
Notes
Always remember to cover your work surface against spills!
Recommended Products
As an Amazon Associate and member of other affiliate programs, I earn from qualifying purchases.
● For more Craft posts on Ann’s Entitled Life, click here.
● If you enjoyed this post, be sure to sign up for the Ann’s Entitled Life weekly newsletter, and never miss another article!

Leave a Reply