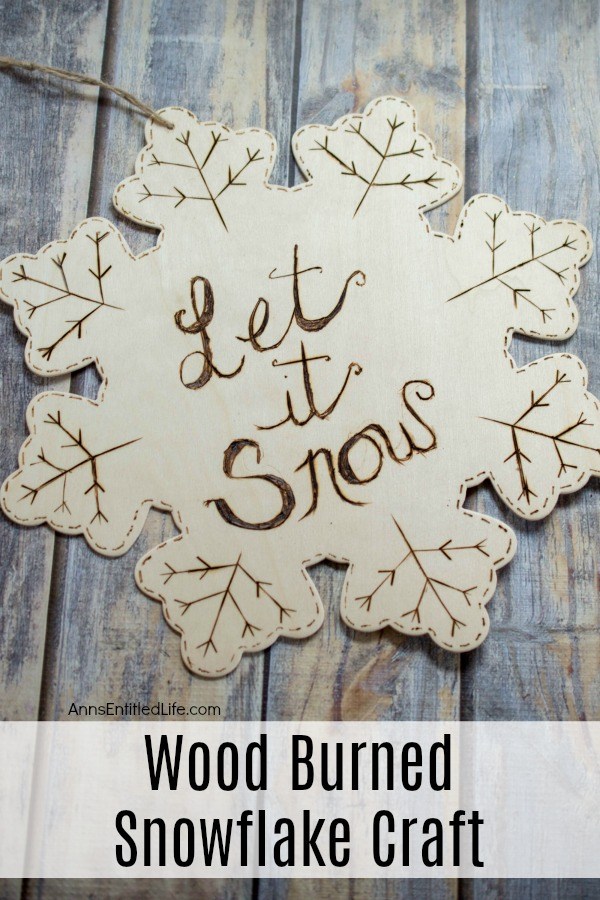
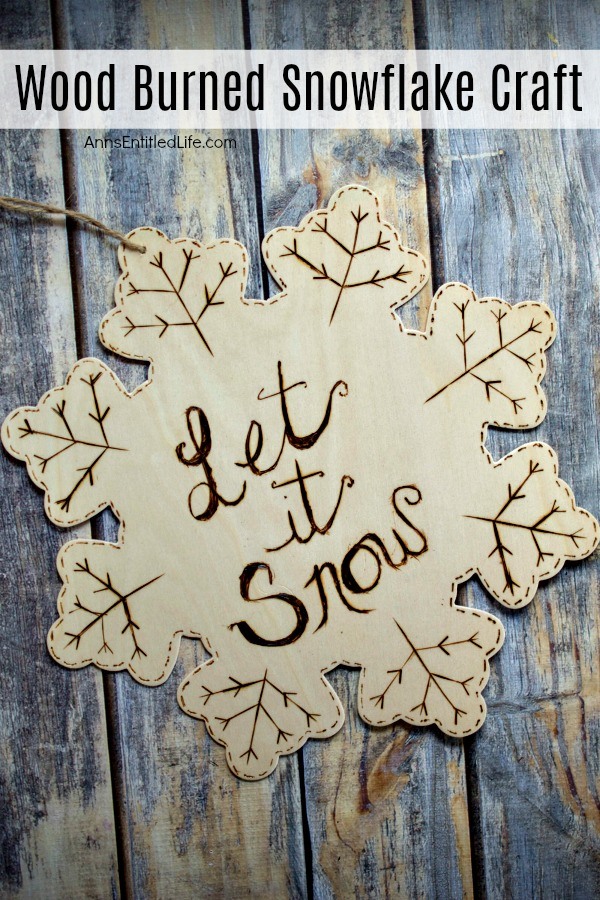
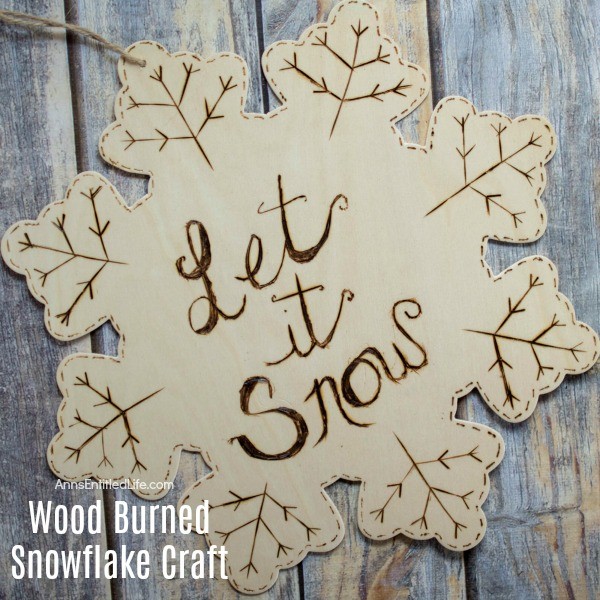
Looking for some great winter decor? These easy to make wood burned snowflakes will look great hanging in your window, from a lamp or chandelier, or decorating your cupboards.
Wood Burned Snowflake Craft
Wood burned ornaments, signs, spoons, and artwork is all the rage and very easy to make. You really only need a wood-burning tool and some wood to make beautiful rustic art in minutes!
“Let It Snow” decorations are perfect for the winter months. I now decorate my foyer in “Snow” themed decorations starting the first of December, and leave them up until March. It is nice and easy, fits the season, and I do not have to continually remove decorations. It also helps to look seasonally current as we go away for much of the winter. A Christmas wreath in February looks lazy and can signal “hey, these people are on vacation!” A snowflake wreath says, “‘Tis the season!”
Since I have a large foyer I also have baskets of winter stems, signs, some tea lights and art.
I have snowflakes attached to the storm doors with double-sided tape. I know a lot of people prefer to hang them, but the double-sided tape means they are not moving, and I like that. I have different sizes and different shapes to make it look like a “real” snowfall.
Tips for Making Wood Burned Snowflakes
● The materials necessary to make this easy Wood Burned Snowflake can be purchased at at JoAnn, Michaels, or Hobby Lobby
● The tip of the tool gets very hot and even touching it for a second can burn your skin or melt something. Always practice safety when handling your wood burning tool, and read the directions included with your burning tool completely before operating.
● Make certain you are burning in a well-ventilated area. Use a fan pointed toward an open window or door to help with ventilation.
● When you are using the tool, sometimes the slower you use it, the clearer the lines will be.
● The longer you hold the tool to the wood, the darker it will be.
Wood Burned Snowflake Craft Materials:
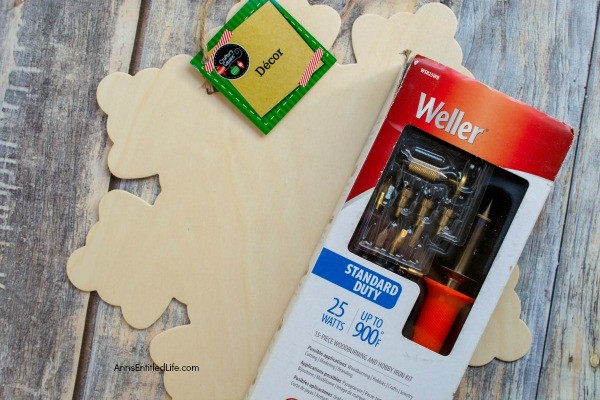
● Wooden Snowflake
● Ribbon or Twine (for hanging)
● Double Sided Tape (if attaching)
Wood Burned Snowflake Craft Tools:
Wood Burned Snowflake Craft Instructions:
1. Cover your work surface against possible burns.
2. Look at your wooden snowflake and make a decision about the best side of the wooden snowflake. Use the side you like best. If you are burning both sides of the snowflake (for a window), this step is not necessary.
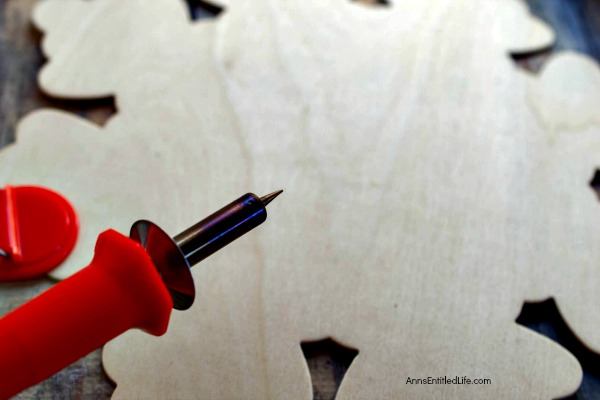
3. Put the longest pointed tip in the wood burning tool and plug it in.
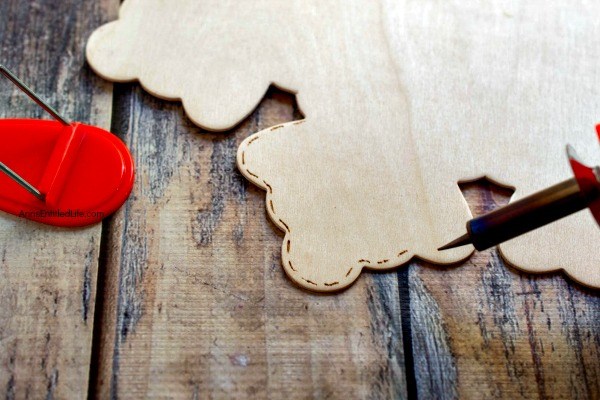
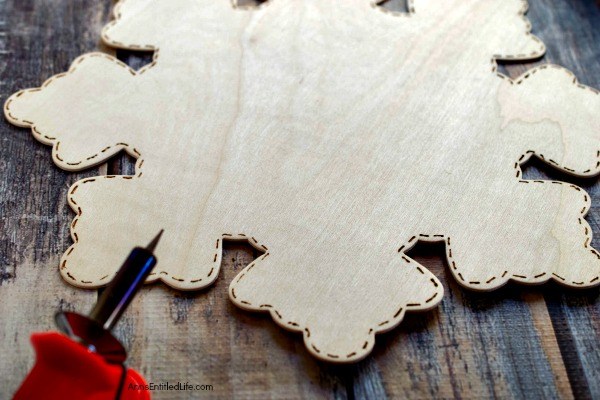
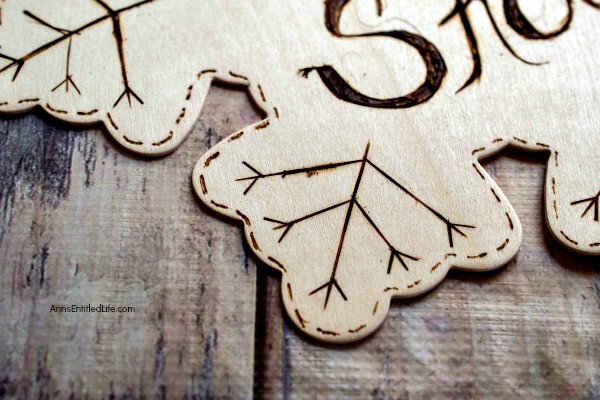
4. Once heated up, make short dashes all the way around the perimeter of the wooden snowflake.
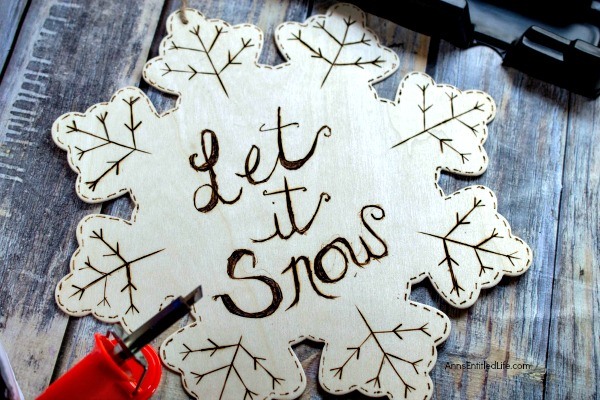
5. Once you are done making the short dashes you can lightly start to draw the “Let it Snow” wording in the center with this tip. (You can also draw lightly with a pencil before burning.)
6. Next, unplug the tool and allow it to cool completely.
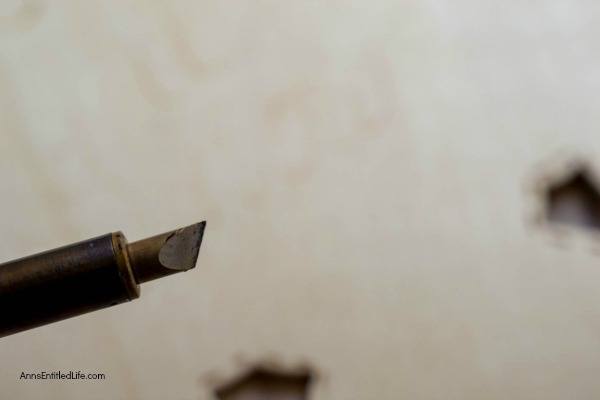
7. Take out the pointed tip and change to the calligraphy tip.
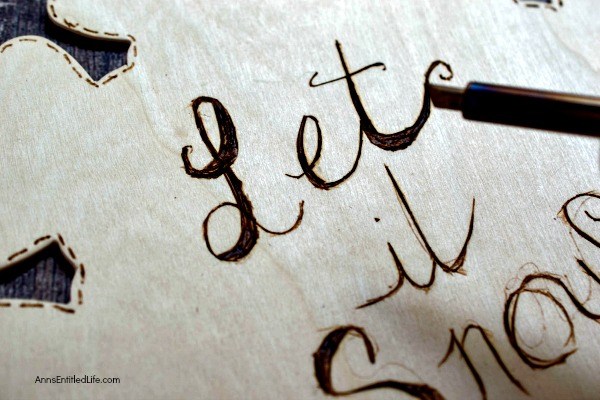
8. Turn the wood burning tool back on and once heated, begin to trace the “Let it Snow” wording.
9. The way you hold the wood burning tool will determine the thinness or thickness of the line.
10. Go around the words until you are satisfied with the look. This may be once, twice, or three times. It is up to you the look you want to achieve.
11. Add some snowflake-type points and embellishments to the edges.
12. Once finished, unplug the tool and allow it to cool completely before storing.
13. If you are hanging your snowflake, insert a piece of ribbon or twine and hang as desired. If you are decorating windows, attach a piece of double-sided tape to the snowflake, pull off the backing, and attach to a clean window (or mirror) surface.
Wood Burned Snowflake Craft
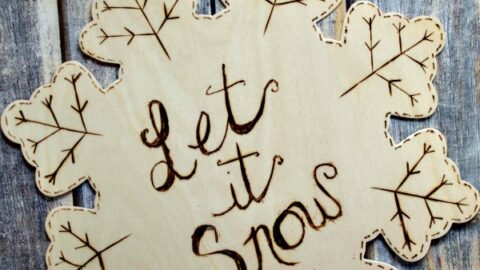
Wood Burned Snowflake Craft. Looking for some great winter decor? These easy to make wood burned snowflakes will look great hanging in your window, from a lamp or chandelier, or decorating your cupboards.
Materials
- Wooden Snowflake
- Ribbon or Twine (for hanging)
- Double-Sided Tape (if attaching)
Tools
Instructions
- Cover your work surface against burns.
- Look at your wooden snowflake and make a decision about the best side of the wooden snowflake. Use the side you like best. If you are burning both sides of the snowflake (for a window), this step is not necessary.
- Put the longest pointed tip in the wood-burning tool and plug it in.
- Once heated up, make short dashes all the way around the perimeter of the wooden snowflake.
- Once you are done making the short dashes you can lightly start to draw the "Let it Snow" wording in the center with this tip. (You can also draw lightly with a pencil before burning.)
- Next, unplug the tool and allow it to cool completely.
- Take out the pointed tip and change it to the calligraphy tip.
- Turn the wood-burning tool back on and once heated, begin to trace the "Let it Snow" wording.
- The way you hold the wood-burning tool will determine the thinness or thickness of the line.
- Go around the words until you are satisfied with the look. This may be once, twice, or three times. It is up to you the look you want to achieve.
- Add some snowflake-type points and embellishments to the edges.
- Once finished, unplug the tool and allow it to cool completely before storing it.
- If you are hanging your snowflake, insert a piece of ribbon or twine and hang as desired. If you are decorating windows, attach a piece of double-sided tape to the snowflake, pull off the backing, and attach to a clean window (or mirror) surface.
Recommended Products
As an Amazon Associate and member of other affiliate programs, I earn from qualifying purchases.
-
 Wedding Collectibles Personalized Our First Christmas Ornament (2019) Snowflake Custom Mr. and Mrs. Couples Tree Hanger | Vintage Birchwood Craftsmanship | Classic Collectible Keepsakes & Heirlooms
 -
 Andaz Press Personalized Wedding Engagement Laser Engraved Wood Christmas Ornament, Our First Christmas Engaged 2019, Snowflakes, 1-Pack, Includes Ribbon and Gift Bag, Custom Name
 -
 Hallmark Keepsake Christmas Ornament 2018 Year Dated, Hairdresser Snowflake Scissors Holiday Style
● For more Craft posts on Ann’s Entitled Life, click here.
● If you enjoyed this post, be sure to sign up for the Ann’s Entitled Life weekly newsletter, and never miss another article!


Leave a Reply