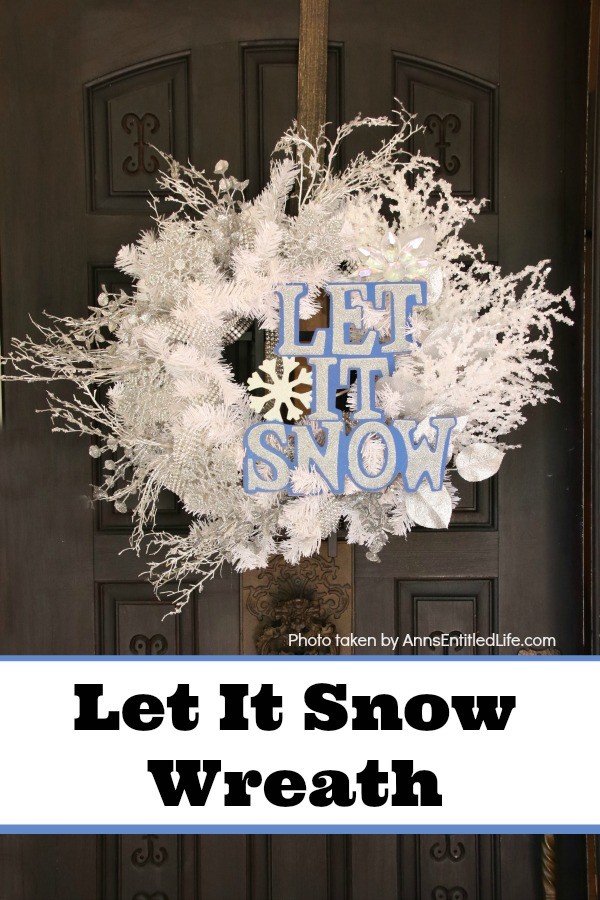
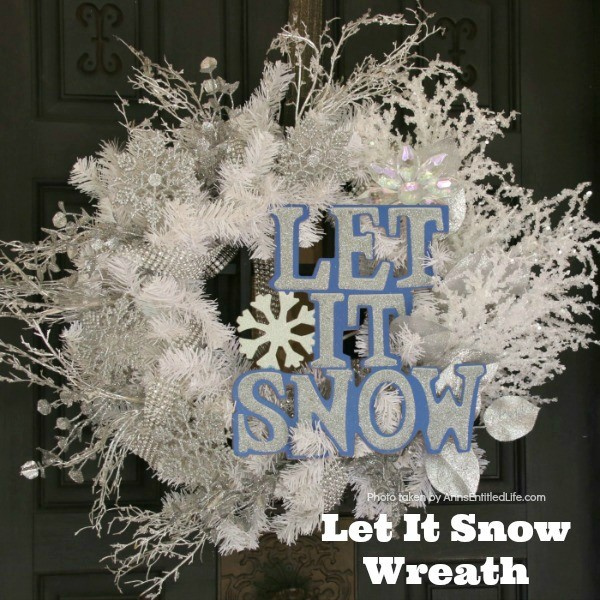
This beautiful, blingy let it snow wreath is so easy to make! If you are looking for a fun and simple winter craft project to hang on your front door or over your fireplace mantel, you will want to make this sparkly winter wreath.
Let It Snow Wreath
The primary colors of this wreath are white and silver. We went with sparkly, over-the-top materials. This wreath could be made in a matte version if you want to tone down the glitz.
“Let It Snow” decorations are perfect for the winter months. I now decorate my foyer in “snow” themed decorations starting the first of December, and leave them up until March. It is nice and easy, fits the season, and I do not have to continually remove decorations. It also helps to look seasonally current as we go away for much of the winter. A Christmas wreath in February looks lazy and can signal “hey, these people are on vacation!.” A snow-themed wreath can be left up for a while.
If you are hanging this on a storm door, you may want to consider surrounding it with snowflakes. These wood burned snowflakes as well as a few sparkly snowflakes adhered with double-sided tape gives a nice winter touch.
I have “snowflakes” attached to the storm doors (on the inside) with double-sided tape. I know a lot of people prefer to hang snowflakes but the double-sided tape means they are not moving, and I like that. I have different sizes and different shapes to make it look like a “real” snowfall.
Since I have a large foyer I also have baskets of winter stems, signs, some tea lights and art.
Tips For Making This Let It Snow Wreath:
● The materials necessary to make this easy Let It Snow Wreath can be purchased at at JoAnn, Michaels, or Hobby Lobby
● The rhinestone tape used in place of ribbon can be found in the bridal section of your local craft store.
● If you do not wish to use rhinestone tape, ribbon can be used instead.
● If you want a loop for a door hanger, use the rhinestone tape adjusted to the length you desire. If you used ribbon instead, use that ribbon to form your hanger.
● This is a fairly large wreath at 24″. You can adjust the size up or down, but if you do make sure you adjust your other materials to that size.
● This i a very easy to make wreath, while excessively glittery, it is not difficult or complicated to make.
● You can change the sign to “Snow” (these signs can be found at dollar stores, as well as at craft stores).
● This is a very icy, stark, wintery piece, so little color was used.
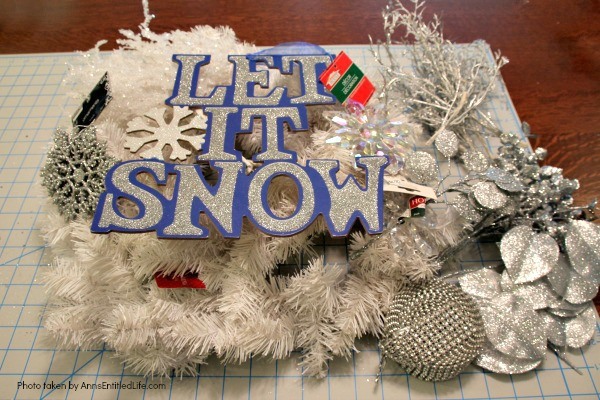
Let It Snow Wreath Materials:
● 24″ White Wreath
● 4 Crystal Branches
● 4 Silver Snowflakes
● 1 White or Clear Snowflake
● Let It Snow sign
● Rhinestone Ribbon
● Silver Eucalyptus
● Silver Broad Leaf
Let It Snow Wreath Tools:
● Scissors
● Wire Cutters
● Hot Glue
● Hot Glue Gun
Let It Snow Wreath Directions:
1. Cover your work surface against cuts, scraps, or burns.
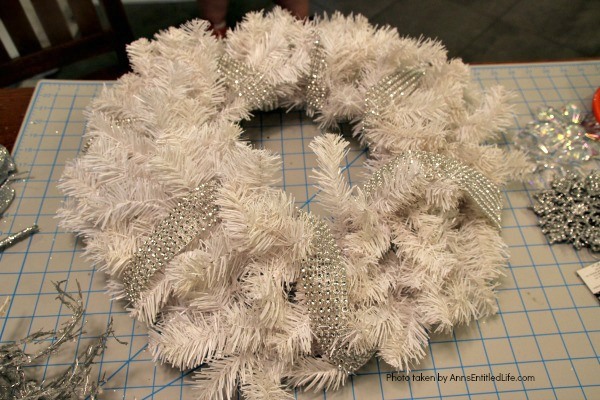
2. Fluff your white wreath so it looks full and any obvious holes are covered.
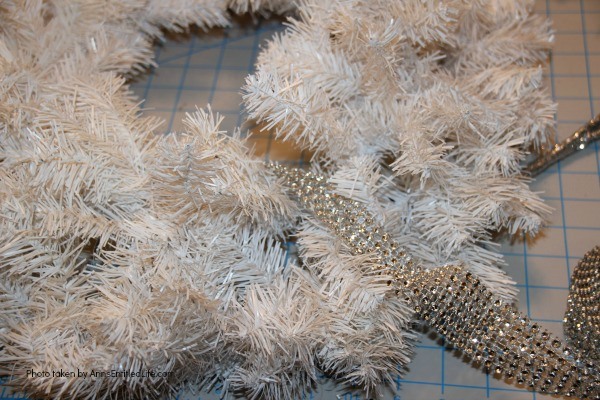
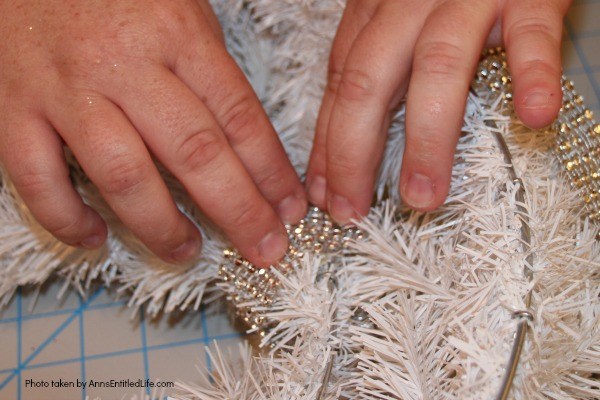
3. Wrap the wreath with the rhinestone tape. Make sure the rhinestones are always facing out, and the flat portion of the tape is against the wreath. Cut off at excess, hot glue ends in place.
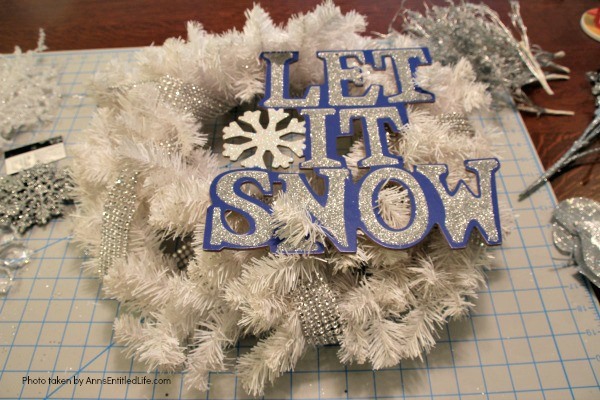
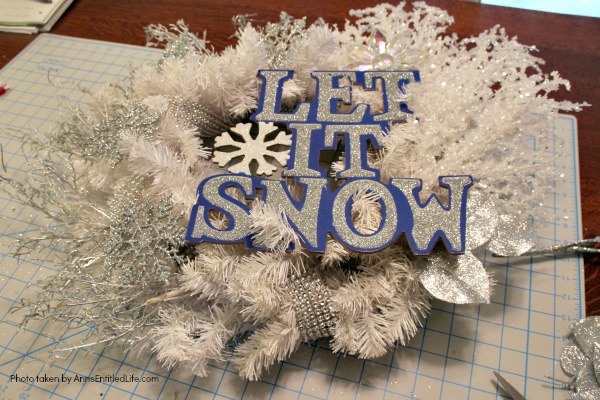
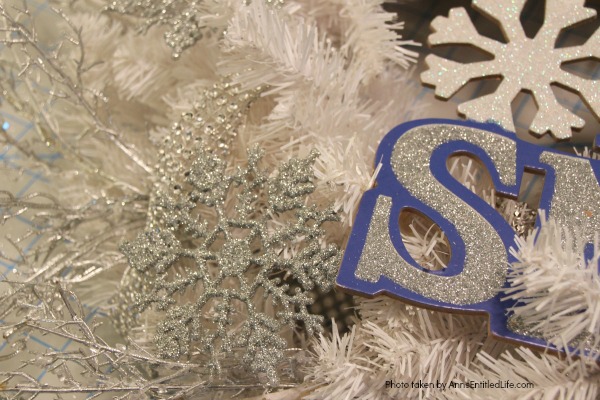
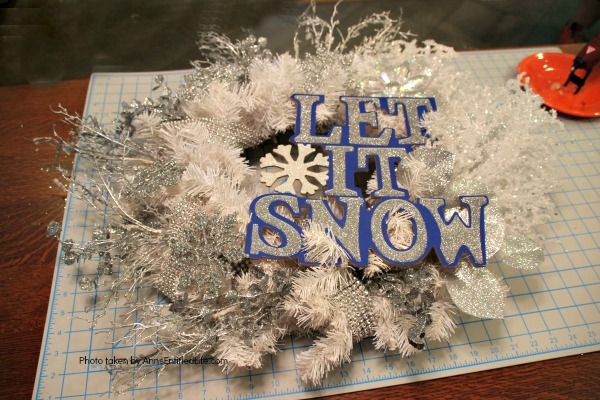
4. Position “Let It Snow” sign. This is offset on the right. If you prefer it offset on the left, which is fine. Hot glue the “Let It Snow” sign into place.
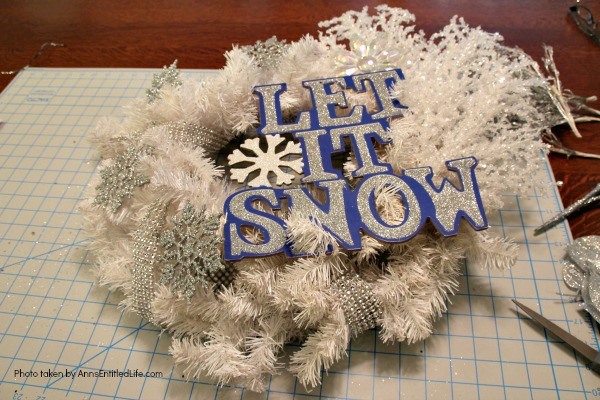
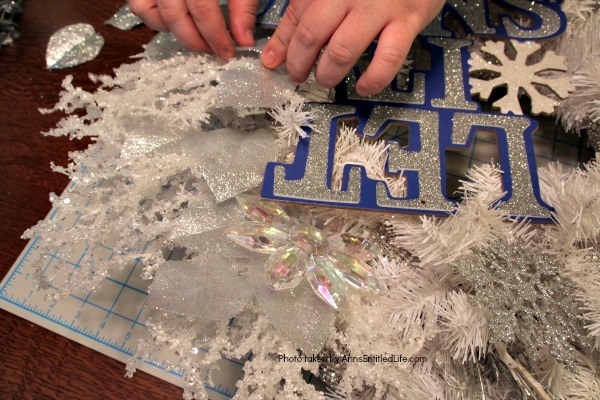
5. Insert crystal branches behind the top right of the “Let It Snow” sign. Clip down if necessary
6. Place Silver branches to the left of the sign. Clip down if necessary.
7. Place the silver snowflakes in the empty spaces on the left.
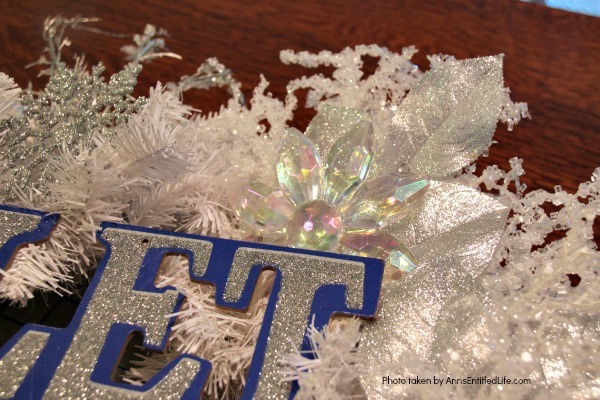
8. Place white (or crystal) snowflake just slightly behind the sign.
9. Hot glue the branches and snowflake in place when you are satisfied with the positioning.
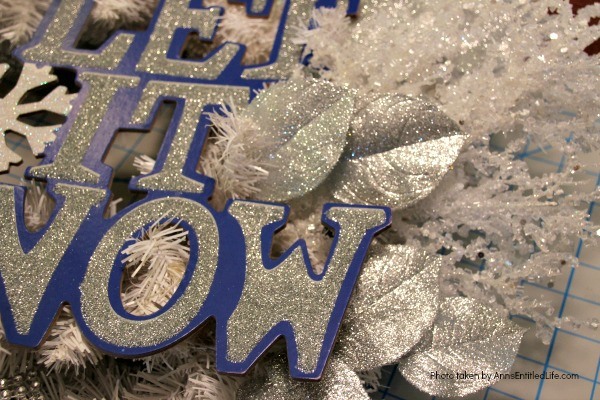
10. Cut off some silver broadleaves and silver eucalyptus, place around the wreath, and hot glue in place. Some silver was inserted in between the crystal branches too to break it up a bit (that is a lot of crystal!)
11. Hot glue everything in place when you are satisfied with the positioning.
12. Once you have all your materials in place and hot glued on, give the Let It Snow wreath a shake to make certain nothing is loose and in need of more glue.
13. Display as desired.
Let It Snow Wreath
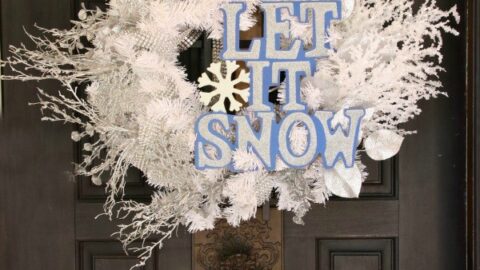
Let It Snow Wreath. This beautiful, blingy let it snow wreath is so easy to make! If you are looking for a fun and simple winter craft project to hang on your front door or over your fireplace mantel, you will want to make this sparkly winter wreath.
Materials
- 24" White Wreath
- 4 Crystal Branches
- 4 Silver Snowflakes
- 1 White or Clear Snowflake
- Let It Snow sign
- Rhinestone Ribbon
- Silver Eucalyptus
- Silver Broadleaf
Tools
- Scissors
- Wire Cutters
- Hot Glue
- Hot Glue Gun
Instructions
- Cover your work surface against cuts, scraps, or burns.
- Fluff your white wreath so it looks full and any obvious holes are covered.
- Wrap the wreath with the rhinestone tape. Make sure the rhinestones are always facing out, and the flat portion of the tape is against the wreath. Cut off at excess, hot glue ends in place.
- Position "Let It Snow" sign. This is offset on the right. If you prefer it offset on the left, which is fine. Hot glue the "Let It Snow" sign into place.
- Insert crystal branches behind the top right of the "Let It Snow" sign. Clip down if necessary.
- Place Silver branches to the left of the sign. Clip down if necessary.
- Place the silver snowflakes in the empty spaces on the left.
- Place white (or crystal) snowflake just slightly behind the sign.
- Hot glue the branches and snowflake in place when you are satisfied with the positioning.
- Cut off some silver broadleaves and silver eucalyptus, place around the wreath, and hot glue in place. Some silver was inserted in between the crystal branches too to break it up a bit (that is a lot of crystal!)
- Hot glue everything in place when you are satisfied with the positioning.
- Once you have all your materials in place and hot glued on, give the Let It Snow wreath a shake to make certain nothing is loose and in need of more glue.
- Display as desired.
Recommended Products
As an Amazon Associate and member of other affiliate programs, I earn from qualifying purchases.
-
 Hallmark Keepsake Christmas Ornament 2018 Year Dated, Hairdresser Snowflake Scissors Holiday Style
 -
 Wedding Collectibles Personalized Our First Christmas Ornament (2019) Snowflake Custom Mr. and Mrs. Couples Tree Hanger | Vintage Birchwood Craftsmanship | Classic Collectible Keepsakes & Heirlooms
 -
 Andaz Press Personalized Wedding Engagement Laser Engraved Wood Christmas Ornament, Our First Christmas Engaged 2019, Snowflakes, 1-Pack, Includes Ribbon and Gift Bag, Custom Name
● For more Craft posts on Ann’s Entitled Life, click here.
● If you enjoyed this post, be sure to sign up for the Ann’s Entitled Life weekly newsletter, and never miss another article!


Marie says
This is the first year I didn’t take down all of Christmas and left what falls into a winter decor theme. I like your take on a winter wreath and have an old Christmas wreath that could use refurbishing. Pinned
Kristie says
You’re wreath is so pretty, Ann! You should share it at the Little Cottage Link Party https://lovemylittlecottage.com/little-cottage-link-party-34/.
Michelle says
Such a beautiful wreath! I’ve seen lots of wreaths these past couple of months, and this one is among my favorites.
Michelle
http://mybijoulifeonline.com
Allyson @ Southern Sunflowers says
A very festive winter wreath! I pinned your wreath, and I also pinned a couple of your other cute craft projects ~ the clothes pin laundry and the small ribbon pumpkin. I’m visiting from A Delightsome Life ~ Home and Garden Thursday where I also shared two winter “let it snow” projects. 🙂