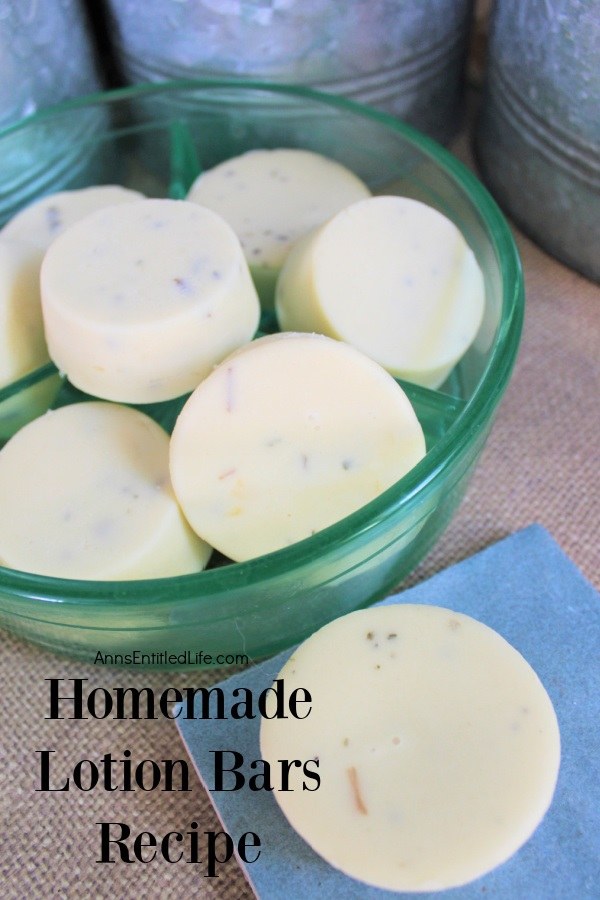
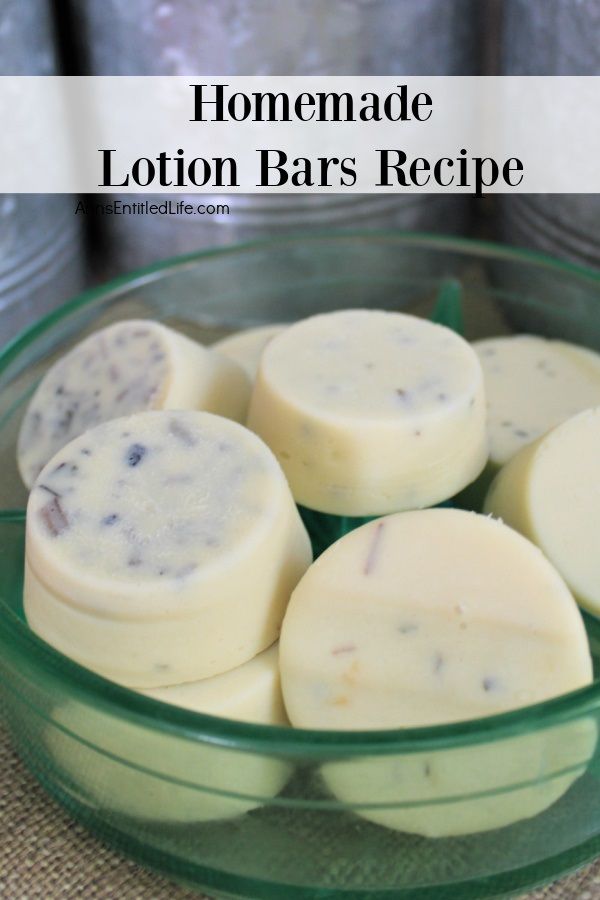
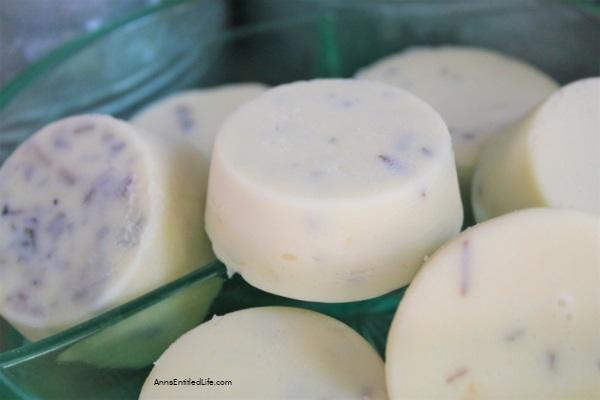
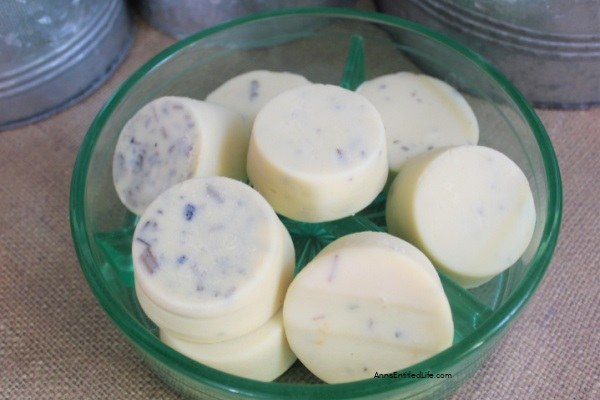
This DIY lotion bars recipe is a great homemade beauty project. If you are like me and get dry skin at times, these lotion bars are very helpful for keeping your skin moisturized. Made with natural ingredients, these solid lotion bars are great gifts or an easy way to help your dry hands or your entire body!
The moisture lasts longer on your skin from these DIY lotion bars than traditional lotion because it has the thicker ingredients of beeswax, shea butter, and coconut oil. All three of those ingredients are very nourishing for the skin, and not hard to find for purchase. In addition to those items, this recipe uses drops of essential oils that are wonderful for homemade lotion bar recipes.
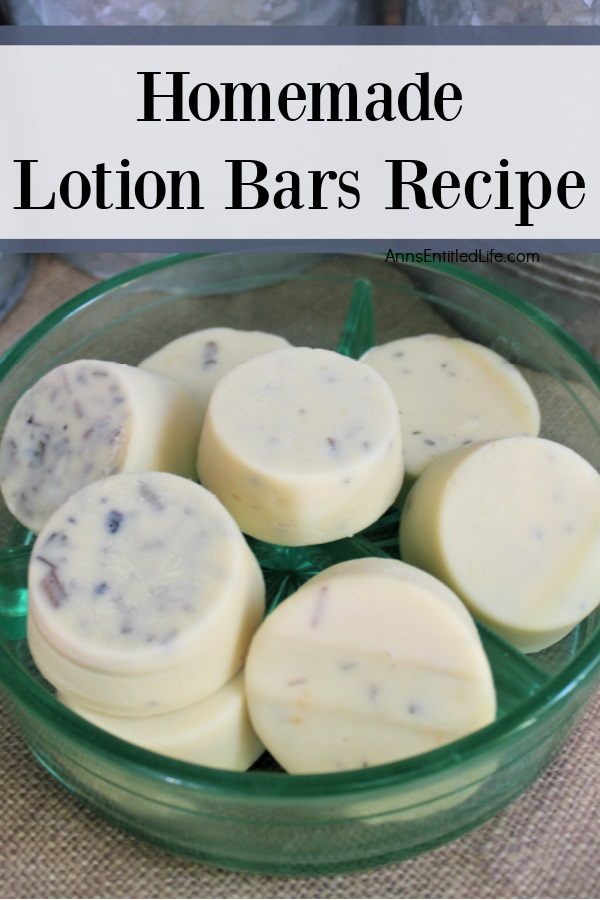
Homemade Lotion Bars Recipe
Making your own lotions and natural products is the perfect way to know what ingredients your hand and body products contain. You control what the homemade beauty products are made of; you can use the essential oils of your choice as well as how much essential oil is used. Whatever form your homemade lotion takes, you can have confidence in the ingredients used! A natural alternative to commercial lotions using an easy recipe! What could be better?
Make your own lotion recipes:
● Homemade Orange Lavender Lotion Recipe
● DIY Peppermint Hand Cream
● DIY After Sun Lotion
Here are the essential oils listed and a few of each of their listed benefits:
1. Clary Sage oil – This oil is typically one you will see listed if you search oils for women, and it is used in many women’s products and oil blends. It helps to reduce menstrual cramps and, when used regularly, can make a huge difference when that time of the month comes. It is a natural anti-depressant, helps relieve symptoms of menopause, reduces stress and anxiety, calms the mind, is an anti-bacterial, and helps to balance hormones for any age.
2. Ylang Ylang oil – one thing I added this oil for was the floral scent, which helps to counteract the not-so-pleasant scent of the Clary Sage. It is a sweet-scented floral that is an overall calming oil. It helps to boost your mood and reduces depression and anxiety. It can lower blood pressure and heart rate and is wonderful for the skin. It will help your skin produce more oil which is handy in this recipe.
3. Lavender oil – Lavender is likely the most popular and well-known essential oil, and it has a long list of benefits, but for this particular use, I added it for its calming properties, as well as its benefit of helping to relieve nausea and cramps. It is anti-fungal and anti-bacterial, and cleansing, so it is great to use in any body product.
4. Tangerine oil – This oil brings a great balance to the scent and adds an uplifting touch to the blend of oils used. Like any citrus oil, it helps to boost the mood, and it is also an anti-bacterial oil.
Note: If you do not have tangerine, you can substitute it with orange or bergamot oil.
Tips and variations for making this recipe for lotion bars:
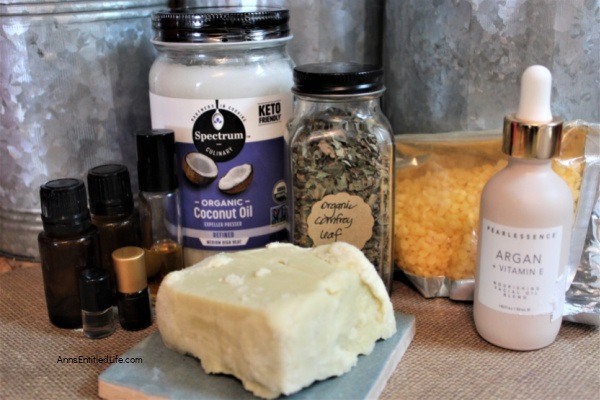
● Besides the ingredients mentioned above, there are two others in the recipe; One is comfrey leaf and the other Vitamin E and Argan Oil serum. If you find just Vitamin E and want to use that alone, it will work just fine, I just happened to find a deal on this one, and both of those ingredients are great for the skin, so it was perfect for this.
● The comfrey helps new skin cells to form, and it helps relieve pain and inflammation.
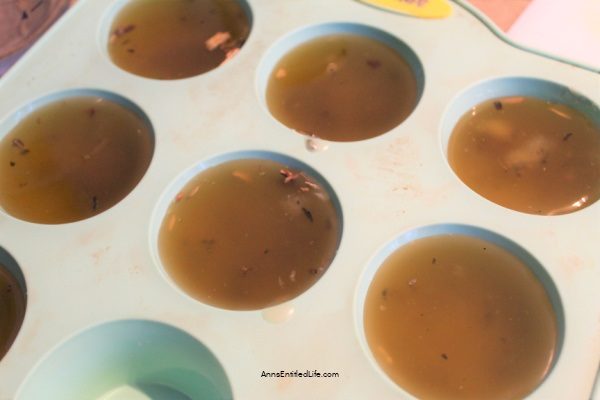
● I used muffin-sized silicone molds (muffin tins) to make these because they are slightly smaller than a soap bar size and easier to get your hand around, making them nicer to apply and use. You can use smaller molds (use a silicone ice cube tray!) or larger lotion bar molds if you prefer; just know that it may alter the outcome of how many bars you get at the end. Also, the larger the lotion bar is, the longer it takes to dry. You may not end up with a hard lotion bar. Another idea is to pour them into silicone cupcake liners.
● This recipe makes eight of the muffin-sized hard lotion bars.
● These lotion bars are not soap, so they may feel soft and sticky. That will improve as they dry out. Store them on parchment paper so as they do not stick to anything. Dry them on a wire rack.
● The shelf life of a dried lotion bar is approximately 12 months. If it changes consistency or color, discard and discontinue use.
Homemade Lotion Bars Ingredients:
● ¾ cup Beeswax (I prefer the pastilles, which are already nice and small, but you can also use a brick and just chop it up finely.)
● ½ cup Shea Butter, chopped
● ½ cup Coconut Oil, melted
● 15 drops Vitamin E Oil & Argan Oil Serum
● 1/8 cup Comfrey Leaf
● 15 drops Lavender Essential Oil
● 12 drops Ylang Ylang Essential Oil
● 14 drops Tangerine Essential Oil
● 8 drops Clary Sage Essential Oil
Homemade Lotion Bars Tools:
● Silicone Muffin Mold or Silicone Soap Mold
● Double Boiler
● Knife
● Cutting Board
● Measuring Cup
Homemade Lotion Bars Directions:
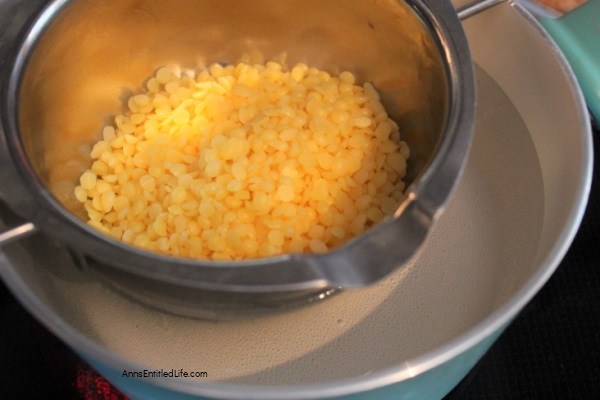
1. Start a double boiler to melt beeswax and shea butter. Fill the bottom pan with water so that it is touching the bottom of the top pan, but not so high that the water will spill over easily. Turn the heat to medium-high.
2. If you need to chop the beeswax (unnecessary if you use beeswax pellets,) you should do at least part of it before starting the water to heat. Measure the beeswax and place it in the top half of the double boiler pan. It will take a few minutes to start heating up, so just check on it every couple of minutes, and once the wax starts to liquefy and turn clear, you will need to stir and break it up a few times. Once the water is starting to heat well, turn it down to simmer.
3. The process of this melting probably takes about 15 minutes, so you have time to chop the shea butter and melt the coconut oil. Just be sure you don’t let the beeswax get too hot. If the water stays at a really high temperature, not only will it boil over, but the beeswax can lose its properties.
4. Chop your shea butter, and if you want to speed the process along, you can place it into a microwave-safe dish and heat in the microwave in thirty-second intervals until it is melted. Or do it all in the double boiler. If you plan on melting all in the double boiler, you need to wait until the beeswax is melted first. I prefer to keep the shea butter out of the double boiler, melt it and then add everything together after the wax and coconut oil are melted.
5. If you want to do it in the boiler, then once the beeswax is all clear and liquid, add the shea butter in and stir. Then let it melt until clear.
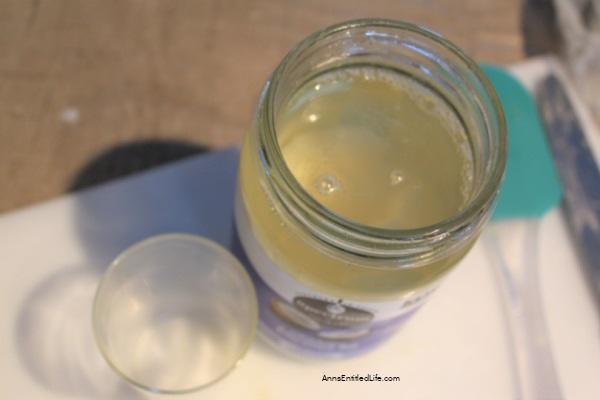
6. For the coconut oil, if it has solidified in the jar, just remove the lid and pop it into the microwave for 30 seconds. It should be clear, at least on the top, and ready for use. Measure that out and have it ready.
7. Once the shea butter and beeswax mixture is liquefied, add in the coconut oil and stir. Let this melt as well.
8. Now, you are ready to add in the last oils. They can be added into the shea butter outside the pan if you chose to do it that way, or into the boiler pan. It doesn’t make too much of a difference; they just need to be added to one or the other.
9. Remove the wax mixture from the heat (but leave on top of the hot water pan) and carefully add in the drops of the Vitamin E serum and all the drops of essential oils. Stir between each added drops of essential oil to disperse well.
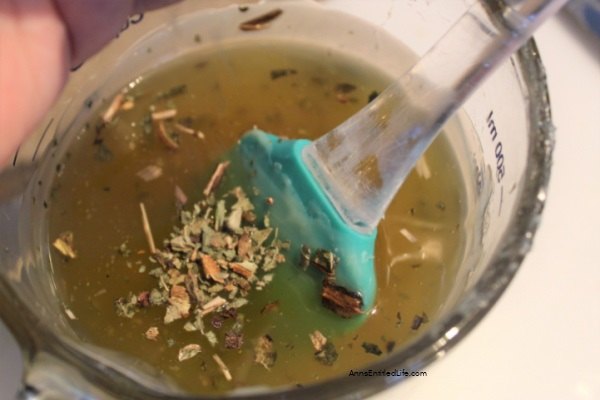
10. Once you are done, you should have a nice mixture of a smooth liquid. Add in the comfrey slowly (adding more or less than listed in this recipe is up to you).
11. Once the comfrey is stirred in, you can go ahead and pour it into your molds. I fill to about 2/3 of the way up and then go back and top off to make sure I have enough, and I can get them all about the same size.
12. The last step in this process is to allow the bars to cool fully. This can take a couple of hours. Don’t move them around, or they can slosh and mess up.
Feel the center of the molds to check if they are fully cooled and if so, you can carefully remove them from the molds.
13. Because they are lotion and not a soap, they will feel a little soft and maybe sticky. This does improve if they sit out longer too, which I usually let them do. The molds can build moisture up along the bottom and sides, so those parts may need more time to dry out.
14. I prefer to store them in wax or parchment paper, so they don’t stick to other things. Parchment muffin cups work great! For best results, store out of direct sunlight.
15. Now you are all set to use your bars or gift them! You can rub your hands on them like you would a bar of soap, or rub the bar directly on dry areas.
Homemade Lotion Bars Recipe
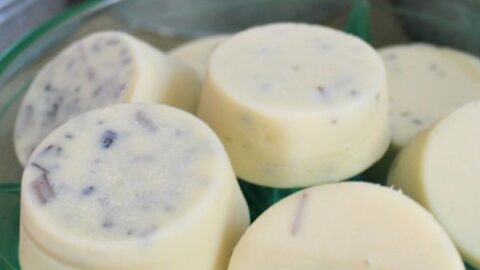
Homemade Lotion Bars Recipe. This DIY lotion bars recipe is a great homemade beauty project. If you are like me and get dry skin at times, these lotion bars are very helpful for keeping your skin moisturized. Made with natural ingredients, these solid lotion bars are great gifts or an easy way to help your dry hands or your entire body!
Materials
- ¾ cup Beeswax
- ½ cup Shea Butter, chopped
- ½ cup Coconut Oil, melted
- 15 drops Vitamin E Oil & Argan Oil Serum
- 1/8 cup Comfrey Leaf
- 15 drops Lavender Essential Oil
- 12 drops Ylang Ylang Essential Oil
- 14 drops Tangerine Essential Oil
- 8 drops Clary Sage Essential Oil
Tools
- Silicone Muffin Mold or Silicone Soap Mold
- Double Boiler
- Knife
- Cutting Board
- Measuring Cup
Instructions
- Start a double boiler to melt beeswax and shea butter. Fill the bottom pan with water so that it is touching the bottom of the top pan, but not so high that the water will spill over easily. Turn the heat to medium-high.
- If you need to chop the beeswax (unnecessary if you use beeswax pellets,) you should do at least part of it before starting the water to heat. Measure the beeswax and place it in the top half of the double boiler pan. It will take a few minutes to start heating up so just check on it every couple of minutes and once the wax starts to liquefy and turn clear, you will need to stir and break it up a few times. Once the water is starting to heat well, turn it down to simmer.
- The process of this melting probably takes about 15 minutes, so you have time to chop the shea butter and melt the coconut oil. Just be sure you don’t let the beeswax get too hot. If the water stays at a really high temperature, not only will it boil over, but the beeswax can lose its properties.
- Chop your shea butter and if you want to speed the process along, you can place it into a microwave-safe dish and heat in the microwave in thirty-second intervals until it is melted. Or do it all in the double boiler. If you plan on melting all in the double boiler, you need to wait until the beeswax is melted first. I prefer to keep the shea butter out of the double boiler, melt it and then add everything together after the wax and coconut oil are melted.
- If you want to do it in the boiler, then once the beeswax is all clear and liquid, add the shea butter in and stir. Then let it melt until clear.
- For the coconut oil, if it has solidified in the jar, just remove the lid and pop it into the microwave for 30 seconds. It should be clear, at least on the top, and ready for use. Measure that out and have it ready.
- Once the shea butter and beeswax mixture is liquefied, add in the coconut oil and stir. Let this melt as well.
- Now you are ready to add in the last oils. They can be added into the shea butter outside the pan if you chose to do it that way, or into the boiler pan. It doesn’t make too much of a difference, they just need to be added to one or the other.
- Remove the wax mixture from the heat (but leave on top of the hot water pan) and carefully add in the drops of the Vitamin E serum and all the drops of essential oils. Stir between each added drops of essential oil to disperse well.
- Once you are done, you should have a nice mixture of a smooth liquid. Add in the comfrey slowly (adding more or less than listed in this recipe is up to you).
- Once the comfrey is stirred in, you can go ahead and pour it into your molds. I fill to about 2/3 of the way up and then go back and top off to make sure I have enough and I can get them all about the same size.
- The last step in this process is to allow the bars to cool fully. This can take a couple of hours. Don’t move them around or they can slosh and mess up. Feel the center of the molds to check if they are fully cooled and if so, you can carefully remove them from the molds.
- Because they are lotion and not a soap, they will feel a little soft and maybe sticky. This does improve if they sit out longer too, which I usually let them do. The molds can build moisture up along the bottom and sides so those parts may need more time to dry out.
- I prefer to store them in wax or parchment paper, so they don’t stick to other things. Parchment muffin cups work great! For best results store out of direct sunlight.
- Now you are all set to use your bars or gift them! You can rub your hands on them like you would a bar of soap, or rub the bar directly on dry areas.
Notes
Note: None of this is meant as medical advice. I am not a doctor and do not play one on the internet. Please consult a physician if you have any questions about using homemade lotion recipes and lotion bars so your doctor can better explain to you the benefits, possible side effects, and any warnings about essential oils and lotion bars.
Recommended Products
As an Amazon Associate and member of other affiliate programs, I earn from qualifying purchases.
-
 NIDITW Set of 2 Sister Birthday Gift Joy Peace Noel Beautiful Snowflakes Body Red Cotton Burlap Linen Throw Pillow Case Cushion Cover Sofa Outdoor Decorative Square 18X18 Inches
 -
 The Wreath Depot Montgomery Hollow Silk Fall Door Wreath, 26 inch, Beautiful White Gift Box Included
 -
 Window Garden Rustic Charm 6” Planter - Fine Home Décor Ceramic Indoor Decorative Pot. for or Herbs, Flowers, Succulents. Beautifully Packaged, Great Gift for Mom, Office, Holiday.
Note: None of this is meant as medical advice. I am not a doctor and do not play one on the internet. Please consult a physician if you have any questions about using homemade lotion recipes and lotion bars so your doctor can better explain to you the benefits, possible side effects, and any warnings about essential oils and lotion bars.
● For more DIY Beauty posts on Ann’s Entitled Life, click here. (Soaps, bath bombs, personal care products, haircare, salt scrubs, sugar scrubs, lip scrubs and more!)
● Enjoy this post? Sign up for the Ann’s Entitled Life FREE Weekly Newsletter to stay connected.


Linda Primmer says
These look wonderful. We all need more lotion and making your own is pretty awesome. I am happy to feature your lotion bars at Love Your Creativity.
Julie says
These look so lovely, what a wonderful gift they would make. Thank you for sharing with us at Handmade Monday 🙂
Julie Briones says
So smart and practical… and pretty! Perfect for Mother’s Day! I’m delighted to be featuring your post at the EXTRA BIG Tuesday Turn About this week! Pinned!
Paula says
Ann, I’ve never heard of lotion bars before. I can’t help but be drawn to this. You’ve got me thinking. Lol. Pinned 📌 so I can give these a try. These would make great gifts.
Thank you so much for sharing this guide to make homemade lotion beauty bars with Sweet Tea & Friends Link Up this month.