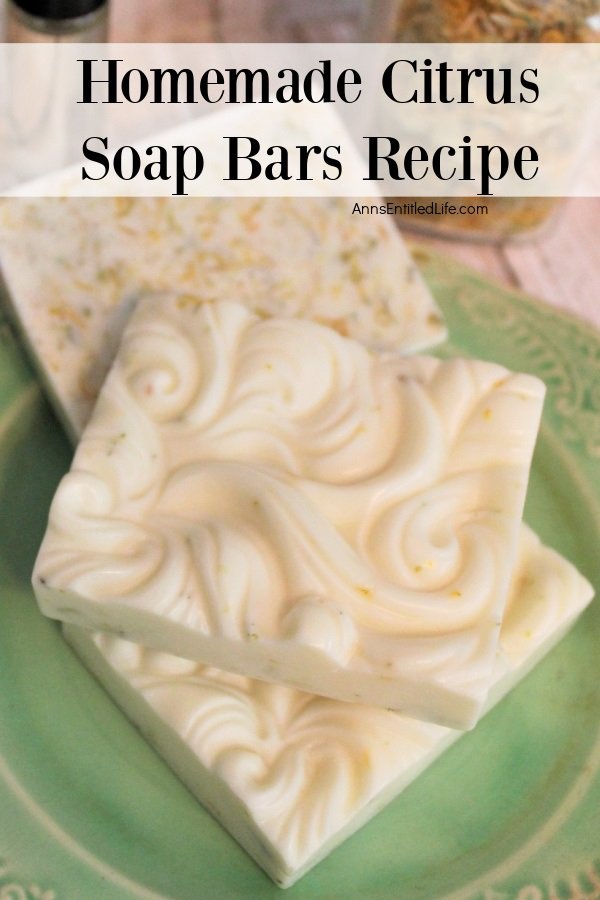
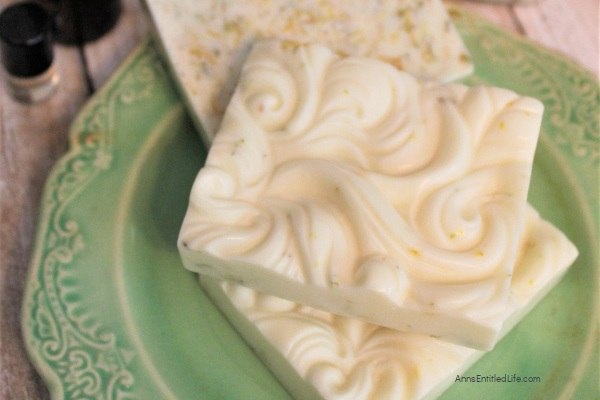
Learn how easy it is to make your own soap by following the step-by-step directions of this delightful homemade citrus soap bars recipe. Refreshing and invigorating, this lovely recipe for homemade soap is simple to make, feels great on your skin, and smells fantastic!
I used to think making your own handmade soap sounded like a taxing, tedious thing to do. Turns out that I was totally wrong, and now soap making is something I really enjoy. It takes minimal time when you use the right ingredients and have the supplies on hand. Now, I am one of those soap makers (like a lot of people) who preaches to all how easy it is to make DIY soap. Once you have your own homemade soap enough times, you will be putting together your own soap recipes in no time and never go back to commercial soaps.
Homemade Citrus Soap Bars Recipe
This recipe uses a shea butter soap base, along with almond oil, organic dandelion petals, and a few essential oils. You can substitute several of these ingredients as well, and I will make notes below of those substitutions for you. The shea butter base is a great one for making a moisturizing type of soap and it includes glycerine and a few other natural ingredients, but the beauty of using it on top of that is that it is very easy to use overall.
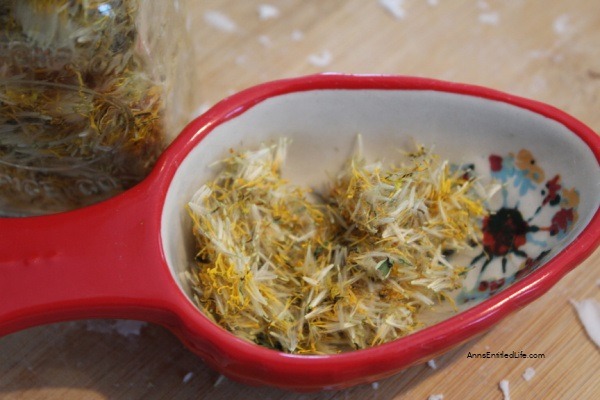
The dandelion petals I included not just because they add a pretty orange touch to the soap, but because they have great health benefits too. They contain antioxidants, might help prevent sun damage to the skin, and may help reduce inflammation.
This soap also includes three essential oils – I would advise that you use only pure essential oils and not the perfume types sold in more inexpensive stores, especially if you want the benefits and so you can keep the soap all-natural. These oils have skin benefits as well as provide fragrance oils.
The first one used is Orange – Orange oil is one that is a perfect sweet scent to blend with any woodsy type scents, and it balances really well. It is anti-bacterial and anti-fungal.
The second oil used is Black Spruce. This one may be a little harder to find, but good substitutions would be any form of spruce cedarwood. Spruce is great for soothing the skin.
The third oil used is Siberian Fir. Now, just as the Black Spruce could be substituted with another similar spruce, this could be substituted for another fir. Fir oils are also great for soothing irritations of the skin.
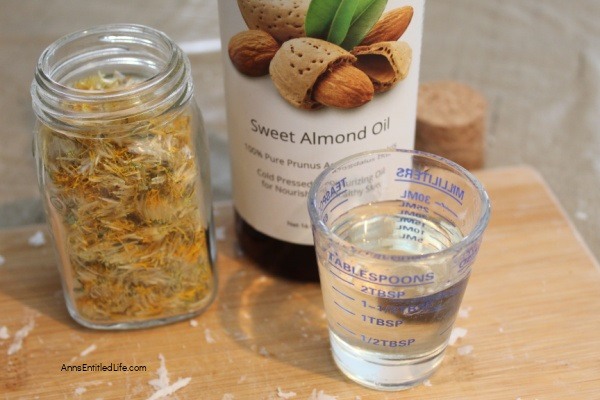
The last ingredient is Sweet Almond Oil, which I have used for years in many body products. It keeps the products you are making nice and smooth and is very versatile, so I keep it on hand all the time, but you could also use jojoba, olive oil, coconut oil, or any other mild carrier type of oil as well. Almond oil is great for treating dry skin.
So overall, this is a powerful combination of ingredients that smell amazing when combined, which makes for a great bar of soap.
Tips and variations for making this citrus soap:
You may want to test the essential oils, especially if you have sensitive skin so as not to incur a negative reaction.
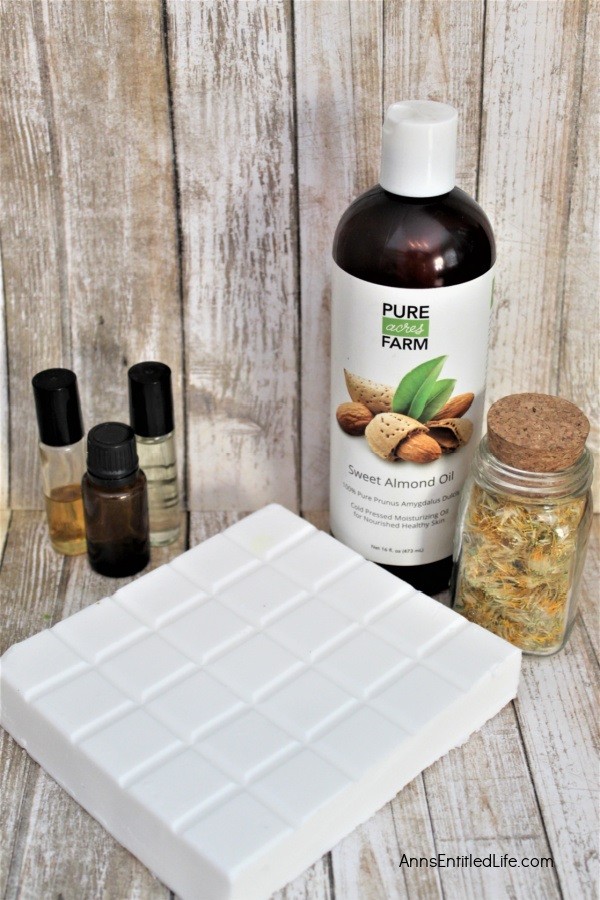
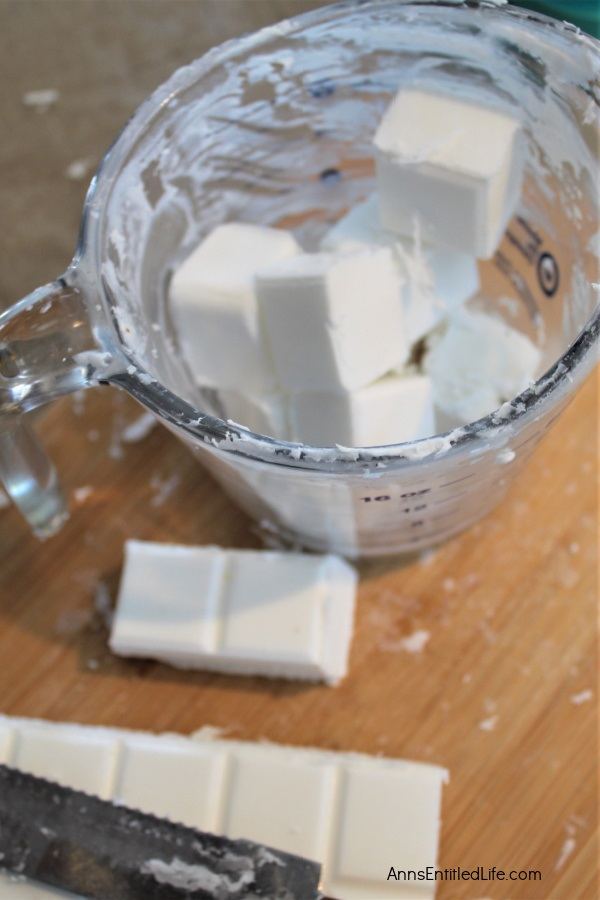
● You will need a cutting board, a good knife, and a large glass measuring cup to start if you bought a hunk of soap base. The soap base is designed to melt easily and comes in a large brick, as shown. Most of these types are scored into cubes already, which makes it easy to measure once you know how many to use. If your base is pre-scored, you will need 8 cubes. If it is not, I suggest starting with a large slice across the brick and cut that into small cubes.
● I like to allow my soap to harden so they will last a long time, so I keep them unwrapped on a shelf in the linen closet. The closet smells pretty good too! The scent will dissipate this way, so add more essential oils if you plan to store your soap open on wire racks (shelving).
● You can use any silicone soap molds for this in a standard soap-sized bar, the one I used has four bars to the mold, and this recipe makes three soap bars.
● Spray the top of the soap with rubbing alcohol to remove any air bubbles if you like.
● I use a microwave to melt the base soap instead of a double boiler as it is faster.
● Dandelion petals were used in this soap; you may want to substitute orange peel or a flower petal.
● Make sure your work area is clean, and the ingredients are kept out of the reach of children.
● If you like to wear safety gear such as rubber gloves, eye protection such as safety goggles, or even long sleeves, don them before you begin. There is no lye solution in this bar soap, however.
I recommend some of these other easy homemade soap recipes:
● Goat’s Milk Charcoal Soap Recipe
● Hippy Dippy Soap: Homemade Soap Recipe
● Homemade Exfoliating Loofah Soap
Homemade Citrus Soap Ingredients:
● 8 cubes Shea Butter Soap Base
● 2 TBSP Sweet Almond Oil
● 18 drops Black Spruce Essential Oil
● 20 drops Wild Orange Essential Oil
● 16 drops Siberian Fir Essential Oil
● 1/8 cup Organic Dandelion Petals (If you dried your own, use those!)
Homemade Citrus Soap Tools:
● Cutting board
● Knife
● Measuring Spoon
● Measuring Cup
● Soap Mold (3.5oz cavities were used)
● Silicone or Rubber Spatula
Homemade Citrus Soap Directions:
1. Make certain your molds, mixing, and measuring cups are free of any debris so you do not end up with Now, it is time to pour into your molds.
2. Cube your shea base if needed. Place the cubes in a microwave-safe measuring cup. Microwave the shea soap base cubes for 60 seconds. Then use a rubber spatula to scrape and stir the soap to check for any clumping. Sometimes a few of the cubes will stick to the bottom and stay together, not melting with the rest. If it needs more melting time, return it to the microwave in 30-second intervals until the soap base is smooth.
3. Take out your melted soap base and stir well.
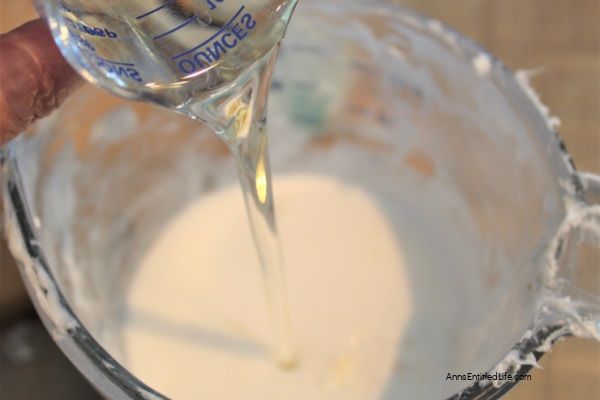
4. Once the soap base is smooth and melted, add the sweet almond oil and stir.
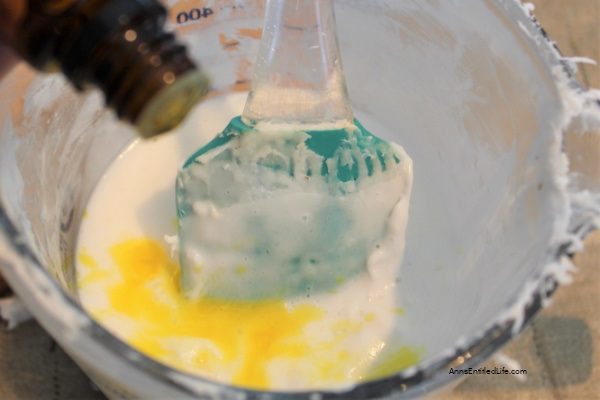
5. Now add the black spruce essential oil, the wild orange essential oil, and the Siberian fir essential oils to the liquid soap. Stir. All three of these oils are thinner consistency, so do be careful to pour out your drops slowly, or use a pipette to add them to the mixture, so you do not get more than you need.
6. The next step is to mix in the organic dandelion petals. Stir well to be sure the petals are mixed evenly distributed throughout and then scrape the sides of the bowl well, removing any thickened soap, and do one last turn in the microwave. It may only need 10 or 15 seconds, depending on how long the soap was out cooling.
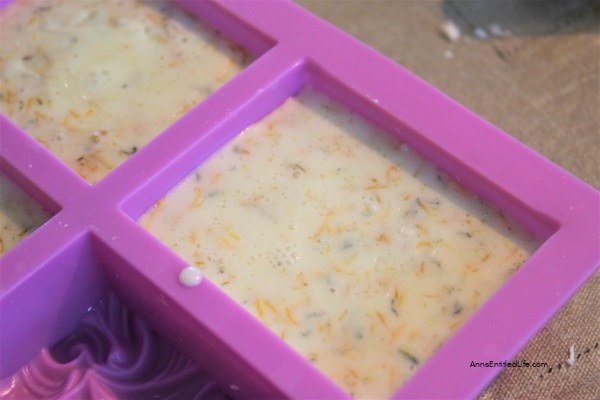
7. Pour soap base into the molds. Pour slow and steady, and leave a slight space at the top of each mold. You can go back and fill your molds a little more with any leftover soap mixture after filling three soap molds, but it is best to do all three right away before the soap begins to harden on top, so you have a smooth back to the soap.
8. Note: I highly recommend not moving the molds after pouring. The hot soap underneath the top layer can come up and splash, creating a mess. The soap will dry nice and smooth if it stays untouched during cooling.
9. Allow the soap to cool at room temperature for a few hours at a minimum. You can feel the center of the soap on the top and bottom if you are unsure if it is fully cooled, and if it is not, allow it to sit and cool throughout.
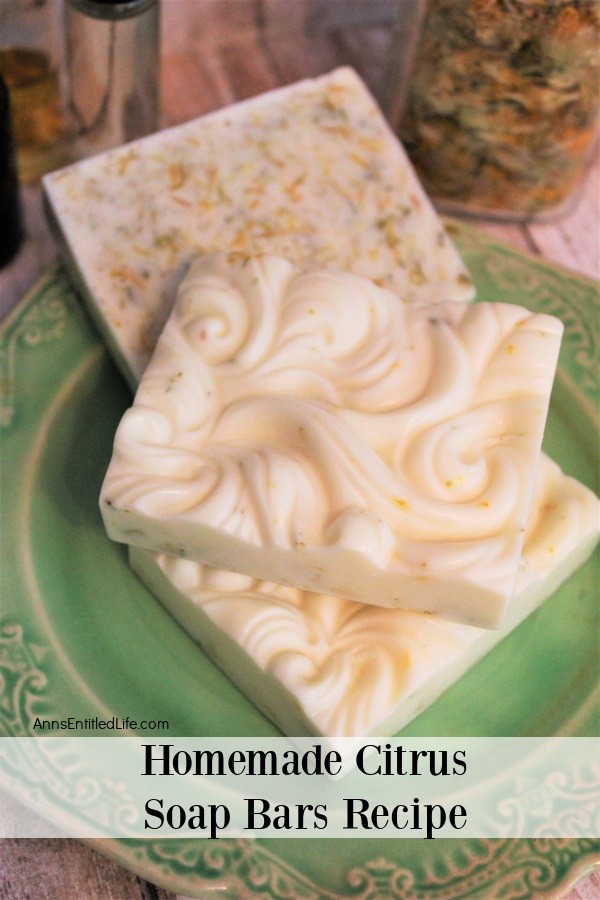
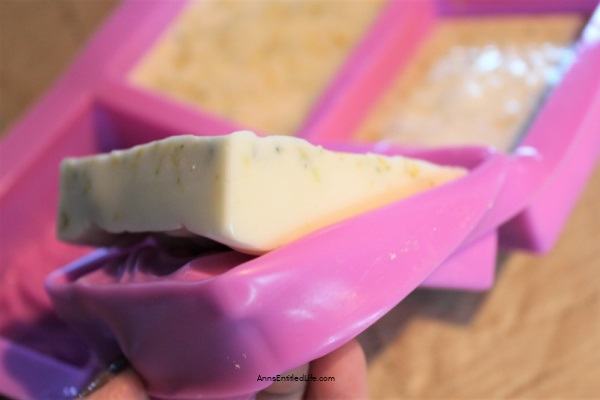
10. The last step is to carefully turn the finished product out of the mold. If the finished soap has a pattern or more intricate design, you may need to peel back the mold with one hand while holding steady with the other. The beauty of using silicone is that it is very flexible, so do not hesitate to bend the silicone mold if you need to.
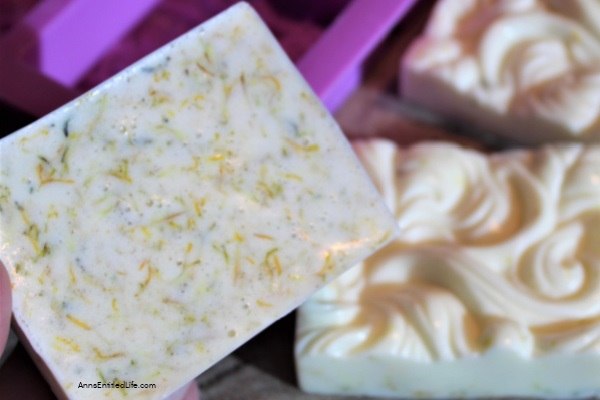
11. Your soap should look smooth and pretty!
Homemade Citrus Soap Bars Recipe
Homemade Citrus Soap Bars Recipe. Learn how easy it is to make your own soap by following the step-by-step directions of this delightful homemade citrus soap bars recipe. Refreshing and invigorating, this lovely recipe for homemade soap is simple to make, feels great on your skin, and smells fantastic!
Materials
- 8 cubes Shea Butter Soap Base
- 2 tablespoons Sweet Almond Oil
- 18 drops Black Spruce Essential Oil
- 20 drops Wild Orange Essential Oil
- 16 drops Siberian Fir Essential Oil
- 1/8 cup organic dandelion petals
Tools
- Cutting board
- Knife
- Measuring Cup
- Measuring Spoon
- Soap Mold (3.5oz cavities were used)
- Silicone or Rubber Spatula
Instructions
- Make certain your molds, mixing, and measuring cups are free of any debris so you do not end up with Now it is time to pour into your molds.
- Cube your shea base if needed. Place the cubes in a microwave-safe measuring cup. Microwave the shea soap base cubes for 60 seconds. Then use a rubber spatula to scrape and stir the soap to check for any clumping. Sometimes a few of the cubes will stick to the bottom and stay together, not melting with the rest. If it needs more melting time, return it to the microwave in 30-second intervals until the soap base is smooth.
- Take out your melted soap base and stir well.
- Once the soap base is smooth and melted, add the sweet almond oil and stir.
- Now, add the black spruce essential oil, the wild orange essential oil, and the Siberian fir essential oils to the liquid soap. Stir. All three of these oils are thinner consistency, so do be careful to pour out your drops slowly, or use a pipette to add them to the mixture, so you do not get more than you need.
- For the next step, mix in the organic dandelion petals. Stir well to be sure the petals are mixed evenly distributed throughout and then scrape the sides of the bowl well, removing any thickened soap, and do one last turn in the microwave. It may only need 10 or 15 seconds, depending on how long the soap was out cooling.
- Pour soap base into the molds. Pour slow and steady, and leave a slight space at the top of each mold. You can go back and fill your molds a little more with any leftover soap mixture after filling three soap molds, but it is best to do all three right away before the soap begins to harden on top, so you have a smooth back to the soap.
- Note: I highly recommend not moving the molds after pouring. The hot soap underneath the top layer can come up and splash, creating a mess. The soap will dry nice and smooth if it stays untouched during cooling.
- Allow the soap to cool at room temperature for a few hours at a minimum. You can feel the center of the soap on the top and bottom if you are unsure if it is fully cooled, and if it is not, allow it to sit and cool throughout.
- The last step is to carefully turn the finished product out of the mold. If the finished soap has a pattern or more intricate design, you may need to peel back the mold with one hand while holding steady with the other. The beauty of using silicone is that it is very flexible so do not hesitate to bend the silicone mold if you need to.
- Your soap should look smooth and pretty!
Recommended Products
As an Amazon Associate and member of other affiliate programs, I earn from qualifying purchases.
-
 Silicone Soap Molds, 2Pcs Flower Homemade DIY Silicone Soap Mold Cupcake Baking Mold Muffin Pan, 4 Cavity Soap Making Mold Supplies
 -
 Longzang Dragonfly Art Silicone Craft DIY Handmade Soap Molds (S002)
 -
 Silicone Molds Rose, Craft Art Rose Silicone Soap Mold, Love Rose Craft Molds DIY Handmade Soap Molds - Soap Making Supplies by YSCEN
Note: None of this is meant as medical advice. I am not a doctor and do not play one on the internet. Please consult a physician if you have any questions about making homemade soap so your doctor can better explain to you the benefits, possible side effects, and any warnings about making homemade soap.
● For more DIY Beauty posts on Ann’s Entitled Life, click here. (Soaps, bath bombs, personal care products, haircare, salt scrubs, sugar scrubs, lip scrubs and more!)
● Enjoy this post? Sign up for the Ann’s Entitled Life FREE Weekly Newsletter to stay connected.


Leave a Reply