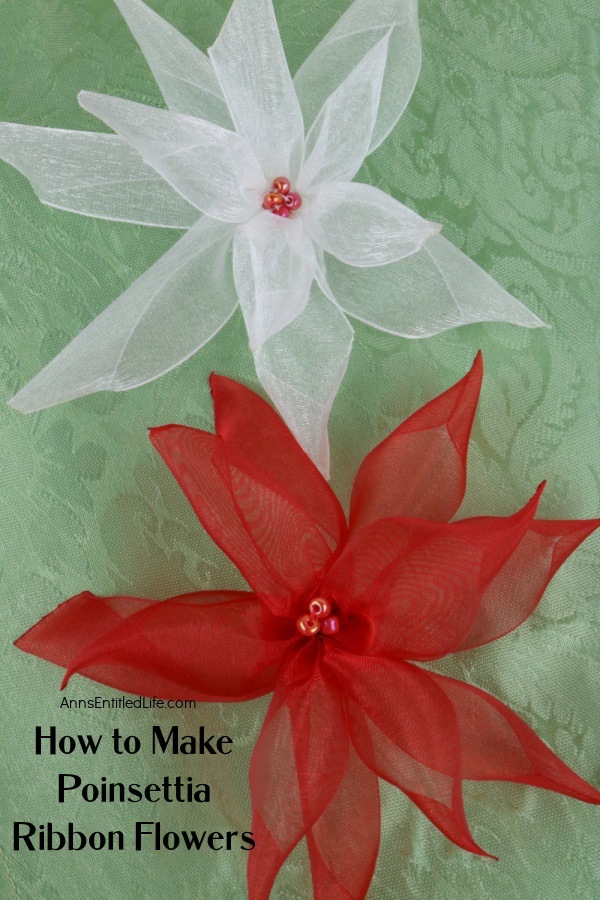
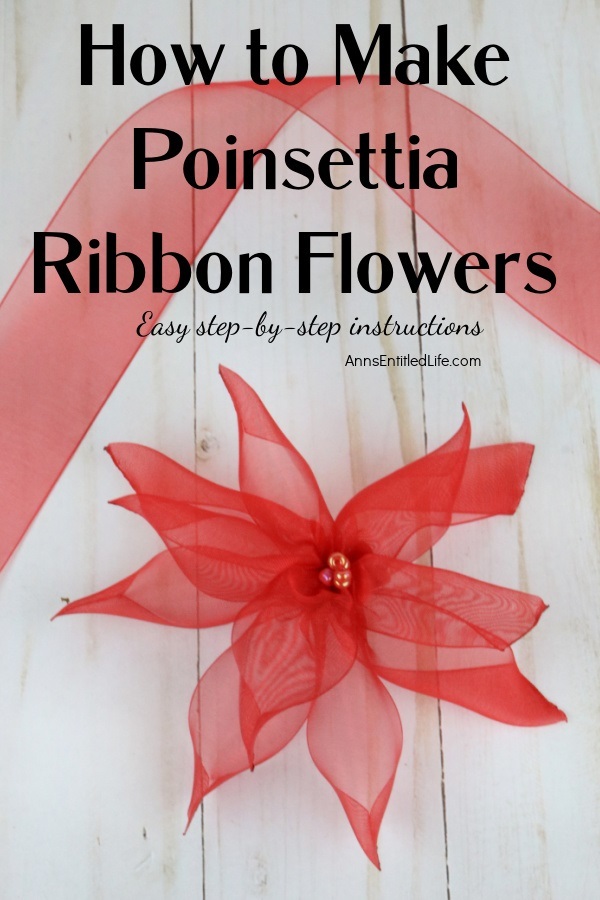
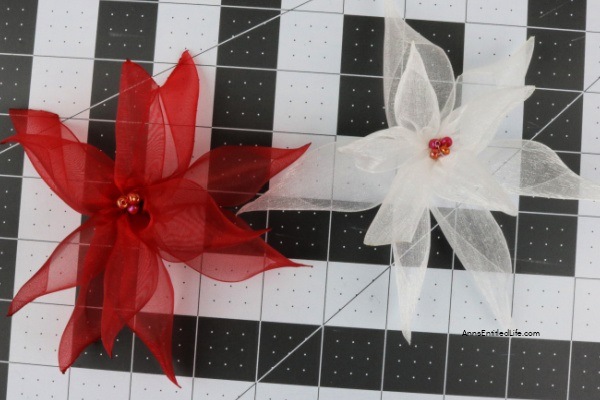
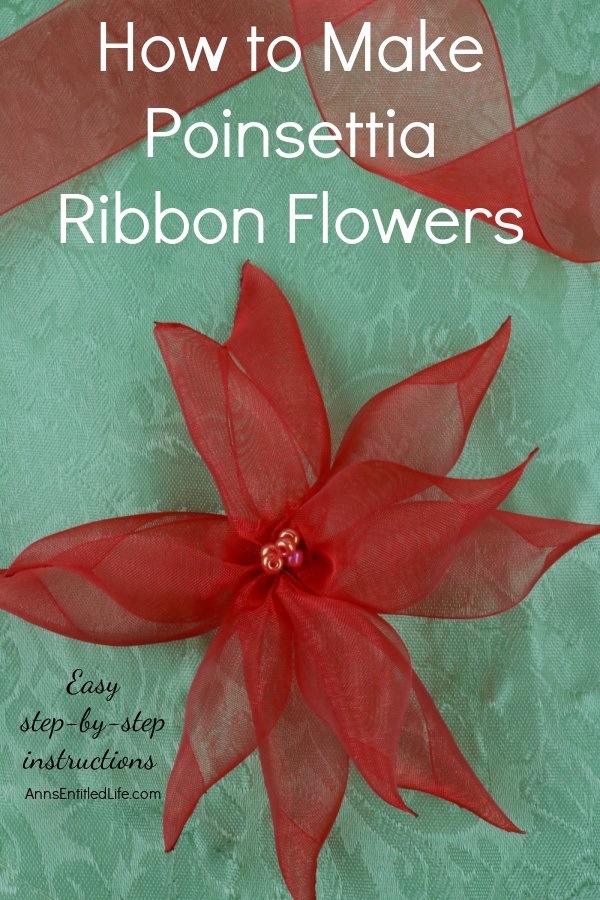
Follow these step-by-step instructions on how to make these easy poinsettia ribbon flowers with clips that you can display around your home or office. This is an easy craft once you get the hang of it. This fun craft will give you new accents for holiday decorations this Christmas season.
This is the season people often add poinsettia flowers to the home. But did you know it is pretty easy to make your own flowers from organza ribbon? This is such a great craft project to do this time of year.
How to Make Poinsettia Ribbon Flowers
When people think of a poinsettia craft, they usually think of paper poinsettia crafts such as paper poinsettia flowers, paper poinsettia garland, paper poinsettia wreath, or even tissue paper poinsettias. But, what if you could make a poinsettia craft that would far outlast that paper poinsettia craft, and in the same amount of time?
I decorate my Christmas trees with a few bulbs and a lot of faux flower picks and berries and faux poinsettias. I wanted something that I could make myself, that would last, and that I could use to hide the decoration holes in my tree. This terrific ribbon craft will replace the felt poinsettia and gold accent poinsettias on my tree, a great way to make my own decorations and generate some holiday cheer when I am doing it… ’tis the season. This is truly the perfect Christmas craft with a lot of potential uses and applications. Make a few this holiday season. You will be glad you did.
Odd trivial: December 12th is National Poinsettia Day! There is a national day for everything.
Tips and variations for making these poinsettia flowers:
Some poinsettia craft ideas:
● You can use any color you like: red, white, gold, silver.
● You can run an edge of white glue (or hot glue) along each of the large petals and then add red glitter. You could do the same for the small petals and make really sparkly Christmas poinsettia flowers!
● These were made as clips. You can clip them in hair, on a tree, wreath, etc. However, you can make them into pins by simply replacing the clip used here with a pin.
● You can string these together to make a garland.
● You can use these wherever you have poinsettia decorations: to accent wreaths, on a mantel, etc.
● These are light and airy. Placing them on a stick and putting together an arrangement to replace a poinsettia plant may not be possible, although you could always tuck some green paper (tissue paper) in between each stem to support the weight of the flower petals. It would also be in place of green leaves.
● Due to the open flame and hot glue gun, I consider this an adult craft, not a children’s craft – especially not younger children!
● You should be able to purchase all the items needed to make these poinsettias at your local craft stores such as Joann, Michaels store, or Hobby Lobby.
What Is The Best Clip or Pin To Use For The Back?
It really depends on what you want to use the flower for. Using a simple alligator-style plastic hair clip like we used works pretty well if hanging in areas where it will have no movement or weight on it.
If you want it to be a little tougher than the plastic then you could use metal ones.
Another cute idea for these is to attach a pin to the back in place of the clip. Then it could be worn on a coat or sweater as a brooch.
What Can These Flowers Be Used For?
The options really are endless with organza flowers like this one. You can clip them around the house, to a garland, on a tree, or make up a few and attach them to a wreath for the door.
Like we mentioned before, you can even use these as a brooch if you wanted.
They could also be used as a hair clip if you don’t mind having a large flower on your head.
What Is The Finished Size Of This Flower?
Designed as instructed, this makes fairly large flowers. When it is totally finished it measures about 5 ½ x 5 ½ inches. It is also about 1½” in height when laying flat.
The size can vary slightly depending on if you cut the pieces perfectly to size. It also depends on when you melt the edges as some petals can end up just slightly shorter than others. So while these should be uniform, you may end up with slightly different sizes.
For more holiday crafts that are suitable for Christmas decorations, check these out:
● Bottle Cap Christmas Tree DIY Tutorial
● DIY Christmas Coasters
● Easy Lighted Ribbon Christmas Tree
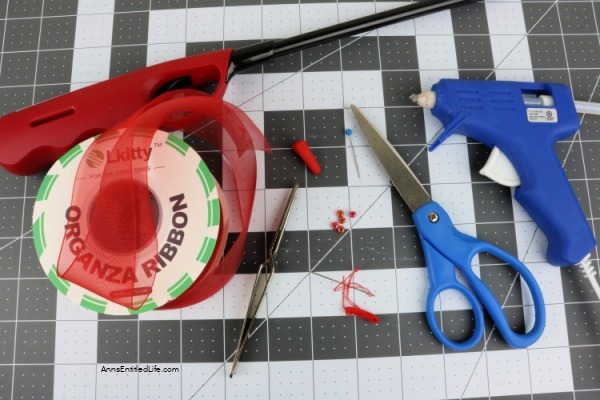
Poinsettia Clip Flowers Materials:
● 1½” Wide Organza Ribbon (we used red)
● Thread (match color of ribbon)
● ½” Long Clip (we used a red plastic hair clip)
● 5 Small Beads (need to be able to run a needle through them. Used about 4mm beads)
● Hot Glue Stick
Poinsettia Clip Flowers Tools:
● Scissors
● Stick Pin
● Needle
● Hot Glue Gun
● Lighter
● Tweezers
Poinsettia Clip Flowers Directions:
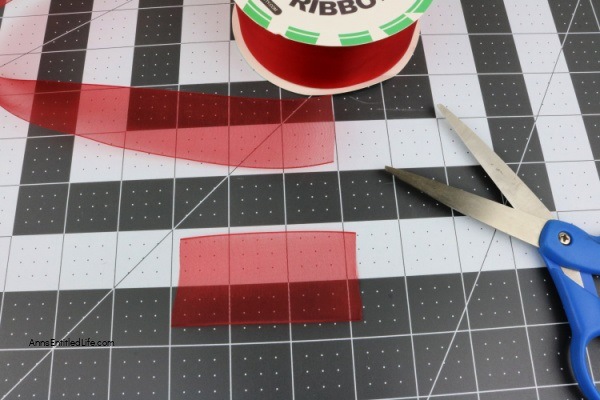
1: Cut the strips of ribbon that you will need. You will need 6 pieces that are 3 inches long and 5 pieces that are 2 ½ inches long.
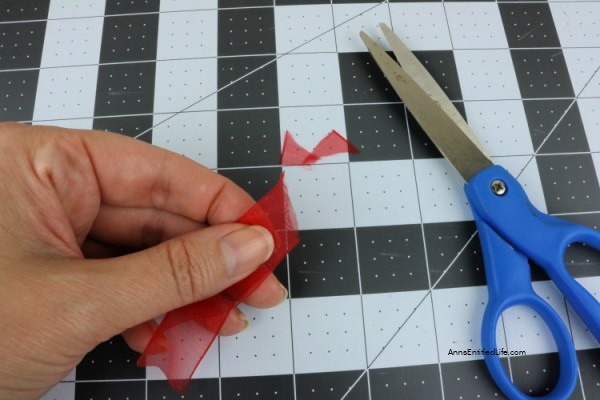
2. Fold the pieces in half length-wise. Then cut a small angel in the ribbon.
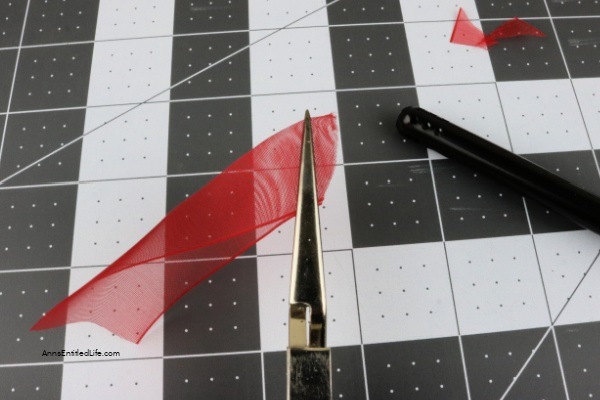
3. While folded, hold that cut end with the tweezers. Then lightly heat it with the lighter to melt it together. Just be careful not to heat too much as it will burn.
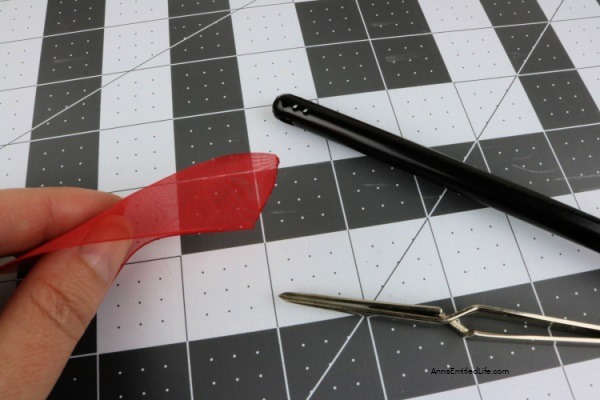
4. After it is heated, it will then hold the fold on that end when you let go. This makes up the point of the petals for the flower.
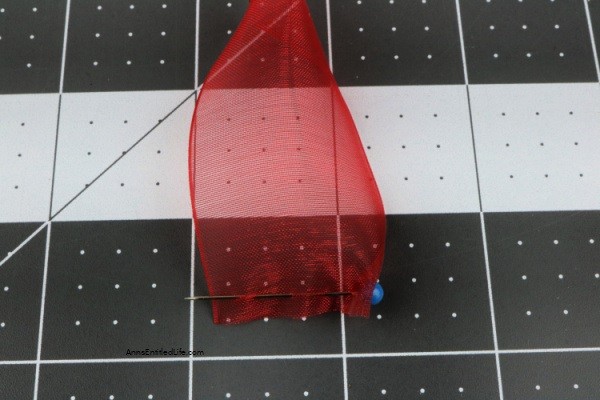
5. Now on the other end of that petal, weave the stick pin through it. You want it to be pretty close to the end of the ribbon.
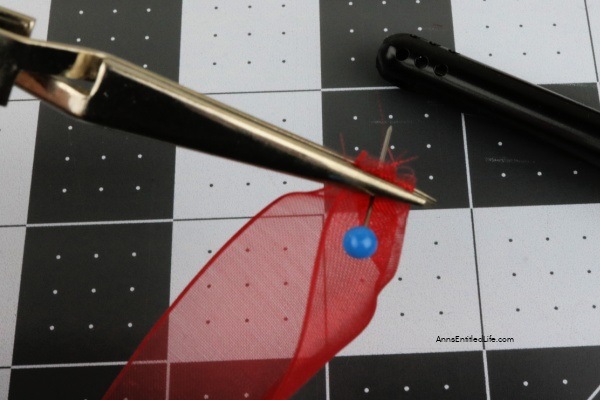
6. Pinch that part that is on the needle together with the tweezers. Then heat with the lighter to melt that gathering together.
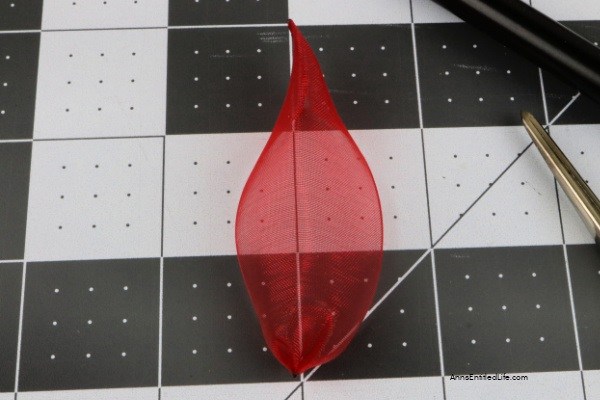
7. Remove the stick pin and you now should have a full shape of a petal.
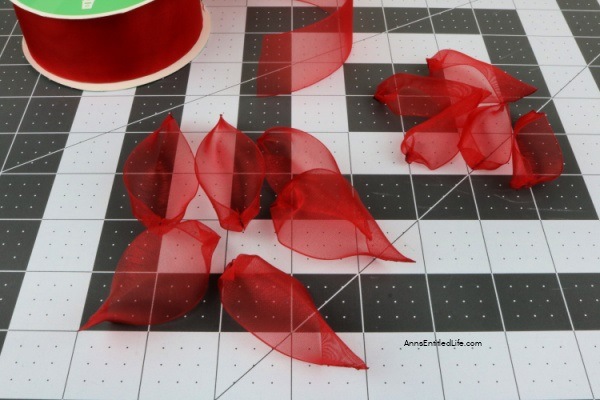
8. Repeat steps 1-7 until you have all your petals made for both sizes.
9. How To Assemble The Poinsettia Flowers:
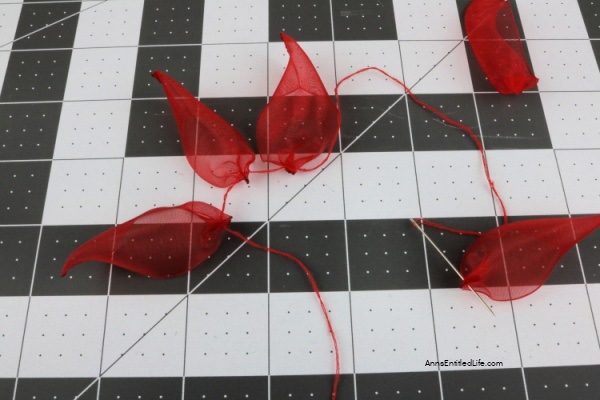
10. Thread the needle and tie the two ends of the thread together. Starting with the longer petals, run the needle through the non-angled end. Make sure you have all the petals facing up.
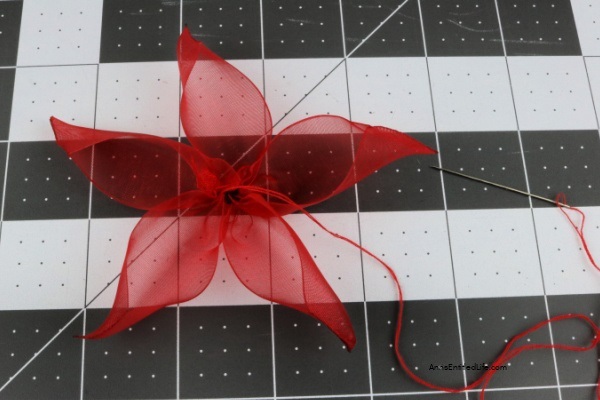
11. After you have all 6 petals on the thread, run the needle through the thread and draw them all together. Then flip the flower over and tie off the thread on the back and cut off the thread with scissors.
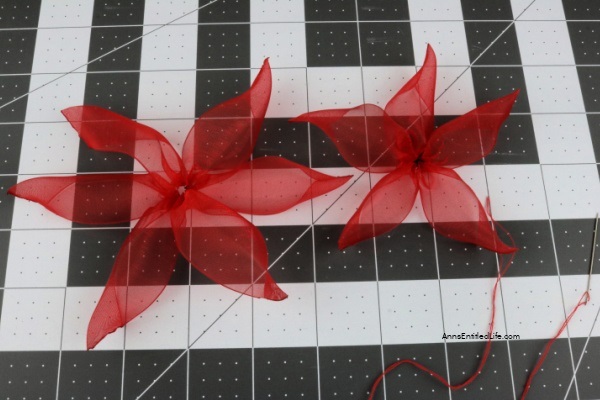
12. Repeat step 10 with the smaller petals.
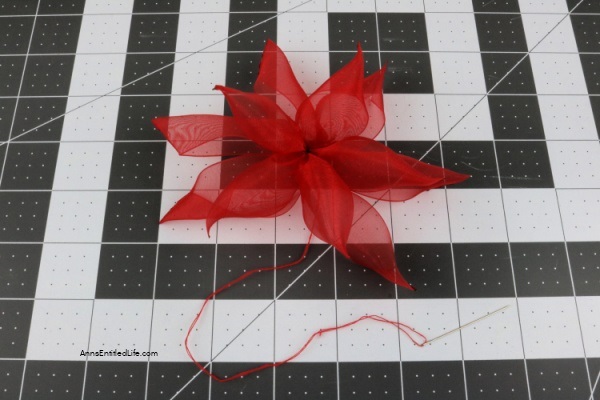
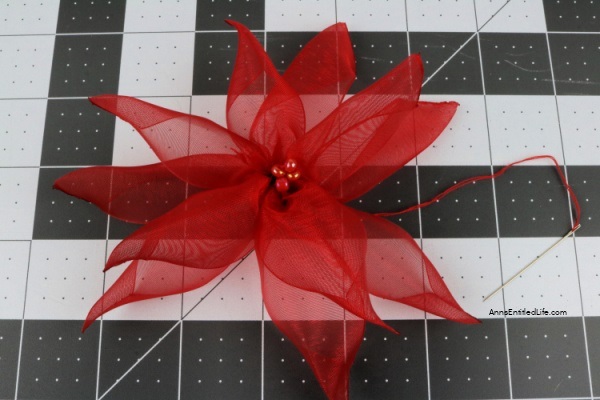
13. Using thread sew the smaller flower on top of the larger flower. I just stitched it through two spots that are opposite of each other. Tie off but don’t cut the thread.
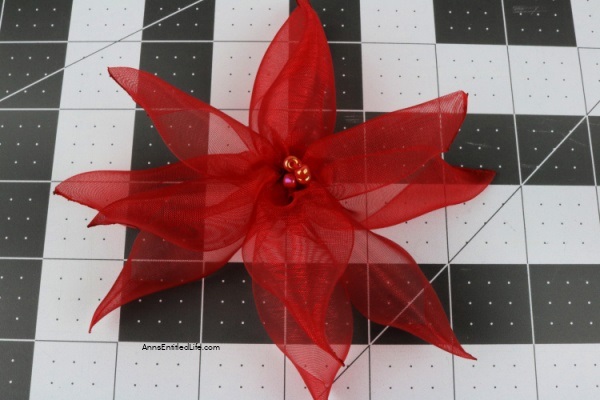
14. Run the needle and thread back up through the center from the back. Then place the beads on the needle. Run the thread back down and tie off. Then run it up through the center one more time and loop it over the beads to pull them all tight together. Tie off in the back and cut the thread. This makes the berries at the center of the poinsettia.
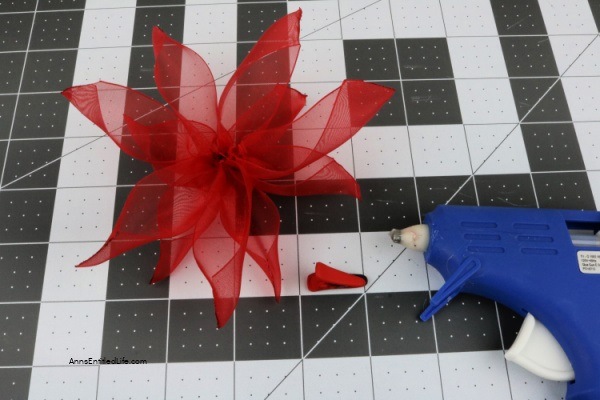
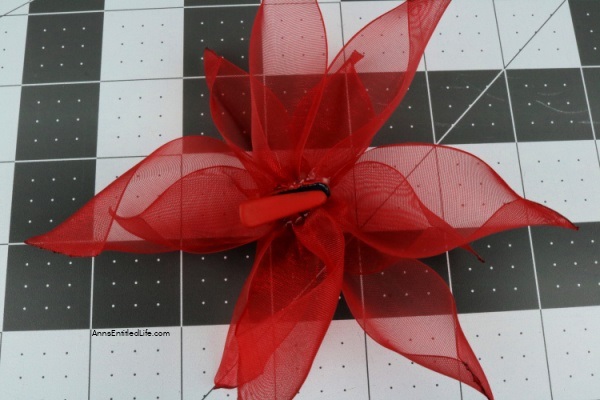
15. Add some hot glue to the back center. Then place the clip on the glue and hold it in place until it is dry. Remove and glue webbing and your flower is all done.
16. Display or use as desired.
How to Make Poinsettia Ribbon Flowers
How to Make Poinsettia Ribbon Flowers. Follow these step-by-step instructions on how to make these easy poinsettia ribbon flowers with clips that you can display around your home or office. This is an easy craft once you get the hang of it. This fun craft will give you new accents for holiday decorations this Christmas season.
Materials
- 1½" Wide Organza Ribbon (we used red)
- Thread (match color of ribbon)
- ½" Long Clip (we used a red plastic hair clip)
- 5 Small Beads (need to be able to run a needle through them. used about 4mm beads)
- Hot Glue Stick
Tools
- Scissors
- Stick Pin
- Needle
- Hot Glue Gun
- Lighter
- Tweezers
Instructions
- Cut the strips of ribbon that you will need. You will need 6 pieces that are 3 inches long and 5 pieces that are 2 ½ inches long.
- Fold the pieces in half length-wise. Then cut a small angel in the ribbon.
- While folded, hold that cut end with the tweezers. Then lightly heat it with the lighter to melt it together. Just be careful not to heat too much as it will burn.
- After it is heated, it will then hold the fold on that end when you let go. This makes up the point of the petals for the flower.
- Now on the other end of that petal, weave the stick pin through it. You want it to be pretty close to the end of the ribbon.
- Pinch that part that is on the needle together with the tweezers. Then heat with the lighter to melt that gathering together.
- Remove the stick pin and you now should have a full shape of a petal.
- Repeat steps 1-7 until you have all your petals made for both sizes.
- How To Assemble The Poinsettia Flowers:
- Thread the needle and tie the two ends of the thread together. Starting with the longer petals, run the needle through the non-angled end. Make sure you have all the petals facing up.
- After you have all 6 petals on the thread, run the needle through the thread and draw them all together. Then flip the flower over and tie off the thread on the back and cut off the thread with scissors.
- Repeat step 10 with the smaller petals.
- Using thread sew the smaller flower on top of the larger flower. I just stitched it through two spots that are opposite of each other. Tie off but don't cut the thread.
- Run the needle and thread back up through the center from the back. Then place the beads on the needle. Run the thread back down and tie off. Then run it up through the center one more time and loop it over the beads to pull them all tight together. Tie off in the back and cut the thread. This makes the berries at the center of the poinsettia.
- Add some hot glue to the back center. Then place the clip on the glue and hold it in place until it is dry. Remove and glue webbing and your flower is all done.
- Display or use as desired.
Recommended Products
As an Amazon Associate and member of other affiliate programs, I earn from qualifying purchases.
-
 National Tree Company lit Artificial Christmas Wreath Collection Flocked with Mixed Decorations and Pre-Strung White LED Lights, 30-Inch, Tartan Plaid
 -
 Darby Creek Trading Christmas Cashmere - Red Rose, White Magnolia, Ornament & Lotus Pod Pre Lit LED Front Door Christmas Wreath
 -
 Vintage Aqua Pink Christmas Holiday Ornament Wreath
● For more Craft posts on Ann’s Entitled Life, click here.
● If you enjoyed this post, be sure to sign up for the Ann’s Entitled Life weekly newsletter, and never miss another article!


Leave a Reply