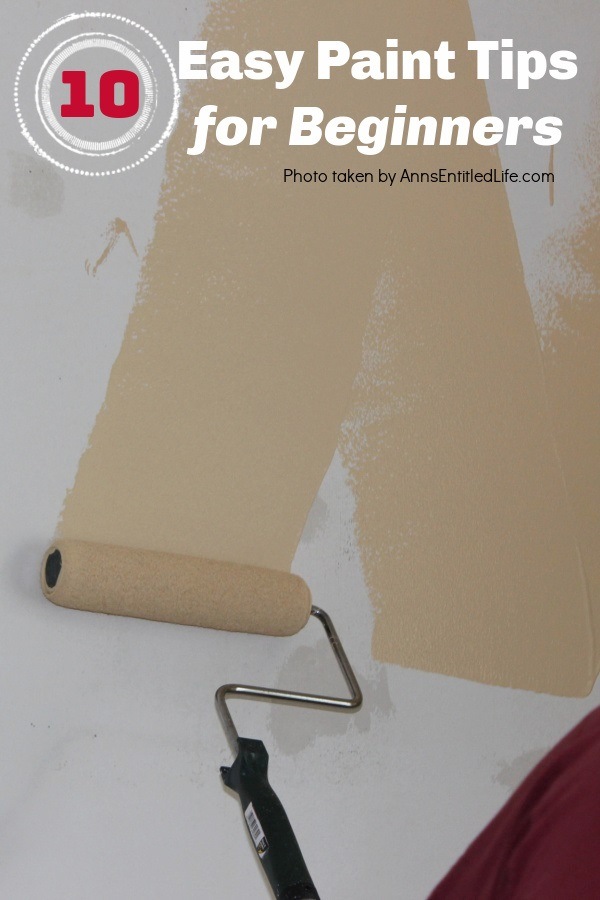
It is time for a fresh coat of paint! Interior painting of walls and window trim can seem like a daunting task. You do not want your hard work to appear poor or need to do it again because you are unsure of how to achieve the best results to highlight your new wall color. By making use of these painting a room tips, your painting process will be easier and your DIY paint project will go smoother.
I want to stress that Hubby is not a professional painter, so these tips are really just for the DIYer. These are by no means his only tips, just some of the ones he utilizes most often.
Hubby paints a lot. A whole lot. Between the rentals, our house, and our condo, he’s honestly done many months’ worth of painting in the last ten years. Hubby also likes to find new do-dads that make a job easier. His electronic collection, tool collection, and home improvement collection are all quite extensive.
The room preparation is key! Don’t skimp on prep work. And remember, there is only so much you can do when the last paint job was lousy and you are painting on top of that.
I am updating this post as things have changed in our lives since I first wrote it. We sold the condo years ago, we finished selling the rentals this year, and now we only own our home and one commercial property. I would say hubby’s painting days are ending soon so I wanted to revisit this post to update it a little except that we are looking to move in the near future, and if he has to paint the new house, well, he has to paint the new house!
During the last 10 years, my husband has painted, and painted, and painted. When Sonny-boy bought a house a few years ago, he called Hubby to come to help them paint (as opposed to his equally handy father or father-in-law). Our daughter-in-law decided she wanted to learn to paint (they used latex paints, not oil-based paint, over walls that had latex paint upon them) and so asked many questions, watched intently, and did a good portion of the second room herself. My charming son decided to just be the grunt worker. She was very glad he came over, and quickly put his tips to use on her next painting project. My kid? He will learn.
Note: you can generally purchase everything you need for a paint job at your local paint store or hardware store. I have also purchased paint online that was mixed for me at a local paint store so I could see the colors before committing to more than one gallon. Paint supplies such as paint brushes, roller trays (paint tray), canvas drop cloths (tarps), paint tape, painter’s tape, edgers, paint buckets, paint poles, etc., can also be purchased online, sometimes at greatly reduced prices compared to your local paint store. Make a shopping list of the right tools for your paint job so you have everything you need on hand.
If you are interested in more DIY homeowner tips:
● How To Easily Remove Dry Paint From Unwanted Places
● Easy Hands Free Cabinet Hardware Cleaning
● How We Finished Our Laminate Kitchen Countertop With Stone, Without Removing It!
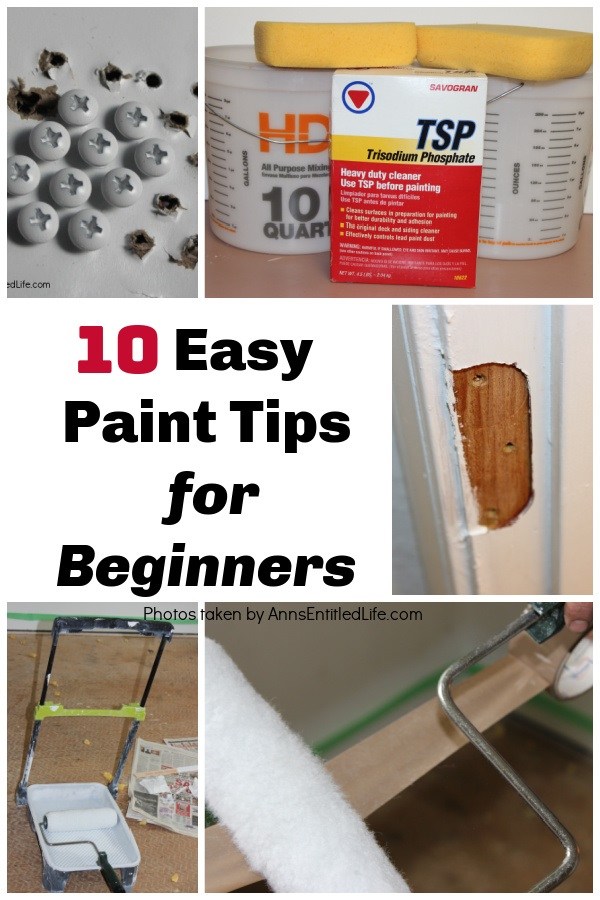
10 Easy Paint Tips for Beginners
1. Never buy the cheapest quality line of a specific brand of paint unless you want to repaint again soon.
Every major brand has at least three grades of paint (different than the sheen), so try not to buy the bottom of the barrel paint from your chosen paint manufacturer. Generally, try not to pay under $20 a gallon retail unless you really understand what you are buying at that bargain-basement price. Generally speaking, buy the best paint you can afford.
2. A wall primer is a great way to prepare your walls for painting, especially if you are changing sheens.
You can have your primer tinted to match your paint color, which really helps to cut down on the coats of paint you must apply to your walls. Buy the correct sheen for the job but consider your family’s lifestyle when purchasing paint. While flat paint is very forgiving when you paint a wall, and paints with a sheen will show non-flat patched areas and bad wall-tape jobs, if you have small children and expect to be washing fingerprints and dirt off the walls, you may want to choose a satin or eggshell (or even semi-gloss!) for hallways, family rooms, and bedrooms. Heck, we don’t have small children and there is not one wall in our house (or condo) that doesn’t have at least an eggshell/satin finish on the walls. I just make sure Hubby does a great job patching before he starts painting.
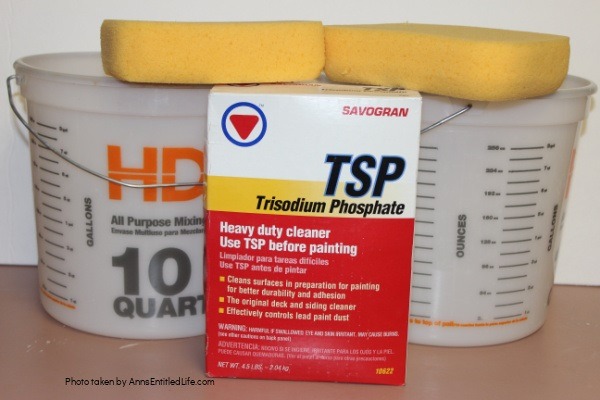
3. Wash your walls before you paint.
TSP is the perfect solution to use when wall washing prior to painting. You will remove dust, dirt, and stains allowing the paint to adhere better. Follow the manufacturer’s directions for how much TSP to add to your bucket of water. Make sure you have a clean bucket of water and sponge near at hand to immediately rinse the walls off after washing. Allow the walls and window frames time to dry thoroughly before painting.
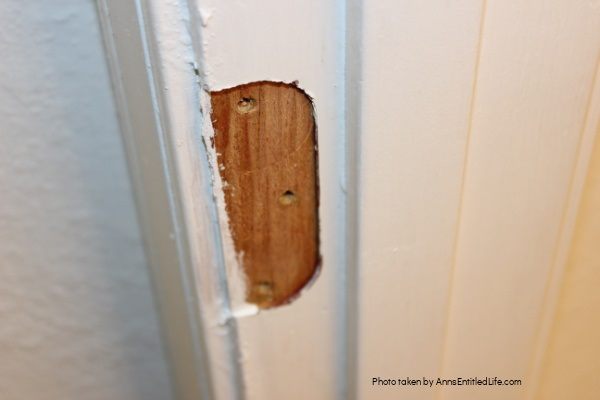
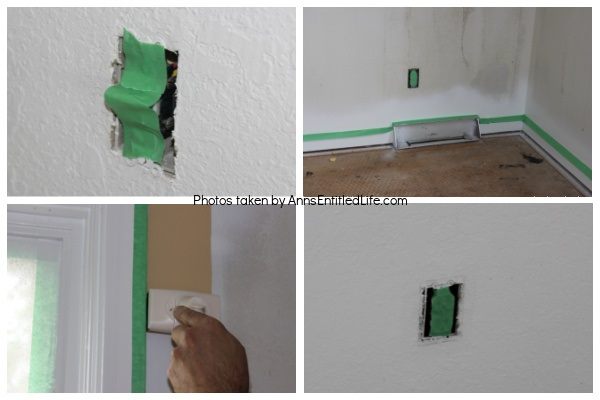
4. Do drywall repairs before you paint.
Make sure those repairs are smooth and flush with the wall, trim, etc. so bumps and ripples do not show after painting. Use a putty knife to fill in minor holes and a sanding sponge or sandpaper to smooth out that patch.
5. Remove all hardware, light switch plates, outlet covers, vents, grills, and more.
Don’t paint over the hinge area of a door regardless of how tempting it is to do so. You want to make sure the door goes back into those hinge cutouts, and as paint coats accumulate eventually you won’t be able to fit the hinges flush and you’ll end up digging the paint out of those jig-cuts.
6. Tape off. Period.
Unless you are a professional (or my grandmother – wow that woman had a steady hand!) use painter’s tape to tape off between the floor and baseboards, the windows, trim, etc. Do not use masking tape as it can leave behind residue or pull the paint off the walls or trim. Move as much furniture out of the room as you can, move remaining furniture away from the walls, and remember you want everything left in the whole room covered with a cloth (old sheets work for furniture, paint tarps for the floor), plastic, or a tarp to protect against drips, runs, and splatters.
And that includes ceiling fans, light fixtures, smoke alarms (if hard-wired, otherwise take it down), sprinklers, and anything else you can’t remove before you begin painting. Hubby drapes a cheap, lightweight plastic over ceiling fans, first cutting a slip in it to make room for the housing. He then tapes the top of the fan housing with frogtape and draped the cheap, lightweight plastic over the fan blades to cover them completely. Much easier than removing the fans.
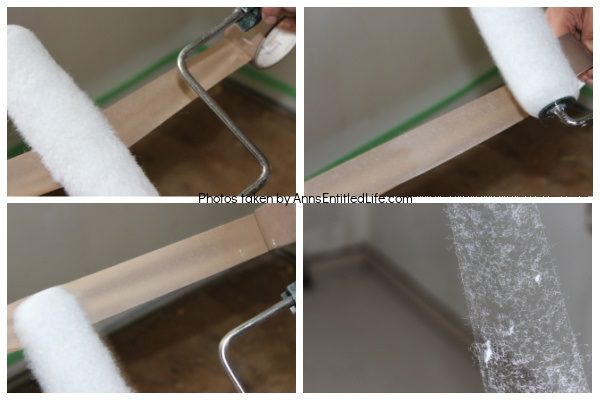
7. Prep your roller cover by de-fuzzing it!
There is a lot of residue on a new paint roller, and these bits of fiber will end up on your walls if not removed first. Take a second to run your new paint roller over a large piece of tape, rolling one end of the roller to the other end, 2-3 times before you paint. You will be glad you did!
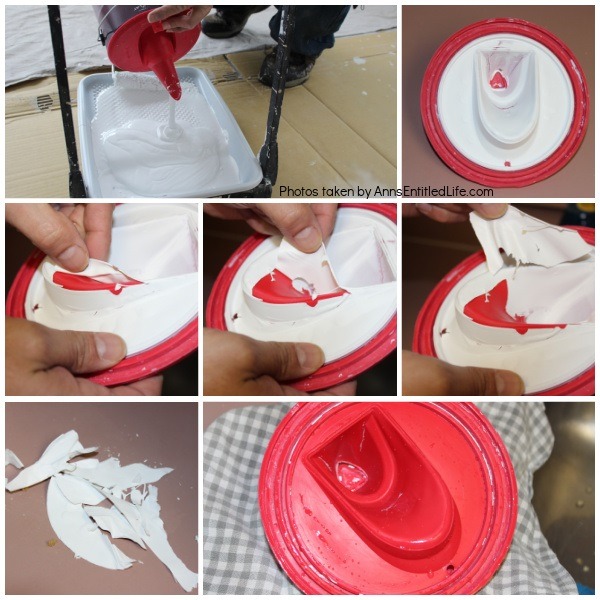
8. Pour spout with a lid and pouring spout all in one.
It makes pouring your paint clean, and it becomes a cover for your leftover paint when you are done. To clean, you just peel the paint off the back. For just a few dollars, this Shur-Line Paint Can Lid and Spout is one of Hubby’s cheapest, and most favorite, painting tools. If you have not finished the job and will continue the next day, wrap your wet roller with a plastic bag, and tie it off. It will still be paint-wet in the morning. If you wash it out, it will still be water-wet the next morning (unless you live in a very hot and dry climate) and can make a mess.
9. A 3″ roller with a ¼” nap works out great for baseboards, and for edging (cutting in) 3½” with a ½” nap works great.
Hubby loves these rollers because it saves him a lot of time versus using a brush, and the rollers don’t produce brush strokes. Touch-ups are done with a brush, however.
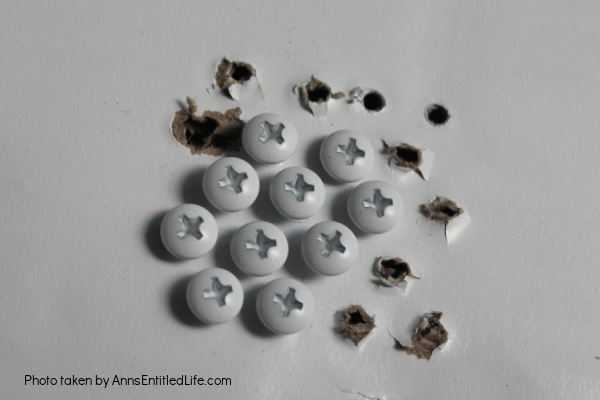
10. Spray paint the tops of exposed screws of vent covers or grills to match the color of the cover or grill itself.
It is the little things that complete a room. Just pop the screws into a piece of scrap cardboard, and give them an even coat of spray paint.
Repainting is no fun, so Hubby takes a lot of time with prep work. These are just 10 of the easy paint tips Hubby employees to get the job done right the first time saving him time, and money, in the long run!
● For more Household Tips on Ann’s Entitled Life, click here.
● If you enjoyed this post, be sure to sign up for the Ann’s Entitled Life weekly newsletter, and never miss another article!
Leave a Reply