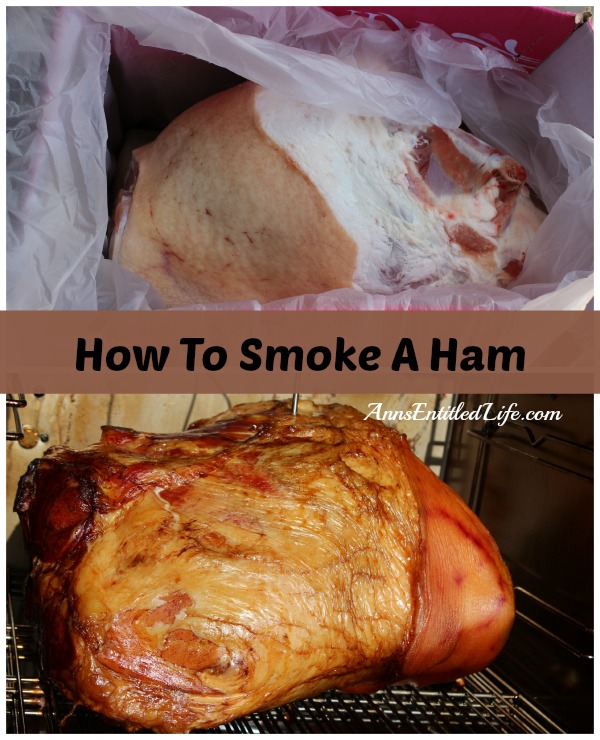
How To Smoke A Ham
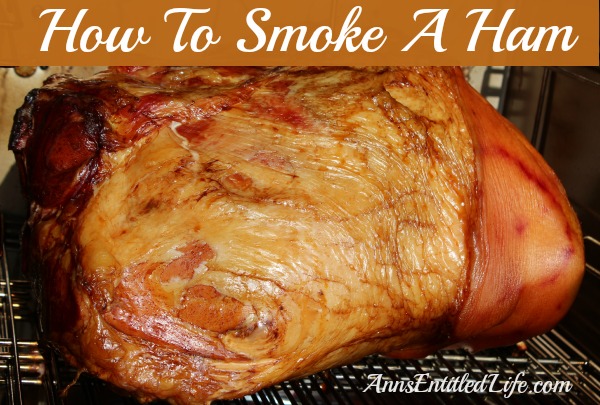
Step by step instructions and photographs on How To Smoke A Ham including: preparation, temperature settings, drying, and the actual smoking and cooking of the meat.
We purchased a pig (again) a few weeks ago. Hubby decided that since I bought him a smoker a few years ago, he was going to use said smoker and smoke his own meat! He smoked both bacon (future post) and ham.
Hubby did quite a bit of research on smoking his hams. He actually varied the method from the first to the second ham. The first ham was dried in the oven (hey, gotta try it), the second in the smoker. He liked the smoker drying better.
The first ham he netted and hung. The second ham he did not. In his opinion, it “wasn’t worth the brain damage to deal with the net”.
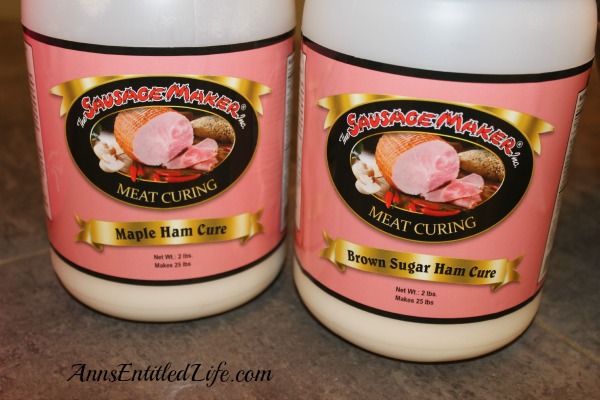
The instructions he relied heavily on were these from The Sausage Maker. They are the go-to sausage and smoking supply company on the internet, and coincidentally located on the east side of Buffalo. He’s fortunate in that he can just run down there for product, tools and advice.
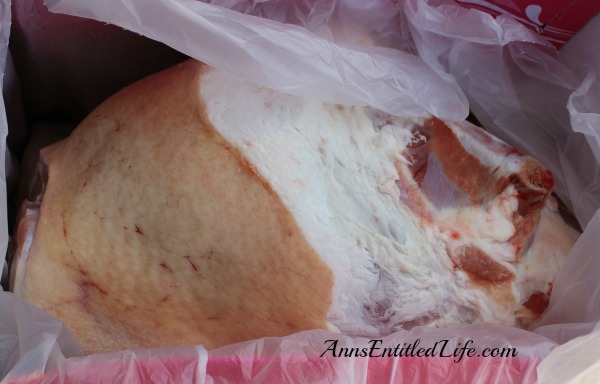
When our pig was delivered, the ham was of course raw and unfrozen. There were two, different sizes, but both very, very large. Next time Hubby decides to smoke a ham he’s going to ask for it to be cut in half by the butcher before delivery. The soup bones he got off these were monsters!!
● To smoke the ham requires some prep work. The first thing Hubby did was clean two food grade buckets. He used bleach and water to sanitize the buckets, allowing them to air dry.
● He used two different flavors, one per ham.
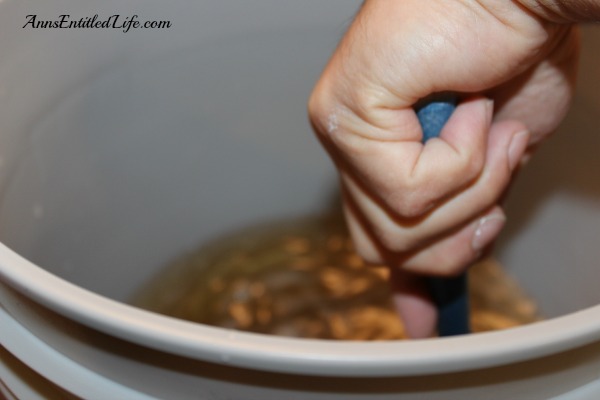
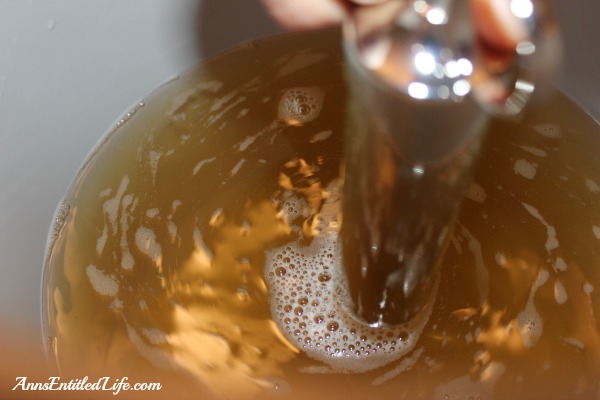
● He mixed up the brine. (Hubby’s Waring Immersion Blender)
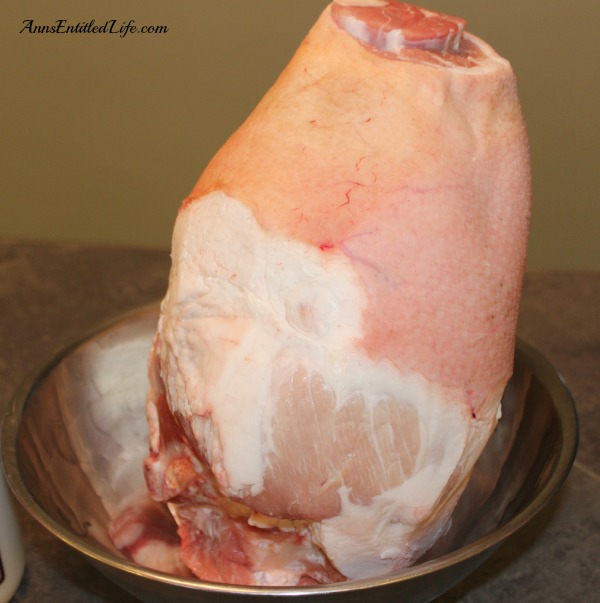
● Placed the ham in a bowl.
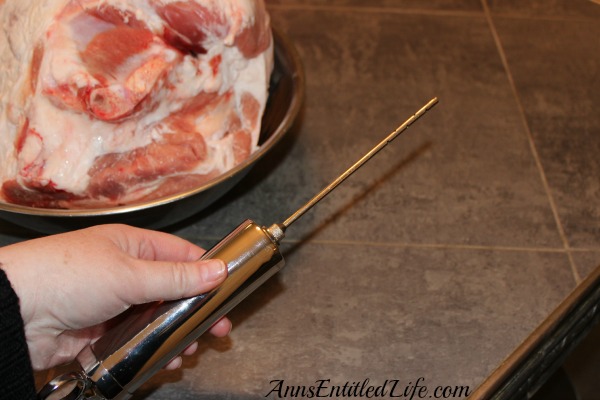
● And with a giant injector …
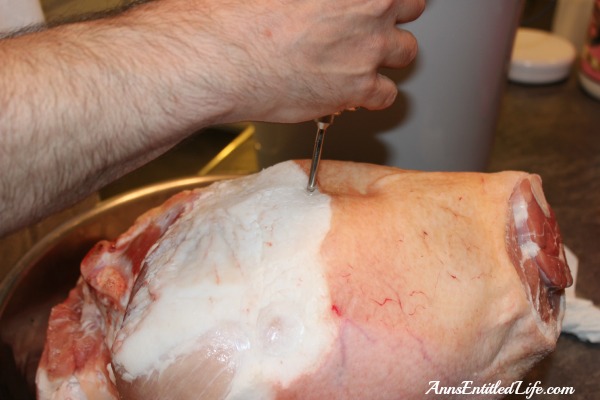
● Injected the ham with brine. 10% of the hams weight needed to be injected with brine, the rest stayed in the bucket to immerse the ham into.
● Hubby moved that injector around to evenly inject brine.
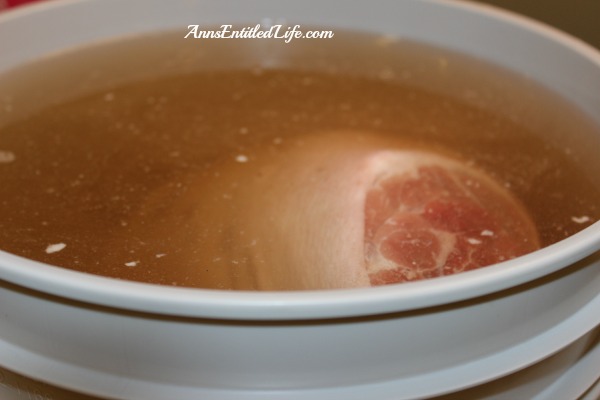
● After being injected, the hams went into the food grade bucket – one in each since they were different flavors (and gigantic!).
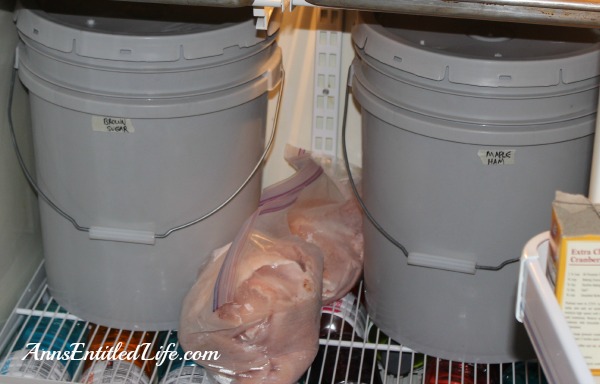
● And then the buckets (with hams inside) went into the refrigerator for the next 5-7 days (he did 6 and 7 days).
● The fridge must be no warmer than 40°F, and no cooler than 38°F.
● Hubby did one ham per day in his smoker. These were huge hams, and he wanted to try two different methods.
● The first ham he netted, dried in our oven and then smoked.
● The second ham he dried in the smoker sans netting.
He liked the second method better, so this is what I will describe:
● A day and a half prior to smoking the ham, Hubby took the ham out of the bucket, poured out the brine, replaced the brine-liquid with water in the bucket, and replaced the ham in the bucket to sit for 24 hours (so this was day 5 for him).
● On day 6, take ham out of brine, and place it on a tray in the refrigerator overnight. This will allow the ham to start to dry.
● Preheat your smoker to 120°F for drying.
● Place your ham on the rack in the smoker (or hang if netting), be careful not to have it touch the sides. Vents are fully open, no wood chips, just warm air.
● Allow to dry for 8-12 hours until the skin is tacky to the touch and a bit leathery.
● Now we are in the smoking phase.
● Crank up your smoker temperature to 130°F
● Vents are 1/2 closed, add a batch of soaked wood chips (soak in water, Hubby soaked in water and liquid smoke)
● After 2 hours, increase your temperature to 140°F
● Vents are 1/2 closed, add a batch of soaked wood chips (soak in water, Hubby soaked in water and liquid smoke)
● After 2 hours, increase your temperature to 150°F
● Vents are 1/2 closed, add a batch of soaked wood chips (soak in water, Hubby soaked in water and liquid smoke)
● After 2 hours, your temperature is still 150°F
● Vents are 1/2 closed, add a batch of soaked wood chips (soak in water, Hubby soaked in water and liquid smoke)
● Smoking is a 6-8 hour process (3-4 wood chip refills + 2 hours to use those chips up).
● Now we are on to cooking the meat.
● Crank up your smoker temperature to 165°F
● Close damper, no more wood chips.
● After 4-6 hours, insert a remote meat thermometer. And Hubby said I have to say to you all, “And learn to set the alarm” (hey, he leaves me without an alarm on, I am not responsible for the outcome).
● You cook until the internal meat temperature is 152°F (this is achieved many more hours of cooking later (4 or more) after you have inserted that thermometer).
● A ham at 152°F is considered fully cooked.
● If you plan on eating the ham right after smoking, let it rest for an hour.
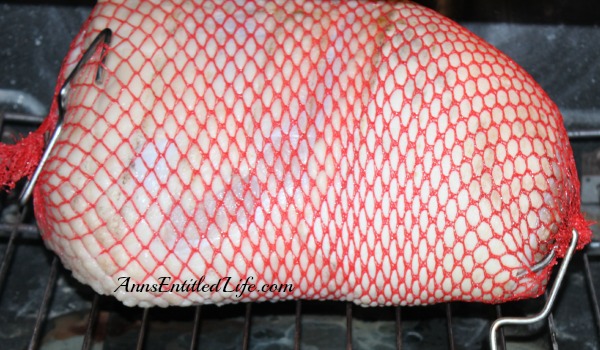
● Ham with netting.
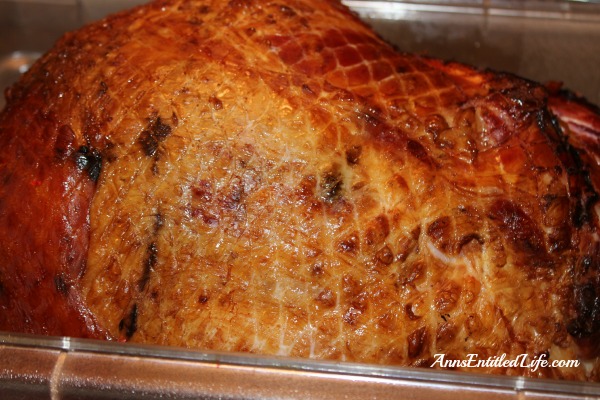
● Ham without netting.
● This is a long process. While the initial brine and soak takes less than an hour, and allowing the hams to sit is easy, the smoking and cooking process is 24+ hours. So be prepared.
Some helpful links:
● Charcuterie: The Craft of Salting, Smoking, and Curing
● Remote meat thermometer
● Disclosure the links in this post may be affiliate links.
● For more Recipes on Ann’s Entitled Life, click here.
● If you enjoyed this post, be sure to sign up for the Ann’s Entitled Life weekly newsletter, and never miss another article!
Demetra says
I’m SO impressed by this. I think you’ve helped me find my next project. I guess I’ll be shopping for a pig.
Ann says
Good luck, Demetra! A great place to start looking for a farmer with fresh pork (beef, goats, sheep, poultry, etc) is localharvest.org
Here’s my how to buy a pig, cow, etc post!
Ann
KimH says
They both look beautiful!! Yum!! Enjoyed the process… glad you did them,, and not me. 😉
Ann says
LOL Kim. Honestly the ham wasn’t much trouble at all! The bacon… well, that’s another post.
Ann
Shell says
That looks like a lot of work! How did you think it the taste was compared to one you buy?
Ann says
The ham Hubby cured is really good, Shell. Tasty and flavorful. I was surprised at how much better it tasted than store-bought.
Ann
Ed Matthews says
So what did the brine mixture consist of?