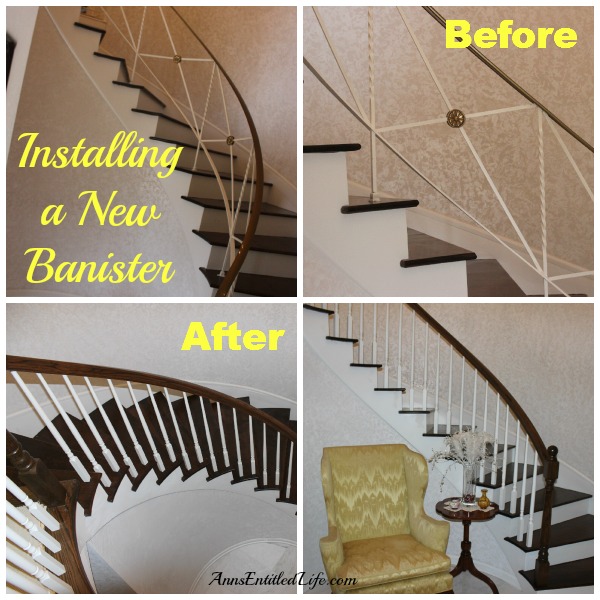
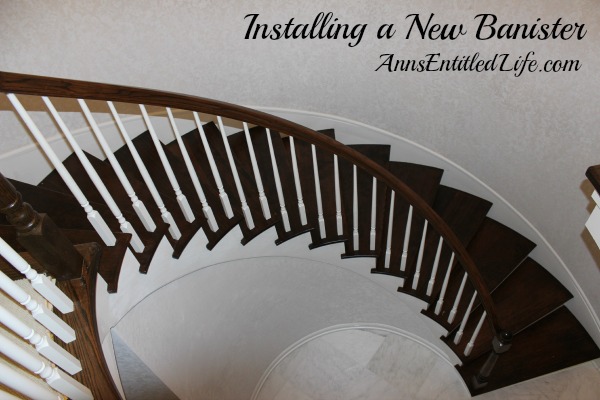
If you are wondering how complicated it is to replace an existing banister on a circular staircase, this is the post for you! This is what happened when we replace an existing, ugly, old fashioned staircase banister with an eye-catching wood statement banister.
Installing a New Circular Banister
Believe it or not, we are still doing renovations on our house in New York State. It feels like all we’ve been doing the past two years – in New York and in Florida – is renovations!
But, things are definitely drawing to a close. The new banister that was supposed to be finished while we were away this past winter suffered a number of set-backs, and was not completed until the end of June. Even though we did not install it, it still gave the professionals fits. We have a circular staircase, and a circular staircase handrail isn’t as easy to replace as one with straight lines.
We needed the treads redone too, and Joe got in a few weeks after we left for Florida and had those finished asap.
Keenan (who also did out hardwood floor install) was to have taken his blueprint of the in-place banister before Joe removed it to refinish the stairs, and didn’t. That caused Keenan a lot of issues when trying to replace the banister. He actually went through two pieces of banister wood before the third one was fitted, and installed, correctly. He had another master carpenter helping him for the second and third try. These guys were making my head hurt with all the geometry.
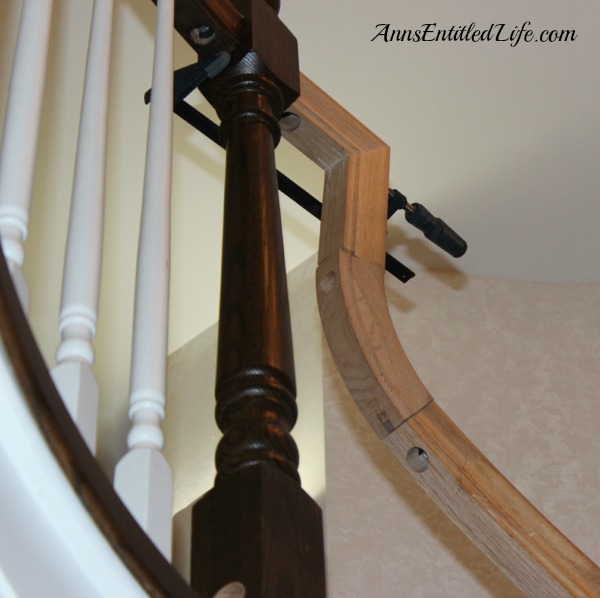
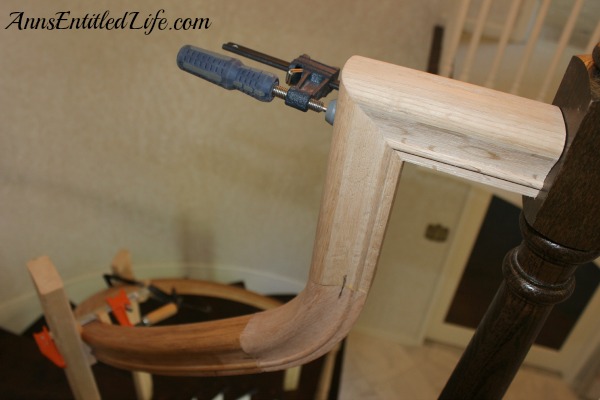
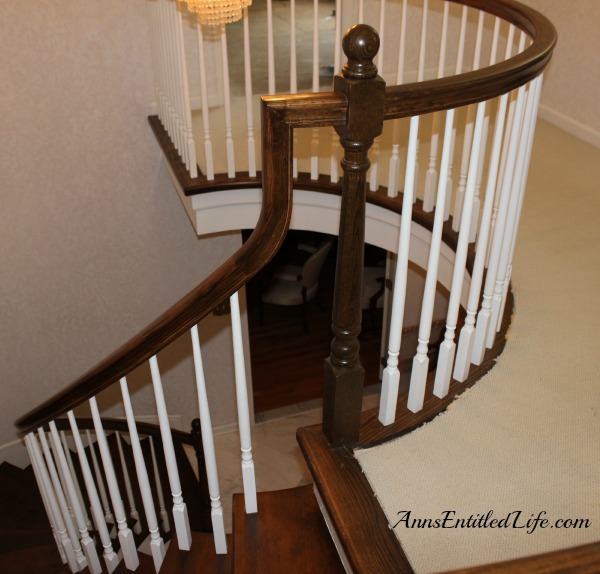
The transition from the top rail down to the handrail took some jiggering.
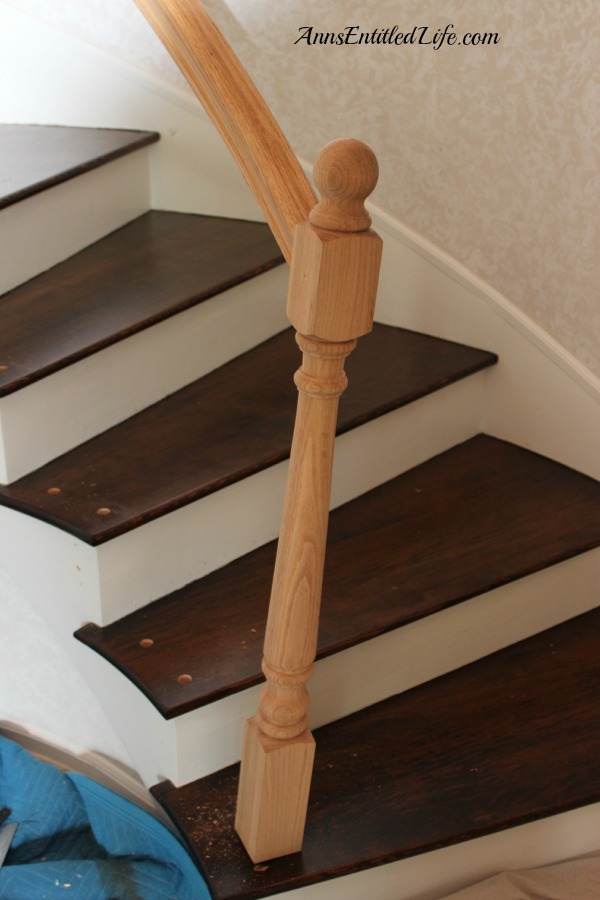
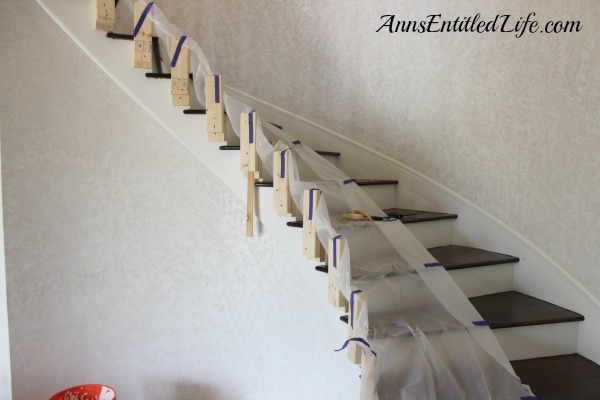
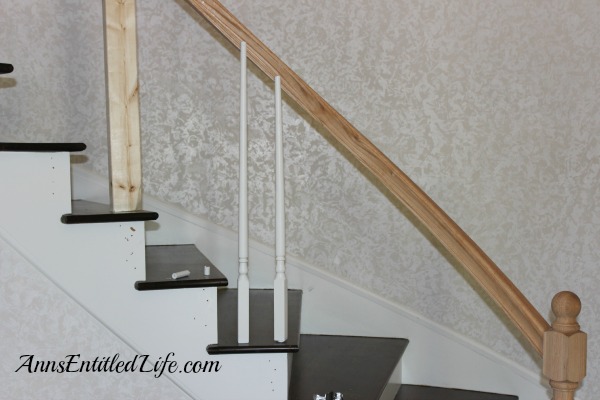
Before anything could be glued in, they had to set in the newel post, and then work from there.
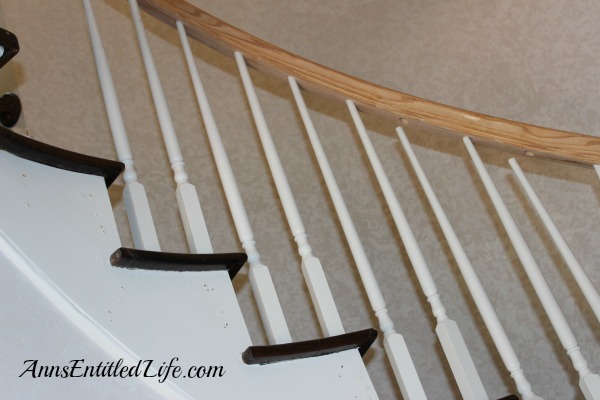
A series of straight wood pieces were drilled into the stair side. They were checked for plumb, and then held in place.
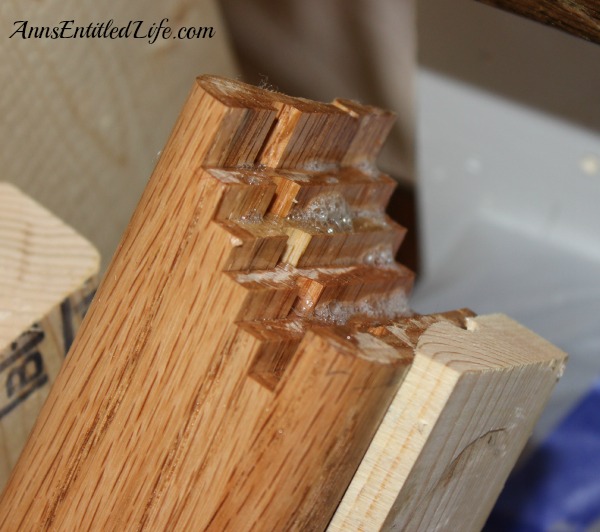
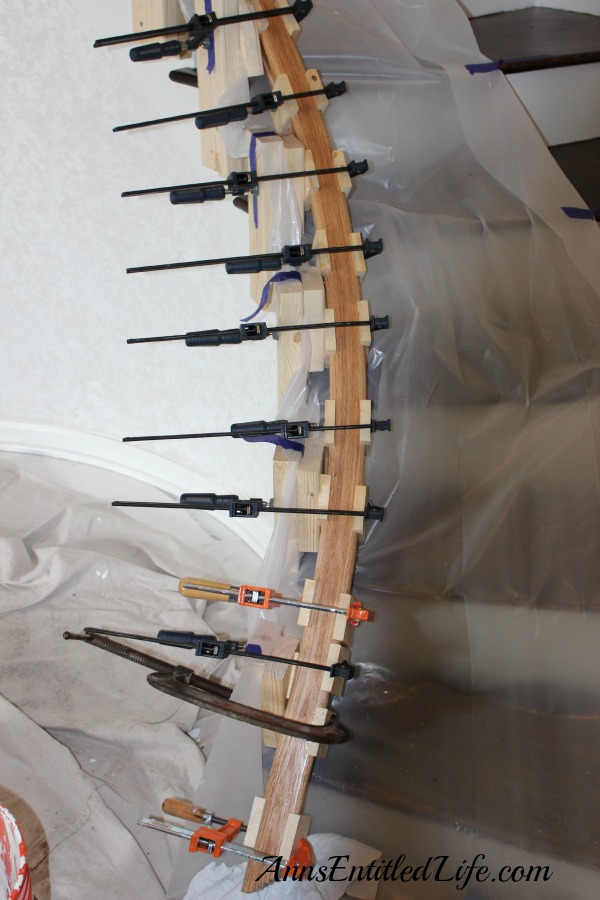
The handrail was very interesting. This is the different layers that made it up. The days of one piece handrails are looooong gone.
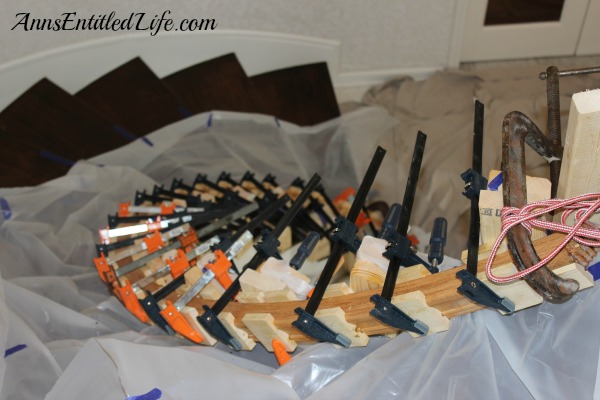
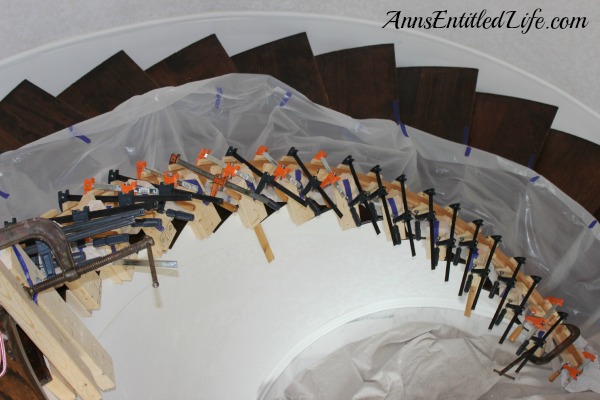
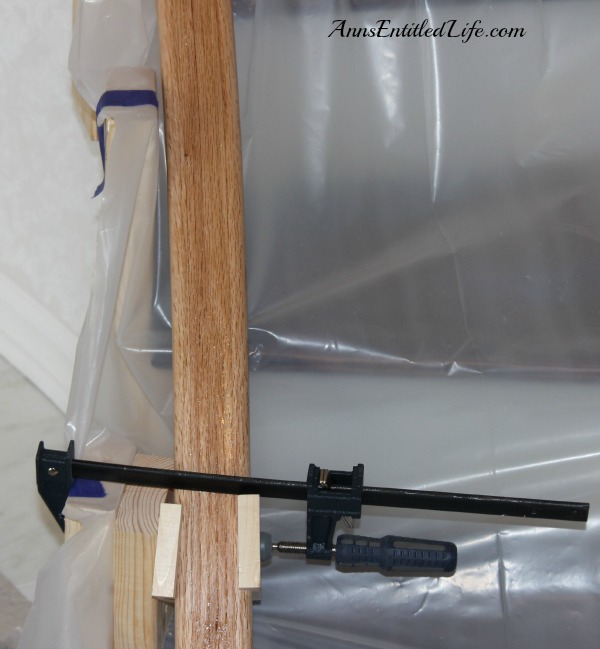
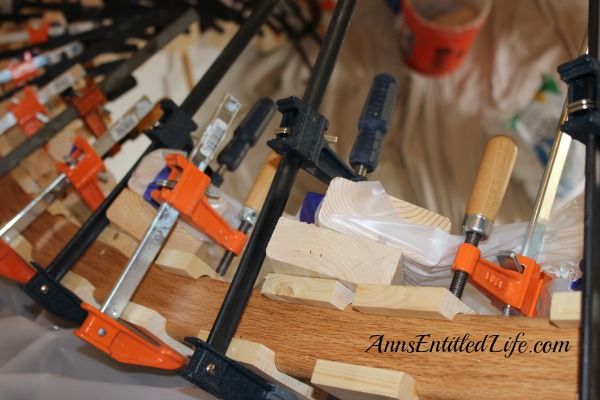
The handrail was fitted by bent lamination. The glue helps mold the wood. The glue dries over the course of a week, and you pick it up and it is now a perfect pattern to put on top of the spindles.
We didn’t have a handrail for quite some time on this project – close to two months. It was removed, and then two rails – which didn’t work – were tried. The third time was a charm though! We had this bent lamination set-up in place for a good 10 days. I have to tell you, this set up freaked me out more than no handrail!
The spindles were a lot of pounding… with their hands! They had to finesse the spindles into each predrilled hole on the stairs. Then they had to smack the handrail down on the spindles so they wouldn’t move. A LOT of glue went into making this tight.
In the end, I must say the banister looks phenomenal, and the upgrade of our funky-70s-style-original-to-the-house to what we currently has, is astounding.
Note: the round apron came in as one piece and we were not here for that. It is truly a marvel!
● Disclosure the links in this post may be affiliate links.
● For more Renovations on Ann’s Entitled Life, click here.
● If you enjoyed this post, be sure to sign up for the Ann’s Entitled Life weekly newsletter, and never miss another article!
Leave a Reply