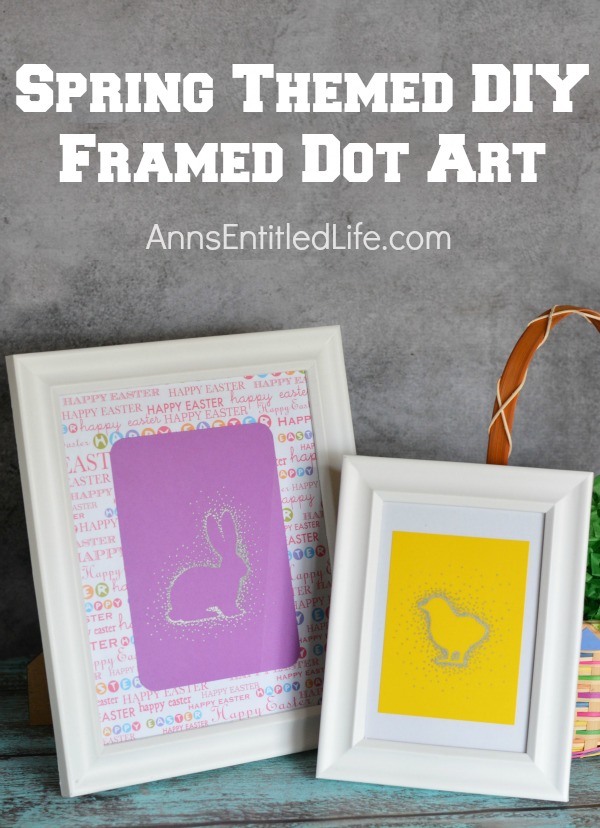
This super cute spring themed dot art is very easy to do. Adults and older children will be thrilled with the outcome of an hour long art project. Use this art project for Easter decor, spring decor, or to give away as a gift.
Spring Themed DIY Framed Dot Art
Craft projects do not have to be long, involved or expensive to have impact. Sometimes, the easiest, least expensive projects can really pack a visual punch. This spring dot art project – it is Easter-centric but really can be used for more than just Easter decor … the whole “spring = rebirth” theme is prevalent with the use of a bunny and a chick – is so simple to do. It is not costly. The metallic sharpie is the biggest cost (assuming you have old frames at home, or can buy cheap ones at the dollar store); the other materials are probably found in your home already – especially if you have school age children or have ever done a craft before.
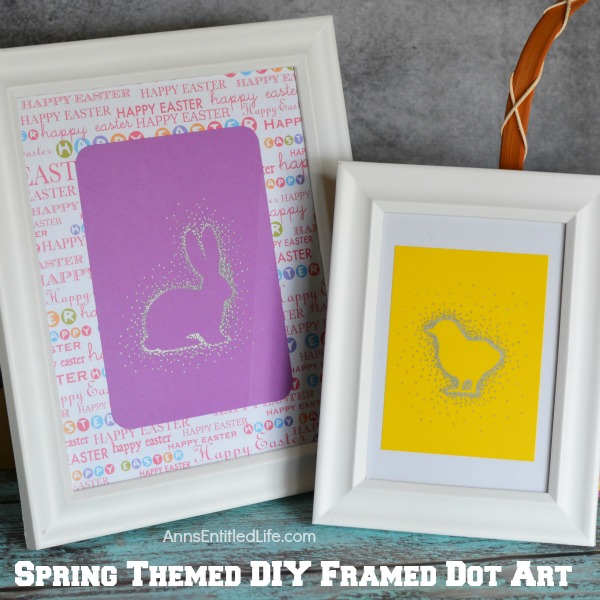
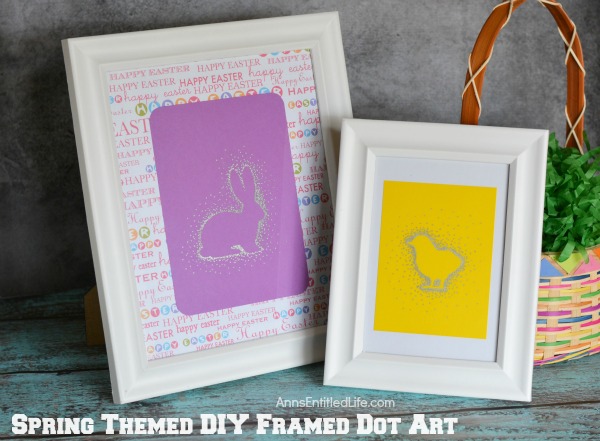
The finished product is simply adorable. You can hang the art, place it on a small easel on a table top, or on your mantel. You do not have to use the small size for both, there is more than one size bunny and chick on the printable figure cut out.
The step by step details, along with printable bunny and chick cut-outs are listed below.
Spring Themed DIY Framed Dot Art Materials:
● Printable Chick and Bunny Pattern Note: For this project shown the small bunny and chick were used. There are various sizes on this sheet for your to choose from.
● Paper, cut to size desired if necessary to fit your frames.
● Metallic Sharpie Marker
● Scissors
● Utility Knife
● Cutting Board
● Picture Frames (8″x10″ and 5″x7″ frames were used in this project shown)
Spring Themed DIY Framed Dot Art Directions:
● Print out your Printable Chick and Bunny Pattern.
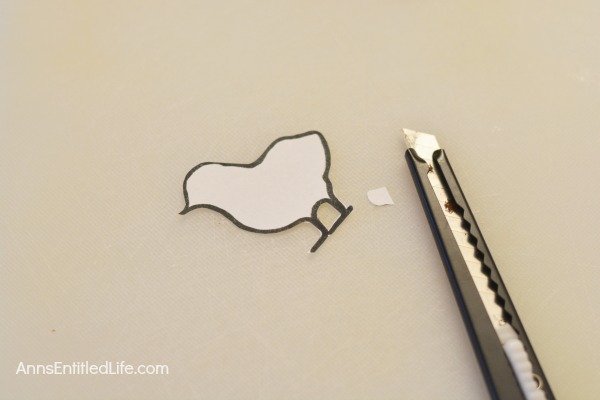
● Use your scissors to trim the bunny and chick pattern. A cutting board and utility knife will be necessary to cut the chick.
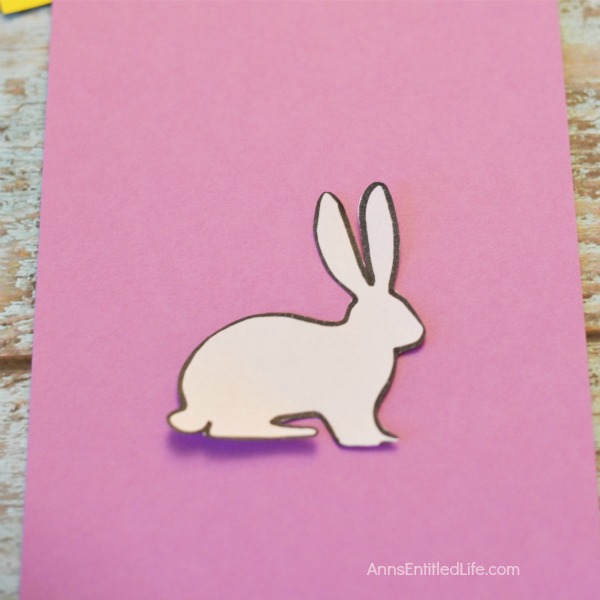
● On a flat surface, place your bunny or chick cut out on a piece of solid, colored paper cut to fit your frame.
● Note: you can place a different colored patter behind your solid paper for contrast. If your frame is 8×10, use a 5×7 sheet of paper to do the dot artwork, and an 8×10 piece of paper behind that to slip in your frame. You can either line up the papers on top of one another, or a little dab of glue will hold the smaller paper in place against the larger paper. You can of course use a backer board too.
● Position your cut out as desired.
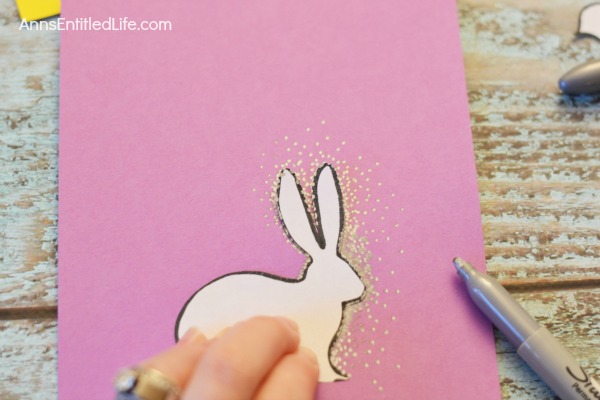
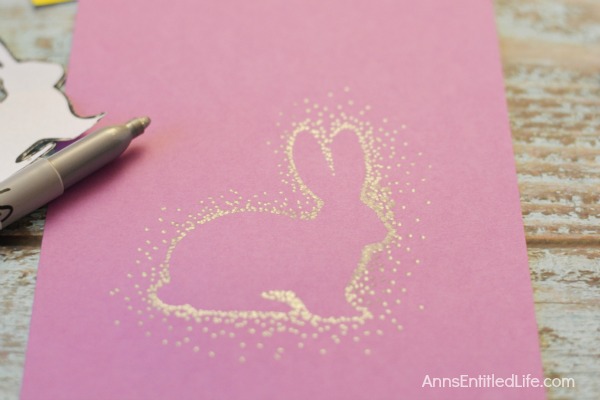
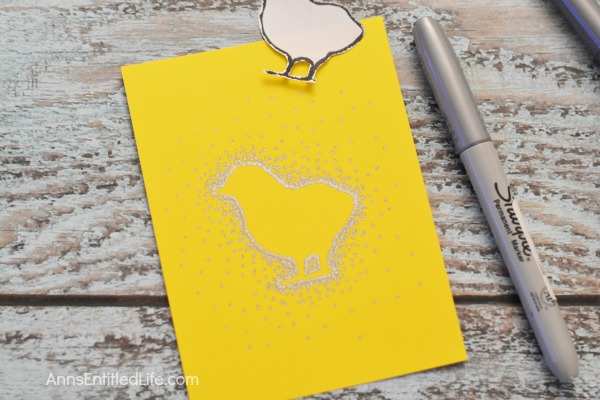
● Firmly hold down your cut out while dotting with the Metallic Sharpie Marker around the edges of the cut out.
● When you have finished dotting an outline around your bunny or chick, remove the cut-out-pattern and dot additional areas with your Metallic Sharpie Marker to your liking.
● Keep a concentration of dots near the edge of the pattern.
● Place your paper into your frame.
● Display on the wall, table top, mantel, etc.
● To print the Spring Themed DIY Framed Dot Art instructions, click here.
● Disclosure: the links in this post may be affiliate links.
● For more Craft posts on Ann’s Entitled Life, click here.
● For more Holiday posts on Ann’s Entitled Life, click here.
● If you enjoyed this post, be sure to sign up for the Ann’s Entitled Life weekly newsletter, and never miss another article!
Julie says
Such a sweet idea, I’ve done dots round a simple circle before but I love this animal shape idea.
Ann says
Thanks, Julie!!
Ann
Kati says
These are adorable! Such a cute spring idea.
Leslie says
I’ve seen tons of dot art on mugs lately, but I love the way you used it for Easter decor. Adorable!
Beth says
Ann, I love that these dot art pieces are simple enough for everyone to make! What a tremendous multigenerational craft for the Easter holiday! Thanks for sharing! Creatively, Beth
Paula says
This is really unique! Love this.
Thanks bunches for sharing with Sweet Tea & Friends this month dear friend.