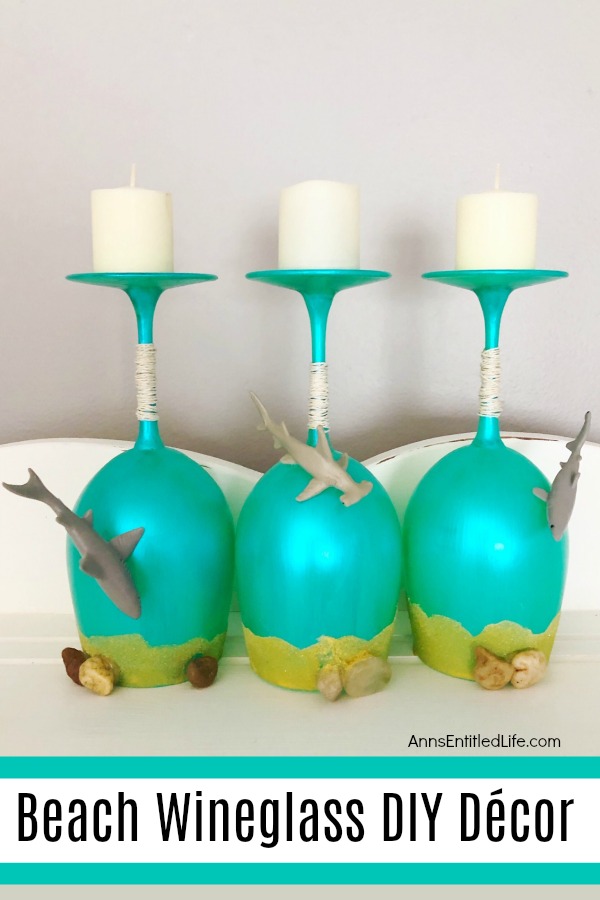
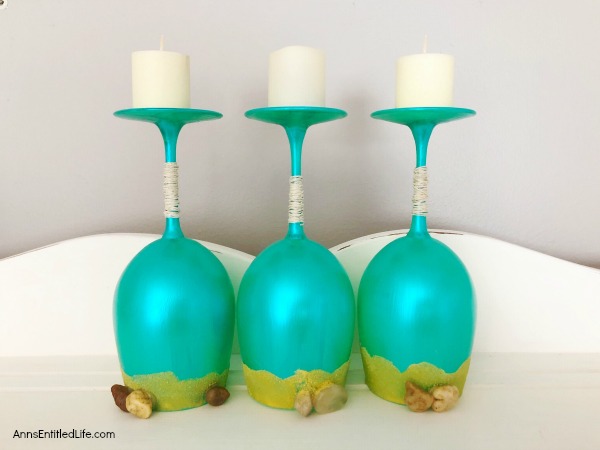
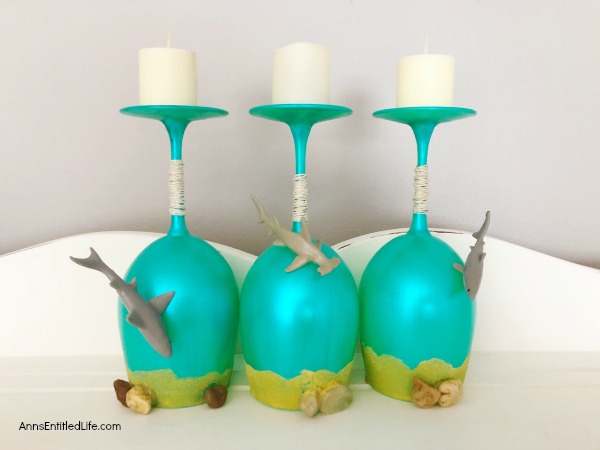
Make your own beach themed wineglasses with these easy step-by-step tutorial instructions. This is a great summertime craft, makes a fabulous shark week decoration, or if you have beach themed décor in your home or on your lanai, patio or in your three-season room, this is a fun and funky craft project to add to it. These highly customizable beach wineglasses are simple to make and will look great on your mantel, side table or as part of a larger décor theme.
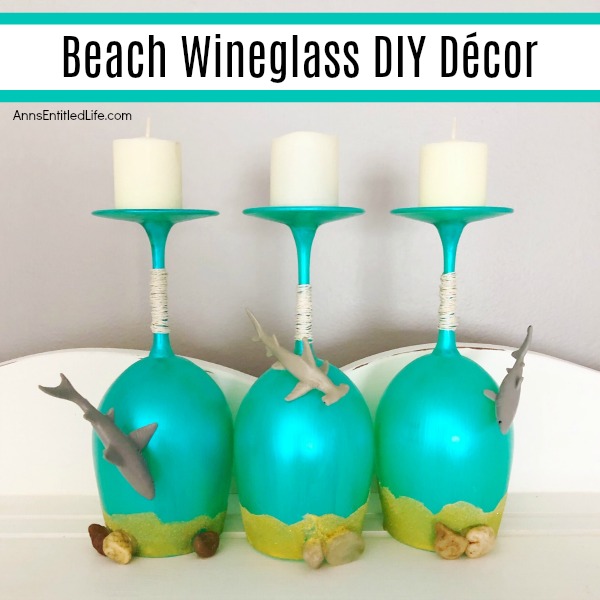
Beach Wineglass DIY Décor
I have a lot of these wineglass décor DIYs on my blog. I simply love how fast and easy they are to do! They make a great part of a centerpiece; they look fabulous on a fireplace mantel or on a side table. You can use them to add that “final” decoration to a holiday display – you know, the one that pulls it all together.
You can see all the different painted wineglass crafts by clicking here. However, if you are in the summer season, this DIY Pineapple Candle Holder or prehaps these “flags” are something you may want to consider – or perhaps this adorable (it is one of my favorites!) Love Bug Wineglass DIY.
I also have turkeys, snowmen, love monsters (Valentine’s or Halloween!), a witch or a yellow chick or Easter egg work for you?
Yeah, as you can tell I love these easy-peasy wineglass crafts.
I wanted one for the summer. Oh sure, I have the “American Flag” wineglasses, but I wanted something that could be on display all summer long. These beach wineglasses are fantastic!! You can stop at sand and rocks for a nice beachy feel, or add sharks (shark week!!) for an er, not-so-nice beachy feel. Tropical fish are another way to dress these up.
Honestly? As with all crafts, you start with a basic idea you see on a blog post, and then change the color or embellish it to make it yours!!
Beach Wineglass DIY Décor Notes:
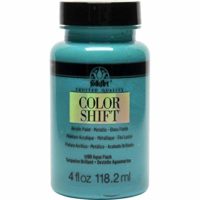
● The only thing I suggest on this project is to try and go with the Aqua Flash Paint. The color is beautiful, it “shimmers”, and matches very well with light brown or yellow sand.
● This craft shows three of the same size wineglasses. You can vary them to match whatever look you are going for (centerpiece, mantel, side, etc).
● If you do not have Elmer’s glue, make sure the glue you are using to form waves and dip in the sand will dry clear (or the color of your sand).
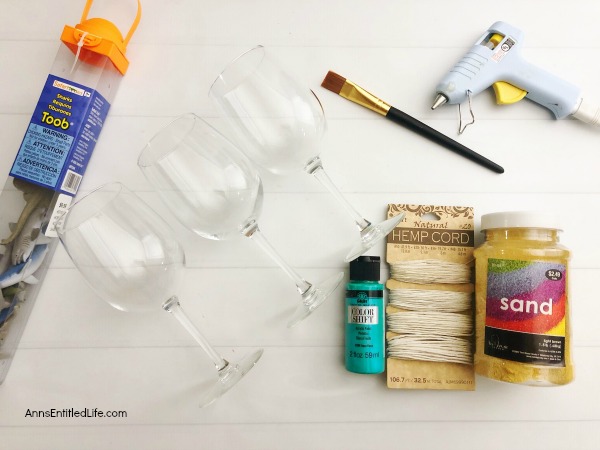
Beach Wineglass DIY Décor Materials:
● 3 Wineglass
● Aqua Flash Paint – you can use any teal/blue color, but this one looks fantastic for the ocean-y look
● Sand – used was light brown, but you could use yellow, white, light blue… it all depends on your decor and the look you are trying to achieve
● Skinny Hemp Cord
● Small Flat Paint Brush
● Hot Glue
● Glue Gun
● Elmer’s Glue
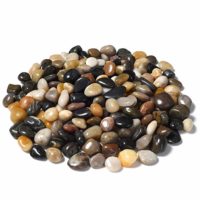
● Small Pebbles
● Toy Sharks
● Scissors
● E-6000 Glue
● Tea Lights
Beach Wineglass DIY Décor Directions:
● Lay down a covering to protect your work surface.
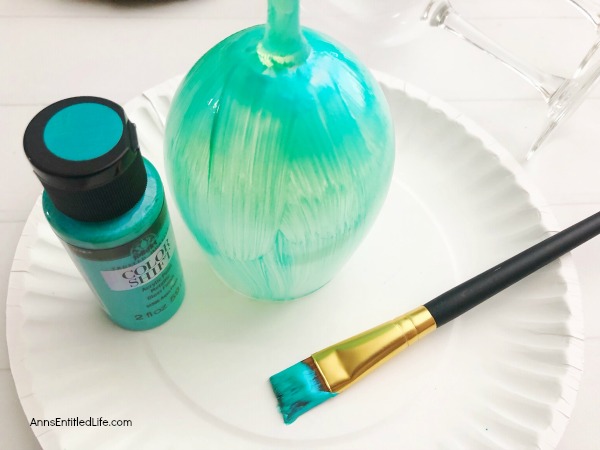
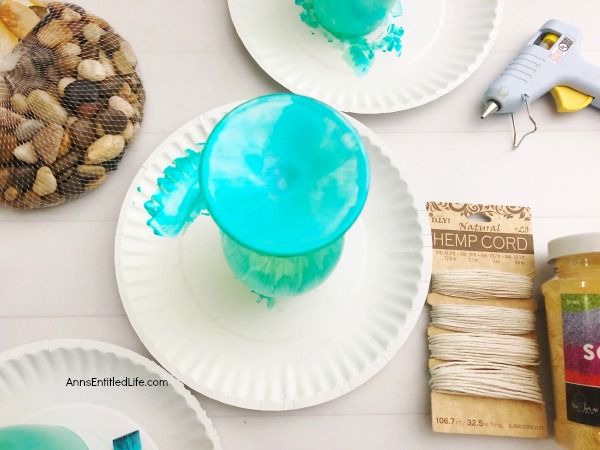
● Paint the inside of a wineglasses aqua with a paint brush (foam or flat).
● Allow to dry.
● Paint the outside of your wineglasses aqua with a paint brush (foam or flat).
● Allow to dry.
● Note: on any of these painted wineglass decorations if you feel one coat of paint is not enough coverage (even with painting the inside and outside), just allow the first coat of paint to dry completely, then add a second, thin coat for complete coverage. Allow to dry completely.
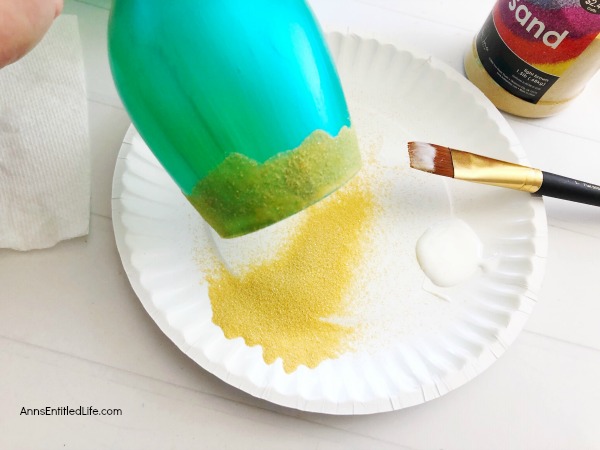
● Using a clean, small paint brush, paint the bottom of the glass in waves with Elmer’s glue and immediately sprinkle sand on the wet glue.
● Shake off the excess sand and let dry.
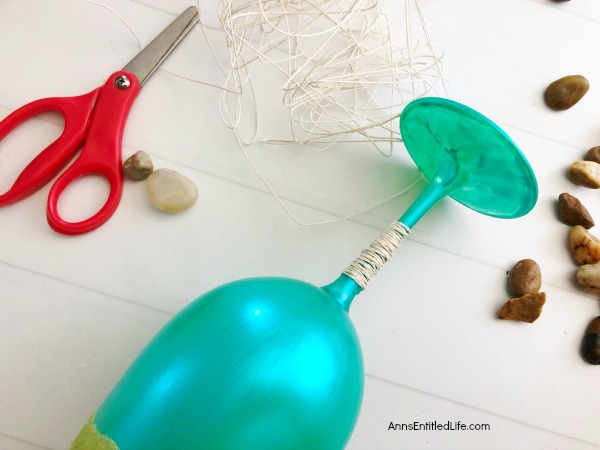
● Clip a piece of skinny hemp cord, and wrap and hot glue the skinny hemp twine around the stem of the glass.
● You can stop right here if you like… no need to add sharks or tropical fish if you prefer not to.
● Once everything is dry, add pebbles and/or sharks to your glass(es). Use a dab of hot glue to hold the pebble and/or shark instantly, then, add a dab of the E-6000 glue to adhere long term.
● Allow to dry completely.
● Add a battery operated tea light to the top of each of the tea lights (optional).
Beach Wineglass DIY Décor
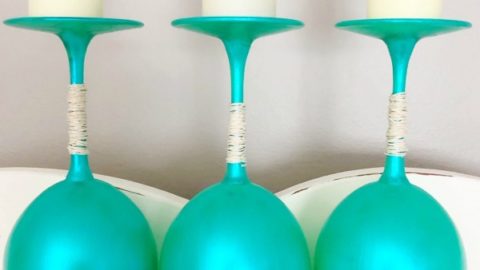
Beach Wineglass DIY Décor. Make your own beach themed wineglasses with these easy step-by-step tutorial instructions. This is a great summertime craft, makes a fabulous shark week decoration, or if you have beach themed décor in your home or on your lanai, patio or in your three-season room, this is a fun and funky craft project to add to it. These highly customizable beach wineglasses are simple to make and will look great on your mantel, side table or as part of a larger décor theme.
Materials
- 3 Wineglass
- Aqua Flash Paint
- Sand
- Skinny Hemp Cord
- Elmer's Glue
- Small Pebbles
- Toy Sharks
- E-6000 Glue
- Tea Lights
Tools
- Small Flat Paint Brush
- Hot Glue
- Glue Gun
- Scissors
Instructions
- Lay down a covering to protect your work surface.
- Paint the inside of a wineglasses aqua with a paint brush (foam or flat).
- Allow to dry.
- Paint the outside of your wineglasses aqua with a paint brush (foam or flat).
- Allow to dry.
- Using a clean, small paint brush, paint the bottom of the glass in waves with Elmer's glue and immediately sprinkle sand on the wet glue.
- Shake off the excess sand and let dry.
- Clip a piece of skinny hemp cord, and wrap and hot glue the skinny hemp twine around the stem of the glass.
- Once everything is dry, add pebbles and/or sharks to your glass(es). Use a dab of hot glue to hold the pebble and/or shark instantly, then, add a dab of the E-6000 glue to adhere long term.
- Allow to dry completely.
- Add a battery operated tea light to the top of each of the tea lights (optional).
Notes
On any of these painted wineglass decorations if you feel one coat of paint is not enough coverage (even with painting the inside and outside), just allow the first coat of paint to dry completely, then add a second, thin coat for more complete coverage. Allow to dry completely.
Recommended Products
As an Amazon Associate and member of other affiliate programs, I earn from qualifying purchases.
● For more Craft posts on Ann’s Entitled Life, click here.
● If you enjoyed this post, be sure to sign up for the Ann’s Entitled Life weekly newsletter, and never miss another article!
Leave a Reply