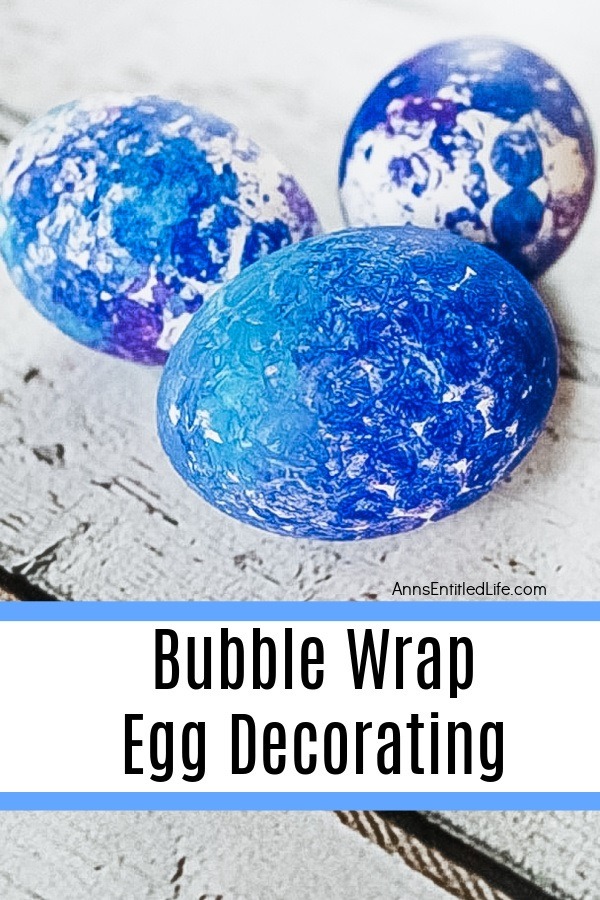
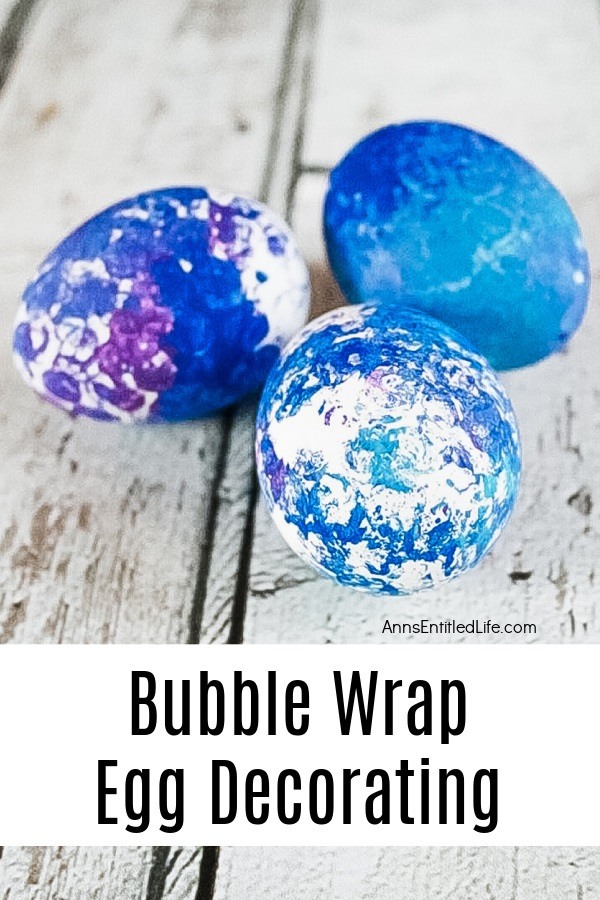
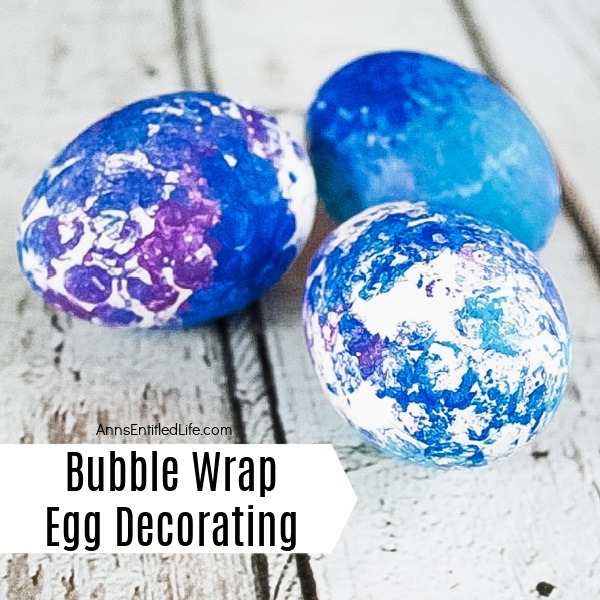
Use these step-by-step tutorial instructions to learn how to decorate eggs using bubble wrap! This is an easy egg decorating idea that the whole family can master in minutes.
Bubble Wrap Egg Decorating
If you have a sheet of bubble wrap (from all those Amazon orders, perhaps?) and a few paints, you can make these bubble wrap eggs in minutes. These are so easy to make that you can set your children or grandchildren up to do them!
Tips and variations for making these bubble wrap eggs:
● Make certain your eggs are hard-boiled and have no cracks. Here is some great information from the University of Minnesota Extension on Safety of hard-cooked eggs for dyeing While these may be painted, the same safety measures apply.
● Cover your work surface, especially if your children or grandchildren will be coloring these eggs.
● Vary the colors. These are done in blue/purple but other choices are pink, orange, yellow, green, or lavender.
● You may want to cut squares/rectangles of the bubble wrap to make it easier to squeeze around the egg.
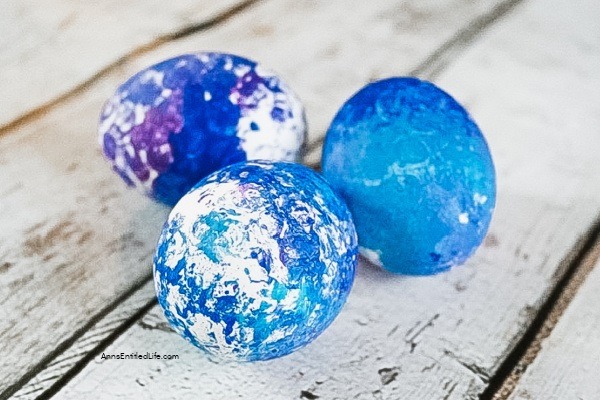
● Cover the egg as much, or as little, as you like. Try not to cover it all as you will lose the bubble pattern if you do.
Interested in more homemade Easter decorations?
● No Sew Sock Bunny
● Hand Painted Robin Eggs Bird Nest Décor
● 5 Minute Craft: Easter Eggs Magnet
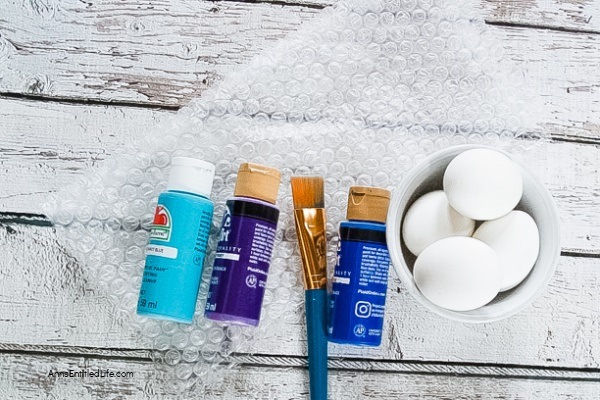
Bubble Wrap Egg Decorating Materials:
● Blue, Light Blue, and Purple Paint colors were used on these eggs shown, use edible paint if the eggs will be eaten and you have any concerns about paint toxicity (and why you should have no cracks or splits in your hard-boiled eggs).
● Hard-Boiled Eggs
Bubble Wrap Egg Decorating Tools:
● Bubble Wrap
● Paintbrush
● Small Easel or Paper Plate
● Scissors (optional)
Bubble Wrap Egg Decorating Instructions:
1. Cover tabletop against paint spills and drips.
2. Start with dry hard-boiled eggs.
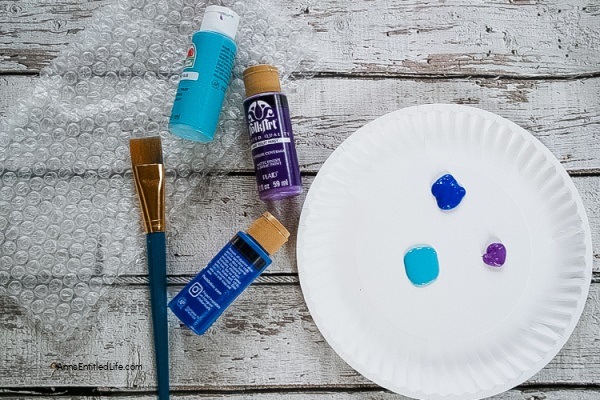
3. Squeeze out a small amount of each of your paint colors on a palette. You can use as many, or as few, colors as you like.
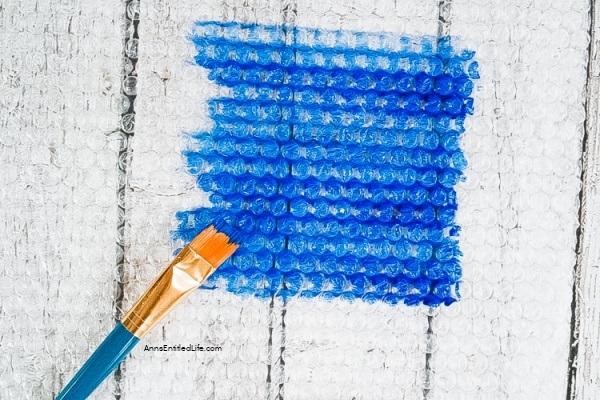
4. Spread out the bubble wrap on your work surface with the bubble side up.
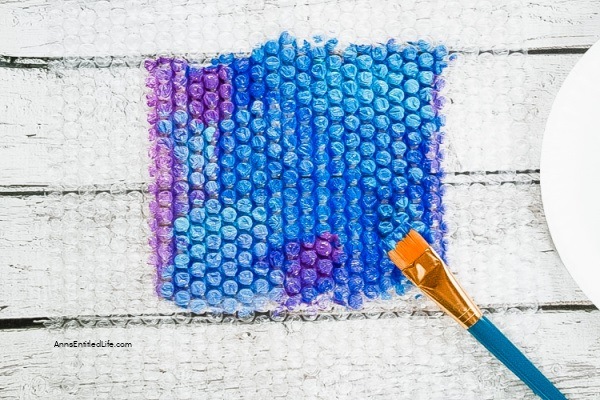
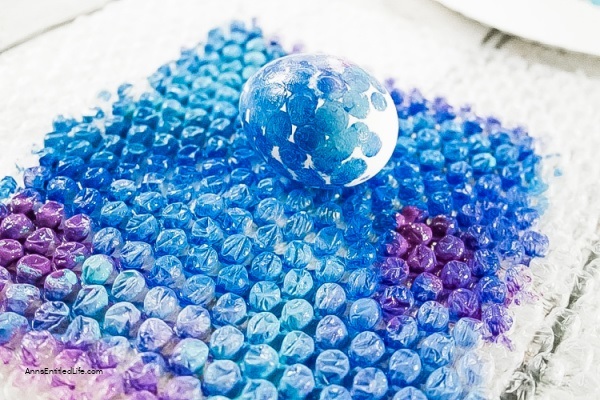
5. Paint an area with each of the colors you are using onto the bubble wrap. Blend and overlap the colors.
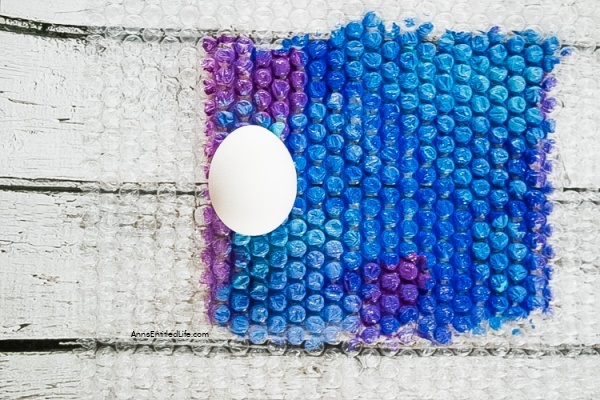
6. Next, place the egg on one side of the bubble wrap.
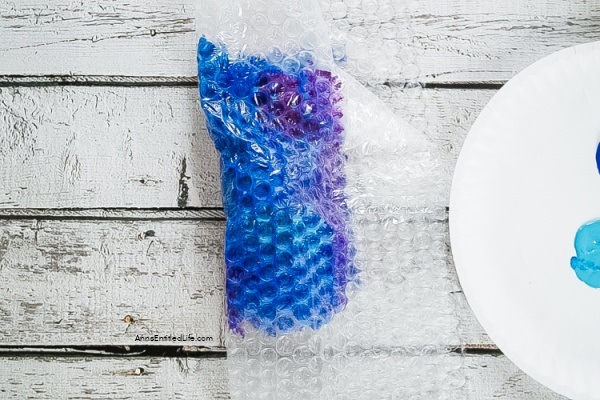
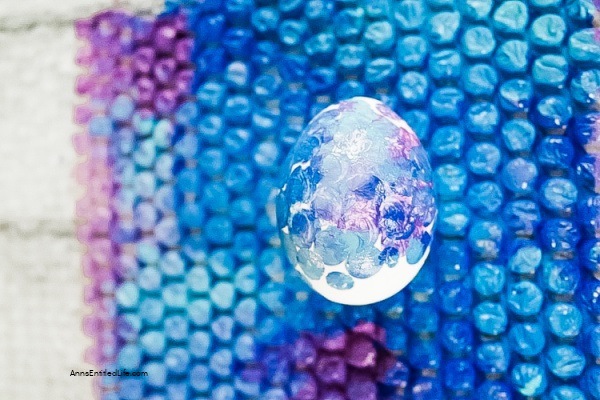
7. Roll the bubble wrap around the egg to get the imprint of the bubble wrap onto the egg.
8. Keep moving the egg and/or the bubble to get the imprint all over the egg.
9. Take a look at your egg and decide if you want to give it another roll over the bubble wrap. Add more color to the bubble wrap as needed.
10. Allow the eggs to dry completely.
Bubble Wrap Egg Decorating

Bubble Wrap Egg Decorating. Use these step-by-step tutorial instructions to learn how to decorate eggs using bubble wrap! This is an easy egg decorating idea that the whole family can master in minutes.
Materials
- Blue, Light Blue, and Purple Paint colors were used on these eggs shown
- Hard-Boiled Eggs
Tools
- Bubble Wrap
- Paintbrush
- Small Easel
- Scissors (optional)
Instructions
- Cover tabletop against paint spills and drips.
- Start with dry hard-boiled eggs.
- Squeeze out a small amount of each of your paint colors on a palette. You can use as many, or as few, colors as you like.
- Spread out the bubble wrap on your work surface with the bubble side up.
- Paint an area with each of the colors you are using onto the bubble wrap. Blend and overlap the colors.
- Next, place the egg on one side of the bubble wrap.
- Roll the bubble wrap around the egg to get the imprint of the bubble wrap onto the egg.
- Keep moving the egg and/or the bubble to get the imprint all over the egg. You can wrap the egg completely and give it a gentle squeeze.
- Take a look at your egg and decide if you want to give it another roll over the bubble wrap. Add more color to the bubble wrap as needed.
- Allow the eggs to dry completely.
Notes
Make certain your eggs are hard-boiled and have no cracks. Here is some great information on the Safety of hard-cooked eggs for dyeing While these may be painted, the same safety measures apply.
Blue, Light Blue, and Purple Paint colors were used on these eggs shown, use edible paint if the eggs will be eaten and you have any concerns about paint toxicity
Recommended Products
As an Amazon Associate and member of other affiliate programs, I earn from qualifying purchases.
-
 EAMBRITE Easter Centerpiece Tree 24IN 24LT White Birch Tree with Set of 10 Hanging Easter Egg Ornaments for Party Birthday Home Decoration Indoor Use
 -
 MAOYUE Easter Inflatables 5Ft Easter Bunny Inflatables with Eggs Easter Decorations Outdoor Easter Blow Up Decorations Built-in LED Lights with Tethers, Stakes for Outdoor Yard Lawn
 -
 Easter Hanging Bunny Ornaments Set of 10, Colorful Plush Bunny Gnomes Easter Gnomes Tree Ornament Decorations
● For more Holiday posts on Ann’s Entitled Life, click here.
● For more Craft posts on Ann’s Entitled Life, click here.
● If you enjoyed this post, be sure to sign up for the Ann’s Entitled Life weekly newsletter, and never miss another article!


Linda Primmer says
What a darling idea for decorating Easter eggs. This is new to me. I am happy to feature your pretty eggs on Sunday at Love Your Creativity.
Joleisa says
This idea is new to me too! I like that it is so easy to do with kids. I bet this idea will catch on soon and be popular with the little ones.
My colour scheme would include red, orange and yellow.
Another great post Thanks