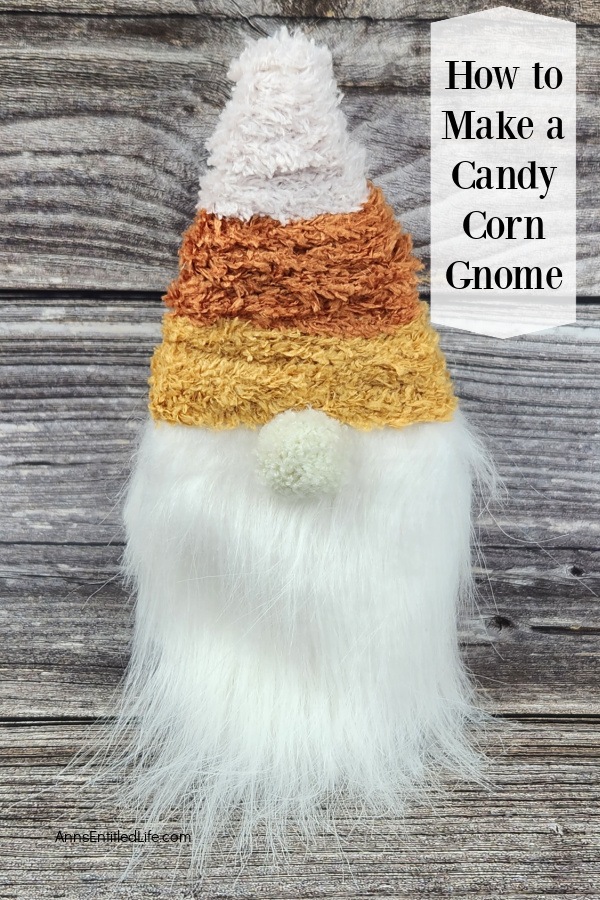
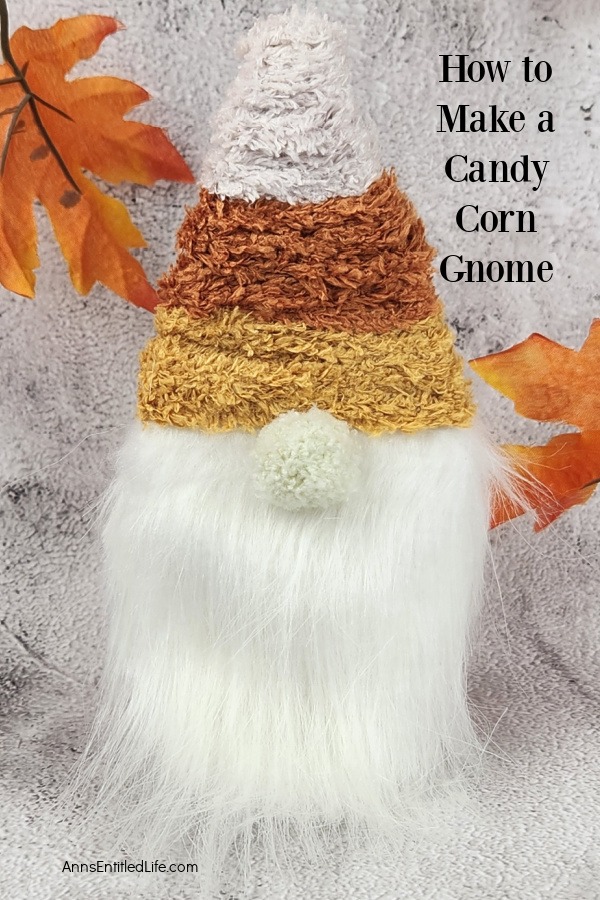
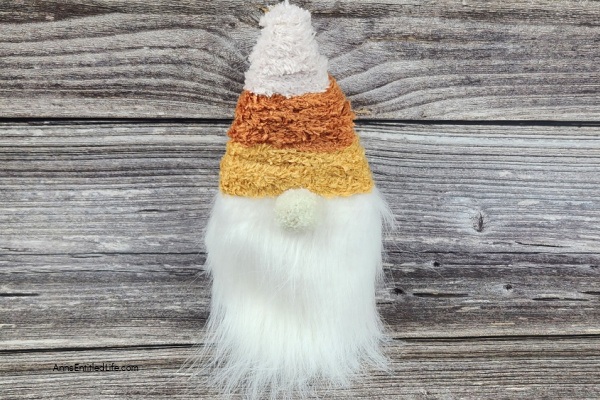
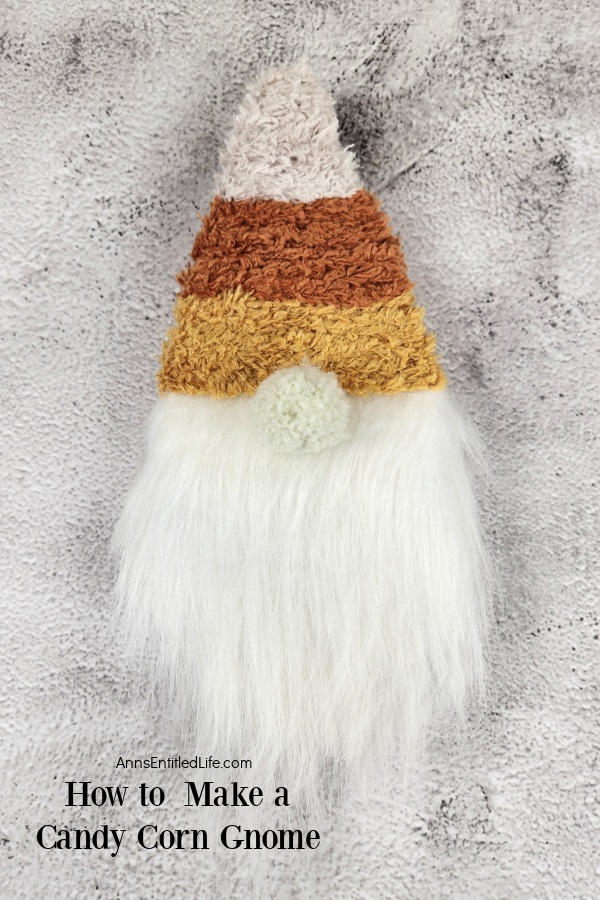
Learn how to make a cute Candy Corn Gnome with this easy DIY craft tutorial. It’s perfect for Halloween decor or a fun craft project! A step-by-step guide is included.
This cheerful little fellow combines the iconic colors and shape of candy corn with the classic gnome design, creating a unique and eye-catching accent piece. Best of all, you can easily make your own Candy Corn Gnome in under 15 minutes. It is so easy to make that older children (who can be trusted using a hot glue gun under your supervision) can make it, too.
Candy Corn Gnome | How to Make DIY Craft
Looking to add a touch of whimsical charm to your home this season? Why not try your hand at creating a delightful Candy Corn Gnome? This cute little craft is a great way to add a festive fall flair to your decor or as a fun Halloween gnome decor for a Halloween party.
I like candy corn crafts as they are perfect for autumn decor and Halloween decor!
In this informative guide, I will walk you through the simple steps to craft your very own Candy Corn Gnome. With just a few basic materials and a bit of creativity, you’ll be able to bring this adorable little fellow to life.
Tips and variations for making this Candy Corn Gnome
● The quantity of materials needed depends on how large your wooden heart is.
● A pompom was used for the nose, but you can use wooden beads, wooden dowel caps, or ball knobs if you like.
● If you plan to hang this gnome, attach the wall hanger before wrapping. Make certain you don’t cover the hanging tab when you wrap.
● The gnome hat is made of candy corn colors, and there is no body of the gnome.
● You can change the colors of this gnome to fit your season – Halloween colors of purple, green, and orange or Christmas colors of red, green, and white would look cute. You can make your own gnomes whatever colors suit your needs. Swap out the gnome beard colors from white to brown to black. Make a collection of gnomes… these little guys are super cute.
● Fuzzy fall-colored yarns were used to make this gnome. But you can use any yarn in shades of orange, yellow, and white. This gnome can be hung on the wall or set on the side of a shelf or pedestal.
● Other than the fur and hot glue gun, you should be able to find everything else used on this candy corn gnome at your local dollar store.
● These are common supplies. You can find all the materials to make this candy corn gnome either online or at your local Michaels, Hobby Lobby, or Joann.
Who doesn’t love gnomes? They come in all shapes and sizes and are pretty easy to make. Here are some of the other cute gnome crafts I have on the blog, something for all seasons! These cute guys are an easy way to make festive gnome decorations.
● Mardi Gras Gnome DIY (this little guy is over-the-top!)
● St. Patrick’s Day Gnome DIY
● Bunny Gnome DIY
● Flower Pot Gnome DIY
● Patriotic Gnome Decor DIY
● Graduation Gnome
● How to Make a Football Gnome Pin | DIY
● Pilgrim Gnome DIY
● How to Make a Santa Gnome Ornament for Christmas Christmas Tree | No-Sew (holiday gnomes)
● Easy Snowman Gnome Craft Tutorial | No Sew
Here are some other candy corn pieces you may want to add to your craft collection:
● Candy Corn Light Bulb Craft
● DIY Candy Corn Pots
● How to Make a Candy Corn Candle
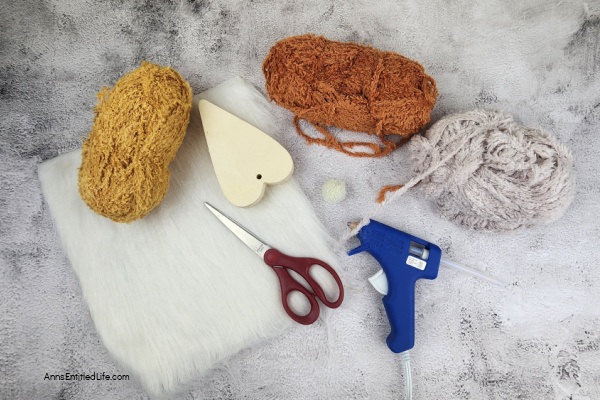
Candy Corn Gnome Materials:
● 1 Wood Heart
● White Faux Fur
● 1 Off-White Fuzzy Pompom
● Orange Yarn
● White Yarn
● Yellow Yarn
Candy Corn Gnome Tools:
● Cutting Mat
● Scissors
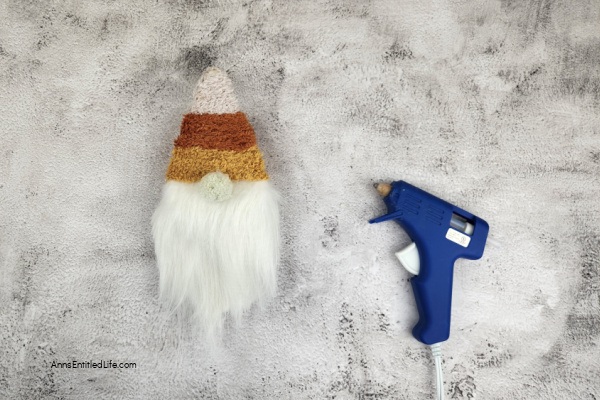
● Hot Glue Gun
● Hot Glue Sticks
How To Make This DIY Candy Corn Gnome Directions:
1. Cover your work surface to protect against cuts and burns.
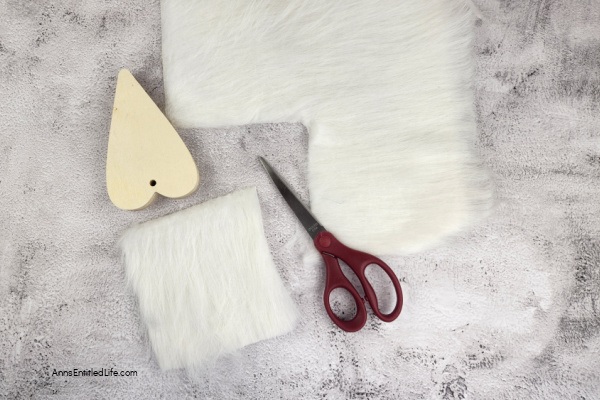
2. Cut a square of fur that is a little wider than the widest part of your heart. It should also be about 4-5 inches long.
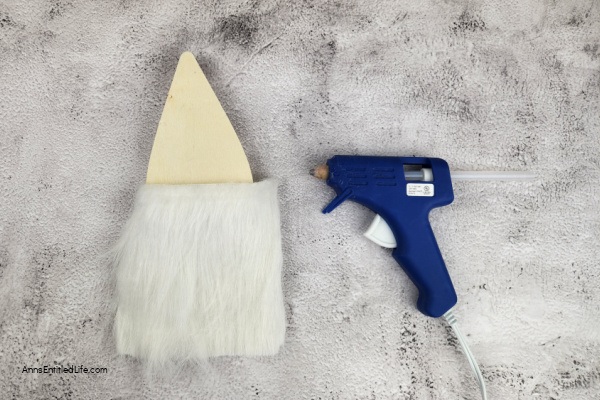
3. Next, hot glue the fur in place at the broadest part of the heart. This is the top of the beard. You may also need to glue the fur on the sides and any that wraps around the back. Be sure the fur is pointing down and not up.
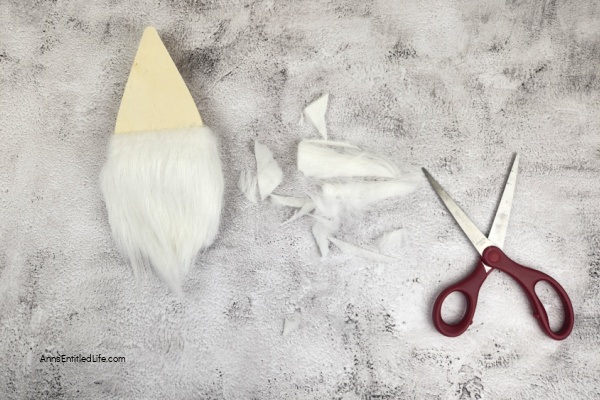
4. Now, using the scissors, trim the fur so that it resembles a beard. I find it works best if you pull the long part of the fur back and try to trim just the part of the fabric that holds the fur.
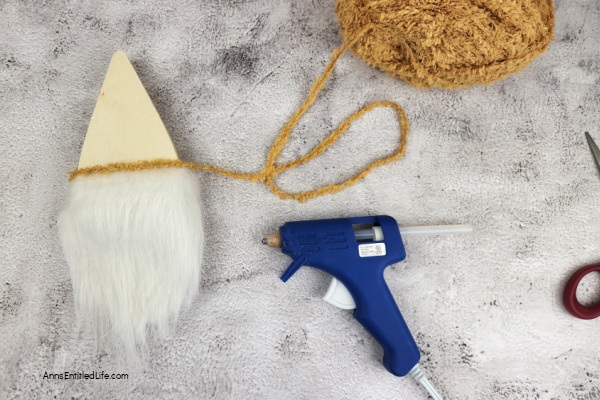
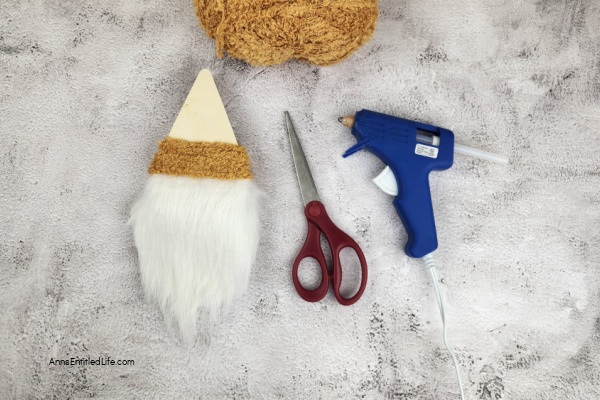
5. Starting with the yellow yarn, glue the end of the yarn in place just above the top of the fur. Wrap the yarn around the heart until you have a section that is about one inch. Make sure you wrap the yarn so that none of the wood is visible in that area.
6. When you’re done wrapping, trim the yarn off and glue it to the back.
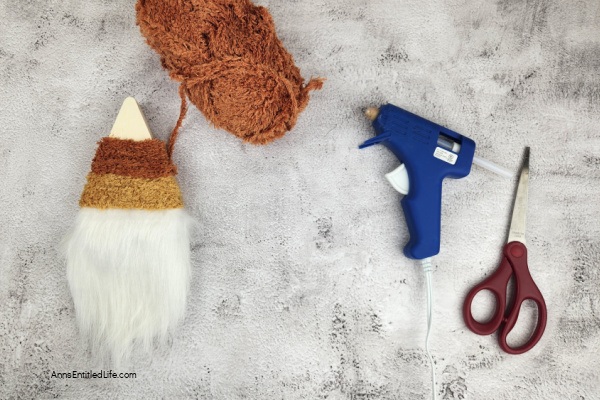
7. Next, you want to do the same with the orange yarn as you did with the yellow.
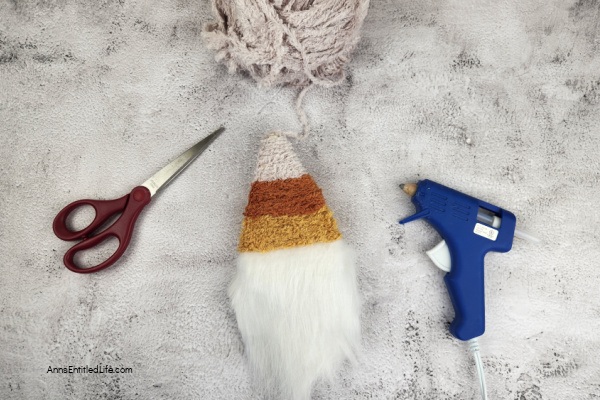
8. Now do the same with the white. With the white yarn, you may need to use a dot or two of glue when wrapping as it will try to slip off the end of the heart.
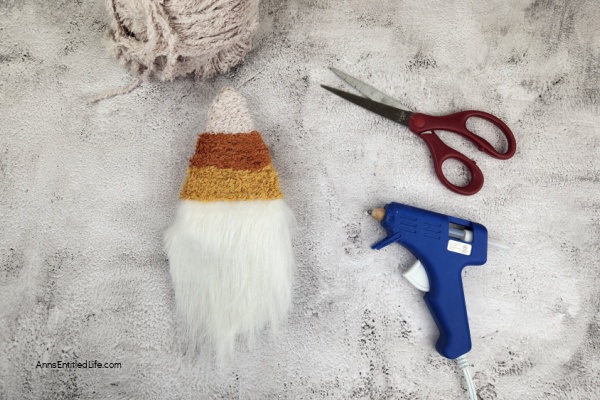
9. Carefully glue the white yarn to the top of the point, not the backside, and trim it off. That way, it will cover all of the wood so that it does not show. This is the top of the gnome hat.
10. The last step is to glue the pompom in the center just below the yellow yarn.
11. You can display this little guy on an easel or tripod, or glue a hanger to the back of the gnome to hang on the wall.
Candy Corn Gnome | How to Make DIY Craft
Candy Corn Gnome | How to Make DIY Craft. Learn how to make a cute Candy Corn Gnome with this easy DIY craft tutorial. It's perfect for Halloween decor or a fun craft project! A step-by-step guide is included.
Materials
- 1 Wood Heart
- White Faux Fur
- 1 Off-White Fuzzy Pompom
- Orange Yarn
- White Yarn
- Yellow Yarn
Tools
- Cutting Mat
- Scissors
- Hot Glue Gun
- Hot Glue Sticks
Instructions
- Cover your work surface to protect against cuts and burns.
- Cut a square of fur that is a little wider than the widest part of your heart. It should also be about 4-5 inches long.
- Next, hot glue the fur in place at the broadest part of the heart. This is the top of the beard. You may also need to glue the fur on the sides and any that wraps around the back. Be sure the fur is pointing down and not up.
- Now, using the scissors, trim the fur so that it resembles a beard. I find it works best if you pull the long part of the fur back and try to trim just the part of the fabric that holds the fur.
- Starting with the yellow yarn, glue the end of the yarn in place just above the top of the fur. Wrap the yarn around the heart until you have a section that is about one inch. Make sure you wrap the yarn so that none of the wood is visible in that area.
- When you're done wrapping, trim the yarn off and glue it to the back.
- Next, you want to do the same with the orange yarn as you did with the yellow.
- Now, do the same with the white. With the white yarn, you may need to use a dot or two of glue when wrapping as it will try to slip off the end of the heart.
- Carefully glue the white yarn to the top of the point, not the backside, and trim it off. That way, it will cover all of the wood so that it does not show. This is the top of the gnome hat.
- The last step is to glue the pompom in the center just below the yellow yarn.
- 10. You can display this little guy on an easel or tripod or glue a hanger to the back of the gnome to hang on the wall.
Recommended Products
As an Amazon Associate and member of other affiliate programs, I earn from qualifying purchases.
-
 Candy Corn Hanging Ornament Decorations, Candy Corn Cutouts Trick or Treat Party Wooden Gift Tag Decor, Crafts Pendant Sign for Home Fireplace Tree Wall Décor (8 Styles)
 -
 Faux Halloween Candy Corn Lollipops, Halloween Candy Wreath Attachments, Halloween Wreath Embellishments, Candy Corn Decorations Handmade
 -
 Glass Candy Corn Ornaments- 2" x 1.5" Glass Candy Corn Hanging Ornaments- Fall Candy Corn Tree Ornament Pendant for Autumn Home Decor
● For more crafts on Ann’s Entitled Life, click here.
● If you enjoyed this post, be sure to sign up for the Ann’s Entitled Life weekly newsletter, and never miss another article!


Beth says
Your candy corn gnome is ADORABLE, Ann! Love the wooden heart base, BRILLIANT! Thanks for sharing! Creatively, Beth