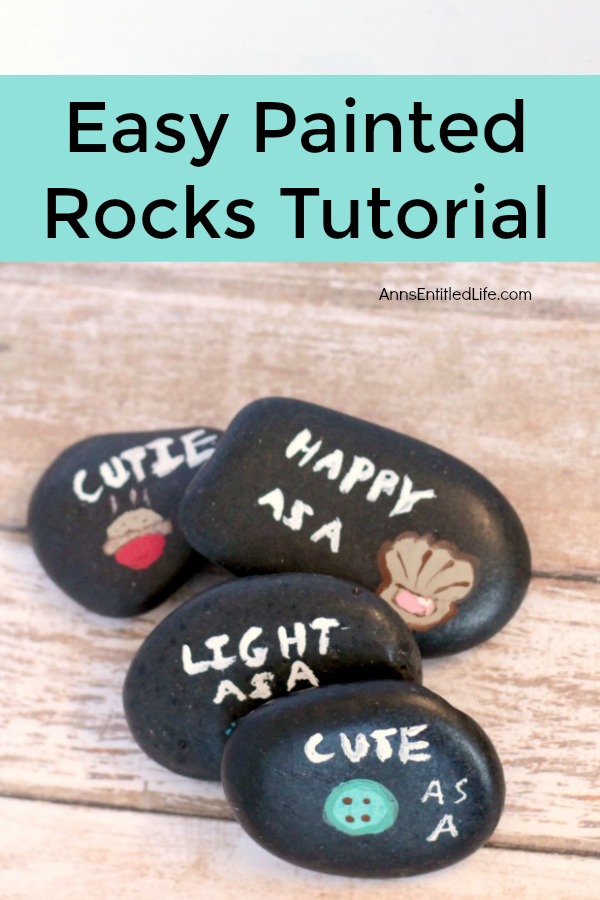
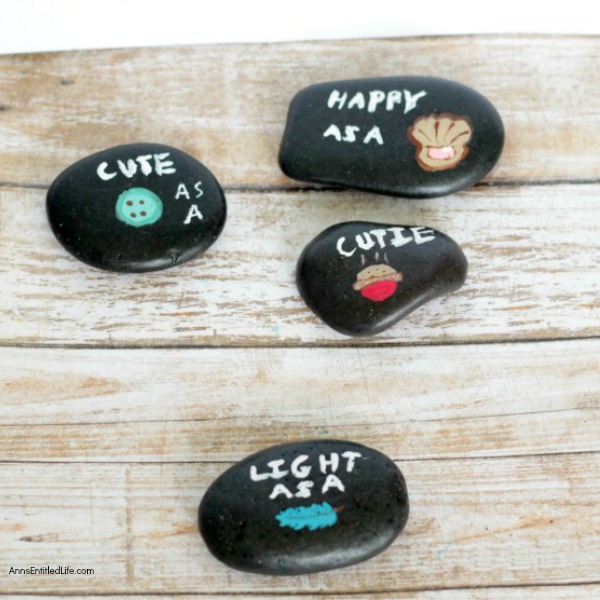
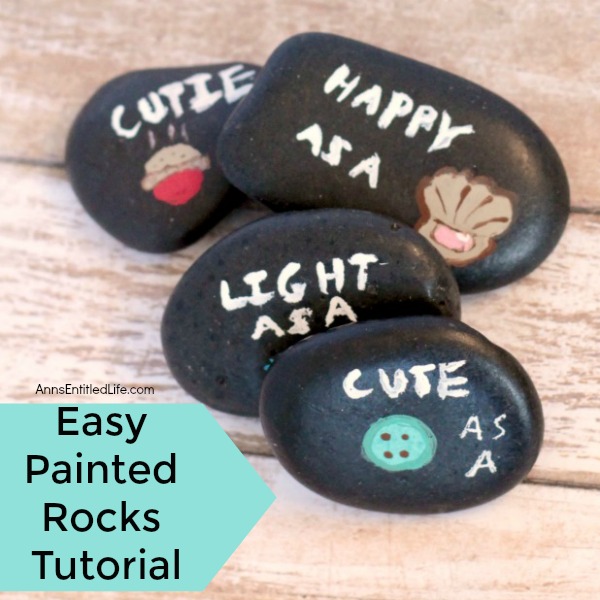
How to paint rocks. This easy painted rocks tutorial has many rock painting ideas for a beginner. Whether giving as a gift, painting rocks for the garden, or just painting a fun, decorative rock for the family room shelf, these compliment painted rocks are adorable and simple to make.
Compliment Painted Rocks
Rock painting is all the rage! From garden markers to cartoon characters to flowers and plant, there is a rock painting idea for nearly everyone. So why not say something nice? These Compliment Painted Rocks are simple to make. You can also use them as weights to weigh down a tablecloth on a picnic table or as party favors. There is no end to the different sayings you can paint.
If you love giving and getting compliments, you will love these compliment stones! These little rocks can be used to give random compliments to friends and coworkers in the most adorable way possible. Celebrate your friends and similes at the same time with the compliment stones. These also make fun gifts for friends, teachers, relatives, or Christmas stockings!
Notes:
● These are small, but you can make them larger.
● Any size or color combo that you like will work. Just keep the contrast high.
● Make sure you waterproof even if being kept indoor. That will help keep the paint in place.
Compliment Painted Rocks Materials:
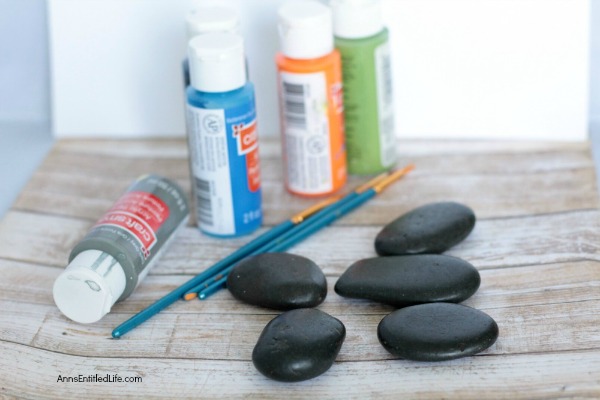
● River Rocks (any color)
● Acrylic Paints
● Paint brushes
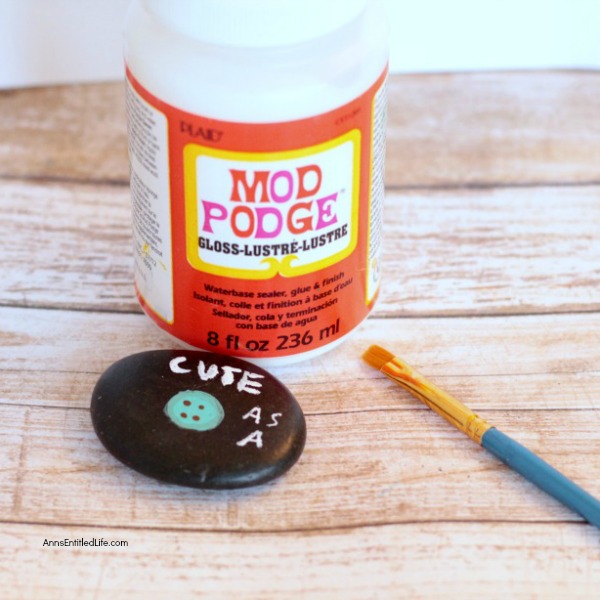
● Mod Podge or or other Waterproof Sealer
● Paint Pen – optional
Compliment Painted Rocks Directions:
● Cover your work surface in case of spills.
● Make sure your rocks are clean and dry.
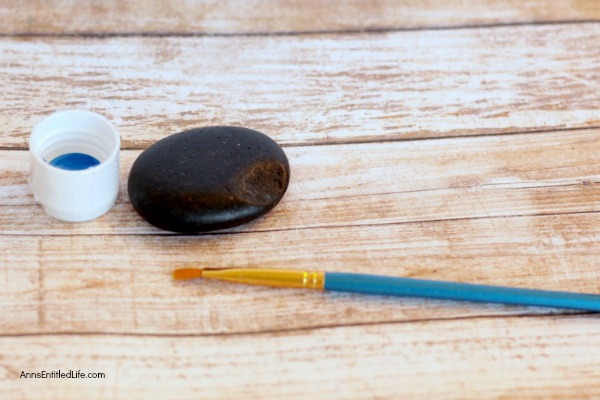
● Paint them one color (in this case black).
● Allow the paint to dry completely. Remember to paint all sides, and the top and bottom of the rocks.
● Think about funny sayings and compliments you can write onto the rocks. I used silly phrases like:
Cute as a button
Busy as a bee
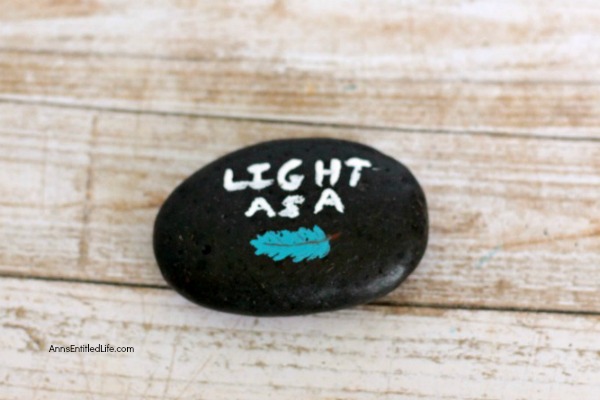
Light as a feather
Cool as a cucumber
Sweet as pie
Happy as a lark
Fresh as a daisy
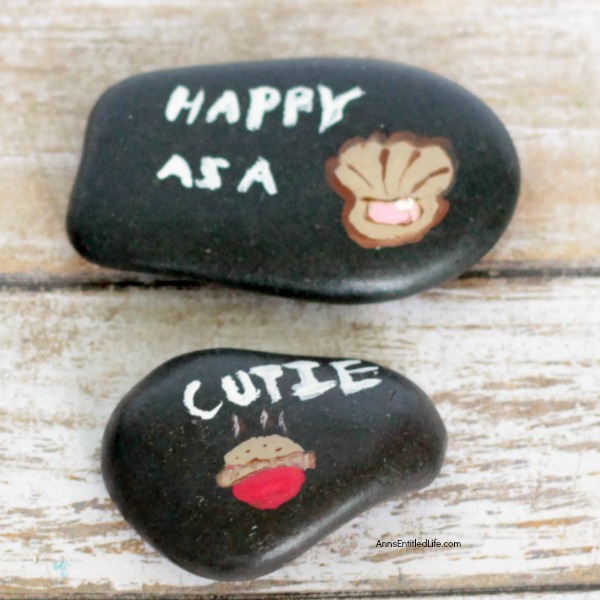
Happy as a clam
● Any common and sweet similies will work for the compliment rocks.
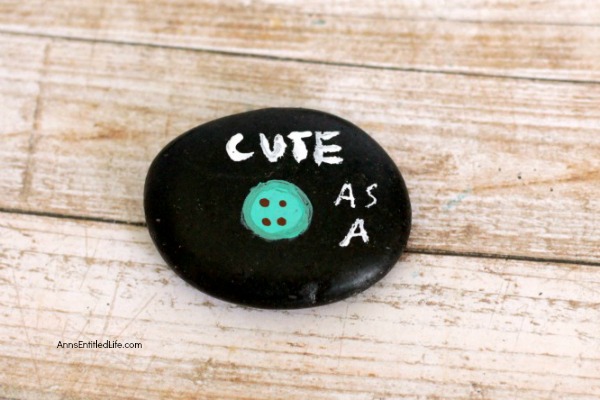
● Leave a big area clear for your words and paint a small object onto the stone that matches your saying. For instance a small button for “cute as a button”. A small bug for “cute as a bug’s ear”, a daisy for “fresh as a daisy”, etc. The object is in place of the last word of the saying. You can trace an outline of the small object, or just draw it freehand.
● Once the paint for your small themed object dries, write on your words with a contrasting color to your stone base. You can use a paint pen or a fine tiped pain brush and acrylic paint. These stones were painted black, so I used white to write the words.
Allow the word-paint time to dry completely.
● Add any touch-up details to make the stones prettier, then let dry.
● Add a layer of Mod Podge to the stones to protect them.
● Allow the Mod Podge to dry for 24 hours before using.
● You can even add a strong magnet to the back of your stones and make them magnets, or display them on your desk or shelf with pride, if you love them too much to give them away!
If you would like to make more painted rocks, check out these painted rock tutorials:
● Sylvanian Families painted rocks – if you children like Sylvanian Families (the toys are super cute), this Sylvanian Families painted rocks tutorial is for you (and them)!
● Dr. Seuss Inspired Thing One and Thing Two – if you have Dr Seuss fans in your house, these are a must. Simply the cutest!
● Pet Cactus Rocks – these pet cactus rocks are fabulous! Super easy to make, these are simply adorable.
● Holiday Painted Rocks – check out all the holiday painted rocks. From Valentine’s Day to Pumpkins to Christmas, there are some really great tutorials.
● Disclosure: the links in this post may be affiliate links.
● For more Gardening Posts on Ann’s Entitled Life, click here.
● For more Craft posts on Ann’s Entitled Life, click here.
● If you enjoyed this post, be sure to sign up for the Ann’s Entitled Life weekly newsletter, and never miss another article!
Leave a Reply