DIY Decoupage American Flag Sign
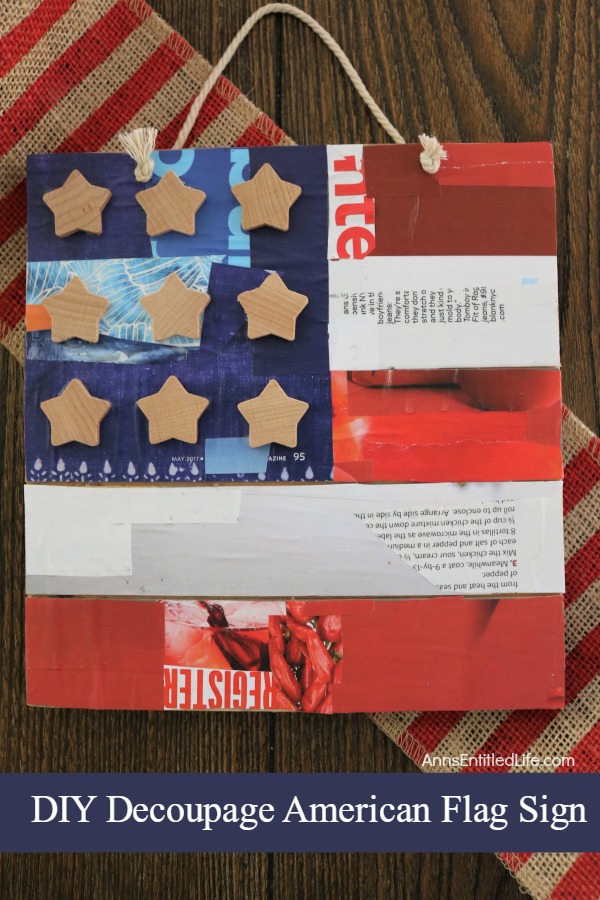
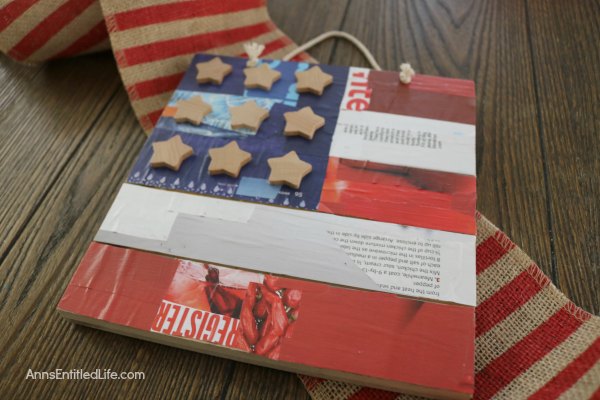
This DIY Decoupage American Flag Sign can be hung on your front door or inside your home or displayed on your patio for Independence Day – or anytime really since it is an “American Flag”. It is a cute way to add Americana decor and get crafty all at once.
Wooden signs have become quite a big trend over the past few years, and many people make their own. You can find tons of them in stores to choose from but many people enjoy making their own – customization!! It is super simple to decoupage a wooden sign, and even easier to customize this with the exact shades or red, white and blue that you like.
For the sign itself, you will need to either use some scrap wood you have around, and put your own hanger on the back, or buy a plain, pre-made wooden sign at your local craft store. The one shown in this craft already had the rope hanger tied to it so it made it super easy. You could also use twine or a red, white and/or blue ribbon if you like.
If you are looking for other patriotic flag crafts, check out this Easy DIY Flag Wreath (it is one of my favorite crafts on the blog!), this Americana DIY Picture Frame (simple to make) or this easy Flag Wineglass DIY! Need a 4th of July breakfast idea? Try this homemade Flag Waffle Recipe.
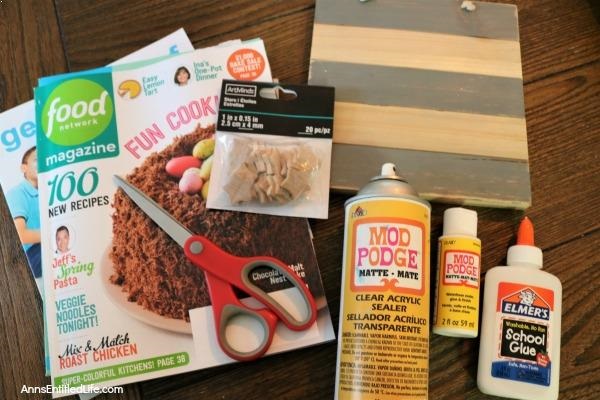
DIY Decoupage American Flag Sign Materials:
● Scissors
● Magazines – 2 or 3 is probably all you will need
● Elmer’s Glue
● Wooden Stars
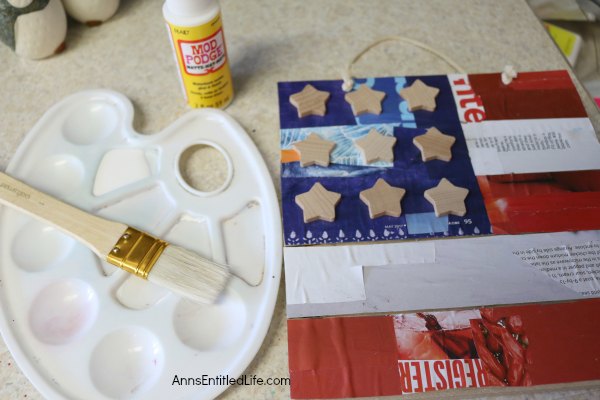
● Paint Brush (for applying glue)
● Wooden Sign – pre-made or upcycled wood
● Ribbon, Twine or Rope and stapler (to make a hanger on the back of your sign if you did not buy premade)
● Mod Podge
● Mod Podge Spray Sealer
DIY Decoupage American Flag Sign Directions:
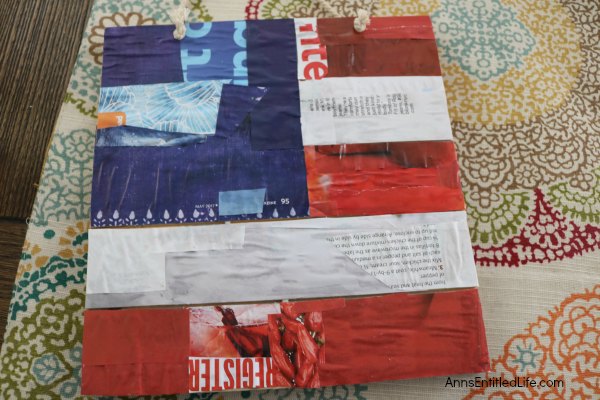
● Go through your magazines and hunt for American themed items you can add, as well as general red, white and blue pages. You will want a few different shades of each color. It helps to layer the pieces on and have a variety. As you are pulling pages out and cutting your shapes, put them into piles by color to make it easier for when it is time to glue. If your sign has separated pieces of wood the way the one in this tutorial did (it is not handmade), you have the stripes already laid out for you. However, if your wood is a solid you will need to decide before you glue how thick you want the stripes to be. Use a pencil and ruler to draw guidelines.
● Wipe down the wood on the sign to dislodge any dust of debris.
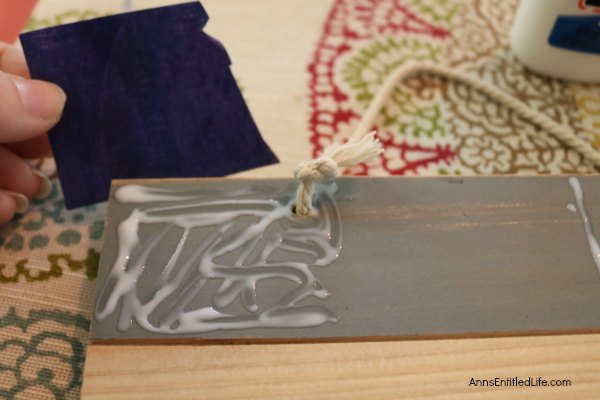
● Begin fitting your pieces together along the lines for the stripes. Make sure you plot these out before you begin gluing. Using Elmer’s glue begin gluing down the first section of red, then the white stripes. Alternate the stripe colors as you go. Keep yourself on track so as not to overlap a stripe into the next color’s area. It is easy to keep going and pass up the line if you are not careful.
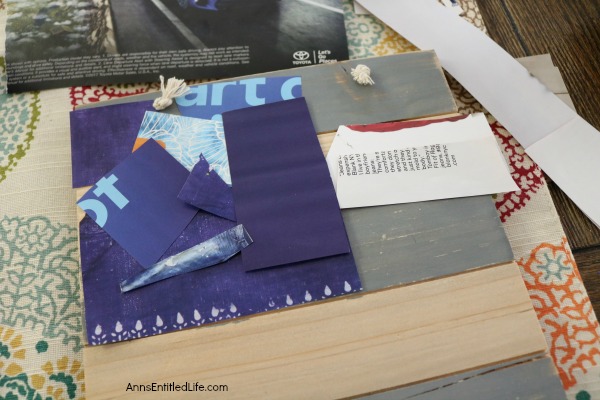
● Do the same for the left blue corner laying out the pieces of blue first so you can make adjustments, and then gluing down. Use your finger to smear the glue over the edges too, to help the pieces lay flat. The Elmer’s glue dries clear.
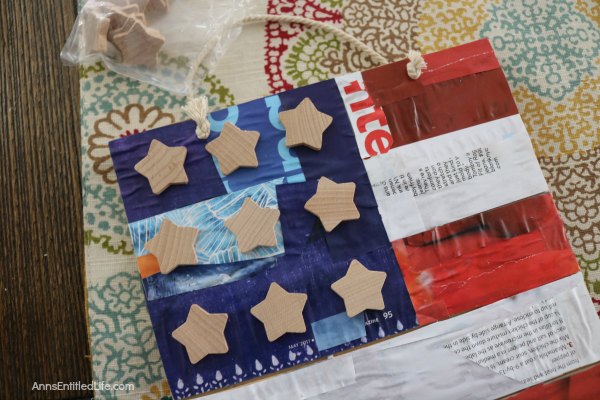
● Paint your wooden stars white if you like, or leave them natural. If you do not have wooden stars, cut out a white star shape from your magazines and use that as a star (or glue it to the wooden stars instead of painting them!)
● Glue stars to the sign. Allow to dry completely.
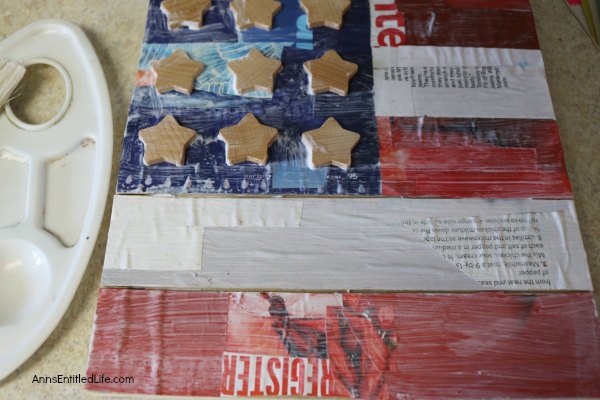
● Use your paintbrush to brush on a thick coat of mod podge over the entire sign – paper, stars – cover it all. No need to worry about brush strokes as that is part of the charm of the project.
● Let the sign dry completely.
● Spray your finished project with a clear coat of Mod Podge Spray Sealer. It comes in several finishes from matte to high gloss, so you can choose the finish look you would like.
● Display as you like!
● To print the DIY Decoupage American Flag Sign instructions, click here.
● Disclosure: the links in this post may be affiliate links.
● If you enjoyed this post, be sure to sign up for the Ann’s Entitled Life weekly newsletter, and never miss another article!
● For more Craft posts on Ann’s Entitled Life, click here.
Marie says
This is so much fun! I would have never thought of using magazines to create a ‘wreath’ for my door. Thanks for sharing your tutorial with us at Merry Monday this week!
Emily says
This is so neat, Ann! The mix of magazine pages and clipping is so creative. Thanks for linking up with Merry Monday – I’ll be featuring your sign at our upcoming party. I hope you’ll stop by and link up again 🙂