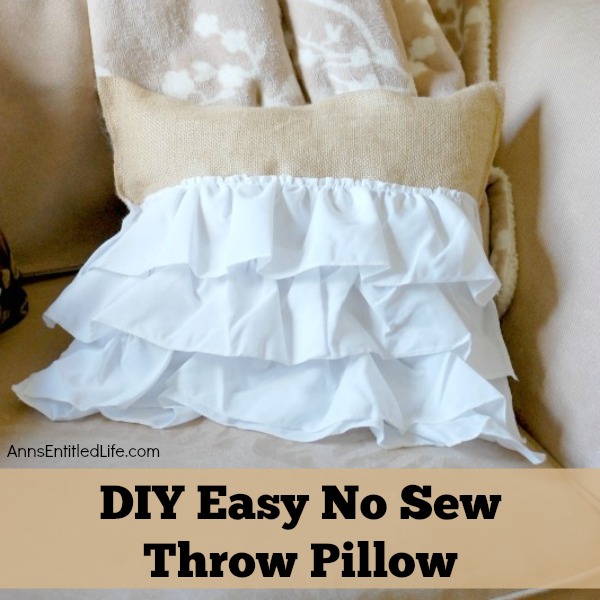
DIY Easy No Sew Throw Pillow
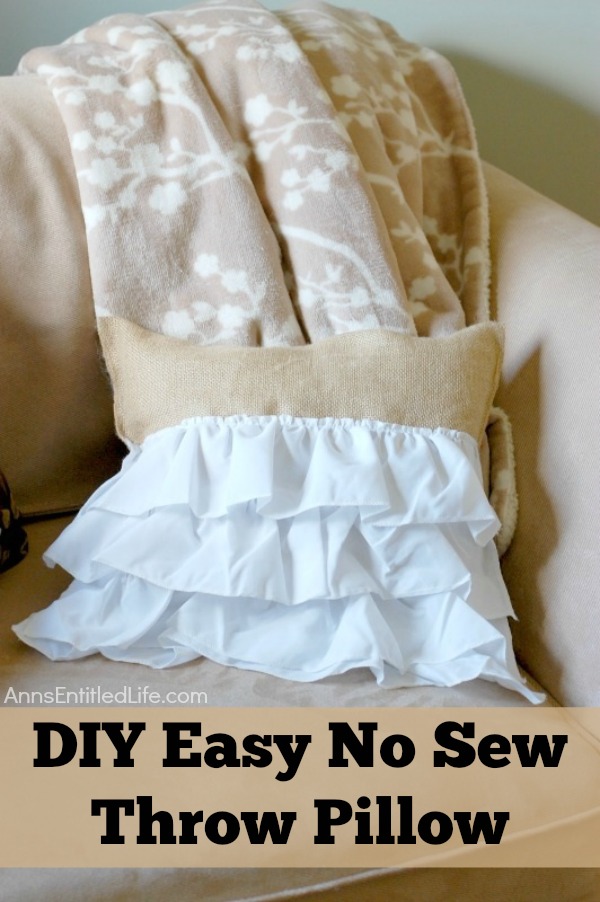
Make this easy, no sew throw pillow for a quick decor update. This step by step tutorial will teach you how to make this no sew ruffle burlap pillow in a short time. Simple to make, this ruffled burlap pillow is adorable for bed decor, family room decor or even casual living room decor!
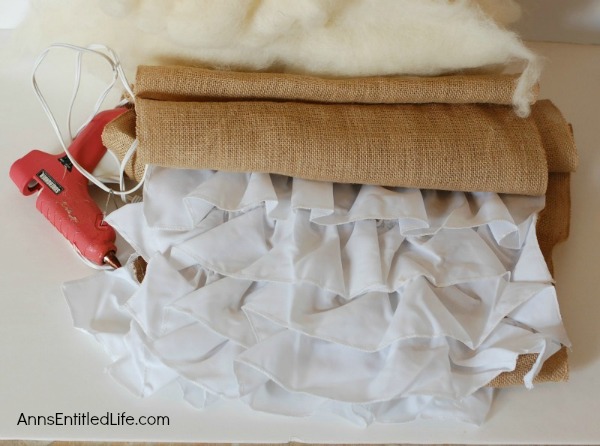
DIY Easy No Sew Throw Pillow Materials:
● Burlap Table Runner with White Ruffles – you can order on Amazon
or WalMart
● Glue Gun
● Glue Sticks
● Polyester Fiberfill or Wool Stuffing
● Scissors
● Tape Measure
● Pencil
DIY Easy No Sew Throw Pillow Instructions:
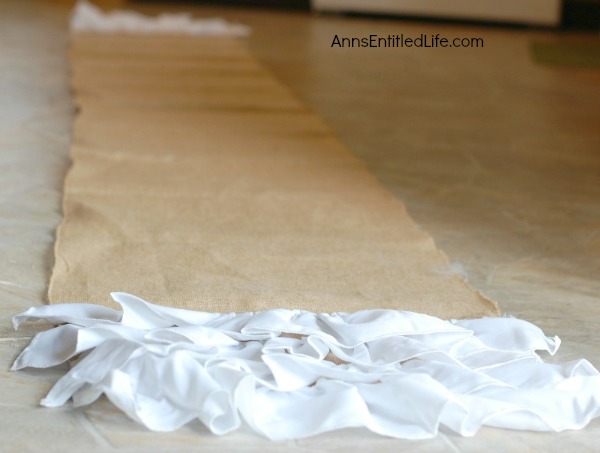
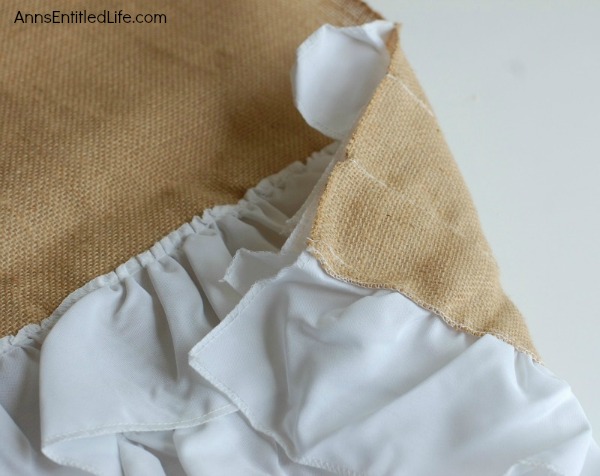
● Lay out your table runner. This is a long table runner at 127″. You can make two pillows out of it – and there will still be burlap to spare that you can hang onto for a future project.
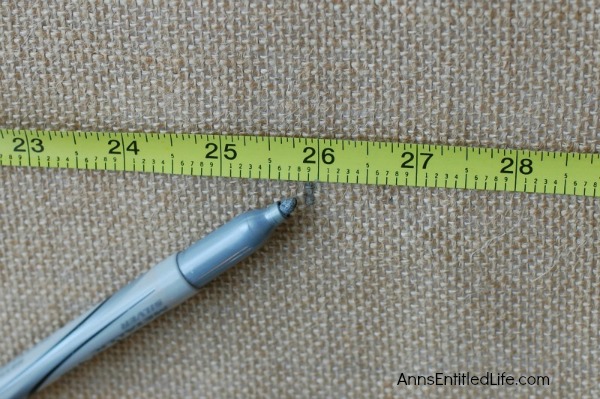
● Measure the burlap from the end (from the start of the burlap, not the end of the white ruffle) to 26″ inches.
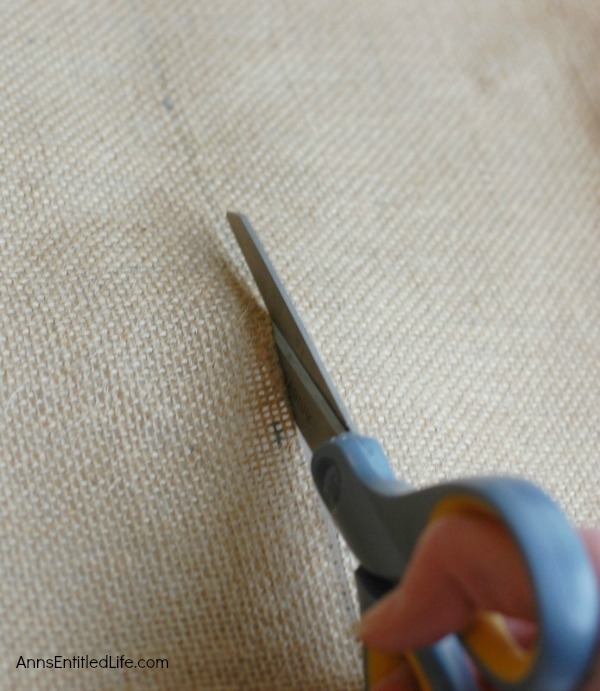
● Draw a line and cut at 26″.
● Do this 2 times, once on each end of the table runner.
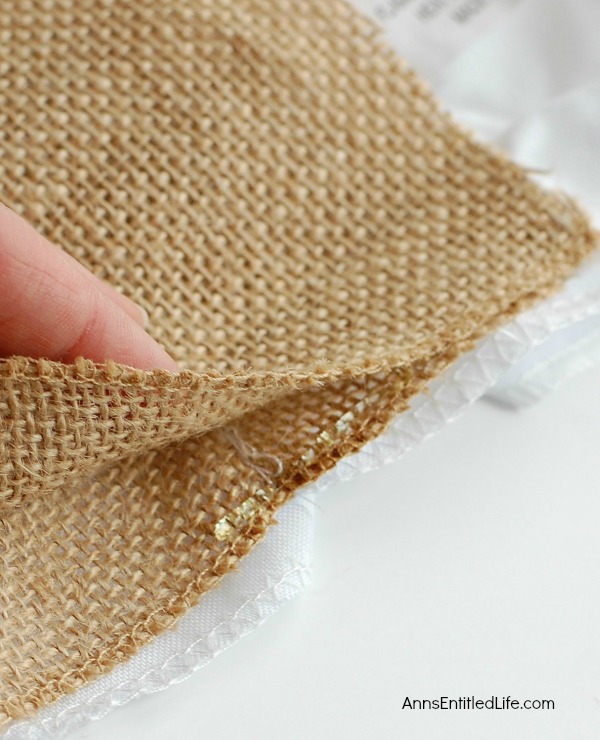
● Take one of the cut pieces of burlap and fold it in half.
● Place the ruffles on your right hand side with the back of the pillow on the top.
● Your pillow at 13″ high and 16″ wide. If you want more burlap showing above the ruffles on your pillow, you can certainly make your pillow more square if you desire.
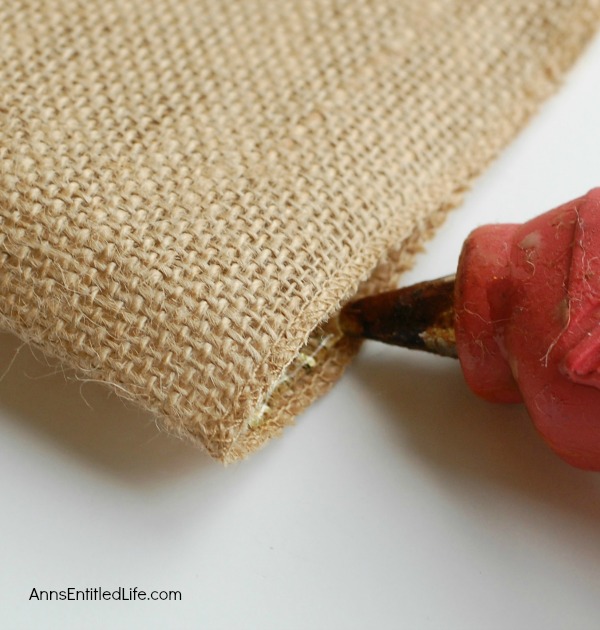
● Get your glue gun and match up the two top right corners and glue it together.
● From there, continue gluing the side.
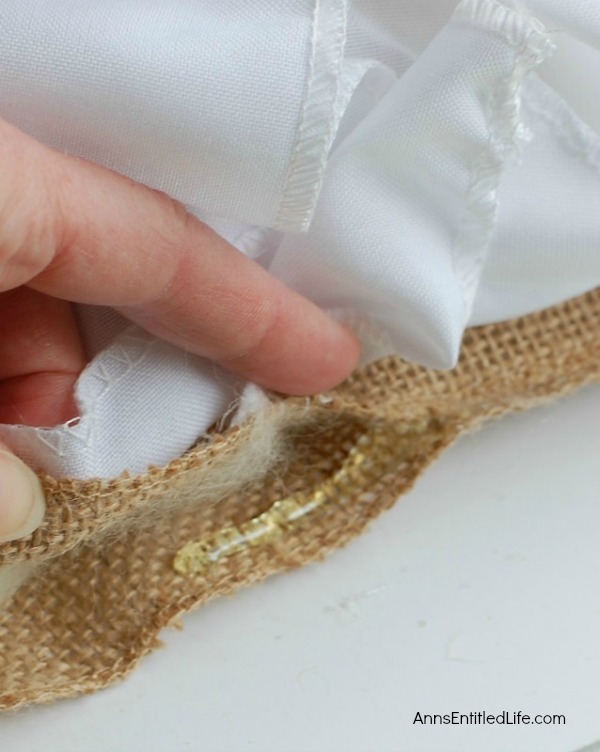
● I would suggest placing about 2 inches of hot glue on the bottom, securing it, and let it dry for a few seconds before moving on to the next section. Warning: The glue is HOT! Be sure to be careful not to touch the glue gun tip or glue directly.
● You can grab a pencil and use the eraser end to push the 2 pieces of burlap together while you wait for it to dry.
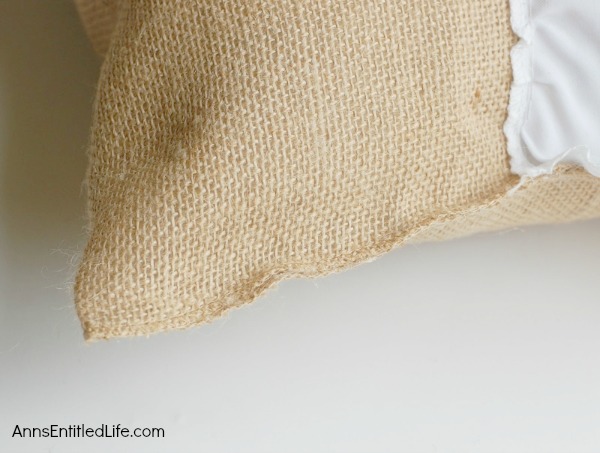
● When the side is glued together, move on and do the same thing to glue bottom of the pillow (the top of the pillow is where the fold is.)
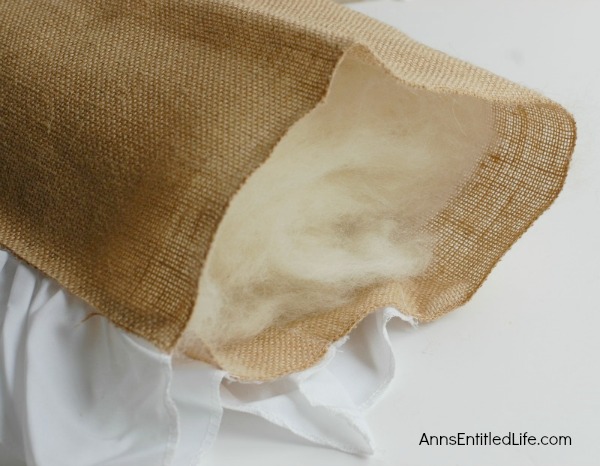
● Leave the last side open while you fill your pillow either with polyester fiberfill or wool stuffing
This tutorial is done with wool stuffing. Stuff the no sew pillow as full as you’d like it.
● Now you will glue together the last side. You will have to push the polyester fiberfill or wool stuffing.
out of the way or it will get stuck and mixed in with the glue.
● Do each of these steps again for the second pillow.
● Wait for each pillow to fully cool off and dry. Then fluff your pillows and add them to your decor!
● As the tag on the burlap recommends, spot clean your pillow only. Do not place this pillow in your washer or dryer.
● To print the DIY Easy No Sew Throw Pillow instructions, click here.
● Disclosure: the links in this post may be affiliate links.
● If you enjoyed this post, be sure to sign up for the Ann’s Entitled Life weekly newsletter, and never miss another article!
● For more Craft posts on Ann’s Entitled Life, click here.
Carol says
Very pretty!
Jemma says
You had me at burlap and no-sew, love this project!
Thank you for sharing this fabulous tutorial with us at TOHOT!
Jemma