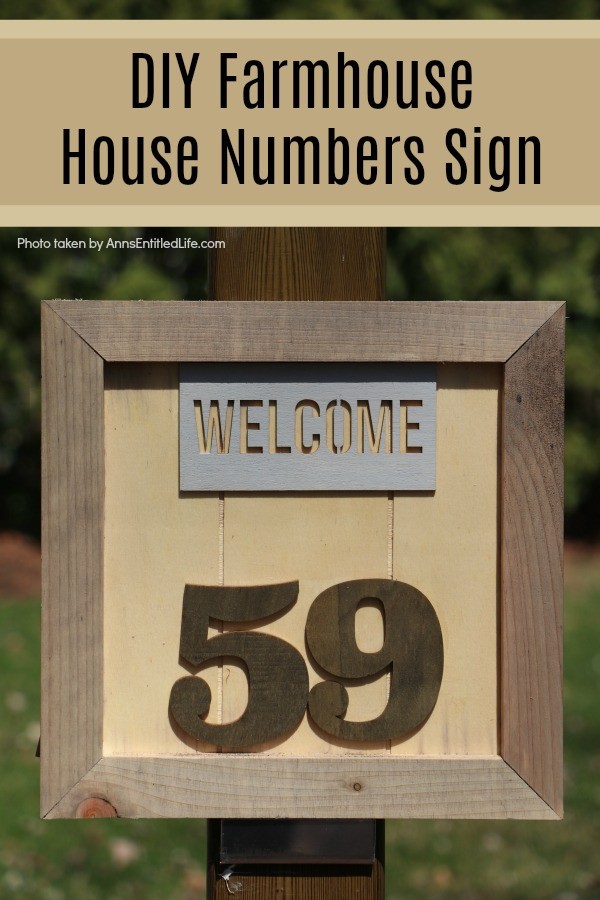
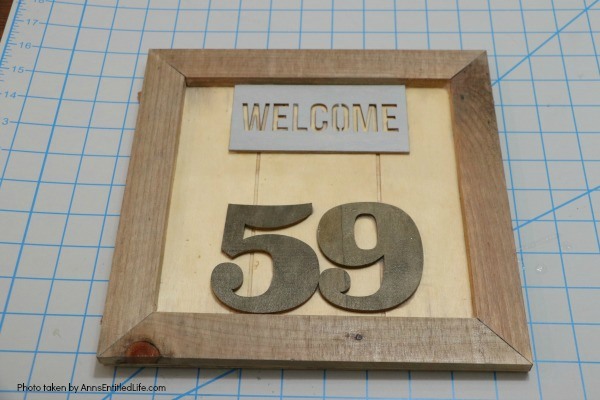
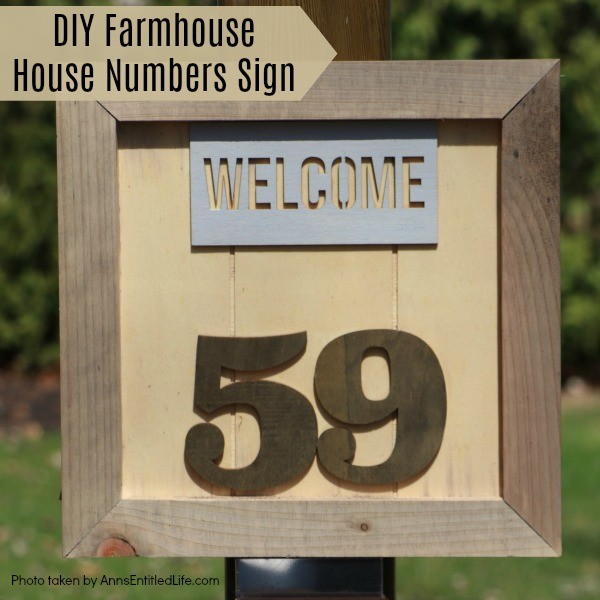
This cute little rustic plaque is fun to make. Large or small, this farmhouse house number sign can be sized to your house so it will fit perfectly in your chosen space. The easy to follow step-by-step tutorial will show you how to make this basic wooden sign look unique, fashionable, and charming.
DIY Farmhouse House Numbers Sign
I wanted to explore the farmhouse décor trend and asked my niece if she had any outdoor farmhouse style decorating ideas. I have that flower wheelbarrow in the backyard, the wooden table to grow my bagged vegetables, and we installed a shed (a much-needed shed!). Now, I wanted something that might match.
She brought in four ideas, including this terrific little house number sign. Only problem? Those are not my house numbers; they are hers. {insert side-eye} Oh well, c’est la vie. I can easily make one for myself, I just need the plaque size perfect for my home.
For more farmhouse decor, check out this sweet little jar flower holder and this Farmhouse Décor: Easy Painted Mirror. This versatile Farmhouse Décor: Age and Stencil a Crate can be darked to taste, and as an fifth farmhouse decor piece, we did this sweet little Farmhouse Décor: Laundry Room Organizer.
We actually made everything at the same time as these five projects use lot of the same materials for all the projects. Not only did it keep costs down, it sped things along.
DIY Farmhouse House Numbers Sign Notes:
● Tea stain: you can use any black tea to form this tea stain. Lipton was used as it gives a reddish-hue. If you do not want a reddish-hue, avoid Lipton tea.
● The vinegar solution you make MUST sit for at least 24 hours uncovered. If you cover the solution, it might oxidize and turn orange.
● Your plaque may be made of inferior grade wood. While that is nice for a farmhouse project – adding imperfections – it may require a second coat of tea staining, varnishing, etc. Wait at least 12 hours before applying a second coat. It can take that long for the tea and the vinegar solutions to develop and darken.
● Bleeding may also occur when inferior wood is used. If it bothers you a lot, try and hide any bleeding using the numbers or welcome sign. Remember that higher quality wood is less likely to bleed.
● Make certain whatever glue you use will dry clear, or use goop.
● Nearly all the materials necessary to make this easy Farmhouse House Numbers Sign can be purchased at at JoAnn, Michaels, or Hobby Lobby.
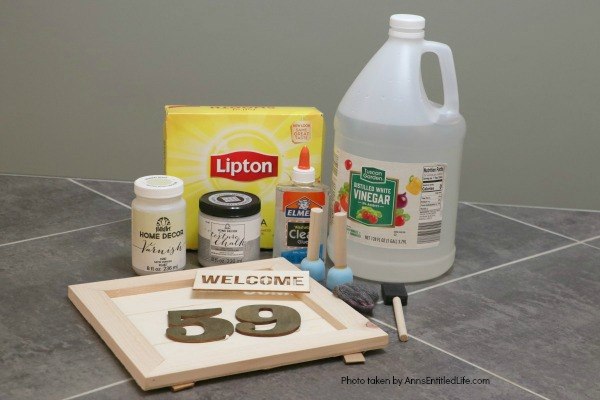
DIY Farmhouse House Numbers Sign Materials:
● Vinegar
● Jar
● Steel Wool
● Black Tea
● Cup (or jar)
● Water (for tea)
● Rustic Wooden Numbers (for your house address)
● Unfinished Plaque large enough to accomodate those numbers
● Welcome sign – to fit the plaque
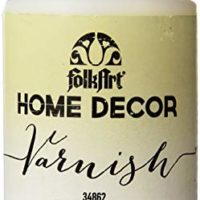
● FolkArt 34862 Home Decor Chalk Furniture & Craft Paint in Assorted Colors, 8 Ounce, Satin Varnish
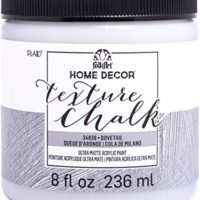
● FolkArt 34838 Texture Chalk Painting and Drawing, 8 oz. Dovetail
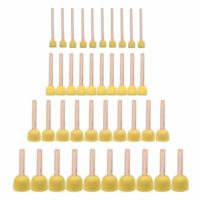
● Dabbers
● Foam Brushes
DIY Farmhouse House Numbers Sign Instructions:
● 24 hours before making this craft, prepare a vinegar solution. In a small jar, fill ¾ of the way to the top with vinegar and insert a steel wool pad. Allow to sit for 24 hours uncovered.
● Make the tea stain at the same time: 6 tea bags per 1 cup of water, and allow to steep overnight. This is strong tea!
● 24 hours after making your tea stain and vinegar solution, cover a work surface against spills or stains.
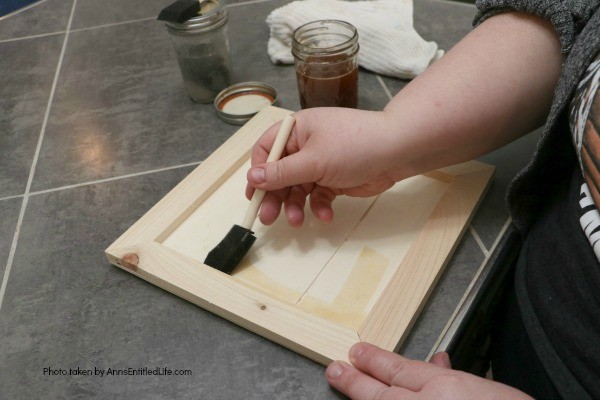
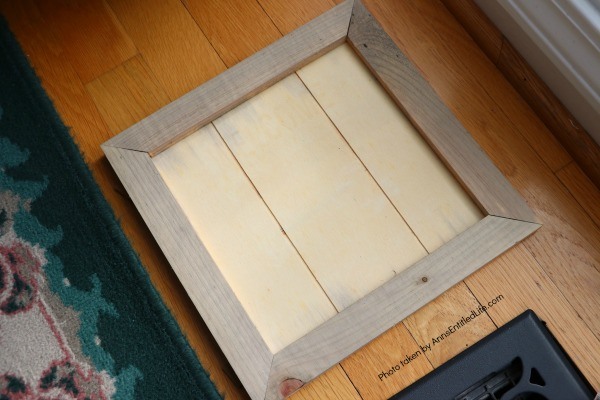
● Place your wooden plaque down on the covered surface, and tea stain the entire plaque, including the sides. Do not worry about any distressing – you want some distressing as it adds charm to the finished piece.
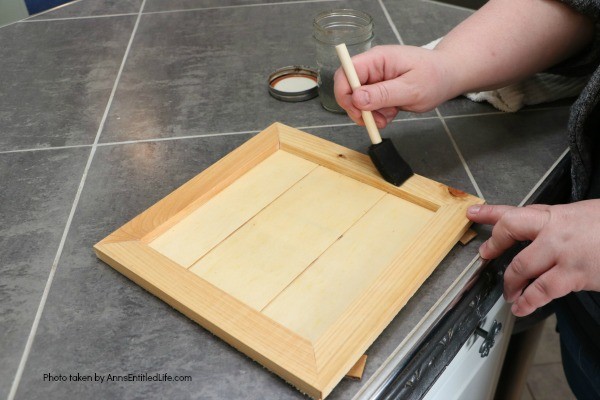
● Before the tea stain dries (you do not want it dry nor wet-wet), paint the outside rasied edge of your plaque with the vinegar solution. Paint on the vinegar solution, including the sides.
● Allow plaque to dry completely.
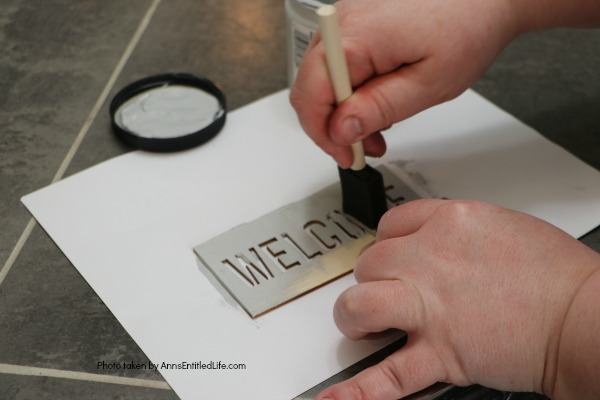
● Paint the welcome sign with grey chalk paint. You do not have to paint the back, but do paint the sides. Allow to dry.
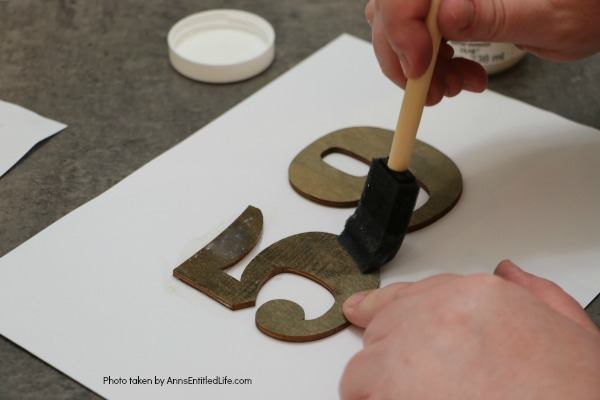
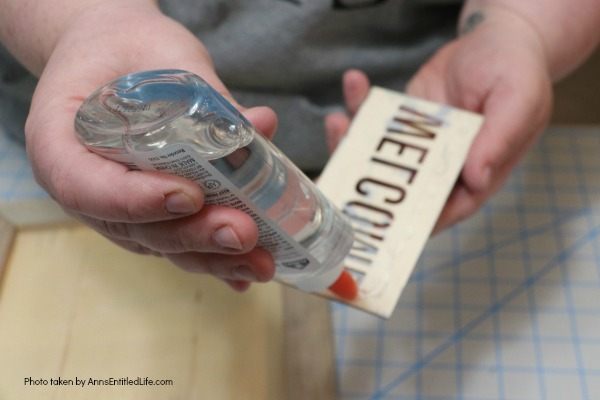
● Vinegar stain numbers. Allow to dry.
● Notice how the colors have been raised from the wood with the tea and the vinegar. Those will be different based on the type of black tea you use, and the wood grains.
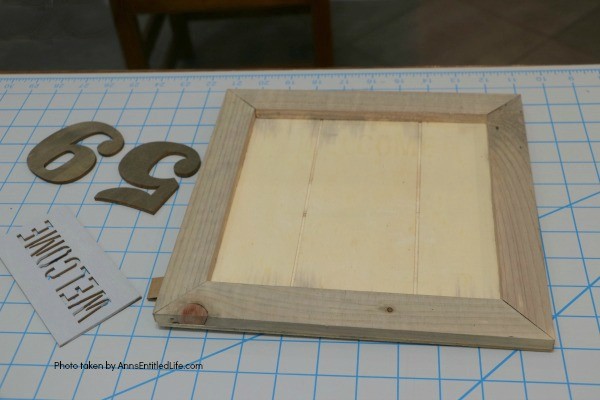
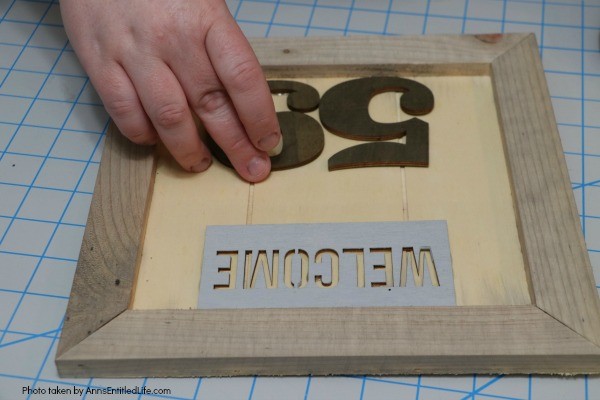
● Glue down the painted welcome sign and the numbers. Spacing is up to you.
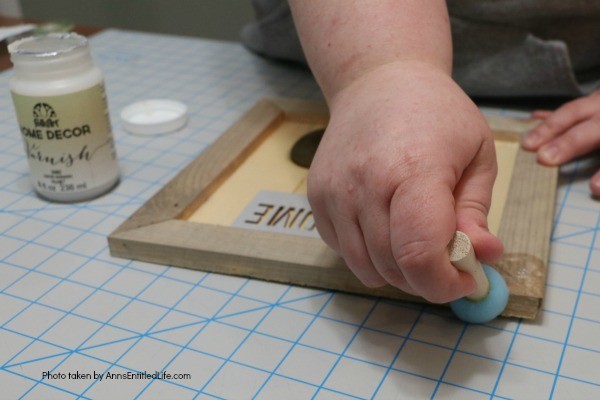
● Using a dabber painter (you could use a foam brush if you like, however dabbing will get into any spaces and act a second level of glue on the welcome and numbers, as well as a sealer) varnish the front and sides of your farmhouse number plaque completely.
● If applying a second coat, allow the first coat to dry completely. Remember that inferior wood will suck up the varnish. However, a second coat will also give a smoother finish (which may or may not be desirable to you).
● Allow your plaque to dry completely.
● Hang as desired.
DIY Farmhouse House Numbers Sign

DIY Farmhouse House Numbers Sign. This cute little rustic plaque is fun to make. Large or small, this farmhouse house number sign can be sized to your house so it will fit perfectly in your chosen space. The easy to follow step-by-step tutorial will show you how to make this basic wooden sign look unique, fashionable, and charming.
Materials
- Vinegar
- Jar
- Steel Wool
- Tea
- Cup (or jar)
- Water (for tea)
- Rustic Wooden Numbers (for your house address)
- Unfinished Plaque large enough to accomodate those numbers
- Welcome sign - to fit the plaque
- FolkArt 34862 Home Decor Chalk Furniture & Craft Paint in Assorted Colors, 8 Ounce, Satin Varnish
- FolkArt 34838 Texture Chalk Painting and Drawing, 8 oz. Dovetail
Tools
- Dabber
- Foam Paintbrush
Instructions
- 24 hours before making this craft, prepare a vinegar solution. In a small jar, fill ¾ of the way to the top and insert a steel wool pad. Allow to sit for 24 hours uncovered.
- Make the tea stain at the same time: 6 tea bags per 1 cup of water, and allow to steep overnight. This is strong tea!
- 24 hours after making your tea stain and vinegar solution, cover a work surface against spills or stains.
- Place your wooden plaque down on the covered surface, and tea stain the entire plaque, including the sides. Do not worry about any distressing - you want some distressing as it adds charm to the finished piece.
- Before the tea stain dries (you do not want it dry nor wet-wet), paint the outside edge of your plaque with the vinegar solution. Paint on the vinegar solution, including the sides.
- Allow plaque to dry completely.
- Paint the welcome sign with grey chalk paint. You do not have to paint the back, but do paint the sides. Allow to dry.
- Vinegar stain the numbers. Allow to dry.
- Glue down the painted welcome sign and the numbers. Spacing is up to you.
- Using a dabber painter (you could use a foam brush if you like, however dabbing will get into any spaces and act a second level of glue on the welcome and numbers, as well as a sealer) varnish the front and sides of your farmhouse number plaque completely.
- If applying a second coat, allow the first coat to dry completely. Remember that inferior wood will suck up the varnish. However, a second coat will also give a smoother finish (which may or may not be desirable to you).
- Allow your plaque to dry completely.
- Hang as desired.
Recommended Products
As an Amazon Associate and member of other affiliate programs, I earn from qualifying purchases.
● Rustic Fall Burlap Wreath DIY – This DIY tutorial on how to make a Rustic Fall Burlap Wreath has easy to follow, step-by-step instructions. Less than an hour or so of your time results in a lovely autumn wreath that is highly customizable, and a lot less expensive than a store bought wreath! Perfect fall decor for your front door
● Patriotic Farmhouse Wreath DIY – This simple to make, rustic style American patriotic mesh farmhouse wreath is wonderful for outdoor or indoor display. Using only three materials and scissors, this easy to make wreath comes together in about 15 minutes. If you are looking for a patriotic holiday wreath, this little beauty is it!
● Shabby Chic Autumn Wreath – If you are a fan of shabby chic décor for your home, you are going to want to make this lovely shabby chic autumn wreath! Simple to make, the soft and understated colors are perfect shabby chic wall décor or door décor.
● Disclosure: the links in this post may be affiliate links.
● For more Craft posts on Ann’s Entitled Life, click here.
● If you enjoyed this post, be sure to sign up for the Ann’s Entitled Life weekly newsletter, and never miss another article!
Leave a Reply