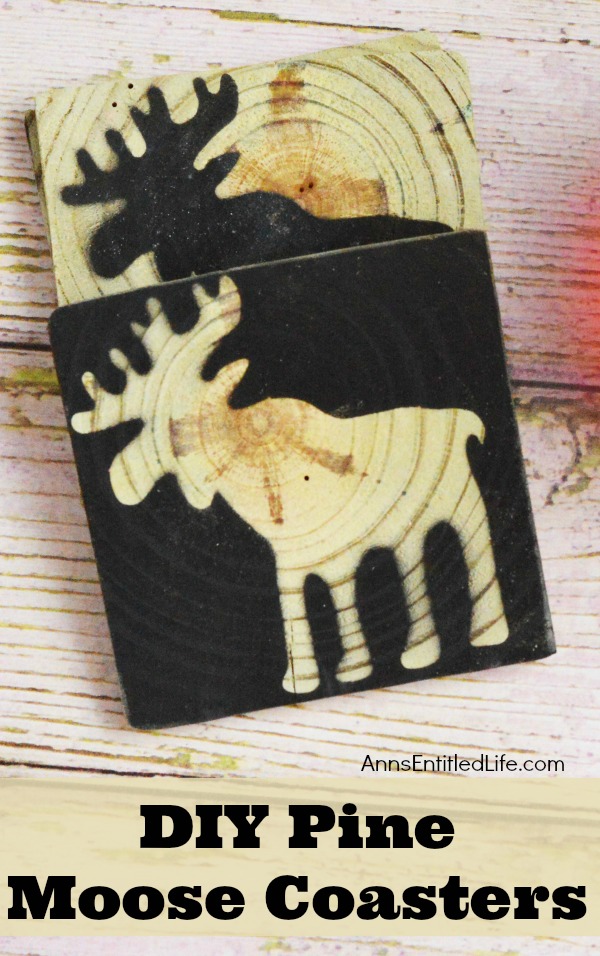
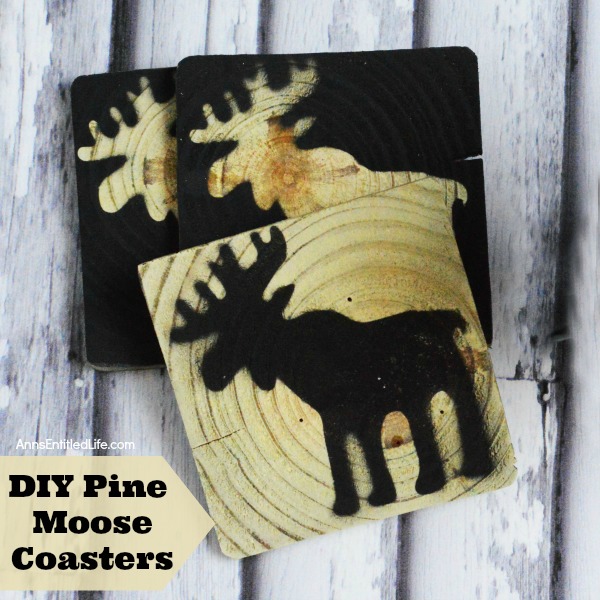
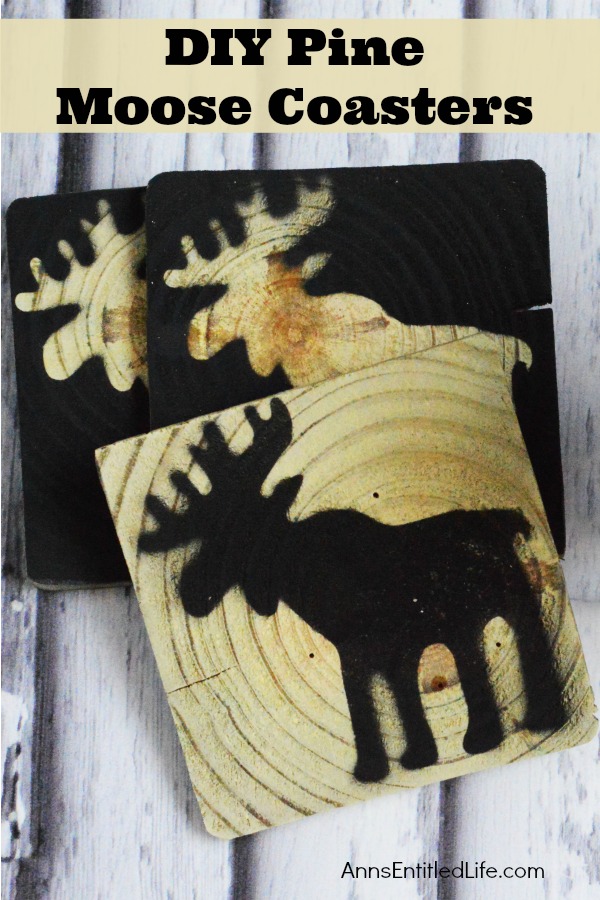
These DIY Pine Moose Coasters are cute and quite simple to make. This is a fantastic project to make using scrap wood and can be finished very quickly. These easy-to-make Moose coasters are unique, and something fun for your rustic decor, a gift, or for use as holiday coasters!
DIY Pine Moose Coasters
I love making coasters! They are so simple to do. You can spray them with a high heat resin spray when you are finished for a glossy finish that will be heat resistant and last a long time. I used it for these Easy DIY Autumn Coasters and would recommend it for any flat surface coaster project where a gloss finish works. On these moose coasters, you may choose not to use them if you would like a more rustic look. The pictured, finish product in this tutorial does not use the high heat resin spray, however. It is all a matter of the look and longevity you are trying to achieve.
Because these are flat, the pour on resin used in these DIY Christmas Coasters isn’t necessary (no corners to fill), but is also an alternative. Again, it depends on the finish and durability you would like.
Tips and variations for making these pine moose coasters:
● When using power tools always practice the safety instructions that come with the tool.
● Note: If you are unable to locate a moose stencil (the one in this tutorial was purchased at Walmart) you can print a silhouette of a moose out on normal paper and then cut the stencil out from there. Use a cut-out moose for some sprays, and for other sprays spray the inside of the cut-out.
● This will work with any stencil and any color spray paint. Your options are unlimited!!
● If giving as a gift, tie with some twine or a piece of ribbon
● You might want to use a High Heat Spray – this will form a glossier finish and the rustic quality will be subdued. The coasters will, however, last longer if you follow the directions on the can and spray the coasters.
● Cork, Felt or Kitchen Shelf Liner on the bottom of your coasters to prevent scratches. Simply cut out a 4″x4″ square and attach with a glue gun (I will say that since Hubby had me try it, the kitchen liner is by far my backing of choice).
DIY Pine Moose Coasters Materials:
● Black Spray Paint
● 4″x4″ Wood Slices
● Moose Stencil
● Optional: High Heat Spray – this will form a glossier finish and the rustic quality will be subdued. The coasters will, however, last longer if you follow the directions on the can and spray the coasters.
● Optional: Cork, Felt or Kitchen Shelf Liner on the bottom of your coasters to prevent scratches. Simply cut out a 4″x4″ square and attach with a glue gun.
DIY Pine Moose Coasters Tools:
● Saw
● 220 Grit Sand Paper (either hand sandpaper or on an electric hand sander)
● Push Pins
● Cardboard
Pine Moose Coasters Directions:
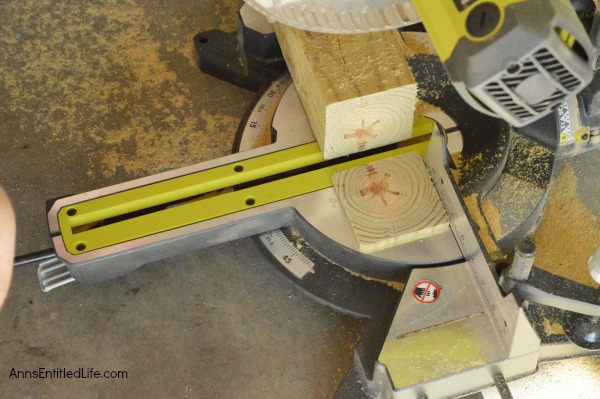
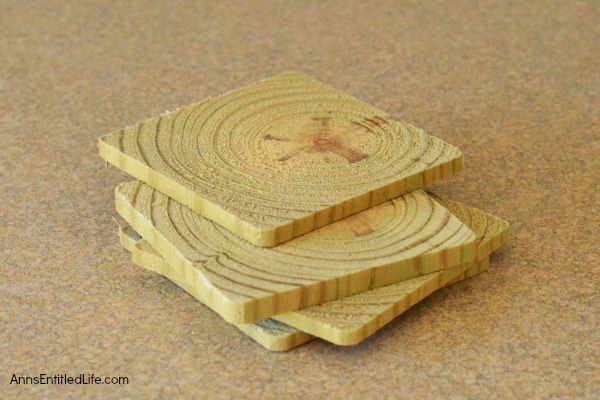
● Begin by cutting your wood into slices; cut as many slices as you would like to make coasters. In this tutorial, a scrap piece of 4×4 pine was used and cut in the garage.
● The flat wood pieces are cut ¼” thick. You can find a 4″x4″ piece of pine wood at your local hardware store.
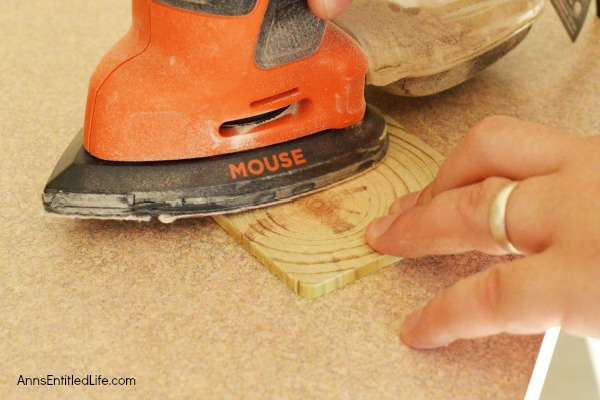
● Using 220 grit sandpaper break the edges of your wood coaster pieces and sand smooth. Continue sanding the top and bottom of your wood coaster until it is smooth. In this tutorial, an electric hand sander was used, but you can simply use a sanding block and a piece of 220 grit sandpaper.
● Lay down cardboard on a flat surface. If you are worried about over-spray, place more cardboard on the sides of your flat cardboard to form a barrier.
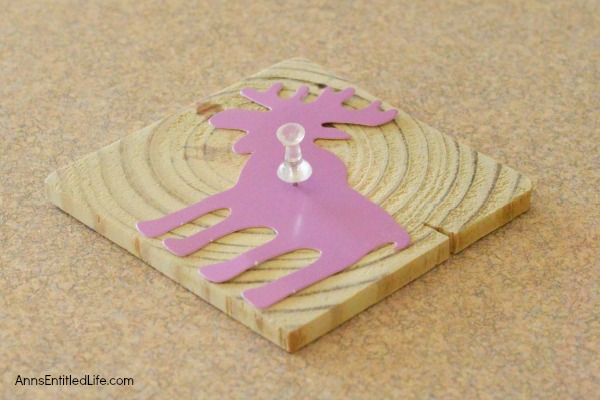
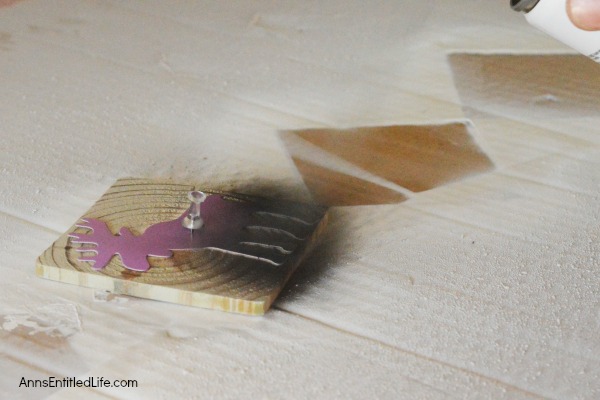
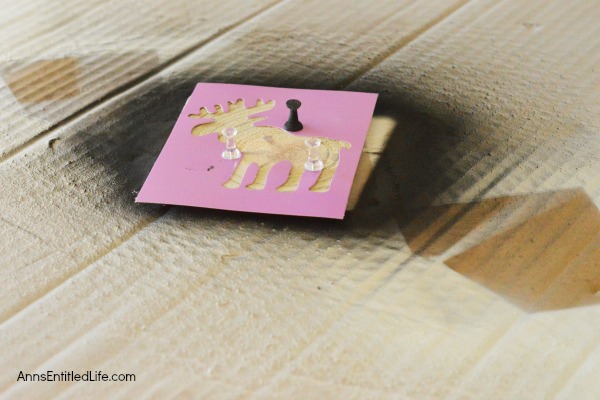
● Place your moose stencil in the middle of a wood piece and pin it down. This will ensure it does not move while spraying and will not distort the shape of your moose.
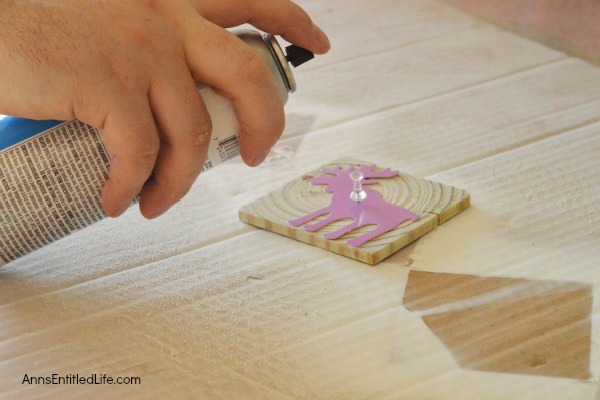
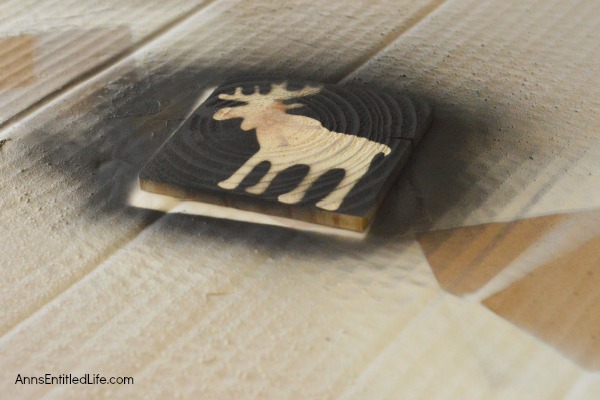
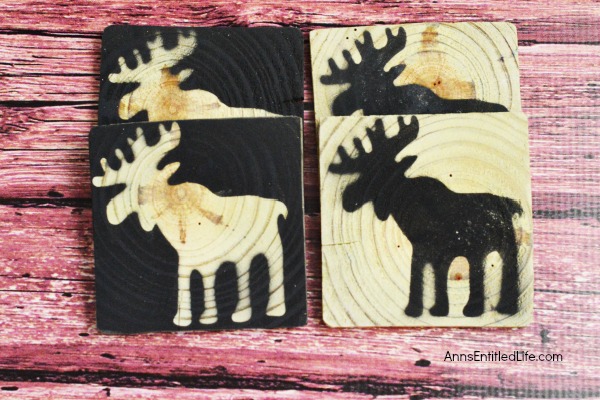
● Once the stencil is in place, spray over the stencil with black spray paint. You want to spray over the entire moose so the wood color shows against a black background.
● You may also want to spray the stencil with the moose removed so you have a black moose against a wood background.
● Allow them to dry for several minutes before removing the stencil.
● At this point, you are finished (told you this was simple). However, if you like, use a high heat spray to finish the coaster and make it waterproof.
● You may also want to protect your furniture surface from any rough edges, and so use cork, felt or kitchen shelf liner on the bottom of your coasters to prevent scratches. Simply cut out a 4″x4″ square and attach with a glue gun.
DIY Pine Moose Coasters
DIY Pine Moose Coasters. These DIY Pine Moose Coasters are cute and quite simple to make. This is a fantastic project to make using scrap wood, and can be finished very quickly. These easy-to-make Moose coasters are unique, and something fun for your rustic decor, a gift, or for use as holiday coasters!
Materials
- Black Spray Paint
- 4″x4″ Wood Slices
- Moose Stencil
- Optional: High Heat Spray – this will form a glossier finish, and the rustic quality will be subdued. However, the coasters will last longer if you follow the directions on the can and spray the coasters.
- Optional: Cork, Felt, or Kitchen Shelf Liner on the bottom of your coasters to prevent scratches. Cut out a 4″x4″ square and attach with a glue gun (I will say that since Hubby had me try it, the kitchen liner is by far my backing of choice).
Tools
- Saw
- 220 Grit Sand Paper (either hand sandpaper or on an electric hand sander)
- Push Pins
- Cardboard
Instructions
- Begin by cutting your wood into slices; cut as many slices as you would like to make coasters. In this tutorial, a scrap piece of 4×4 pine was used and cut in the garage.
- The flat wood pieces are cut ¼” thick. You can find a 4″x4″ piece of pine wood at your local hardware store.
- Using 220 grit sandpaper break the edges of your wood coaster pieces and sand smooth. Continue sanding the top and bottom of your wood coaster until it is smooth. In this tutorial, an electric hand sander was used, but you can simply use a sanding block and a piece of 220 grit sandpaper.
- Lay down cardboard on a flat surface. If you are worried about over-spray, place more cardboard on the sides of your flat cardboard to form a barrier.
- Place your moose stencil in the middle of a wood piece and pin it down. This will ensure it does not move while spraying and will not distort the shape of your moose.
- Once the stencil is in place, spray over the stencil with black spray paint. You want to spray over the entire moose so the wood color shows against a black background.
- You may also want to spray the stencil with the moose removed so you have a black moose against a wood background.
- Allow them to dry for several minutes before removing the stencil.
- At this point, you are finished (told you this was simple). However, if you like, use a high heat spray to finish the coaster and make it waterproof.
- You may also want to protect your furniture surface from any rough edges, and so use cork, felt or kitchen shelf liner on the bottom of your coasters to prevent scratches. Simply cut out a 4″x4″ square and attach it with a glue gun.
Notes
Always take care to follow the safety tips and precautions that come with the instructions for your power tools.
● For more Craft posts on Ann’s Entitled Life, click here.
● If you enjoyed this post, be sure to sign up for the Ann’s Entitled Life weekly newsletter, and never miss another article!
Didi says
Cool!
Bibi says
oh, these just look darling and so easy to make!! I love it, what a great idea.
Visiting from the Monday Madness linkup.
Have a great week.
Bibi
Pale Blue Corner says
Very nice and creative coasters. I like them a lot!
Cheers,
Emese
Erlene Amat says
I love this! I’m totally going to try this and give as gift this year. Thanks for sharing on Merry Monday!
Michele Michael says
So great. Thanks for posting at Funtastic Friday.
kristie says
I love your coasters!