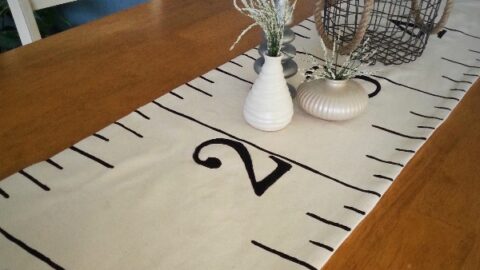
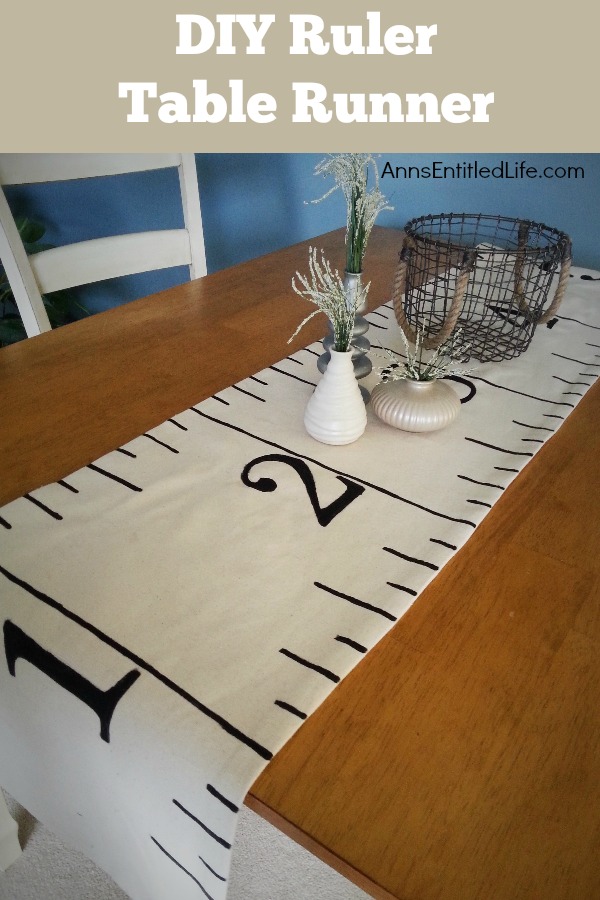
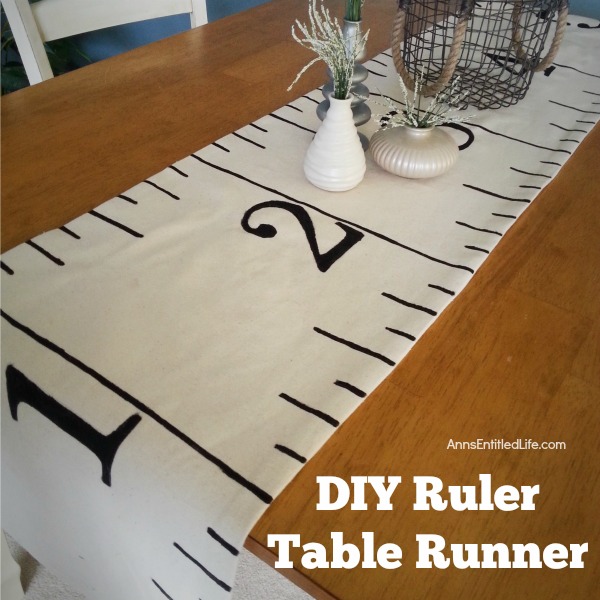
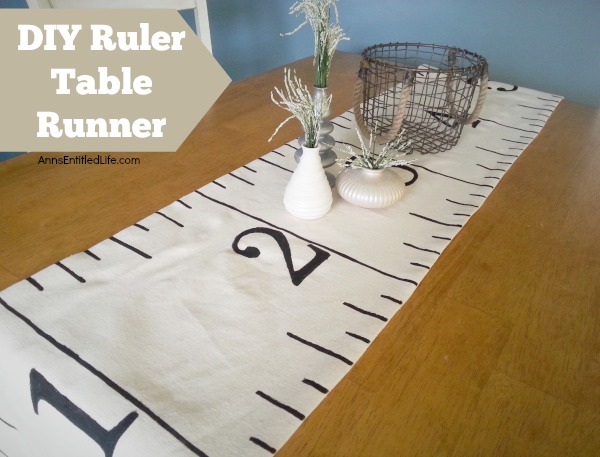
Make your own Ruler Table Runner! A fun decor craft for homeschoolers, back to school, teachers, and more! This cute and creative craft is simple to make, adds some whimsy to home decor and will look great on your kitchen table, dining room table or sideboard.
DIY Ruler Table Runner
First things first: sign up for my weekly newsletter! You get a free downloadable e-cookbook when you confirm your newsletter sign-up!
DIY Ruler Table Runner Note: This tutorial is from scratch. If you do not want to to purchase fabric and sew a table runner, you can start with a plain table runner measuring 14 inches by 72 inches. Then cut to the numbers and painting steps of this tutorial.
DIY Ruler Table Runner Materials:
● 2½ yards Fabric- This tutorial uses a tan denim since the fabric is thick. You need to choose a fabric that will not allow the paint to seep through – pick a “dense” fabric for this project.
● Tape Measure
● Straight Edge Ruler
● Scissors
● Straight Pins
● Sewing Machine
● Needle
● Thread (that matches your fabric choice)
● Iron
● Pencil
● Printer
● Black Fabric Paint
● Small Paint Brush
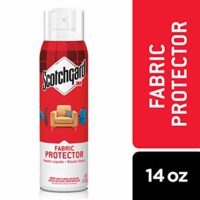
● Scotchgard Fabric Protector
DIY Ruler Table Runner Instructions:
● Start by making your table runner.
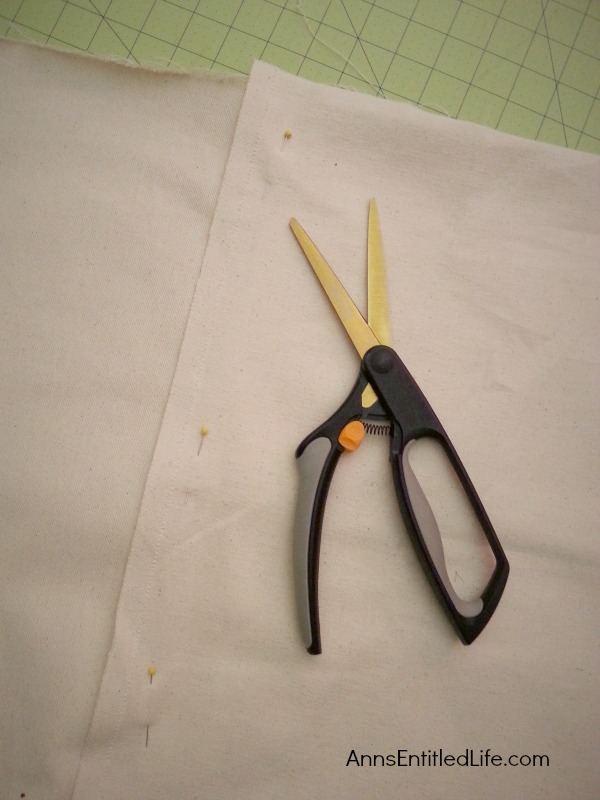
● You want to cut your fabric to be 15 inches by 73 inches.
● Tip: For a little short cut simply fold your fabric lengthwise inwards 15 inches and pin.
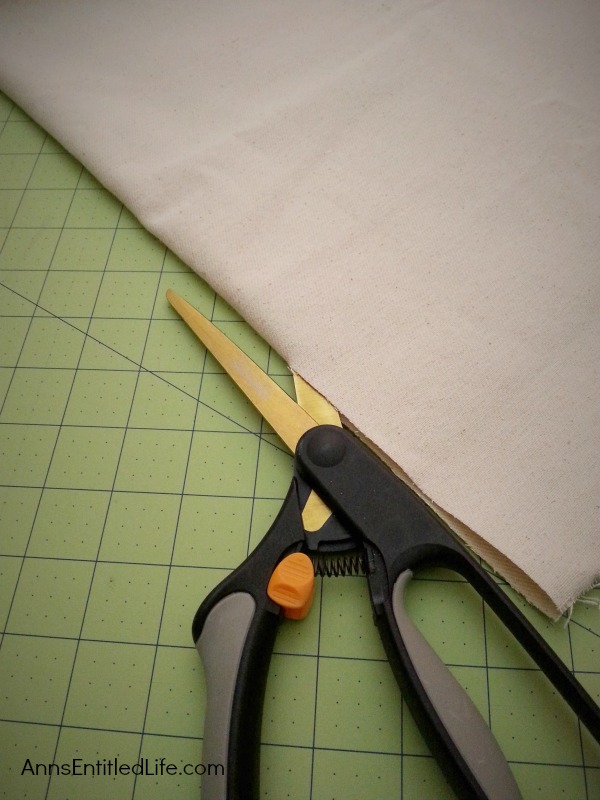
● Then take your scissors and cut at the fold to end up with two strips of fabric measuring 15 inches by 90 inches.
● Then measure out 73 inches and cut.
● Now you should have two strips of fabric that are 15 inches by 73 inches.
● Pin together and sew around the edges with your sewing machine using a 1/2 inch seam, be certain to leave about a 5 inch opening in order to flip your runner right side out.
● Once you have turned the table runner right side out you can hand sew the opening shut with your needle and thread.
● You should end up with a runner measuring 14 inches by 72 inches (the width is not as important as the length).
● Iron your fabric now to ensure a nice flat surface to make your marks.
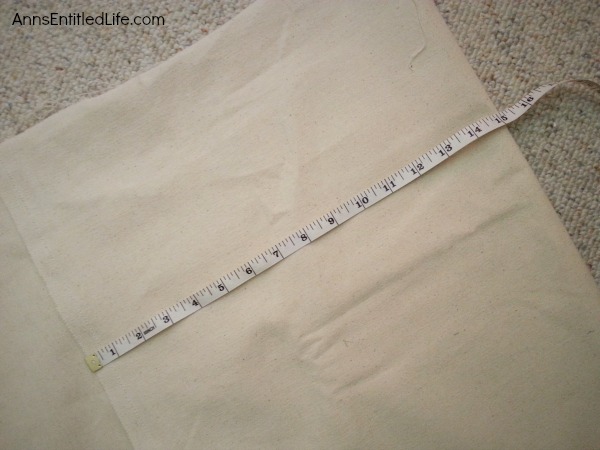
● Using your measuring tape, start by measuring out every 12 inches – do this on the top and the bottom of your material.
● Then use your straight edge and draw a straight line with your pencil. (These are your foot markers)
● Now use your measuring tape and pencil, measure every inch and a half and place a small mark – again do this on the top and bottom, but do not draw a straight line this time.
● Within one foot you should have 7 marks. Using your straight edge ruler extend the marks as follows within each foot
*one inch
* two inches
* one inch
* two and a half inches
* one inch
* two inches
* one inch
Do this for all 6 feet of your runner.
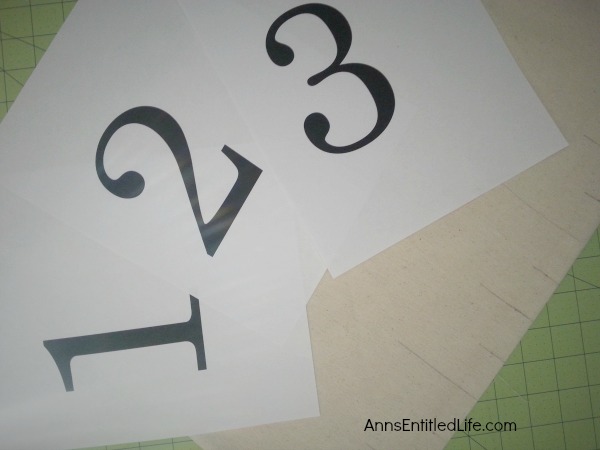
● Using your computer printer, print off numbers 1-6 using Century Font with the font size being 500.
● Cut the numbers out.
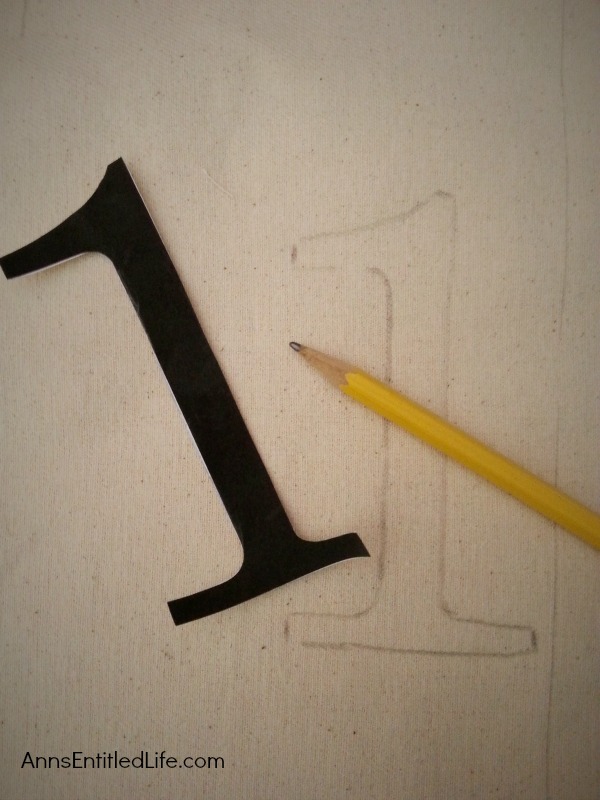
● Place the numbers in order on your runner with each number to the left side of its corresponding foot line.
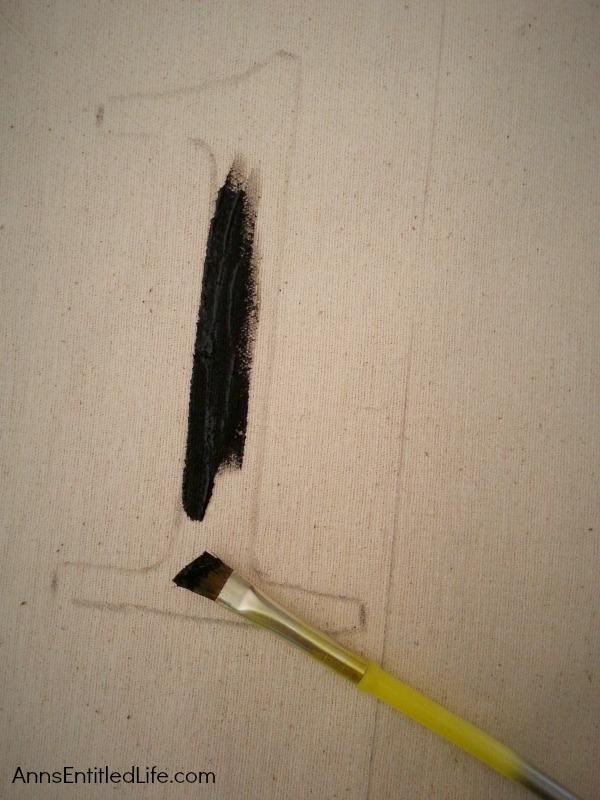
● Trace the number with a pencil.
● Repeat this step for all 6 numbers.
● Now its time to paint!
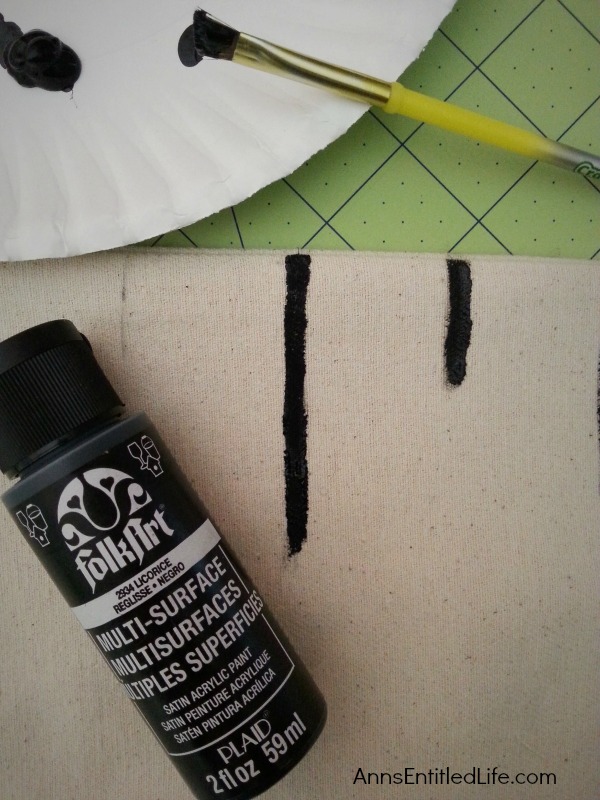
● Simply trace all of your pencil marks with your paint brush. Note: I have not tried it, but this could be a fabulous short cut! Especially for the line marks – just make sure it matches your black fabric paint.
● Fill in the traced numbers with your black fabric paint.
● Allow to paint dry completely.
● Apply a second coat if necessary. Allow paint to dry completely.
● Scotchgard your ruler table runner to help protect it from the stains and dust of daily use.
● Spot clean.
DIY Ruler Table Runner
DIY Ruler Table Runner. Make your own Ruler Table Runner! A fun decor craft for homeschoolers, back to school, teachers, and more! This cute and creative craft is simple to make, adds some whimsy to home decor and will look great on your kitchen table, dining room table or sideboard.
Materials
- 2½ yards Fabric- This tutorial uses a tan denim since the fabric is thick. You need to choose a fabric that will not allow the paint to seep through – pick a "dense" fabric for this project.
- Thread (that matches your fabric choice)
- Black Fabric Paint
- Small Paint Brush
- Scotchgard Fabric Protector
Tools
- Tape Measure
- Straight Edge Ruler
- Scissors
- Straight Pins
- Sewing Machine
- Needle
- Iron
- Pencil
- Printer
Instructions
- Start by making your table runner.
You want to cut your fabric to be 15 inches by 73 inches.
Tip: For a little short cut simply fold your fabric lengthwise inwards 15 inches and pin.
Then take your scissors and cut at the fold to end up with two strips of fabric measuring 15 inches by 90 inches.
Then measure out 73 inches and cut.
Now you should have two strips of fabric that are 15 inches by 73 inches.
Pin together and sew around the edges with your sewing machine using a ½ inch seam, be certain to leave about a 5 inch opening in order to flip your runner right side out. - Once you have turned the table runner right side out you can hand sew the opening shut with your needle and thread.
You should end up with a runner measuring 14 inches by 72 inches (the width is not as important as the length). - Iron your fabric now to ensure a nice flat surface to make your marks.
- Using your measuring tape, start by measuring out every 12 inches – do this on the top and the bottom of your material.
- Then use your straight edge and draw a straight line with your pencil. (These are your foot markers)
- Now use your measuring tape and pencil, measure every inch and a half and place a small mark – again do this on the top and bottom, but do not draw a straight line this time.
Within one foot you should have 7 marks. Using your straight edge ruler extend the marks as follows within each foot
* one inch
* two inches
* one inch
* two and a half inches
* one inch
* two inches
* one inch
Do this for all 6 feet of your runner. - Using your computer printer, print off numbers 1-6 using Century Font with the font size being 500.
Cut the numbers out. - Place the numbers in order on your runner with each number to the left side of its corresponding foot line.
Trace the number with a pencil.
Repeat this step for all 6 numbers. - Now its time to paint!
Simply trace all of your pencil marks with your paint brush. Note: I have not tried it, but this could be a fabulous short cut! Especially for the line marks – just make sure it matches your black fabric paint.
Fill in the traced numbers with your black fabric paint.
Allow to paint dry completely. - Apply a second coat if necessary. Allow paint to dry completely.
- Scotchgard your ruler table runner to help protect it from the stains and dust of daily use.
Spot clean.
Recommended Products
As an Amazon Associate and member of other affiliate programs, I earn from qualifying purchases.
Here are more easy craft decor projects:
● How to Make a Knot Pillow DIY Tutorial – Knot pillows are trendy right now. Like really trendy. You will not believe how simple it is to make this trendy pillow knot design. This knot pillow DIY version costs a whole lot less than a store bought pillow knot and only takes about an hour to make.
● DIY Easy No Sew Throw Pillow – Make this easy, no sew throw pillow for a quick decor update. This step by step tutorial will teach you how to make this no sew ruffle burlap pillow in a short time. Simple to make, this ruffled burlap pillow is adorable for bed decor, family room decor or even casual living room decor!
● How To Make A Seashell Mirror – Easy step by step instructions to make your own seashell mirror saving you hundreds of dollars over retail on this simple DIY project.
● If you enjoyed this post, be sure to sign up for the Ann’s Entitled Life weekly newsletter, and never miss another article!
● For more Craft posts on Ann’s Entitled Life, click here.
Kate says
This looks like a lot of fun to make and easy as well. This would be great on my table. I love runners on my square table. 🙂
Kate | The Organized Dream
Debrashoppeno5 says
If this isn’t the cutest table runner. And so creative.
Janet Vinyard says
What a clever idea! The runner turned out so nice! Well done & thanks for sharing! Blessings, Janet
Becky says
Very cute and perfect for back to school. Thanks for sharing at the Talk of the Town party. I am sharing on Facebook today!
Marsha says
So cute. Great for a back to school theme. Or as a gift to a child’s teacher. Adorable.
melanie - bellenza says
Clever idea! Perfect for teaching kids about measurements!
joleisa says
This is absolutely one of the best DIY project ideas I have seen on Pinterest! I love it!
Elisa says
I love this tutorial and have made my own table runner, thank you so much! I was wondering, have you had any issues with using scotchguard on this runner? I made a test piece and followed the instructions. It said to spray and then rub vigorously to test colorfastnesses, and the paint rubbed everywhere. But I noticed that once it dried, it didn’t appear to rub off at all even with a wet rag. So I decided to just go for it and use it on my runner. I figured it’s better than worrying about getting out tough stains later. Just wanted to know how the scotchguard has worked for you? I used fabric paint if that makes any difference. Thanks again!
Marie says
I love this idea for a Fall table runner, Ann! Very creative and unique. Pinned 🙂
Alexandra says
This is such a fun project! As a teacher gift, or gift to a maker – sewing, quilting, knitting, crocheting, drawing, woodworking etc – we all use rulers. Looks like a whole lot of work drawing out, and slowly painting. Props to you! I don’t think I would have such patience. I have chosen this as one of my featured projects for this week’s Snickerdoodle Create Bake Make Link Party, which goes live Saturday at 5pm EST.