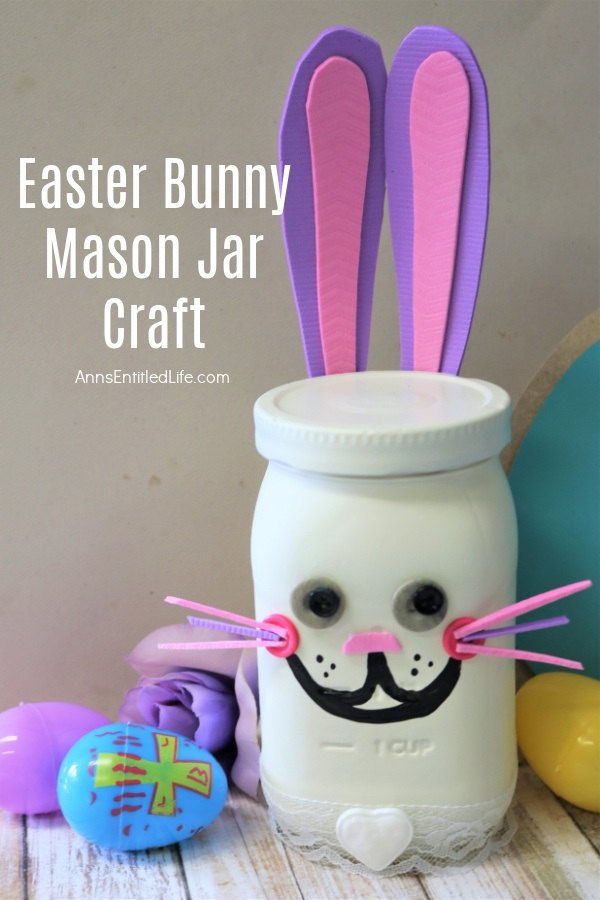
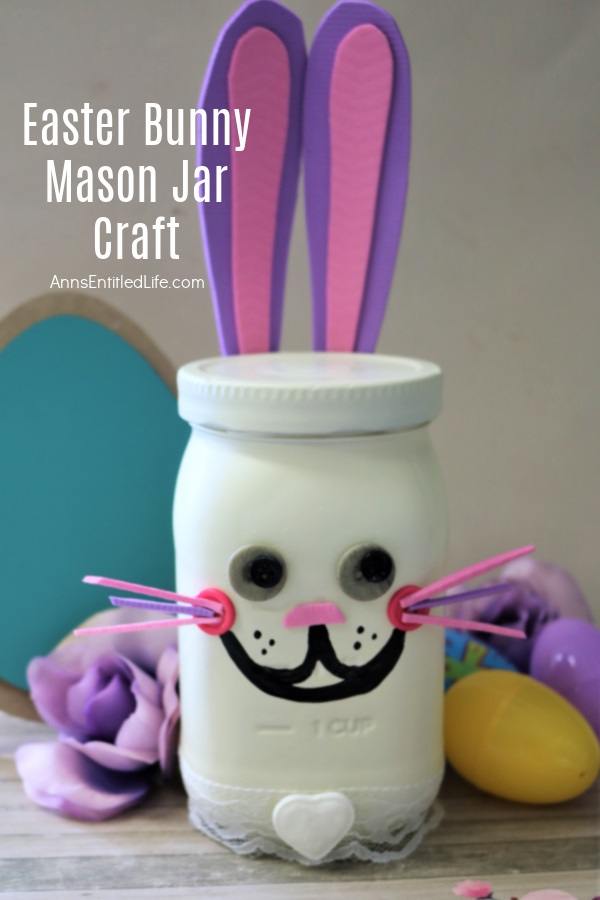
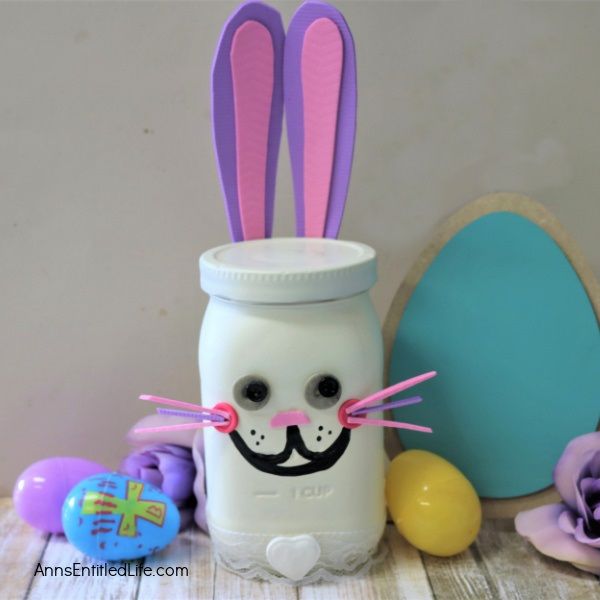
Make an Easter bunny from a jar! This step-by-step tutorial will show you how to easily make a bunny out of a Mason jar that is perfect for a centerpiece, mantel decor, or table decorations this Easter. If you are looking for a simple, inexpensive Easter craft project, this is it!
Easter Bunny Mason Jar Craft
Mason Jars are a fun and economical way to work some rustic charm into your décor and get creative doing it. I try to save them as we use them so that when I am ready for a craft, I do not have to buy jars. Pickle jars or sauce jars can also be used in place of Mason jars, so save ’em as you use ’em!
One tip to getting them smelling clean, too, is to add a drop of lemon essential oil onto the bottom of the lid after washing, and one into the jar. Then store them closed, and when you open the jar later, it will not smell like a pickle or a sauce.
Tips and variations for making this Easter Bunny Mason Jar Craft:
● Use a Black Paint Marker instead of the black acrylic paint for the mouth
● Use Mod Podge Clear Acrylic Sealer to seal your paint
● Use marine goop instead of super glue.
● If you do not want to use purple and pink foam sheets for the ears and whiskers, choose two other pastel colors (blue, green, lilac, etc)
More Mason Jar Holiday Crafts:
● Sugar Skull Mason Jar Craft
● Halloween Witch Jar DIY
● Pilgrims Jar Craft
● Thanksgiving Turkey Jar Craft
● Snowman Mason Jar Craft DIY
Easter Bunny Mason Jar Craft Materials:
Look to your favorite craft store such as Joann, Michaels, or Hobby Lobby for the supplies needed to make this terrific craft.
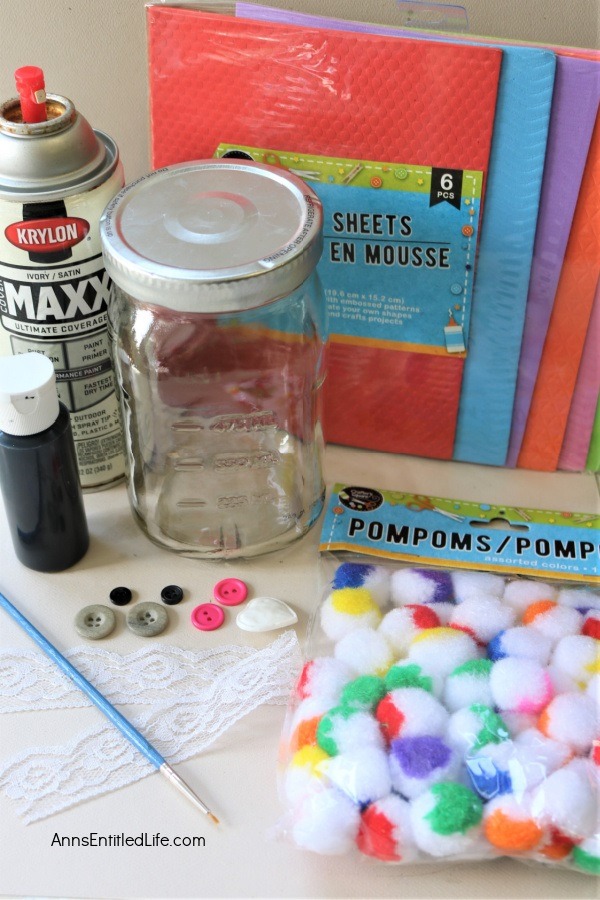
● 1 Glass Mason Jar with lid (16oz+ size)
● White or Ivory Spray Paint (satin or matte finish)
● Black Acrylic Paint
● 4 Buttons for Eyes (in white and black, which you can layer on top of each other, so a pair of each)
● 2 Pink Buttons
● 1 Ribbon, Lace Collar, OR Bow
● 1 Purple Foam Sheet
● 1 Pink Foam Sheet
● 1 Pom-Pom
Easter Bunny Mason Jar Craft Tools:
● Small Detail Paint Brush
● Paper Towel
● Water Cup
● Scissors
● Super Glue
● Pencil
Easter Bunny Mason Jar Craft Directions:
1. Cover your well-ventilated workspace against paint and glue.
2. Make certain your jar is free of dust and debris. Wash and thoroughly dry if needed.
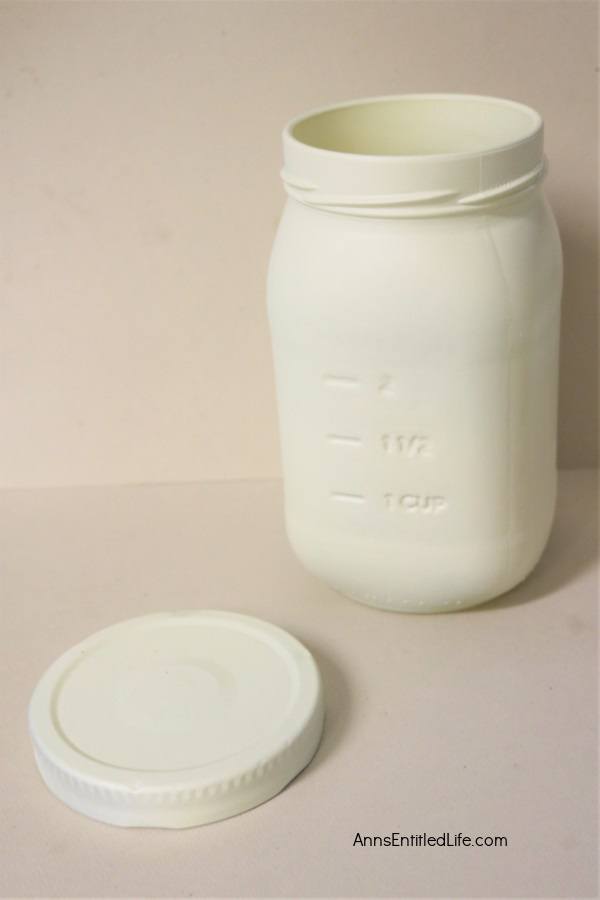
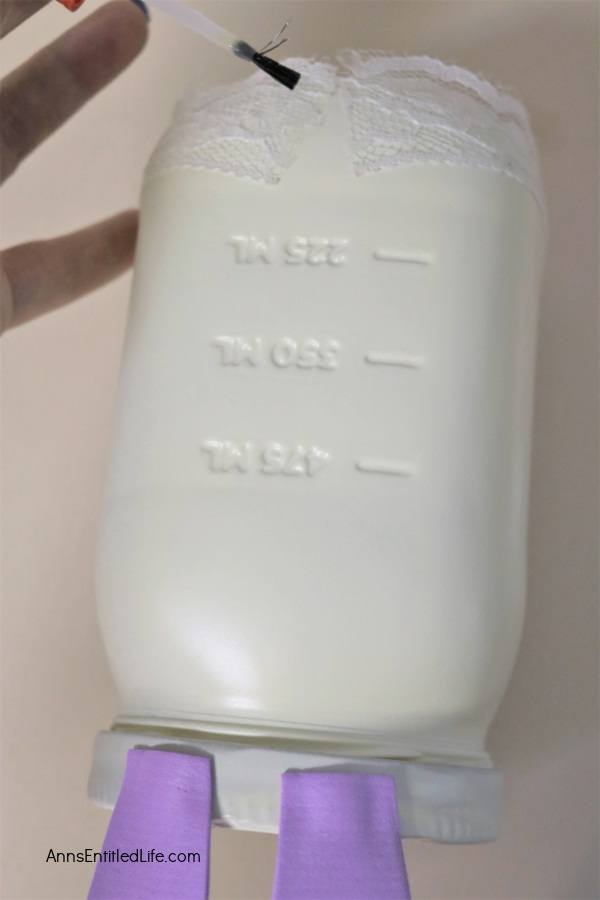
3. Using white spray paint or cream-colored spray paint, paint the jar and the jar lid in a well-ventilated area. It is best to give the paint a good 20 minutes or so to dry, and then go back and double-check to see if it is well-covered or needs a touch-up anywhere. If you have any areas that need another coat, go ahead and spray again and then let the jar dry completely; about half an hour time. Make sure the jar is not tacky to the touch before proceeding.
(If you think you may actually want to use the jar, and not just have it look cute on the counter, I would be sure to spray the inside lip of the jar too, so it looks consistent with the outside when it gets opened.)
4. Once the jar and lid are all dry, you need to choose the best side of the jar to make the bunny’s face side. Put your lid on as well. I like having some of the wording on the face, as I think it makes it more homemade looking and rustic, but you choose which you prefer, and the side with the smoothest paint job.
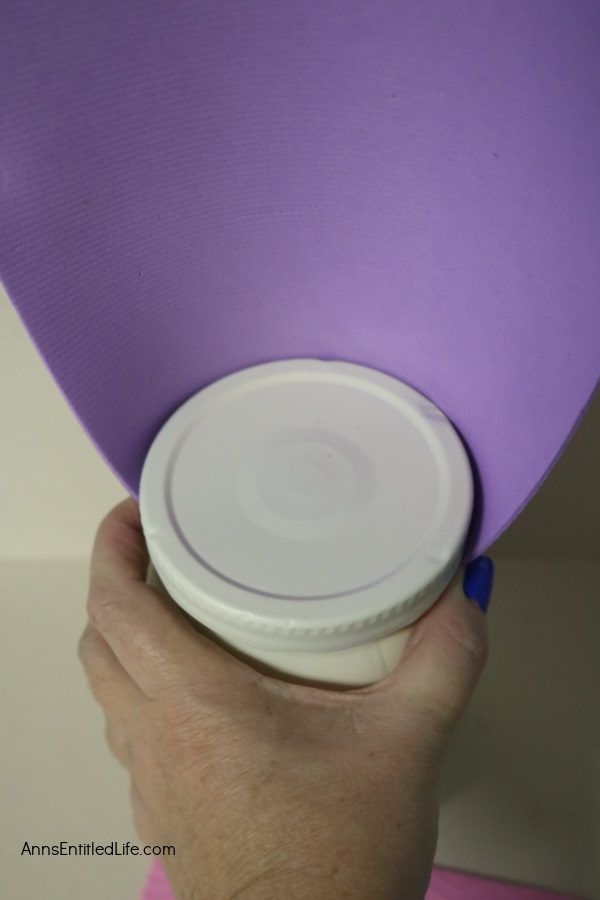
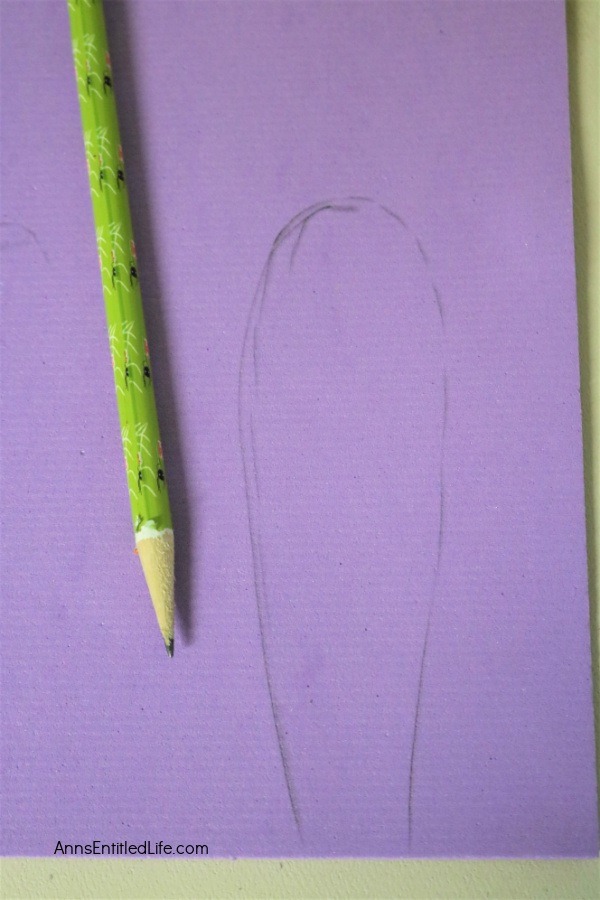
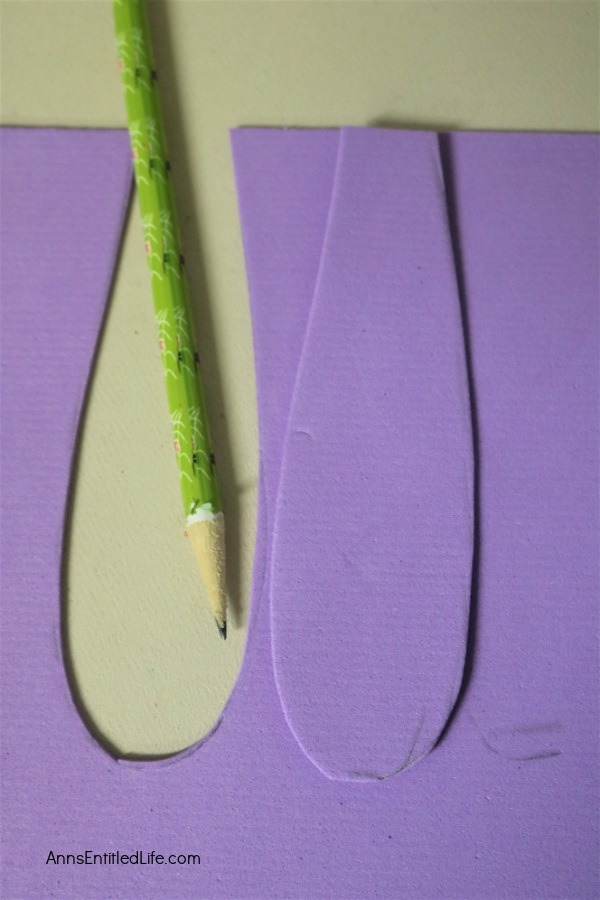
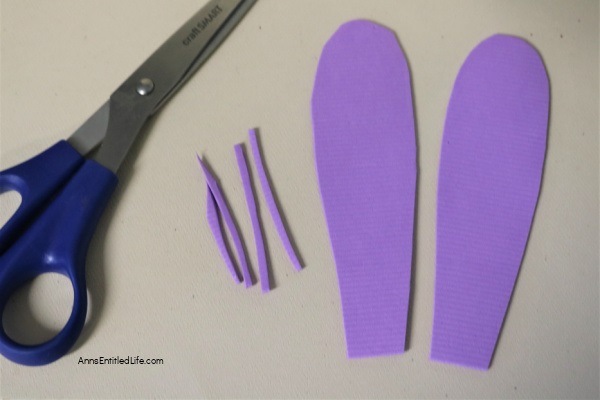
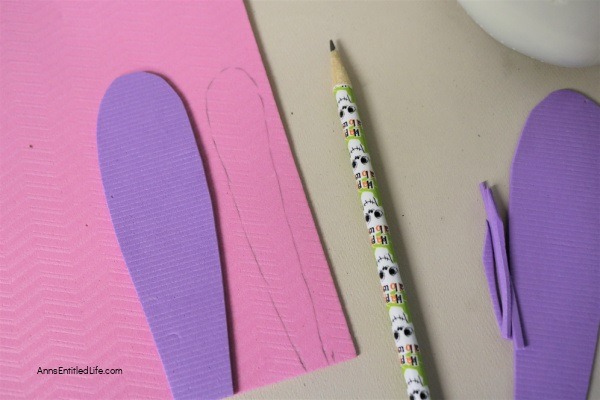
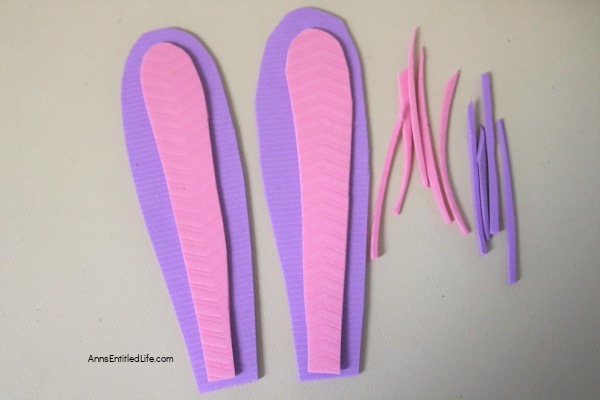
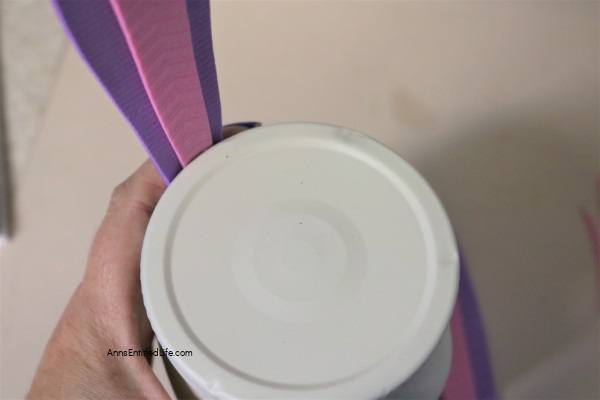
5. Make the ears: Using your choice of foam sheet, make the outer ear first. Hold the foam up behind the lid and judge how high you want the ears to be. Mark the foam with your pencil on the backside of the foam and then go ahead and draw the shape of the first ear there. Once you have the shape and size you like, go ahead and cut it out. Then, set that ear shape on top of the foam and trace around it with your pencil to make a matching ear. Cut that one out and then go ahead and choose your second color for the inside part of the ear, and repeat those steps, making the second set slightly smaller, so that it fits nicely inside the first set.
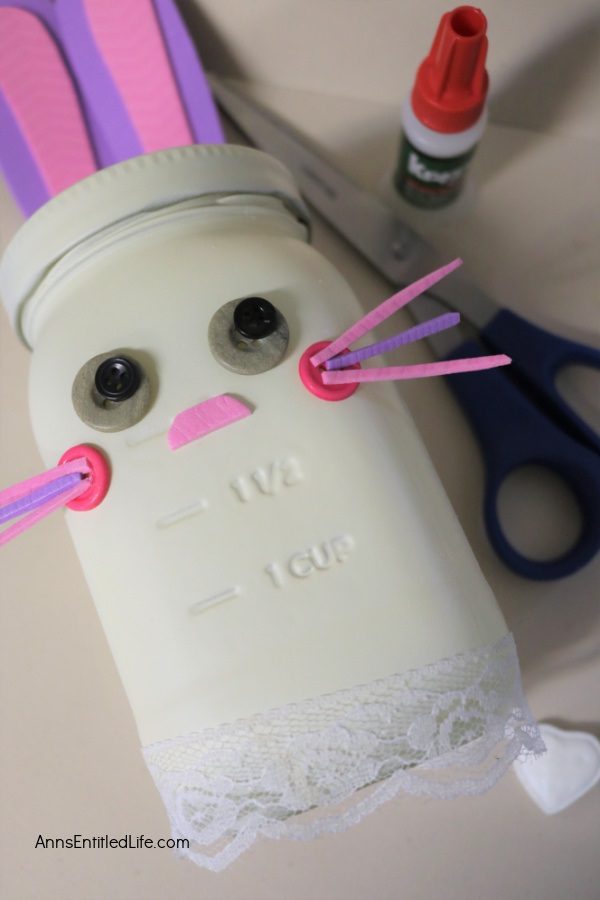
6. Use the scrap pieces of the foam after you have cut out those ear shapes to make small whiskers and a cute little nose.
7. You may have to set the pieces on the jar and play with them to help you decide on the sizes and shape, and how long you want the whiskers to be.
You can now decide on how and where you want the buttons placed on the face, too.
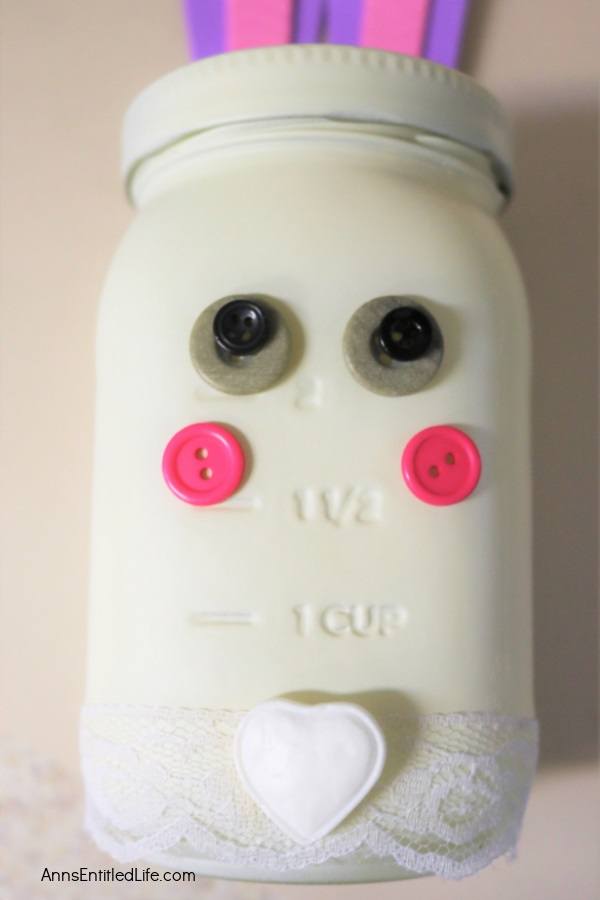
8. This craft layers the buttons to make the eyes stand out a little more, using tan ones on the bottom and smaller black ones in the center.
9. When gluing the buttons on, do one at a time and hold it down on the super glue with pressure for a minute before you let it off. This will assure that the buttons will stay in place and not slide off. Keep gluing until you have all the pieces attached.
10. Superglue the whiskers and nose into place.
11. If you are doing a lace, ribbon, or bow collar add a drop of glue in the front center, and in a few dots of glue going all the way around to the back of the jar. Attach the collar.
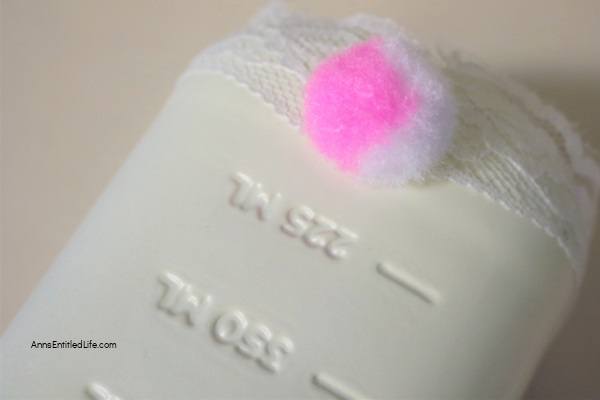
12. Attach the pom-pom tail.
13. Attach any collar accents.
14. Allow the glue to dry completely.
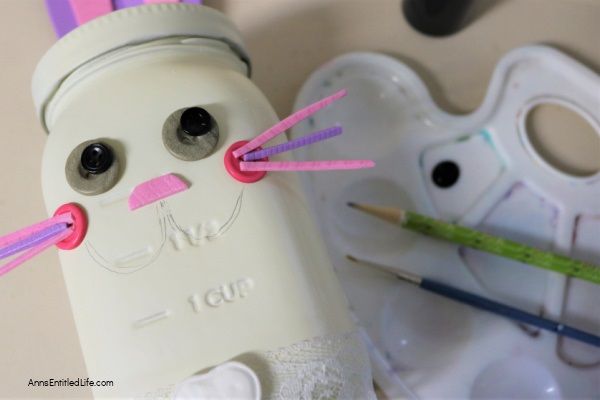
15. Using a pencil, draw a mouth on the jar.
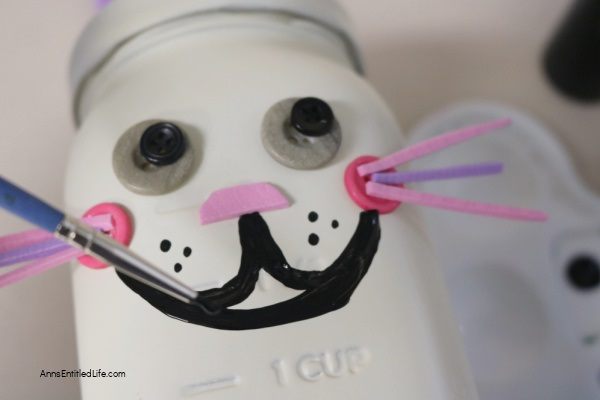
16. Paint over the pencil mouth with black paint.
17. Add a few dots by the whiskers.
18. Allow your Easter bunny jar to dry completely before displaying.
Easter Bunny Mason Jar Craft
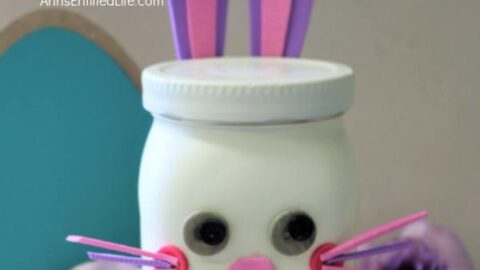
Easter Bunny Mason Jar Craft. Make an Easter bunny from a jar! This step-by-step tutorial will show you how to easily make a bunny out of a Mason jar that is perfect for a centerpiece, mantel decor, or table decorations this Easter. If you are looking for a simple, inexpensive Easter craft project, this is it!
Materials
- 1 Glass Mason Jar with lid (16oz+ size)
- White or Ivory Spray Paint (satin or matte finish)
- Black Acrylic Paint
- 4 Buttons for Eyes (in white and black, which you can layer on top of each other, so a pair of each)
- 2 Pink Buttons
- 1 Ribbon, Lace Collar, OR Bow
- 1 Purple Foam Sheet
- 1 Pink Foam Sheet
- 1 Pom-Pom
Tools
- Small Detail Paint Brush
- Paper Towel
- Water Cup
- Scissors
- Super Glue
- Pencil
Instructions
- Cover your well-ventilated workspace against paint and glue.
- Make certain your jar is free of dust and debris. Wash and thoroughly dry if needed.
- Using white or cream-colored spray paint, paint the jar and the jar lid in a well-ventilated area. It is best to give the paint a good 20 minutes or so to dry, and then go back and double-check to see if it is well-covered or needs a touch-up anywhere. If you have any areas that need another coat, go ahead and spray again and then let the jar dry completely; about half an hour time. Make sure the jar is not tacky to the touch before proceeding.
(If you think you may actually want to use the jar, and not just have it look cute on the counter, I would be sure to spray the inside lip of the jar too, so it looks consistent with the outside when it gets opened.) - Once the jar and lid are all dry, you need to choose the best side of the jar to make the bunny's face side. Put your lid on as well. I like having some of the wording on the face, as I think it makes it more homemade looking and rustic, but you choose which you prefer, and the side with the smoothest paint job.
- Make the ears: Using your choice of foam sheet, make the outer ear first. Hold the foam up behind the lid and judge how high you want the ears to be. Mark the foam with your pencil on the backside of the foam and then go ahead and draw the shape of the first ear there. Once you have the shape and size you like, go ahead and cut it out. Then, set that ear shape on top of the foam and trace around it with your pencil to make a matching ear. Cut that one out and then go ahead and choose your second color for the inside part of the ear, and repeat those steps, making the second set slightly smaller, so that it fits nicely inside the first set.
- Use the scrap pieces of the foam after you have cut out those ear shapes to make small whiskers and a cute little nose.
- You may have to set the pieces on the jar and play with them to help you decide on the sizes and shape, and how long you want the whiskers to be.
You can now decide on how and where you want the buttons placed on the face, too. - This craft layers the buttons to make the eyes stand out a little more, using tan ones on the bottom and smaller black ones in the center.
- When gluing the buttons on, do one at a time and hold it down on the super glue with pressure for a minute before you let it off. This will assure that the buttons will stay in place and not slide off. Keep gluing until you have all the pieces attached.
- Superglue the whiskers and nose into place.
- If you are doing a lace, ribbon, or bow collar add a drop of glue in the front center, and in a few dots of glue going all the way around to the back of the jar. Attach the collar.
- Attach the pom-pom tail.
- Attach any collar accents.
- Allow the glue to dry completely.
- Using a pencil, draw a mouth on the jar.
- Paint over the pencil mouth with black paint.
- Add a few dots by the whiskers.
- Allow your Easter bunny jar to dry completely before displaying.
Recommended Products
As an Amazon Associate and member of other affiliate programs, I earn from qualifying purchases.
-
 EAMBRITE Easter Centerpiece Tree 24IN 24LT White Birch Tree with Set of 10 Hanging Easter Egg Ornaments for Party Birthday Home Decoration Indoor Use
 -
 MAOYUE Easter Inflatables 5Ft Easter Bunny Inflatables with Eggs Easter Decorations Outdoor Easter Blow Up Decorations Built-in LED Lights with Tethers, Stakes for Outdoor Yard Lawn
 -
 Easter Hanging Bunny Ornaments Set of 10, Colorful Plush Bunny Gnomes Easter Gnomes Tree Ornament Decorations
● For more Craft posts on Ann’s Entitled Life, click here.
● If you enjoyed this post, be sure to sign up for the Ann’s Entitled Life weekly newsletter, and never miss another article!


Lauren Becker says
This is so cute! I love the little whiskers. I pinned; thanks for sharing!
-Lauren
Marie - Interior Frugalista says
This would be a fun Easter craft to do with my grandkids. Thanks for sharing it with us at the Snickerdoodle Party. I am featuring you this weekend!
Richella J Parham says
SO cute–and so simple! Two of my favorite attributes. 🙂
Thanks so much for joining the Grace at Home party at Imparting Grace. I’m featuring you this week!
Allyson @ Southern Sunflowers says
Adorable bunny craft! I’m featuring you at tonight’s Home Matters Party. Thanks for sharing!