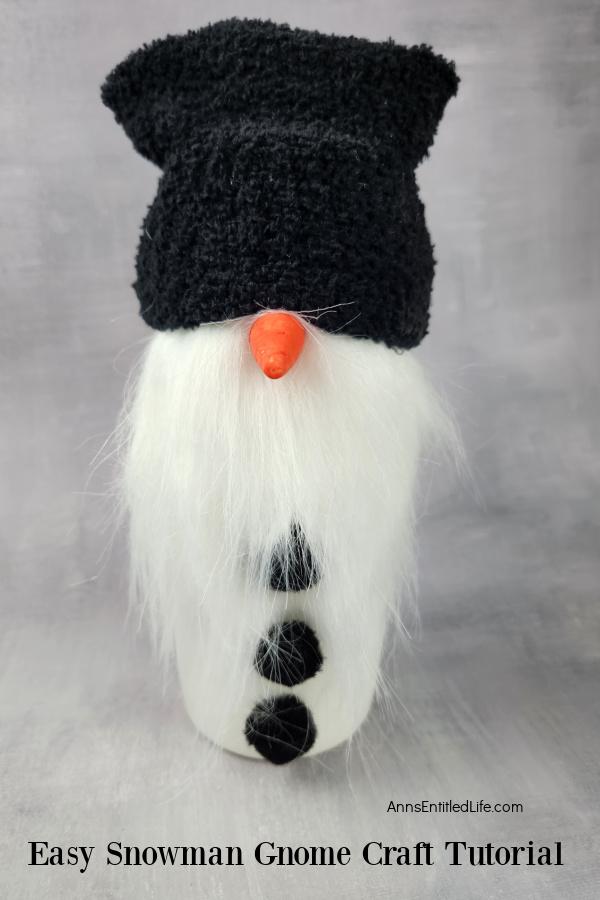
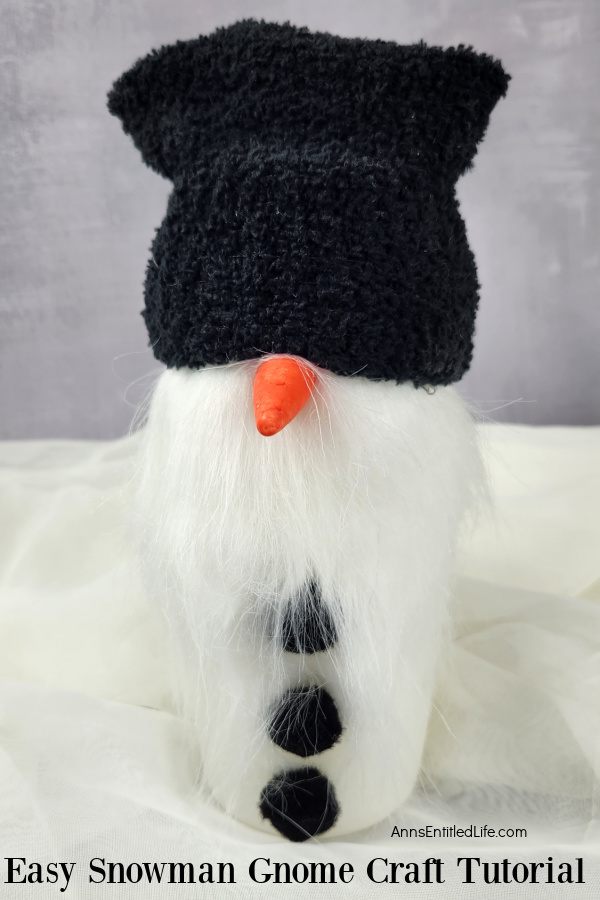
Craft an adorable snowman gnome with this easy tutorial. Transform winter decor with this delightful DIY winter craft. You can warm up your winter space with whimsy.
Create Winter Whimsy with this easy snowman craft tutorial. Dive into the magic of winter crafting with our step-by-step snowman gnome DIY tutorial. Add charm to your decor with a few of these adorable winter companions.
Easy Snowman Gnome Craft Tutorial | No Sew
Winter’s arrival brings with it a magical transformation of landscapes into a glistening wonderland. What better way to celebrate the season than by crafting your own enchanting snowman gnome? In this easy-to-follow tutorial, you can add a touch of whimsy to your winter decor.
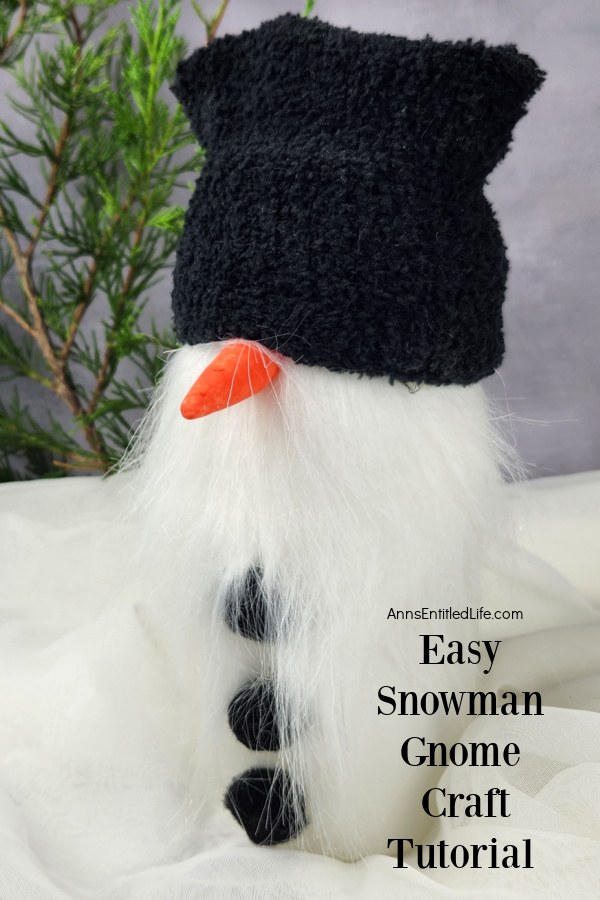
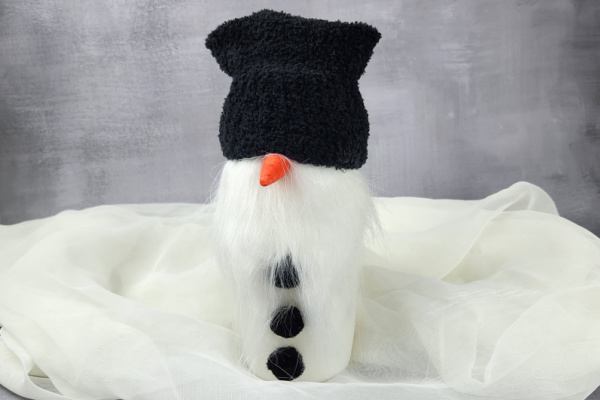
If you like gnomes (I clearly do), you are going to love this little guy. Super simple to make, this snowman gnome adds a touch of whimsy to your winter decor. These guys can also be used as part of your holiday decor.
Tips and variations for making this snowman gnome craft:
● If your coffee creamer container is not already white plastic, you can paint it white and allow it to dry before making your gnome.
● Make sure your can is clean and dry.
● If you are worried about the snowman gnome being knocked over easily, you can fill the can part the way with rice or clean play sand.
● Change the colors to make sweet little gnome brothers!
● You should be able to find many of the craft supplies at a dollar store.
● Materials for this snowman gnome can be purchased online or at your local JoAnn, Michaels, or Hobby Lobby.
Other cute gnomes crafts:
● Mardi Gras Gnome DIY (this guy is over-the-top!)
● St. Patrick’s Day Gnome DIY
● Bunny Gnome DIY
● Patriotic Gnome Decor DIY
● Graduation Gnome
● How to Make a Football Gnome Pin | DIY
● Pilgrim Gnome DIY
● How to Make a Santa Gnome Ornament for Christmas Christmas Tree | No-Sew (holiday gnomes)
● Flower Pot Gnome DIY
Easy snowman crafts you might like to make:
● DIY Wine Glass Snowman
● Easy Snowman Tealights Craft
● Framed Button Snowman Craft
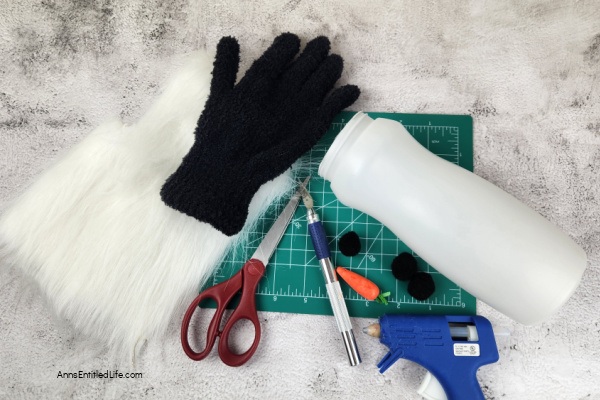
Easy Snowman Gnome Craft Tutorial Materials:
● White Faux Fur
● Glue Sticks
● 3 Black Pompoms (or black buttons)
● 1 Black Fuzzy Glove
● 1 Small Fake Carrot
● 1 Powdered Coffee Creamer Container (washed and label removed)
Easy Snowman Gnome Craft Tutorial Tools:
● Scissors
● Hot Glue Gun
● Exacto Knife
● Self Healing Mat
Easy Snowman Gnome Craft Tutorial Directions:
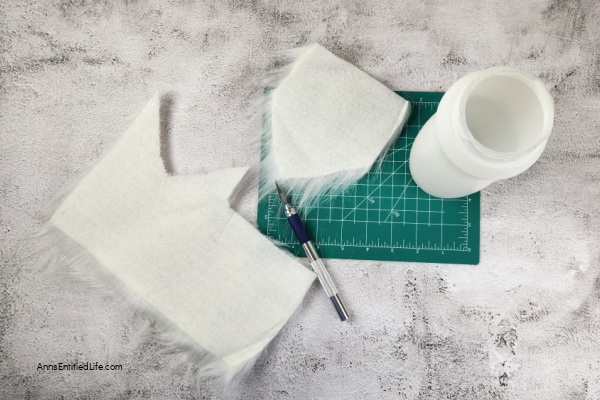
1. First, you want to cut a piece of fur that fits about halfway around the container. Cut it into a V shape and make sure that it is at least 3-4 inches long or the length of your liking. I find it best to cut it from the back side using an Exacto knife.
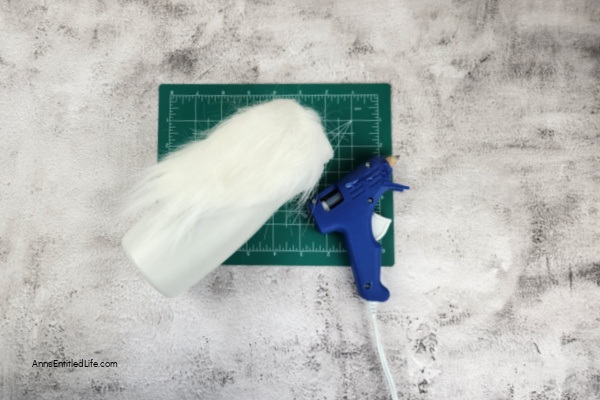
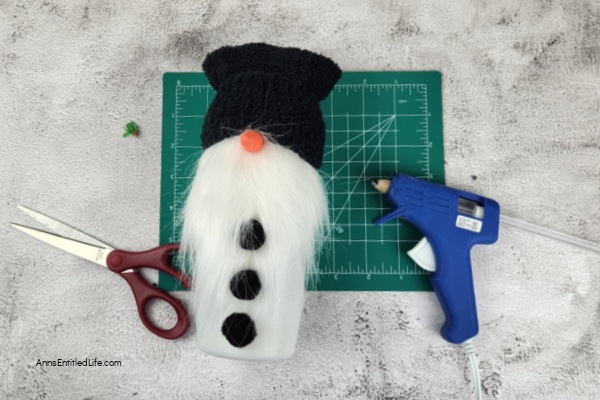
2. Now, glue that piece of fur in place just along the edge of the top of the container.
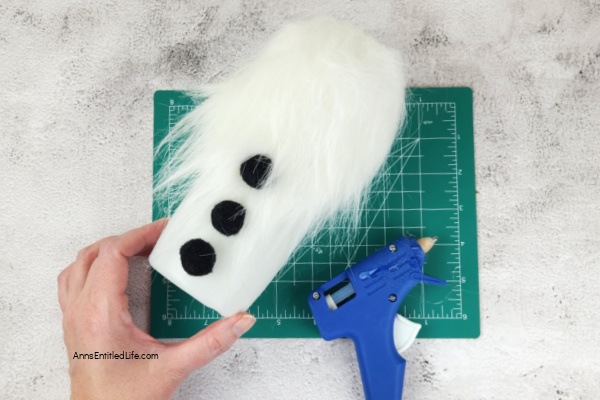
3. Glue the three black pompoms in place just under the fur. It is okay if one is slightly covered/on the fur.
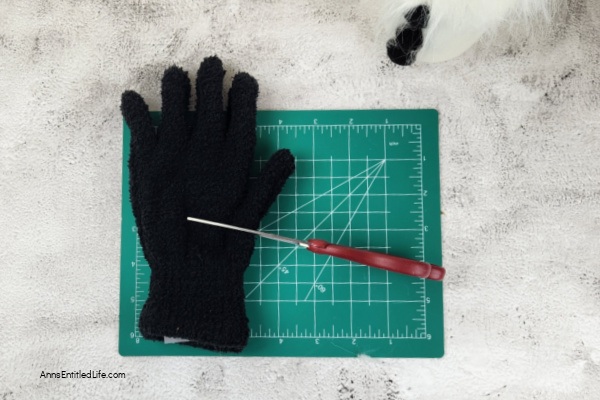
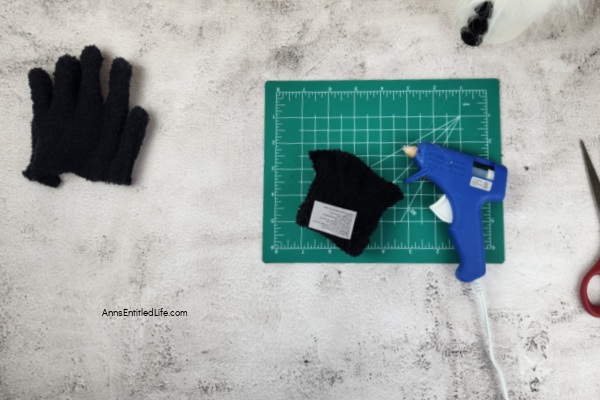
4. Cut the glove off all the way across, just under the thumb.
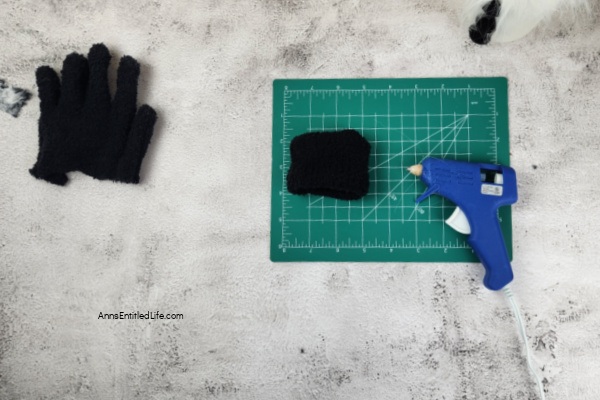
5. Turn the glove inside out. Use the hot glue to close that open end you just cut. Then turn it back right side out.
6. Place the other end of the glove over the container where the fur is. Glue in place in a few spots to keep it attached. In the center of the fur, where it meets the glove/hat, glue the carrot nose in place. If your carrot has a green end like mine, you will need to remove that first before gluing.
7. Display as desired.
Easy Snowman Gnome Craft Tutorial | No Sew
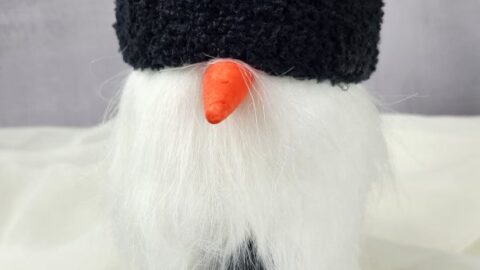
Easy Snowman Gnome Craft Tutorial | No Sew. Craft an adorable snowman gnome with this easy tutorial. Transform winter decor with this delightful DIY winter craft. You can warm up your winter space with whimsy.
Materials
- White Faux Fur
- Glue Sticks
- 3 Black Pompoms (or black buttons)
- 1 Black Fuzzy Glove
- 1 Small Fake Carrot
- 1 Powdered Coffee Creamer Container (washed and label removed)
Tools
- Scissors
- Hot Glue Gun
- Exacto Knife
- Self Healing Mat
Instructions
- First, you want to cut a piece of fur that fits halfway around the container. Cut it into a V shape and ensure it is at least 3-4 inches long or the length of your liking. I find it best to cut it from the back side using an Exacto knife.
- Now, glue that piece of fur in place just along the edge of the top of the container.
- Glue the three black pompoms in place just under the fur. It is okay if one is slightly covered/on the fur.
- Cut the glove off all the way across, just under the thumb.
- Turn the glove inside out. Use the hot glue to close that open end you just cut. Then turn it back right side out.
- Place the other end of the glove over the container where the fur is. Glue in place in a few spots to keep it attached. In the center of the fur, where it meets the glove/hat, glue the carrot nose in place. If your carrot has a green end like mine, you will need to remove that first before gluing.
- Display as desired.
Notes
Always cover your work surface against stains, glue, and cuts. I use a self healing mat.
Recommended Products
As an Amazon Associate and member of other affiliate programs, I earn from qualifying purchases.
-
 Andreannie Set of 4 Happy Winter Beige Shadow Various Let It Snow Snowflakes in Red Merry Cotton LinenThrow Pillow Case Personalized Cushion Cover New Home Office Decorative Square 18X18 Inches¡
 -
 Christmas Themed Santa, Snowman & Reindeer Winter Holiday Ceramic 3-Section Server
 -
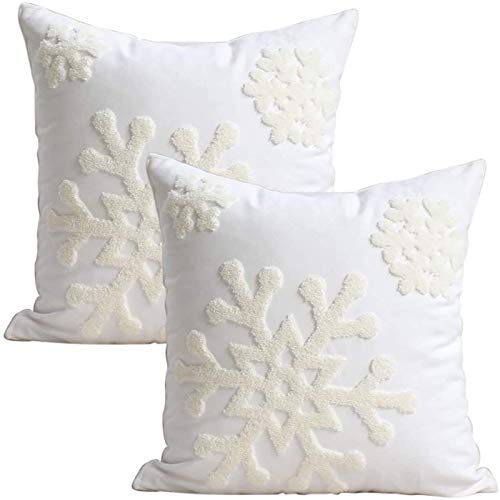
 Elife 18x18 Soft Canvas Christmas Winter Snowflake Style Cotton Linen Embroidery Throw Pillows Covers w/Invisible Zipper for Bed Sofa Cushion Pillowcases for Kids Bedding (1 Pair, White)
● For more crafts on Ann’s Entitled Life, click here.
● If you enjoyed this post, be sure to sign up for the Ann’s Entitled Life weekly newsletter, and never miss another article!


Leave a Reply