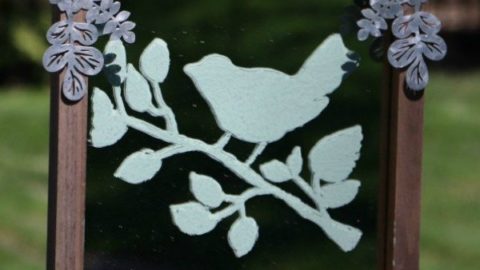
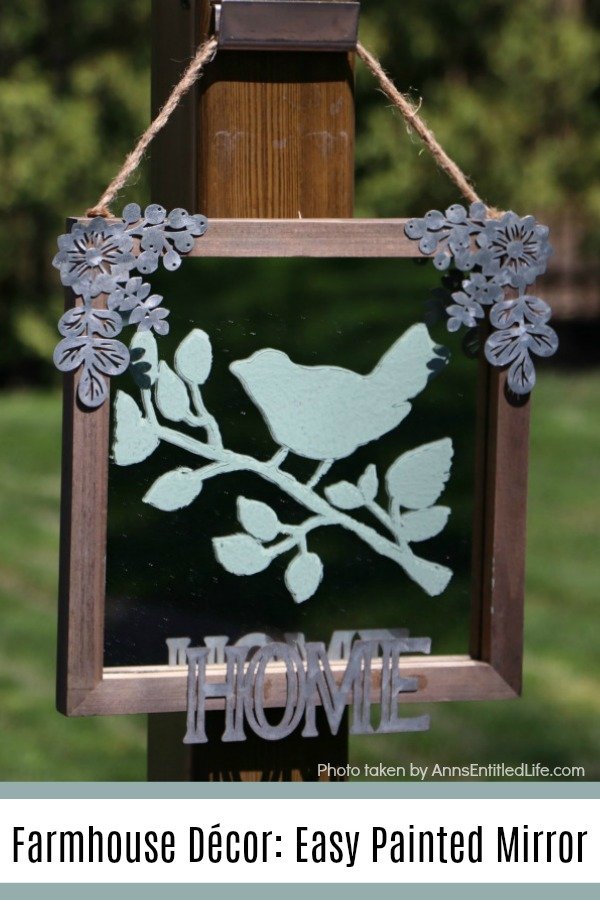
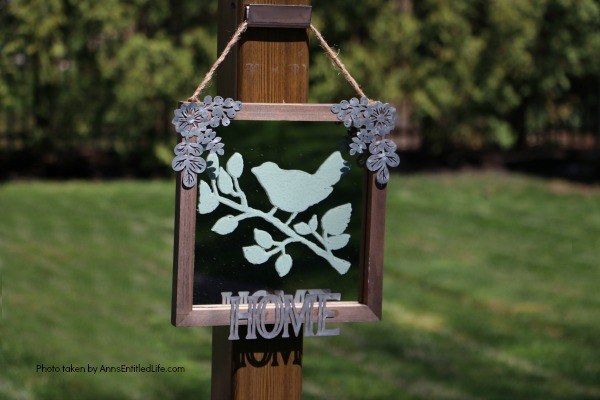
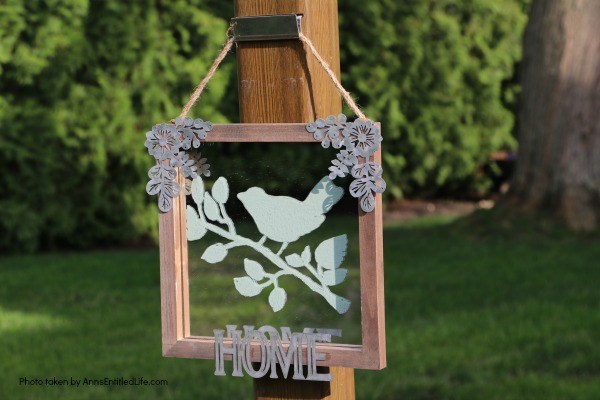
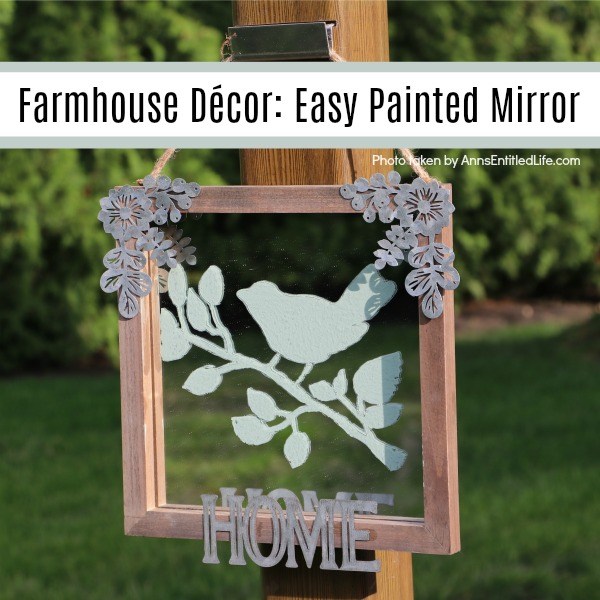
This sweet little painted mirror is easy to make, rustic décor. Great for indoor or outdoor decorating, this DIY farmhouse style painted mirror fills in that small area of open wall space perfectly. This step-by-step tutorial will show you exactly how to make this simple painted mirror project inexpensively.
Farmhouse Décor: Easy Painted Mirror
I wanted to explore the farmhouse décor trend and asked my niece if she had any outdoor farmhouse style decorating ideas. I have that flower wheelbarrow in the backyard, the wooden table to grow my bagged vegetables, and we installed a shed (a much-needed shed!). Now, I wanted something that might match.
She brought in four ideas, including the terrific little DIY farmhouse house number sign I shared a last month, this sweet little jar flower holder and this Farmhouse Décor: Age and Stencil a Crate. This painted mirror is number four, however, we added a fifth farmhouse décor craft in this cute little Farmhouse Décor: Laundry Room Organizer.
We actually made everything at the same time as these five projects use lot of the same materials for all the projects. Not only did it keep costs down, it sped things along.
Farmhouse Décor: Easy Painted Mirror Notes:
● If you plan on hanging this outside, you may want to varnish the frame first. The more coats, the more water resistent.
● If you do varnish the frame, do not varnish over the paint as it will discolor. It will also distort the mirror.
● This is a mirror, so you will see reflections in it. Be aware of that when hanging.
● I cannot emphasize enough to allow this to dry completely. Several hours should be good. I simply left it laying flat on a table overnight.
● As with any craft, personalize it to make it yours!
● Nearly all the materials necessary to make this simple Farmhouse Décor: Easy Painted Mirror can be purchased at at JoAnn, Michaels, or Hobby Lobby.
Farmhouse Décor: Easy Painted Mirror Materials:
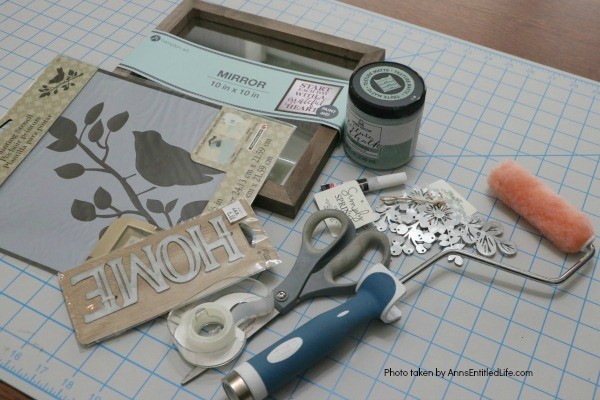
● 10″x10″ Mirror with Wooden (rustic) Frame
● Stencil
● Tape
● Scissors
● Baby Paint Roller (large nap)
● Tray
● FOLKART 34832 Texture Chalk Paint Finish, 8 oz. , Green Shadow
● Embellishments
● Adhesive (Goop Marine if you plan on hanging outside)
Farmhouse Décor: Easy Painted Mirror Directions:
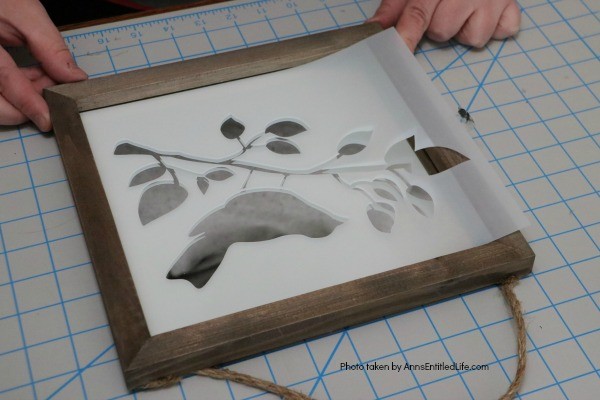
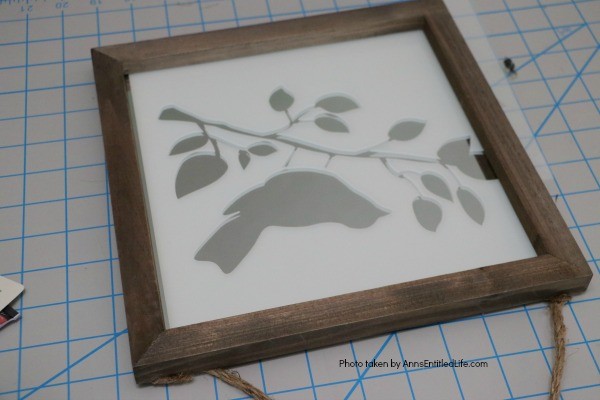
● Fit your stencil inside the mirror frame.
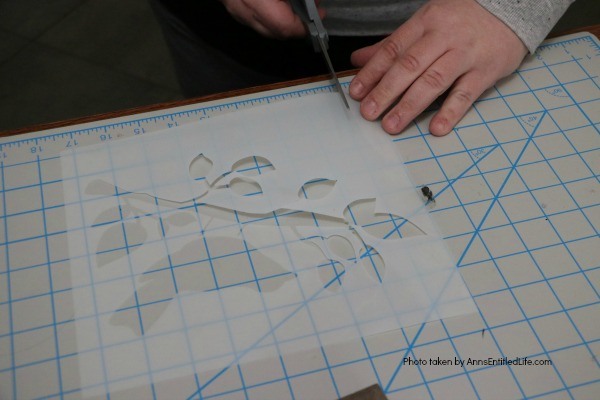
● If too large, cut it. If smaller than the framed area, place the stencil where you would like it to show after painted on the mirror.
● Tape stencil to mirror.
● Note: you could stop right here, not paint, glue on the stencil and embellishments and have one cute little mirror-art!
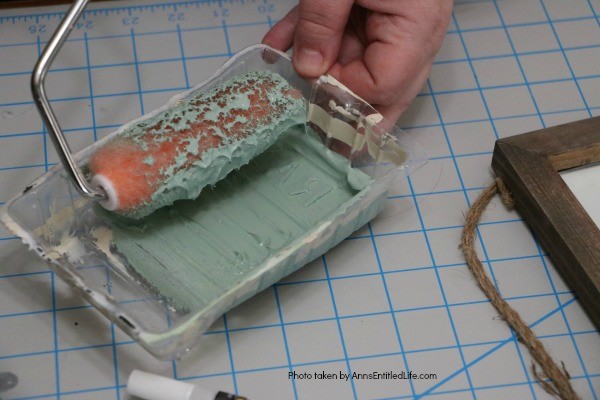
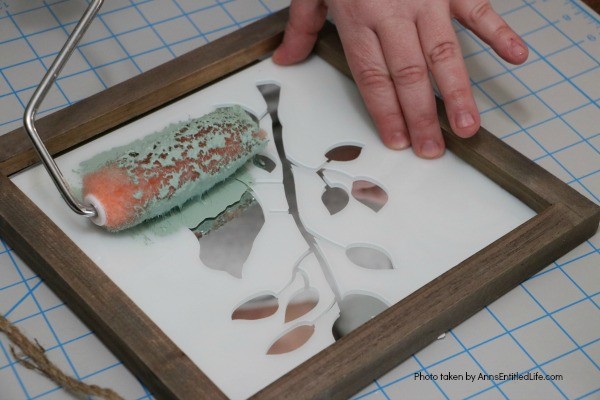
● Using a thick nap baby roller and the chalk paint color of your choice (for farmhouse décor, greens, blues, greys, work very well) load up some paint on your roller.
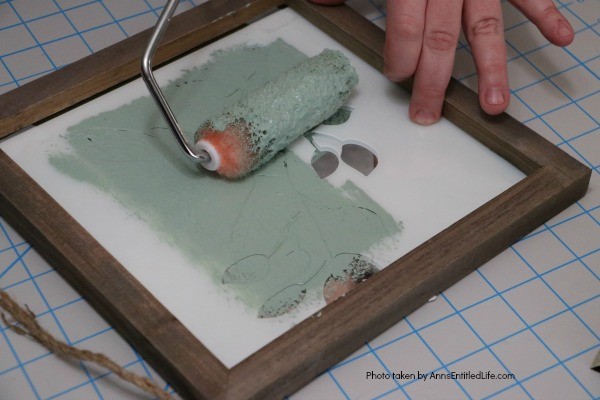
● Roll the paint in one direction over your stencil. Make sure you get all the way to the stencil ends. If you touch the frame with the paint, clean that up immediately.
● Allow the paint to dry completely before attempting to remove the stencil. I cannot emphasize this enough!!
● Lift the stencil straight up to remove it.
● Wash the stencil so you can save it for another project. You will probably need a scrubby, along with soap and water, as that paint dried.
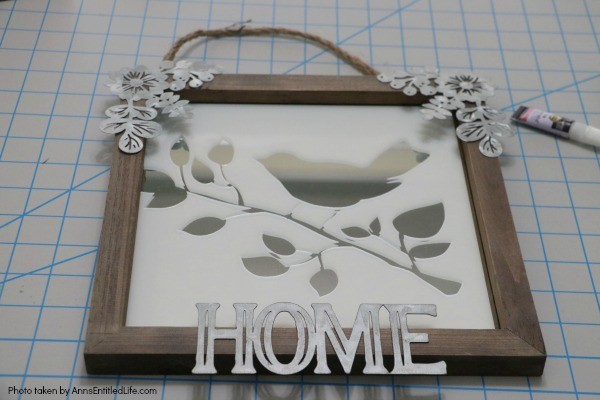
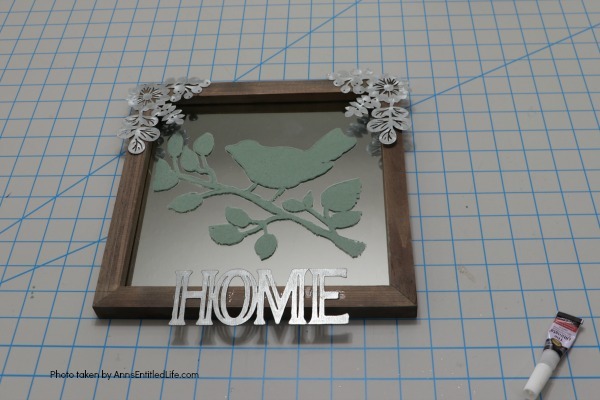
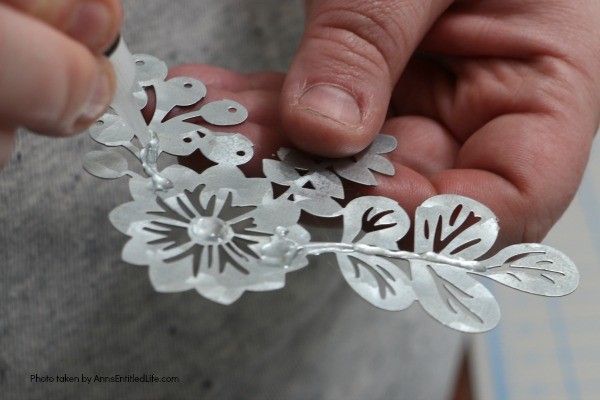
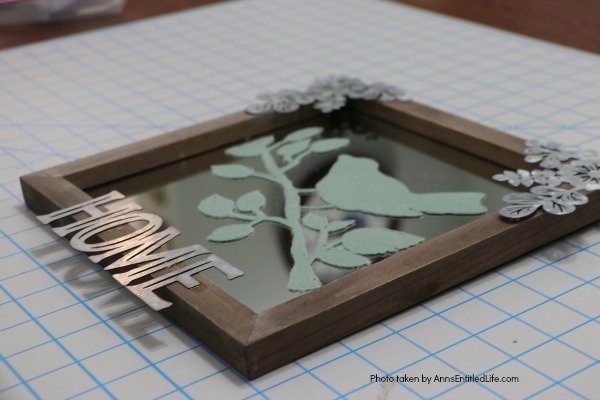
● Glue the embellishments onto the corners and the bottom of the wooden frame. A multi-surface adhesive was used on this project, but Goop is a great choice particularly if you plan on hanging this outside (use Marine Goop in that case). You may want to lay-out the embellishments before adhering.
● Display as desired.
Farmhouse Décor: Easy Painted Mirror
Farmhouse Décor: Easy Painted Mirror. This sweet little painted mirror is easy to make, rustic décor. Great for indoor or outdoor decorating, this DIY farmhouse style painted mirror fills in that small area of open wall space perfectly. This step-by-step tutorial will show you exactly how to make this simple painted mirror project inexpensively.
Materials
- Stencil
- FOLKART 34832 Texture Chalk Paint Finish, 8 oz. , Green Shadow
- Embellishments
- Adhesive (Goop Marine if you plan on hanging outside)
- Tape
Tools
- Scissors
- Baby Paint Roller (large nap)
- Paint Tray
Instructions
- Fit your stencil inside the mirror frame.
- If too large, cut it. If smaller than the framed area, place the stencil where you would like it to show after painted on the mirror.
- Tape stencil to mirror.
- Note: you could stop right here, not paint, glue on the stencil and embellishments and have one cute little mirror-art!
- Using a thick nap baby roller and the chalk paint color of your choice (for farmhouse decor, greens, blues, greys, work very well) load up some paint on your roller.
- Roll the paint in one direction over your stencil. Make sure you get all the way to the stencil ends. If you touch the frame with the paint, clean that up immediately.
- Allow the paint to dry completely before attempting to remove the stencil. I cannot emphasize this enough!!
- Lift the stencil straight up to remove it.
- Wash the stencil so you can save it for another project. You will probably need a scrubby, along with soap and water, as that paint dried.
- Glue the embellishments onto the corners and the bottom of the wooden frame. A multi-surface adhesive was used on this project, but Goop is a great choice particularly if you plan on hanging this outside (use Marine Goop in that case). You may want to lay-out the embellishments before adhering.
- Display as desired.
Recommended Products
As an Amazon Associate and member of other affiliate programs, I earn from qualifying purchases.
-
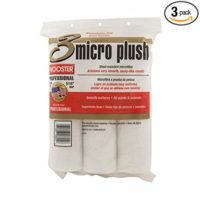
 Wooster Brush R335 9" Micro Plush 5/16" Nap Roller Cover, Pack of 3
 -
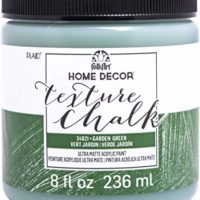
 FolkArt 34821 Texture Chalk Painting and Drawing, 8 oz, Garden Green
 -
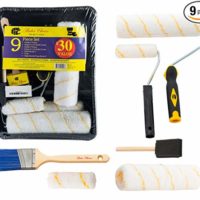
 Bates Paint Roller - Paint Brush, Paint Tray, Roller Paint Brush, 9 Piece Home Painting Supplies, Foam Brush, House Painting Tray, Painting tools, Roller and Paint Brushes, Interior Paint Brushes
● Disclosure: the links in this post may be affiliate links.
● For more Craft posts on Ann’s Entitled Life, click here.
● If you enjoyed this post, be sure to sign up for the Ann’s Entitled Life weekly newsletter, and never miss another article!
Leave a Reply