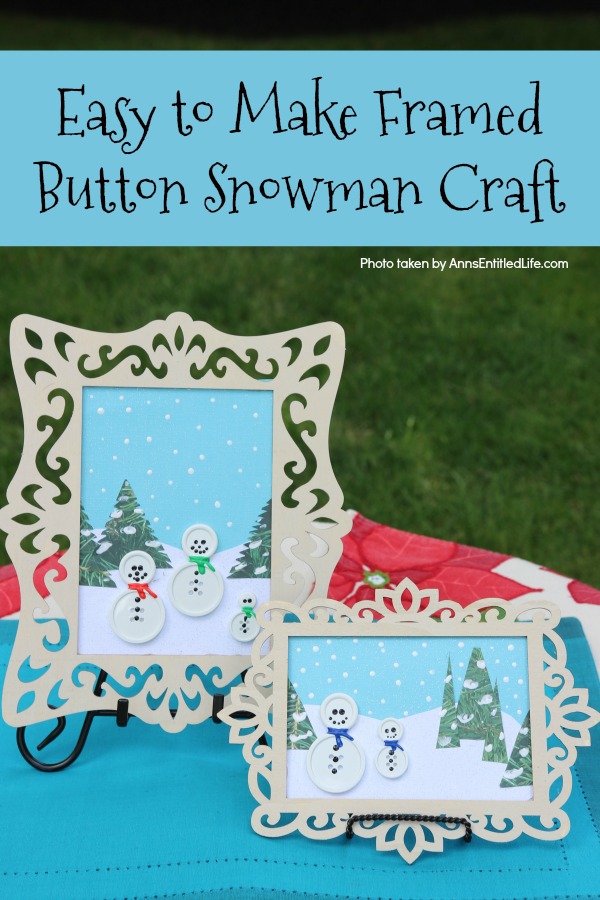
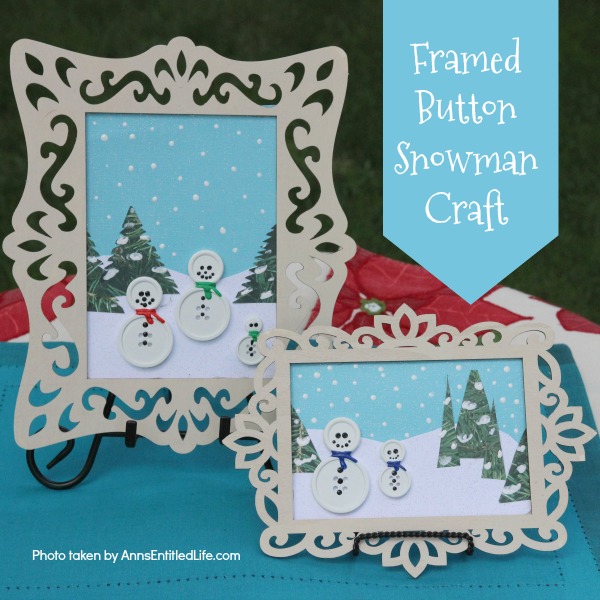
These easy to make little button snowmen are adorable winter crafts that can be made in no time flat! These are great little winter frame decor. You can place them on an easel or hang them on a wall for display.
Framed Button Snowman Craft
These cute little snowmen have their own winter scene! This is a step-by-step tutorial that comes together quickly – the actual construction of these are about 15 minutes, but there is paint drying time so consider that in your timeframe.
If you like making snowmen crafts, here are a few others you may enjoy:
● DIY Wine Glass Snowman – super cute!
● Snowman Mason Jar Craft DIY – super simple to make.
● Snowman Garland Craft – cute on a mantel or across a window.
● Make Your Own Snowman Window Cling – the kids will LOVE this one!
Notes:
● The trees can either be cut into triangles or left alone (see the horizontal frame), or you can snip the edges for “branches” (see the vertical frame).
● You can do one, two, three snowmen (women, children). If you want to add a hat, consider a snip of construction paper instead of paint (unless you have a very steady hand).
● You can buy individual sheets of the cardstock used in this craft at a reasonable price at your local Michaels, Joann or Hobby Lobby.
● Use sparkly glitter cardstock on the blue background and snowy hills. It will look better than flat cardstock.
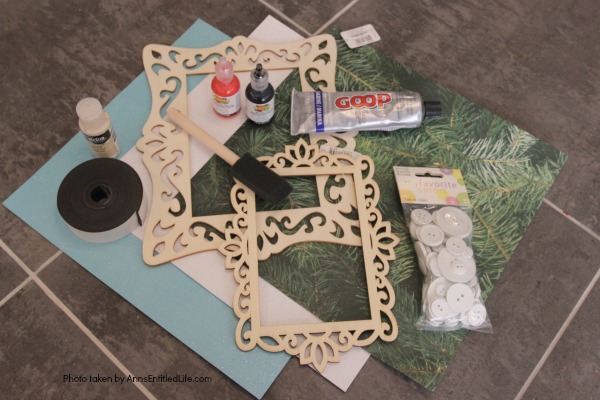
Framed Button Snowman Craft Materials:
● White Buttons
● Frame (4×6 and 5×7 were used)
● Craft Paint – Titan BUff was used on the frames shown
● Fabric Paint Black, Red, Green, White
● Paint Brush
● Goop or Glue Gun and Hot Glue Sticks
● Scissors
● Textured Pine Cardstock Paper
● White Cardstock Paper (Core’dinations glitter white gloves was used)
● Blue Cardstock Paper (Core’dinations glitter blue diamonds was used)
Framed Button Snowman Craft Instructions:
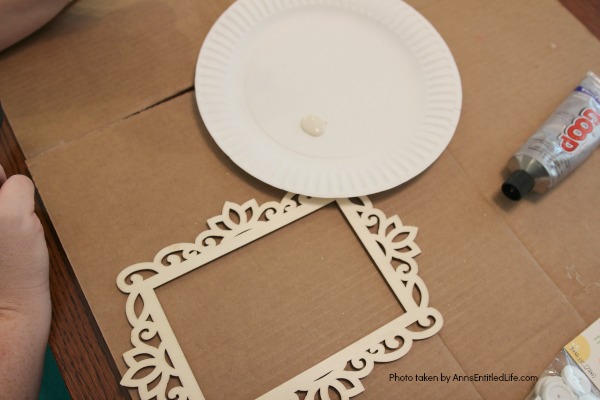
● Cover work surface with cardboard or newspaper.
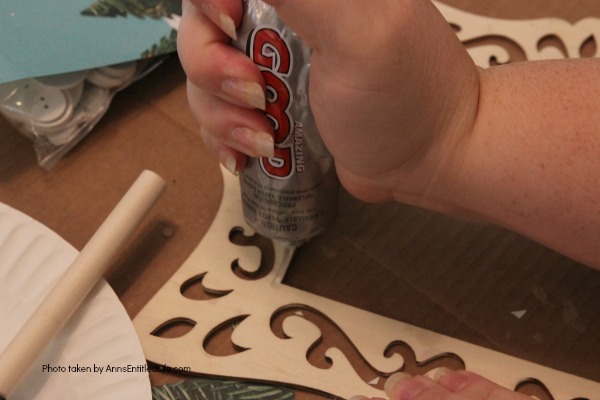
● Squeeze a dab of glue onto a paper plate or easel, and paint the wooden frames. Allow to dry. Apply a second coat if needed, and allow to dry completely.
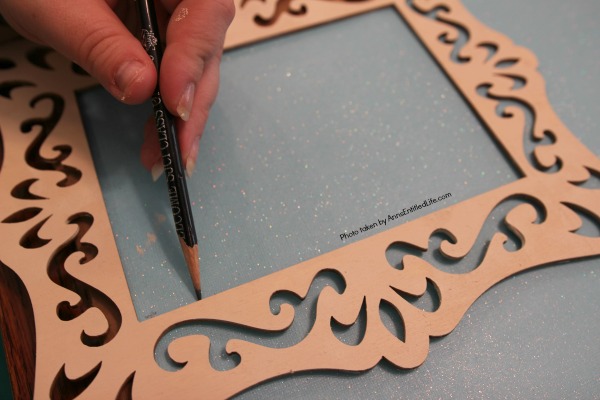
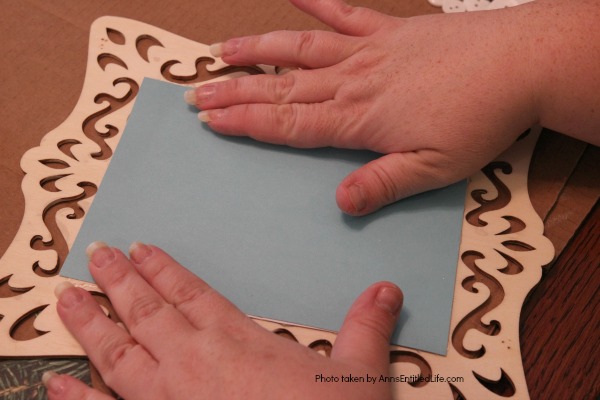
● Cut out a blue background from the cardstock based on the size of the frame you are working with.
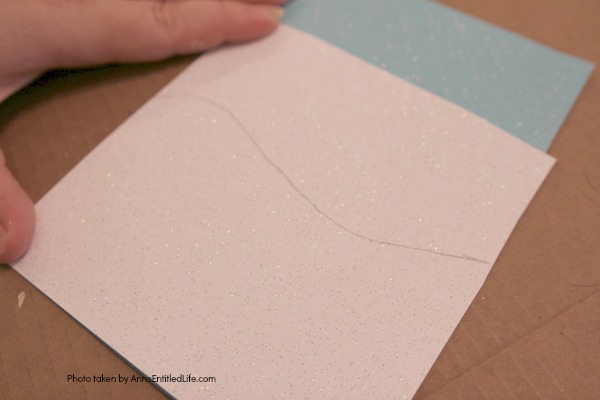
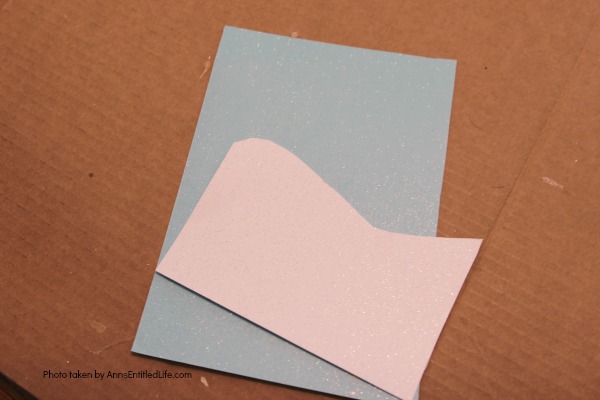
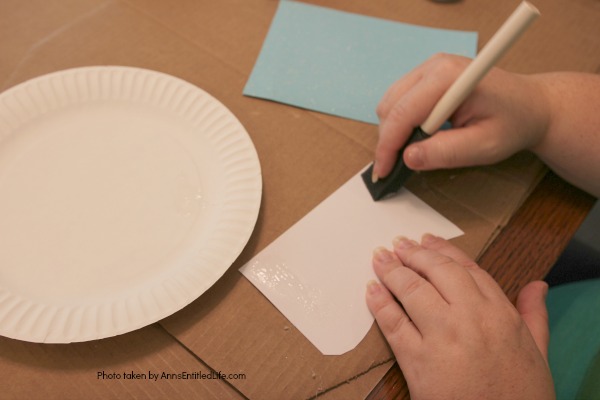
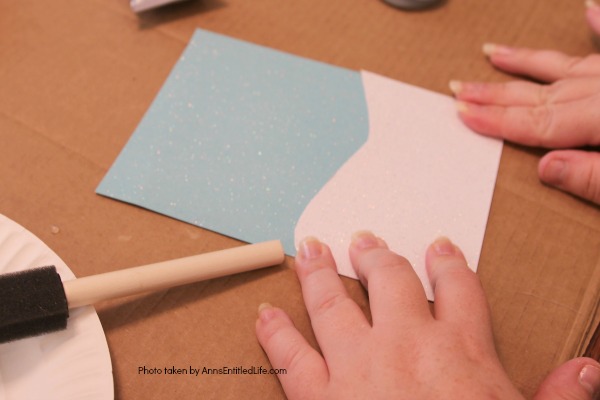
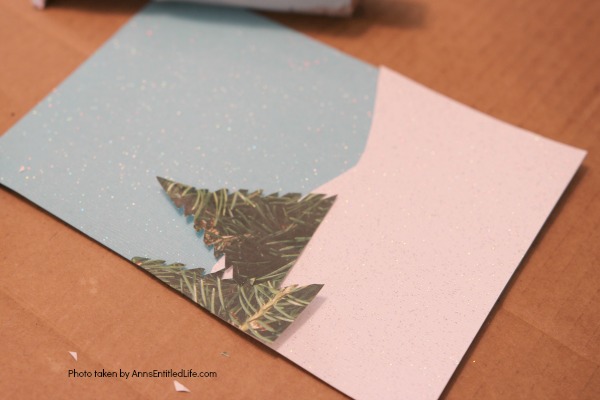
● Make a snow hill on the white cardstock, cut it out and glue to the blue cutout cardstock.
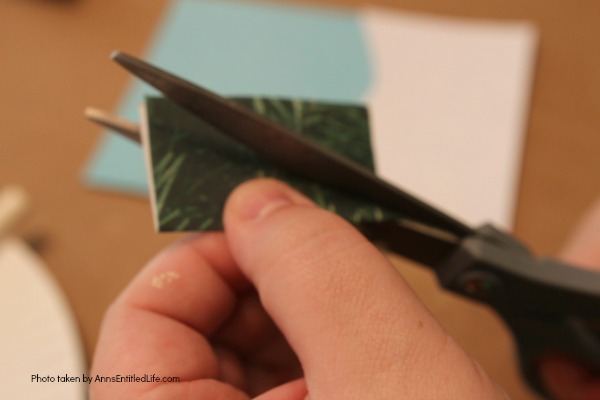
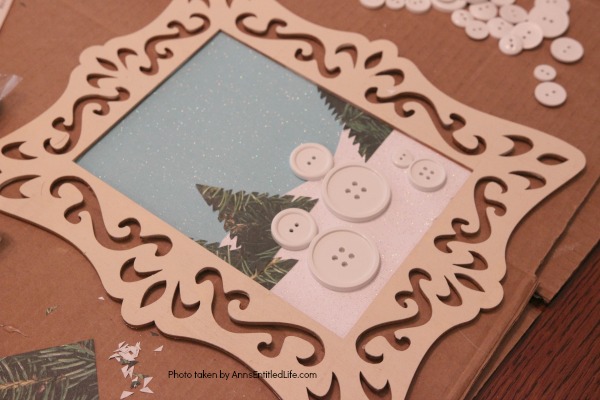
● Cut a square piece of the pine boroughs cardstock into small triangles to make trees. Fold in half, and make a diagonal cut. If you wish to make “leaves,” notch the edges. In this craft one framed piece has edges, and one does not so you can compare which look you like better.
● Glue a few trees to the sides of your blue and white hills. You can layer one or two, make them different sizes, etc. for depth.
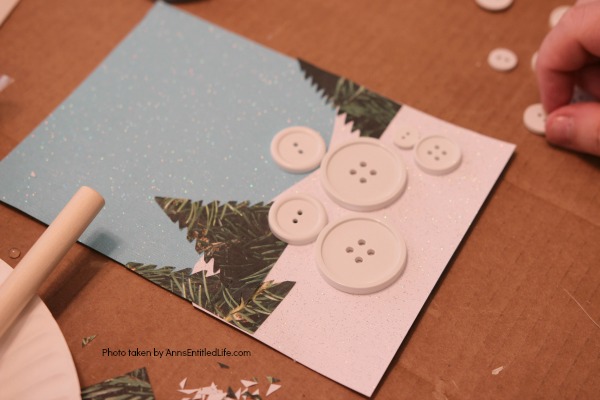
● For the vertical, 5″x7″ frame: take one large white button and one medium white button. You want to lay out your snowmen, and then place the frame over it, so the snowmen are clear of the frame edges. In these, two large snowmen and one small snowman were made. The quantity and sizes are completely up to you!
● Glue the snowmen in place on the blue/white cardstock.
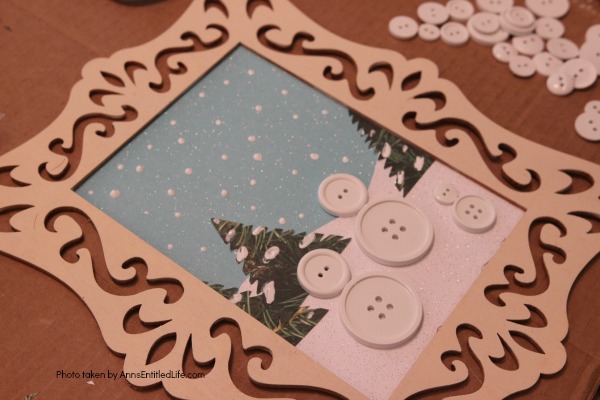
● Place glue on the edges of the frame and place snowman-button-art face-sized down, so the edges are hitting the glue. Press down onto the frame.
● Turn over and paint some white dots for “snow” in the sky and trees. Allow to dry.
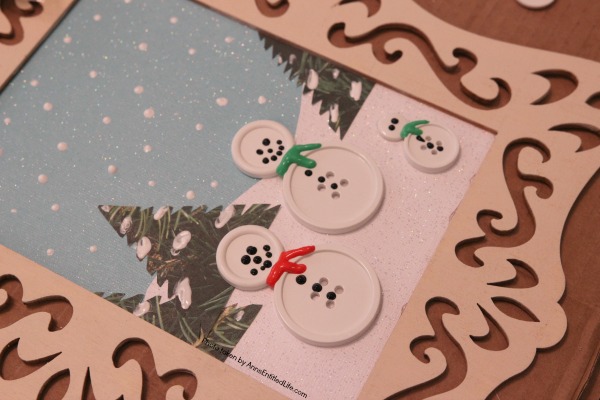
● Paint on black eyes and mouth. Use dots for the mouth as it is easier.
● Paint on scarves. Red and green paint were used, but you could use navy, purple, orange, etc. Allow to dry completely.
● Display as desired!
● Disclosure: the links in this post may be affiliate links.
● For more Holiday posts on Ann’s Entitled Life, click here.
● For more Craft posts on Ann’s Entitled Life, click here.
● If you enjoyed this post, be sure to sign up for the Ann’s Entitled Life weekly newsletter, and never miss another article!
Tonya says
Thank you for your tutorial. My daughter and her friends made these at her 10th birthday party today. They were beautiful. The girls enjoyed it!
Ann says
That is wonderful, Tonya!
Ann