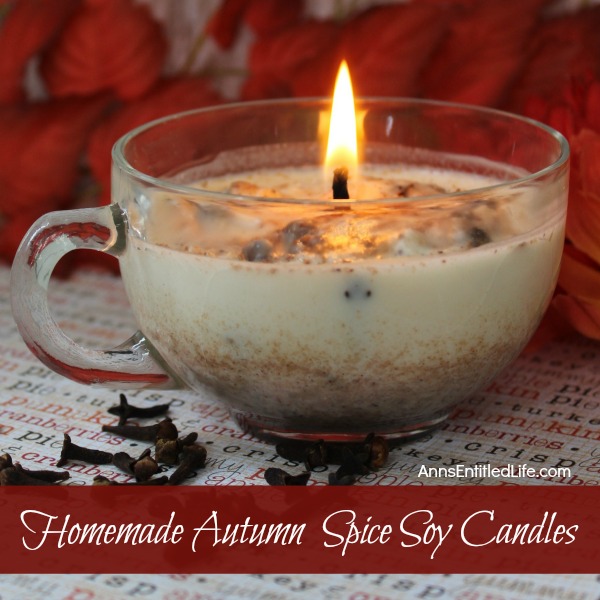
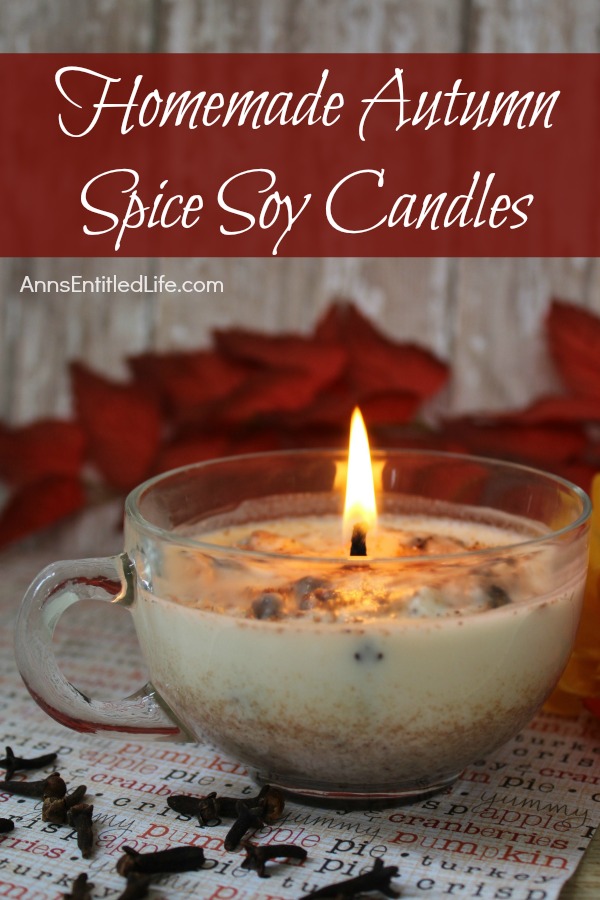
Easily and inexpensively make your own Homemade Autumn Spice Soy Candles! These are great for gifts or to scent your own home during the fall and holiday season. These Homemade Autumn Spice Soy Candles are a fun DIY project that yields great results!
Homemade Autumn Spice Soy Candles
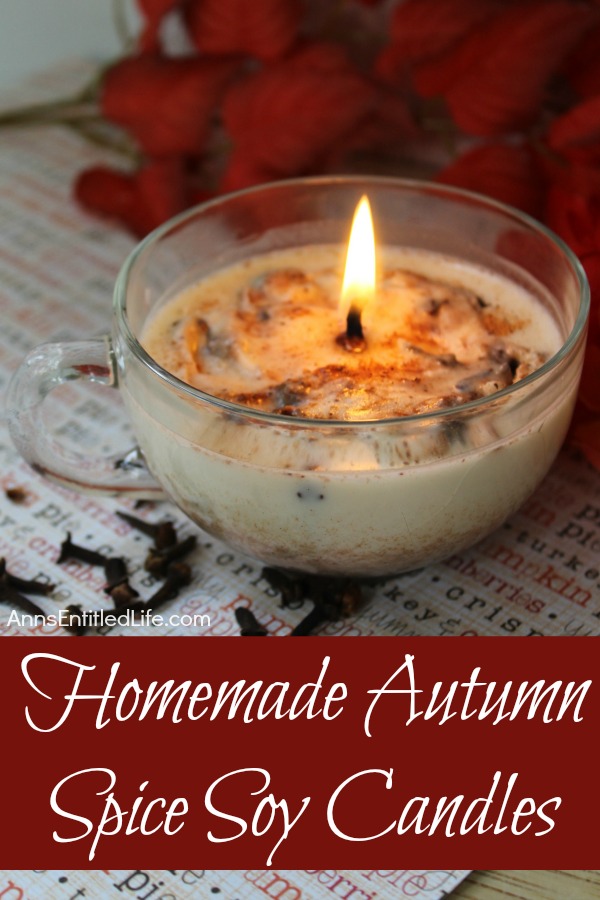
How is this for a super cute, unique candle idea? The bonus is it is a soy candle, so no build up on the walls or ceiling. I absolutely adore soy candles. They are my go-to candle when buying, and now when making candles at home.
Tips for making this Homemade Autumn Spice Soy Candle:
● Safety tip: never leave a lit candle unattended!
● If you frequent thrift stores, you may want to look for clear teacups there.
● This is a super easy project! You can dress up your cups with ribbons when giving as a gift! Think teachers, small gift exchanges, housewarming presents, stocking stuffers, and more!
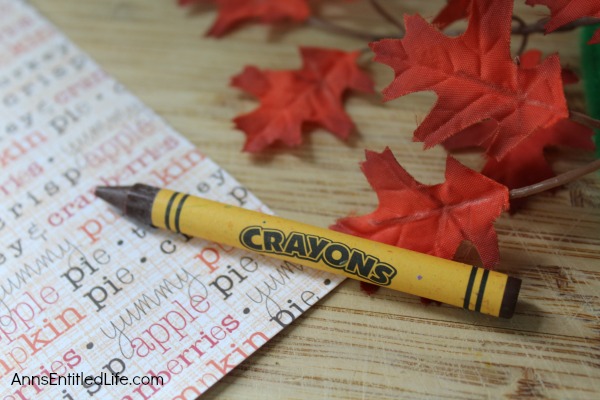
● DO NOT use food coloring to color your candle. This tutorial uses a crayon, but you can also use candle dye if you like.
● Note: if microwaving the soy wax, microwave in 30-60 second bursts stirring before setting the next time. This particular formula is best done on the stove, but you can make adjustments if you want to microwave.
Homemade Autumn Spice Soy Candles Materials:
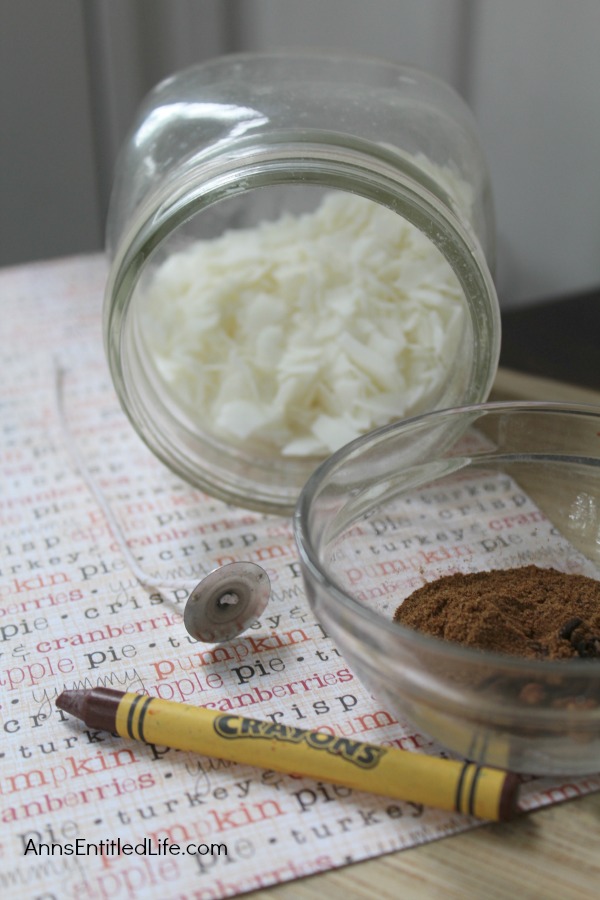
● 2 cups Soy Wax
● 1 Candlewick
● Teacup
● 1 Light Brown or Tan Crayon
● ½ tsp Apple Pie Spice
● ½ tsp Nutmeg
● ½ tsp Cinnamon
● 1 tsp Dried Cloves, divided
Homemade Autumn Spice Soy Candles Tools:
● Large Nonstick Pot
● Measuring Cup
● Measuring Spoons
● Wooden Spoon
● Chopstick or Wood Stick or Pencil
Homemade Autumn Spice Soy Candles Directions:
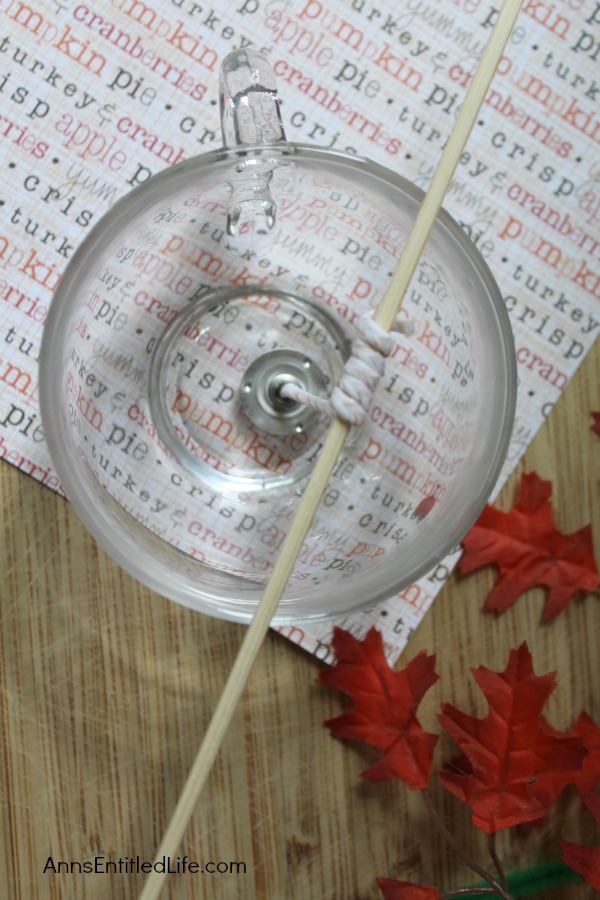
● Place your candlewick in a teacup.
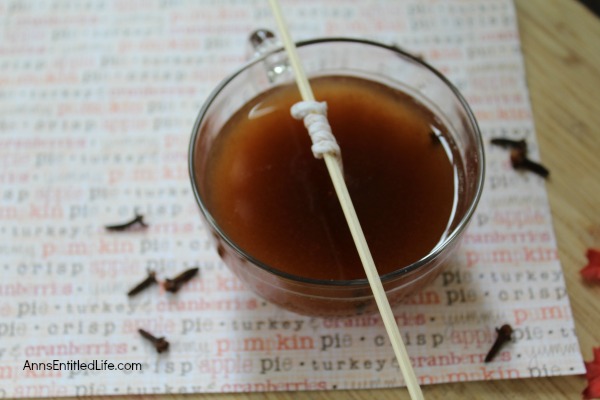
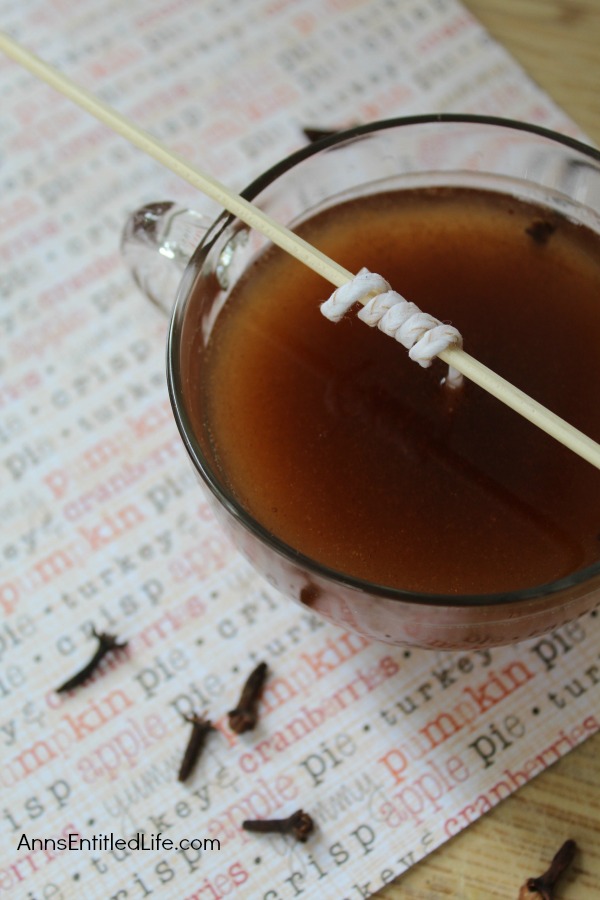
● To hold the candlewick in place, wrap the top around a pencil or chopstick.
● Place the stick over the teacup and let the bottom of it drop to the bottom. A weighted candlewick
does this nicely and settles on its own.
● Begin by heating the soy wax flakes on low heat right on your stovetop. It is best to use a nonstick pot to help avoid burning and sticking.
● Continue to stir the soy candle flakes as they slowly melt. Be sure to keep the liquid moving so it does not stick or clump.
● Note: if microwaving, microwave in 30-60 second bursts stirring before setting the next time. This particular formula is best done on the stove, but you can make adjustments if you want to microwave.
● DO NOT use food coloring to color your candle. It will clump and not mix. Instead, use a brown or tan crayon to color the soy wax. Peel the crayon so as no wrapper remains, and then break the crayons into small pieces. Drop the pieces into the soy candle mixture and stir well until completely dissolved.
● Add the apple pie spice, nutmeg, and cinnamon; continue to stir well.
● Add half of the cloves; continue to stir well. Note: you can add all the cloves at once if you like. In this tutorial, half are held back for visual appeal.
● The color of the wax may darken, but that is fine and expected.
● Remove the mixture from the stove and slowly (and carefully!) pour it into the teacup.
● Immediately re-center the candlewick if needed.
● Store your Homemade Autumn Spice Soy Candles in a room that is cool to allow them time to harden.
● After hour one, you will notice the top beginning to look firmer.
● Drop the rest of the cloves in at this time so they rest on the top of the candle.
● Return your candle to the cool room to finish setting. It may take 4 hours until your candle is completely set.
● Once the mixture has hardened you can snip the candlewick to shorten it.
● Light and enjoy!
Safety tip: never leave a lit candle unattended!
Homemade Autumn Spice Soy Candles

These Homemade Autumn Spice Soy Candles are a fun DIY project that yields great results!
Materials
- 2 cups Soy Wax
- 1 Candlewick
- Teacup
- 1 Light Brown or Tan Crayon
- ½ tsp Apple Pie Spice
- ½ tsp Nutmeg
- ½ tsp Cinnamon
- 1 tsp Dried Cloves, divided
Tools
- Large Nonstick Pot
- Measuring Cup
- Measuring Spoons
- Wooden Spoon
- Chopstick or Wood Stick or Pencil
Instructions
- Place your candlewick in a teacup.
- To hold the candlewick in place, wrap the top around a pencil or chopstick.
- Place the stick over the teacup and let the bottom of it drop to the bottom. A weighted candlewick does this nicely and settles on its own.
- Begin by heating the soy wax flakes on low heat right on your stovetop. It is best to use a nonstick pot to help avoid burning and sticking.
- Continue to stir the soy candle flakes as they slowly melt. Be sure to keep the liquid moving so it does not stick or clump.
- Note: if microwaving, microwave in 30-60 second bursts stirring before setting the next time. This particular formula is best done on the stove, but you can make adjustments if you want to microwave.
- DO NOT use food coloring to color your candle. It will clump and not mix. Instead, use a brown or tan crayon to color the soy wax. Peel the crayon so as no wrapper remains, and then break the crayons into small pieces. Drop the pieces into the soy candle mixture and stir well until completely dissolved.
- Add the apple pie spice, nutmeg, and cinnamon; continue to stir well.
- Add half of the cloves; continue to stir well. Note: you can add all the cloves at once if you like. In this tutorial, half are held back for visual appeal.
- The color of the wax may darken, but that is fine and expected.
- Remove the mixture from the stove and slowly (and carefully!) pour it into the teacup.
- Immediately re-center the candlewick if needed.
- Store your Homemade Autumn Spice Soy Candles in a room that is cool to allow them time to harden.
- After hour one, you will notice the top beginning to look firmer.
- Drop the rest of the cloves in at this time so they rest on the top of the candle.
- Return your candle to the cool room to finish setting. It may take 4 hours until your candle is completely set.
- Once the mixture has hardened you can snip the candlewick to shorten it.
- Light and enjoy!
Notes
Safety tip: never leave a lit candle unattended!
Recommended Products
As an Amazon Associate and member of other affiliate programs, I earn from qualifying purchases.
-
 16oz Glass Jumbo Mugs With Handle For Coffee, Tea, Soup,Clear Drinking Cup With Spoon,Set of 6
 -
 Tosnail 4 Pack 11-Ounce Clear Glass Tea Cups and Saucers Sets
 -
 VAHDAM, Glitter - Set of 2 Tea Cup & Saucer | Borosilicate Glass Tea Cups & Saucers Sets | 8.45 oz Capacity - DURABLE - Tea Cup Set (4 Pcs) - Microwave, Refrigerator & Dishwasher Safe | Coffee Mugs
If you like to make your own candles, try these homemade candle “recipes”:
● Homemade Mason Jar Soy Candle
● Fresh Pine DIY Candle
● Homemade Coffee Bean Soy Candle
● For more Craft posts on Ann’s Entitled Life, click here.
● If you enjoyed this post, be sure to sign up for the Ann’s Entitled Life weekly newsletter, and never miss another article!




Didi says
Now this my friend is SOMETHING I WILL MAKE and tell my daughter about too!! Thank you Ann, pinning and sharing 🙂
Ann says
Thanks, Didi! I hope you enjoy. 🙂
Ann
Nicole | The Professional Mom Project says
I’ve never made candles before – looks like a fun project. I bet it must smell amazing as well 🙂
Pamela-FromMyFrontPorchToYours says
I bet these smell so yummy!
Momunit says
I tried this using lavender buds and a light yellow crayon. However, when the wax containing lavender buds melted and moved close to the flame, they caught on fire, sparked a lot (rather like fireworks!) and it was scary. Might I suggest sticking with essential oils for scent and putting the cloves on the outer edge? You can do this by pouring a thin coat of wax in the cup, swirl it to coat the inside, then stick cloves on the wax. Let that cool, then add the rest of the wax.
Paula says
As a professional candle maker I offer the following. soy wax has a flash point of around 170* & higher. I use a candy thermometer to be sure I don’t set it all on fire. the wax also needs to cool a bit before adding scent & dye. Some spices do catch fire so I recommend using a candle specific scent. these are fairly inexpensive if you plan on making a lot. DO NOT use candles for a candle dye!!!! Candles are noxious (harmful, deadly) when melted as in a candle. your candles all sound lovely & wonderful but I suggest a little research on the specifics I have mentioned. in the end you are liable for any mishaps. plz be careful & error on the side of caution.
Jacki says
When you say “do not use candles for a candle dye”, do you mean don’t melt another candle down with the soy wax? Would it be safe if I just bought an Unscented candle and melted it down instead of using the soy wax? I saw that on another post and it worked good when I tried it but I don’t want to do something harmful.
Paula says
Sorry, I meant to say crayons as they are so noxious. Thx for pointing this out to me. 🙂
Laura @ Fantastically Four says
Ooh, this is a fantastic project! Love the spices and it looks so beautiful in that glass mug!
Megan says
I’ve often considered making my own candles, but I haven’t attempted it yet. I bet this smells divine!
Emily says
I bet this smells fantastic! I am so in the mood for fall and all it’s yummy scents! Thanks for linking up with Merry Monday this week – I’ll be featuring your candle at our upcoming party. I hope you’ll stop by and link up again!
Jan says
Thanks so much for the print option, makes it so much easier to follow
Marie-Interior Frugalista says
I bet this candle smells amazing! You’ve inspired me to save a lot of money by making my own. Plus I know it’ll be scented naturally rather than a chemical filled scent. Pinned
Ann says
You make this look so easy and I’m sure it smells amazing! Thank you for sharing at Party In Your PJ’s, you are being featured on my blog Tuesday evening.
Sarah @ The DIY Mommy says
I can only imagine how great this candle smells! Super cute in the tea cup too!
Cindy@CountyRoad407 says
Oh my I bet this smells soooooo good! Looks so pretty too! I’m putting this on my list this fall. Glad I saw it on the All About Home link party. Would love for you to join us a the Farmhouse Friday party too sometime. I know everyone would love to see this! pinned
Amber Tienor says
Kinda bummed did the exact recipe and used a little less scent because I don’t like it really strong. After letting it sit a week before burning it, it only burned for a couple minutes and went out and I tried it again and did the same.