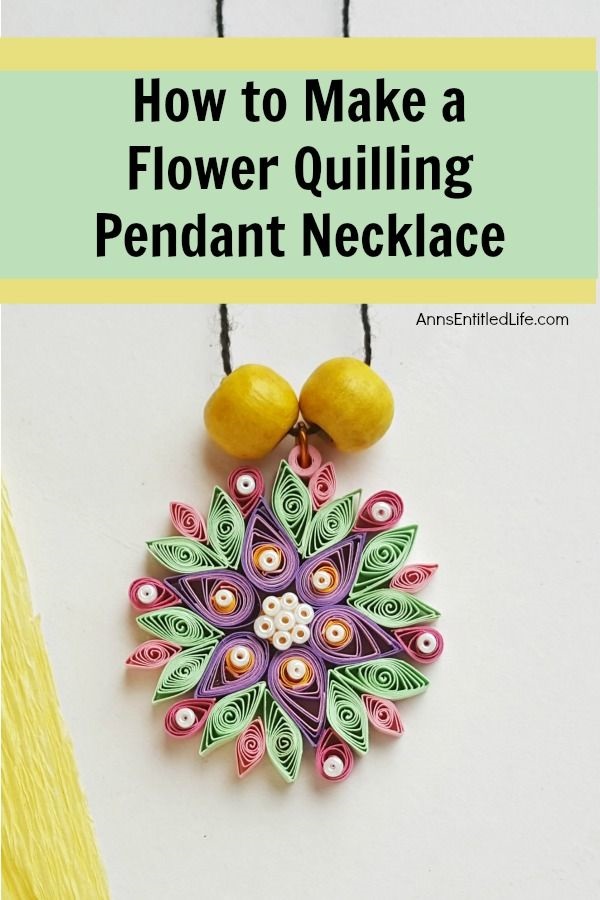
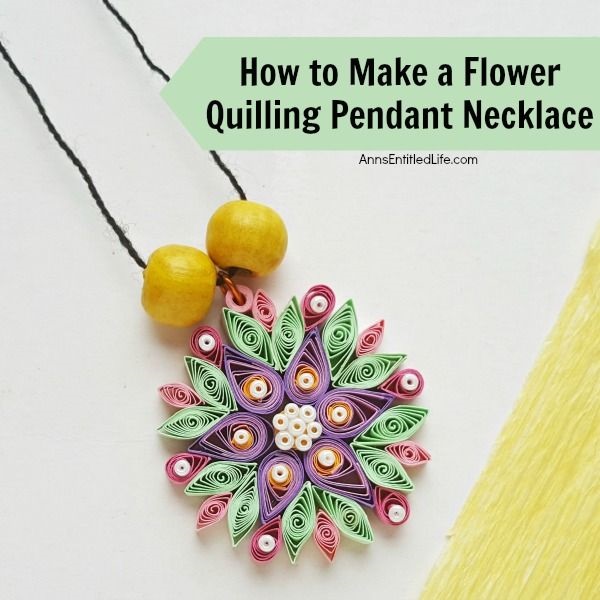
Use these easy step by step instructions to make a beautiful flower pendant with quilling paper strips. This lovely pendant can be customized to any color to personalize your flower quilling pendant necklace to your exact taste. If you are interested in making quilling jewelry, start here!
How to Make a Flower Quilling Pendant Necklace
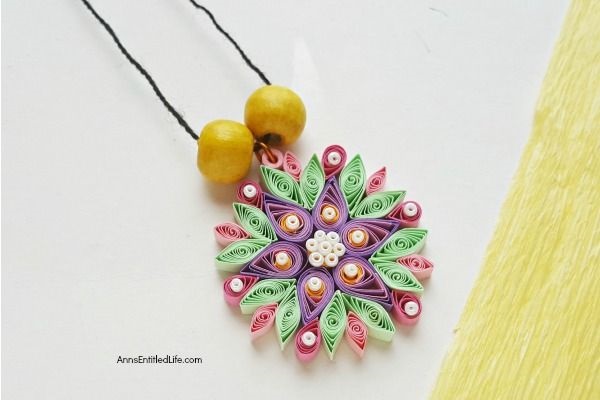
This is super pretty. I mean super duper pretty. When finished you can string it on a leather thong, a delicate chain, embellish with more dodads (like the yellow wooden balls shown) or leave “plain”. This Flower Quilling Pendant Necklace is lovely enough to not need additional embellishments.
This is listed out (with photos) as step-by-step. Follow the instructions to make your own lovely Flower Quilling Pendant Necklace.
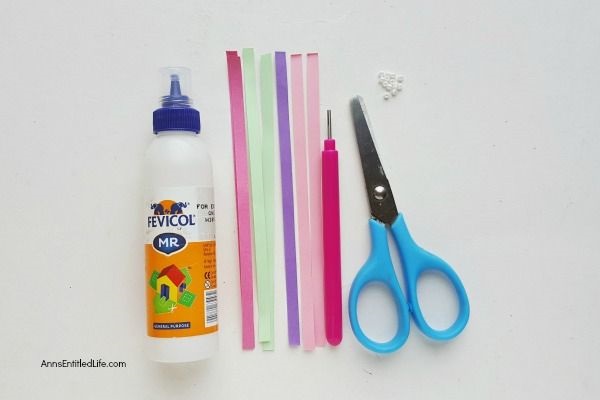
Flower Quilling Pendant Necklace Materials:
● Quilling paper strips, 14cm, 7 cm
● Scissors
● Craft Glue
● Slotted Quilling Tool
● Seed beads
● Jump Ring
Flower Quilling Pendant Necklace Directions:
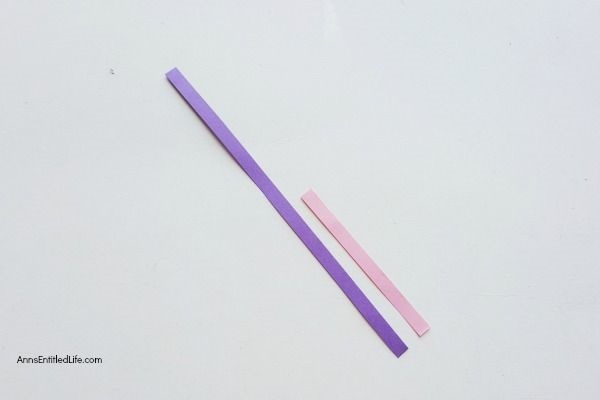
● Step 1 – Select 2 different colored quilling strips; one long (14 cm) and one short (7 cm).
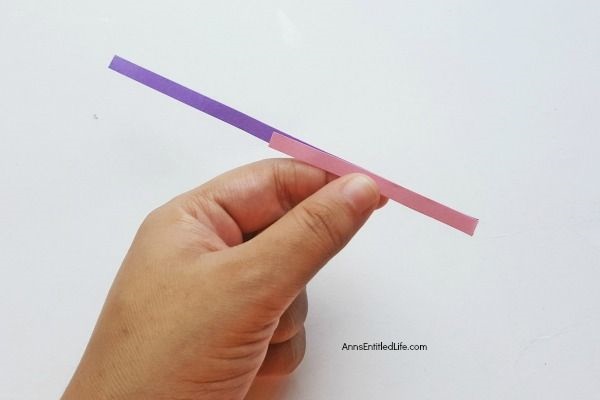
● Step 2 – Hold both strips together by matching any one side of both strips.
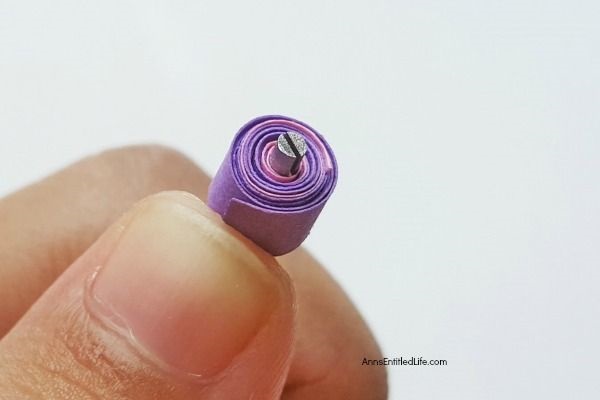
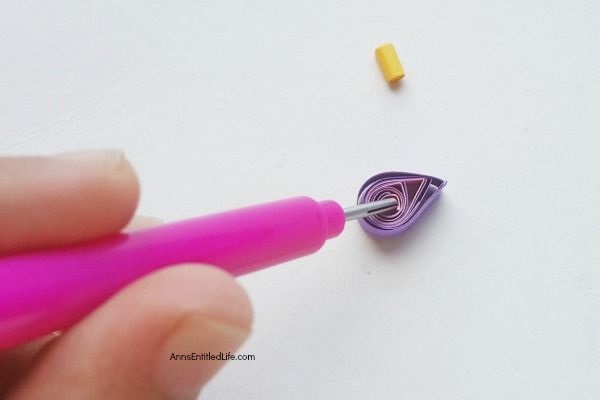
● Step 3 – Coil the strips together with the help of the slotted quilling tool.
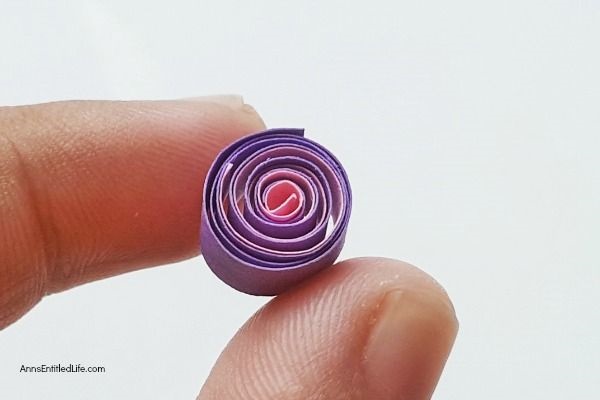
● Step 4 – Carefully take out the coil from the tool and allow the coil to loosen up a little.
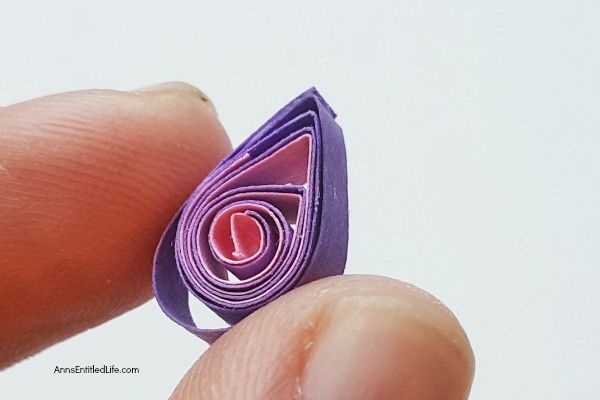
● Step 5 – Press any one side of the loose coil to form a teardrop shape. Glue the open end to secure the shape.
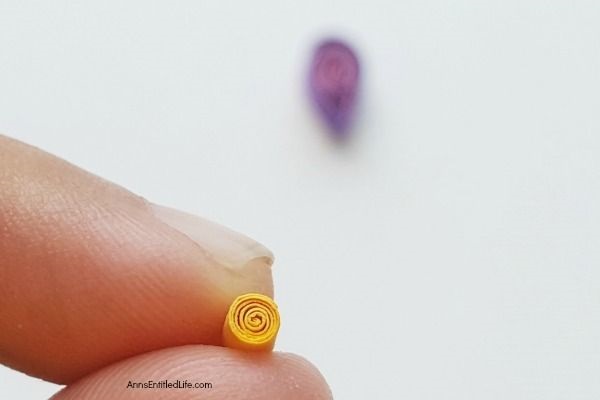
● Step 6 – Now take another different colored strip of 3.5 cm length and form a tight coil with it. Glue the open end to secure the shape.
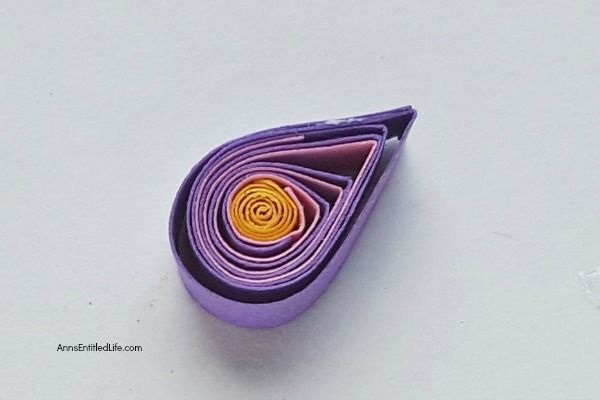
● Step 7 – Take the teardrop shape prepared in step 5 and use the slotted quilling tool to increase the size of its center.
● Step 8 – Apply a small amount of glue in the center and then place the tight coil prepared in step 6 inside the center.
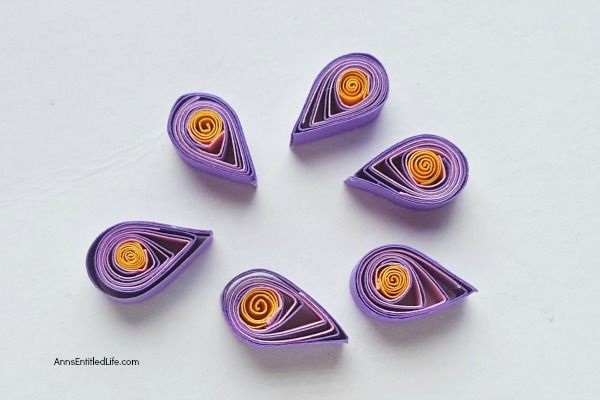
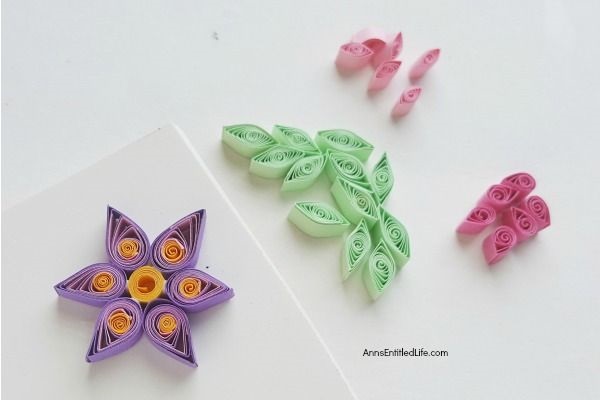
● Step 9 – Similarly create 5 more of these patterns as we’ll need 6 of them for the pendant.
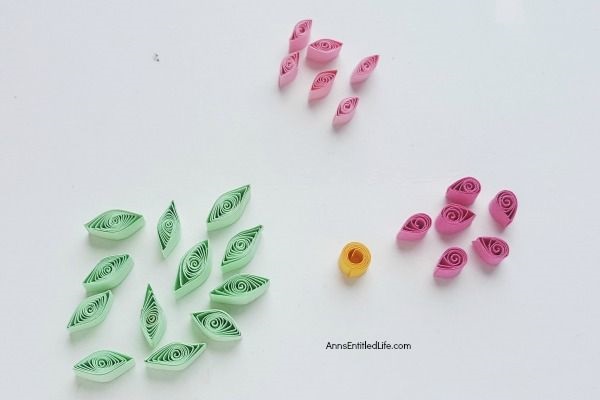
● Step 10 – Create 12 basic lens shape using 14 cm strips; of any color of your choice. Also create 6 basic lens shapes and 6 teardrop shapes using 7 cm strips. Create a tight coil pattern using a 14 cm strip; for the center of the flower (pendant).
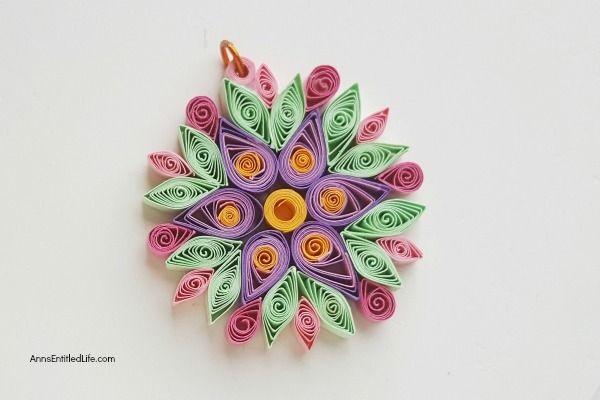
● Step 11 – Take a foam board and place the center (tight coil prepared in step 10). Glue the 6 teardrop shapes prepared in step 8 and 9 around it. The teardrop shapes are the petals of the flower.
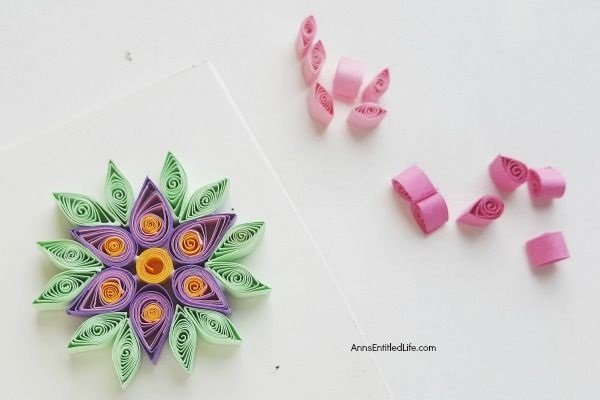
● Step 12 – Now glue the basic lens shapes (made from 14 cm strips) between the petals. Glue 2 lens shapes between 2 petals.
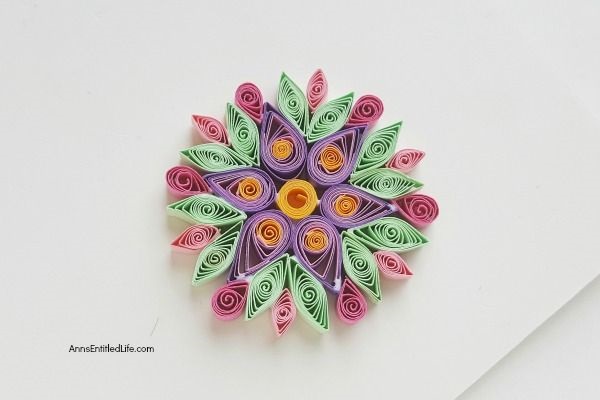
● Step 13 – Now glue the 6 lens shape and the 6 teardrops (made from 7 cm strips) between the previous lens shapes and petals. You can follow the pattern I created or you can attach them however you want to.
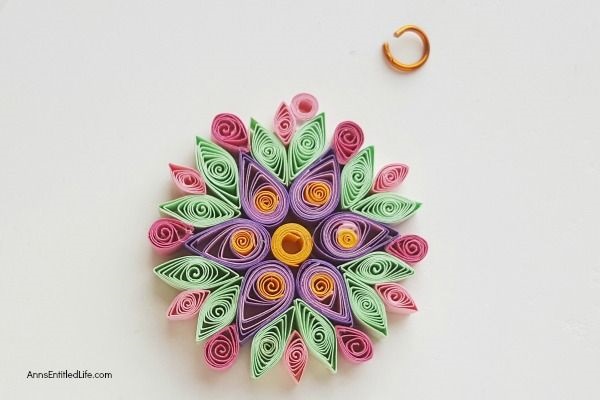
● Step 14 – Done forming the floral pattern? Create a tight coil pattern with a relatively larger hole in its center and attach it with the floral pattern. Also collect a jump ring.
● Step 15 – Attach the jump ring with the floral pendant through the hole of the coil attached with it in previous step.
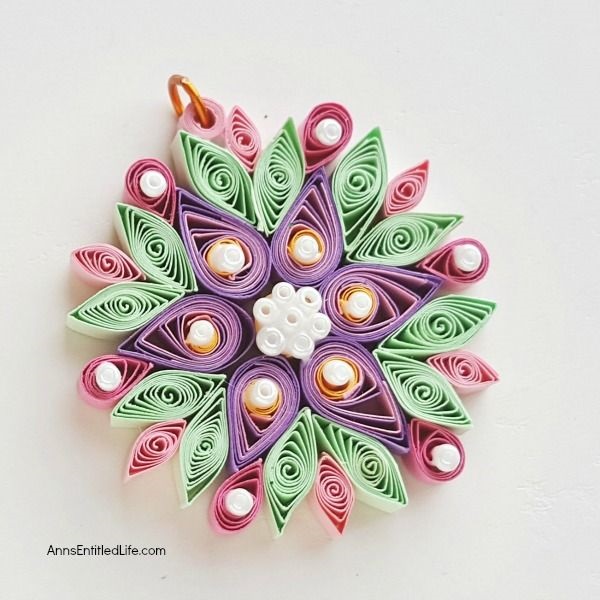
● Step 16 – Select any colored seed beads you want and glue them on the floral pattern using craft glue. Allow the glue to dry entirely.
● Step 17 – Once the glue dries you can wear the pendant with a necklace or a black string necklace.
● To print the instructions for this How to Make a Flower Quilling Pendant Necklace tutorial, click here.
If you enjoy making your own jewelry, you may want to make one of these:
● DIY Essential Oil Diffuser Bracelets – Make your own all day diffuser bracelet using this easy step by step instruction tutorial. The possibilities are endless for design and scent when you make your own essential oil diffuser bracelet. Enjoy your favorite scent all day long when you make your own DIY Essential Oil Diffuser Bracelets!
● DIY Essential Oil Diffuser Necklace – Make your own all day diffuser necklace using this easy step by step instruction tutorial. The possibilities are endless for design and scent when you make your own essential oil diffuser necklace. Enjoy your favorite scent all day long when you make your own DIY Essential Oil Diffuser Necklace!
● Disclosure: the links in this post may be affiliate links.
● If you enjoyed this post, be sure to sign up for the Ann’s Entitled Life weekly newsletter, and never miss another article!
● For more DIY Beauty posts on Ann’s Entitled Life, click here.
● For more Craft posts on Ann’s Entitled Life, click here.
Julie says
This is so so pretty. Pinning.