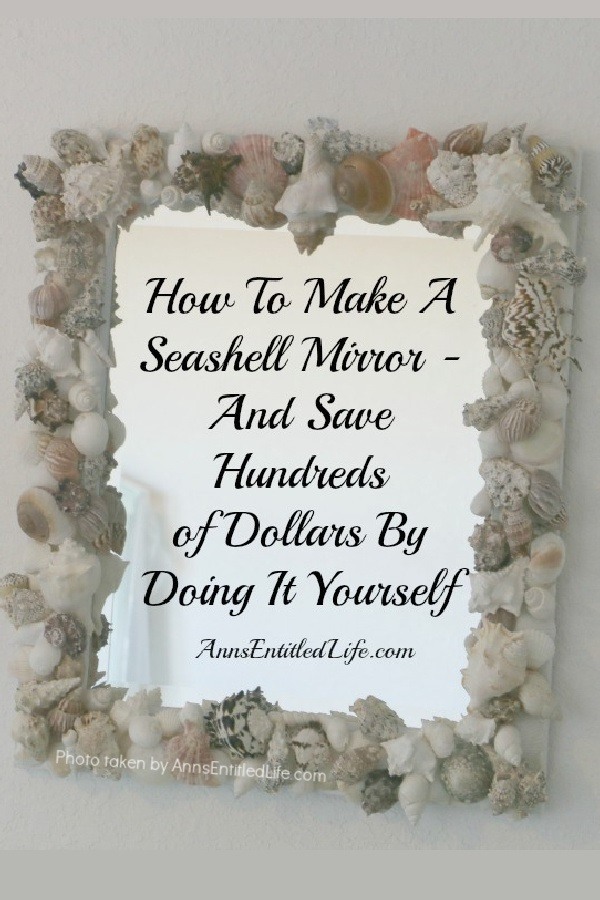
How To Make A Seashell Mirror
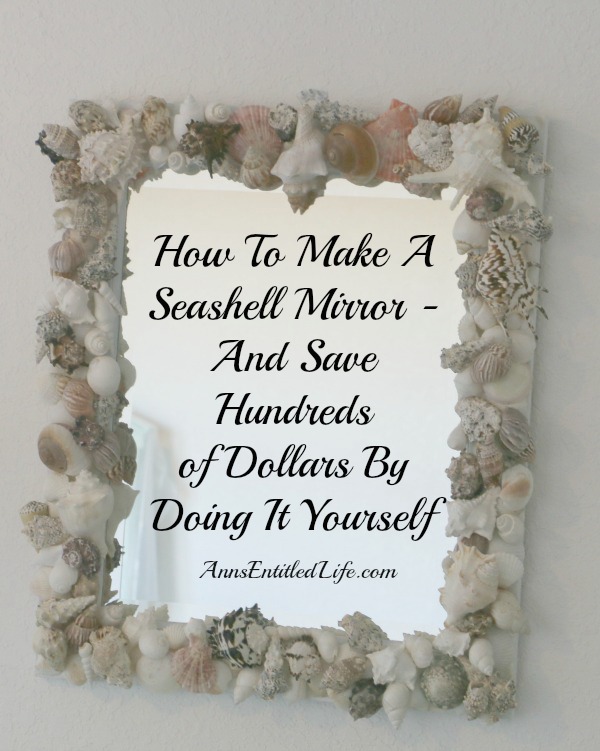
Easy step-by-step instructions to make your own seashell mirror saving you hundreds of dollars over retail on this simple DIY project.
Down at the condo we have a guest room that is pretty beachy. The furniture is minty green and wicker and the walls are white. The decor is all beach-themed down to the lamps and bedding. I wanted to add a mirror over the dresser, and decided a seashell mirror would be just the ticket!
And then I went on a hunt for a seashell mirror.
Acrylic mirrors could be had for under $200, but real seashell mirrors were running $700-$1000.
Yikes!!
There was no way I was paying that, so I decided to make my own seashell mirror.
I started poking around the internet and discovered that this was pretty doable, and pretty easy. The cost was the only factor. Hubby wanted to know why I just didn’t run down to the beach and grab some shells there – Ummm no… who knows what is living in them, they are not clean, and they are basically just clamshells, and nothing “interesting”. Now at home, I have a giant box of shells that I gathered a few years ago just sitting in a box. Those I will probably use this summer to make a frame. I figure whatever was growing on them died in that plastic box a few years ago. So, if they are clean (I will have to research, but I think a boil would be good), I will use them.
But that didn’t do me much good down here in Florida… on the beach… and yes, I recognize the irony. So off to Amazon I went to purchase a whole lot more shells than I actually needed (which leads to next week’s project!)
How To Make A Seashell Mirror Materials
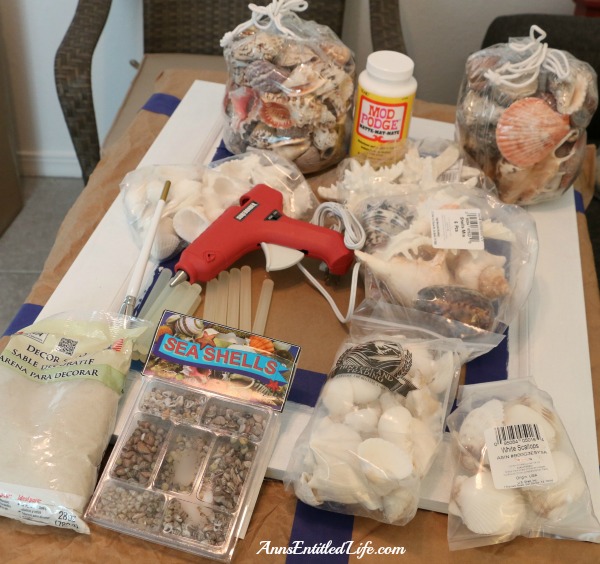
This is everything I purchased and/or used to make this seashell mirror:
● US Shell, 36 Piece, White Scallop Sea Shells, 4 to 5 Centimeters in Size – Clam shells formed the bottom base. I ordered one pack, and my frame is 24″ x 28″. The one pack covered most (but not all) of the frame. That was ok, because there were other clamshells in the other packs I purchased.
● Hinterland Trading Sea Shells for Decoration, 1-Pound, White – these were smaller and I wish I had ordered a second package. They hid a multitude of sins!
● U.S. Shell, Inc. Large Designer Bag– I purchased two bags of these, and I was glad I did. They were larger, and covered a great area. They were an excellent value for the money, and I did a pick-and-choose out of both the bags leaving the leftovers for two other projects.
● U.S. Shell, Inc. Shell Mix – this mix was a home run! It had unusual shells that I used as highlights in the corners.
● U.S. Shell, Inc. Extra Tiny Mix Collection – for me these were a complete waste of money. There was no way in hell I was going to hot glue these to fill holes. I would have fried my fingers off. When they say tiny, they mean tiny.
● Activa Décor Sand Floral Candle Sand, 28-Ounce, White – you can get by without the sand. I used it more on my second project. And “white” is definitely in the eye of the beholder on this one. More like er, sand color.
● US Shell, 6 Piece, Assorted White Armoured Starfish – I didn’t use these on this project. They were pretty darned large, and so I used them for other decor.
● Mod Podge – the mod podge is only necessary if you are using the sand.
● Small Paint Brush – a small paint brush – only necessary if you use the sand.
● Glue gun and glue sticks OR Marine Goop! (especially if your area is very humid, but it will take longer to dry and hold in place)
● White Spray Paint – if your frame isn’t white or a light color that works with the beach motif.
● Scissors and/or cutter – to cut off the 2,748,943 strings leftover from the hot glue.
● Rust-Oleum 249845 Painter’s Touch Multi Purpose Spray Paint, 12-Ounce, Satin Clear – to seal it all at the end.
I did not have a mirror for this project. I knew the approximate size I wanted which was 24″ x 24″. Sooooo off to the area thrift stores Hubby and I went.
St. Augustine has a lot of thrift and consignment stores for such a small populous. I think it is because so many retirees move down here, and then either all the stuff they brought down doesn’t fit in the new house/condo, or they pass away and their heirs do not want the hassle of shipping furnishings 1000 miles away. Hubby and I found a lot of decent things for our condo in thrift and consignment stores,so off we went to look for a mirror.
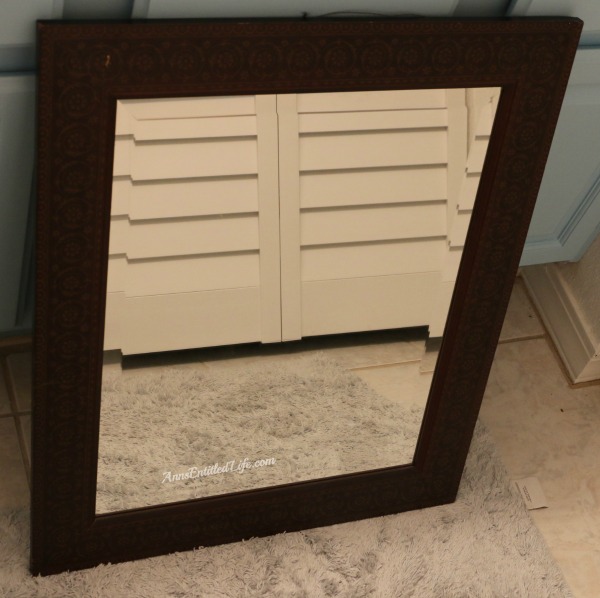
I found a mirror that was 24″ x 28″ for $20 the third store we looked! YAY!! It was dark brown, but that wasn’t an issue.
I just painted the mirror white. More important than the color was the fact that the frame was fairly wide (2″ around), and flat (so I could adhere the shells).
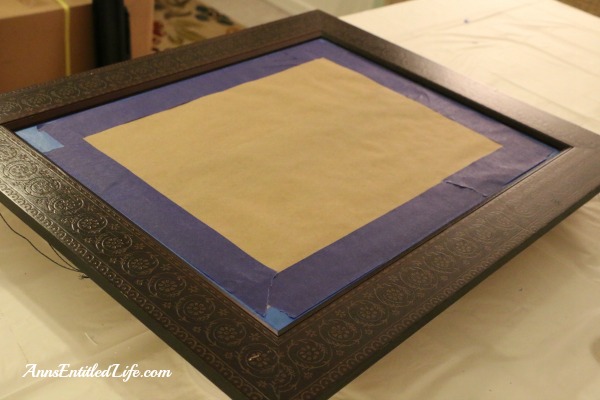
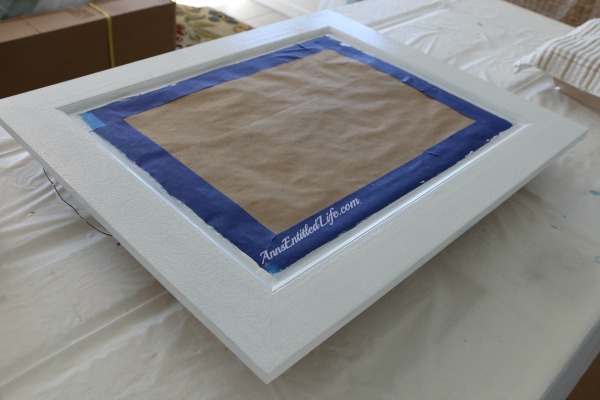
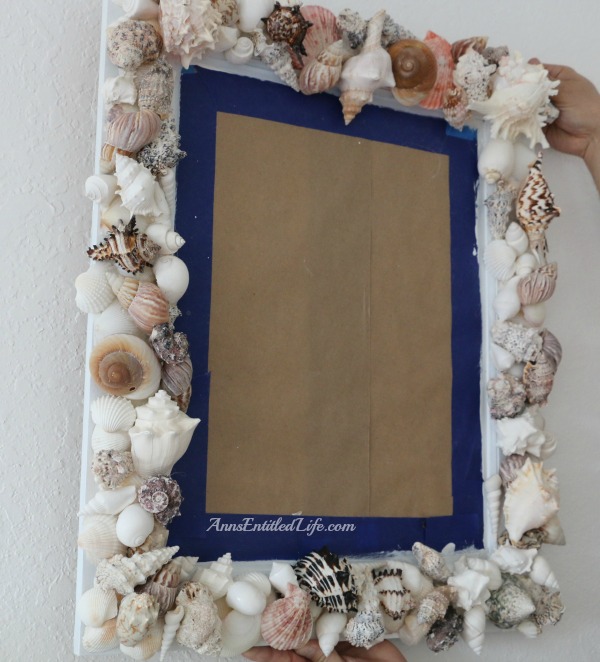
Before painting, I covered the entire frame with painter’s tape and masking paper. I wanted to avoid scraping glue (and paint) off the mirror later.
After I taped off the frame, I gave it a couple of coats of white paint, including the edges, allowing each coat of paint to dry completely.
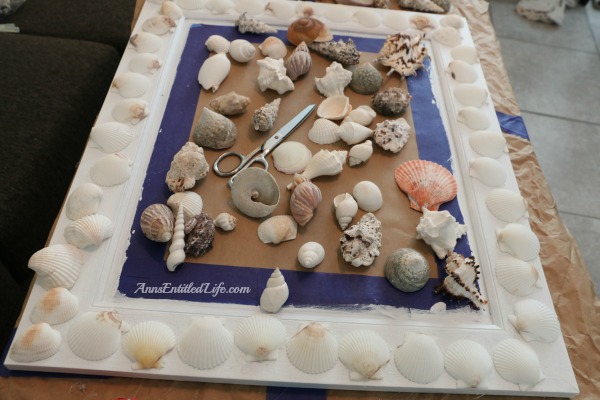
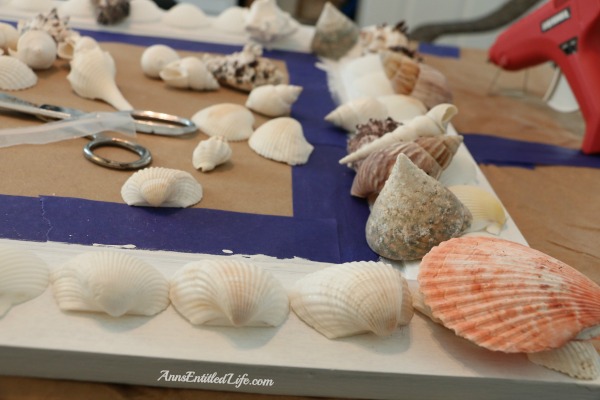
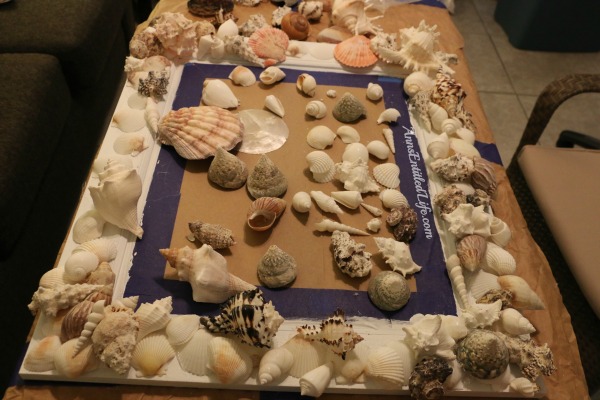
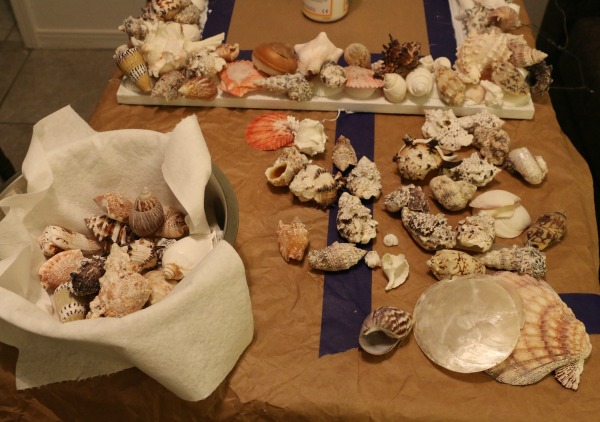
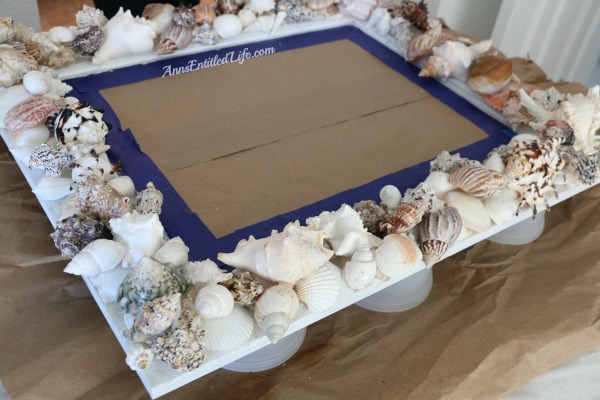
Once dry I set up a table (that I covered) and set to work! The first thing was a bottom layer of clam shells. I wanted a base. I laid out all my clamshells so they covered the frame making certain I had enough before I even started. After that, I just ran my glue gun (on low – I burned myself a few times on high, so low it was!) along the edges of the underside of the shell, and placed it underside-down (with the hot glue) on the frame. It adhered and dried almost immediately, so there really was no moving those shells… they landed where they landed.
I then set about adding a layer on top of those clamshells, again using the hot glue and gluing the edges of the shells. (Note: you can use Goop or Marine Goop and it will work well and dry clear.)
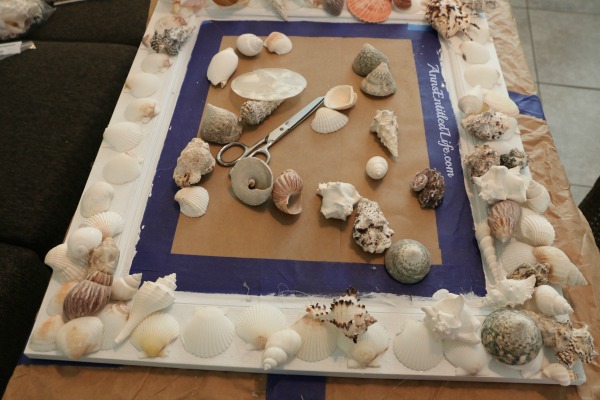
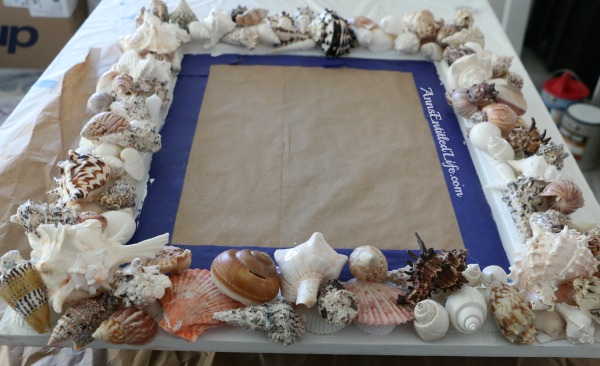
And then added another layer and another layer, all using the hot glue. I worked the corners first. In my mind, the corners were going to be heaviest, and the middle of each of the sides and bottom was going to be a lighter shell application.
Not everything I purchased was used. The most important thing I did before gluing was laying out the shells, and taking a step back to see how it would look.
Once the frame was filled into my satisfaction, I walked away and left it alone for a day. The next morning, I came back to the frame with a fresh eye to add more shells where I felt there were bare spots.
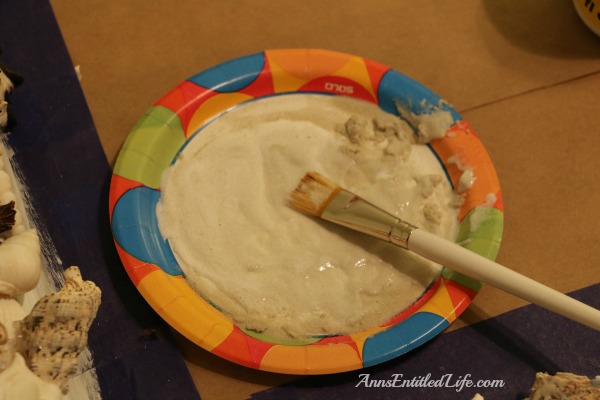
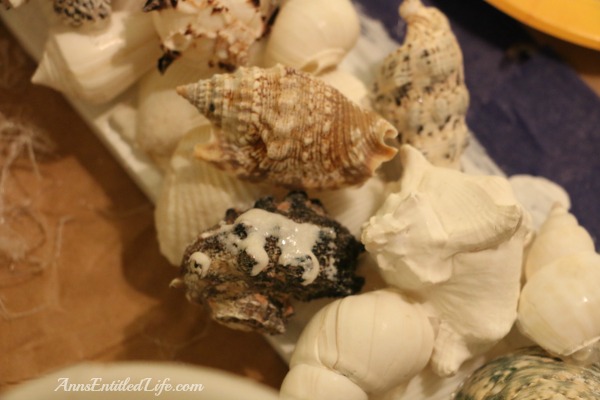
I then saw a few (ok, a whole lot) of imperfections, and so mixed together some sand and mode podge to camouflage a few. In no way did this cover everything (these are natural shells, of course, there will be imperfections!), but I covered more than a few.
Honestly, I could have skipped this step. I don’t feel it added a ton to the overall look of the project.
I then gathered my leftover shells for other projects. I proceeded to clip off all the strings of glue all over the shells! There must have been a hundred of them. Once I thought I was done, a few dozen more seemed to pop-up out of thin air!
Hubby and I laid out the completed mirror on his paint table. We then sprayed with the Rust-Oleum 249845 Painter’s Touch Multi-Purpose Spray Paint, 12-Ounce, Satin Clear. I did not want a gloss, I wanted as little shine as possible. We waited overnight for it to dry completely, although it was probably dry after just a few hours.
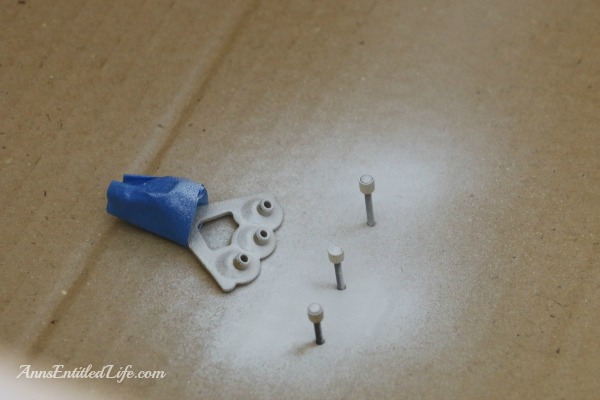
Since our hangers were not white, we painted them white to match the frame.
Why you may ask?
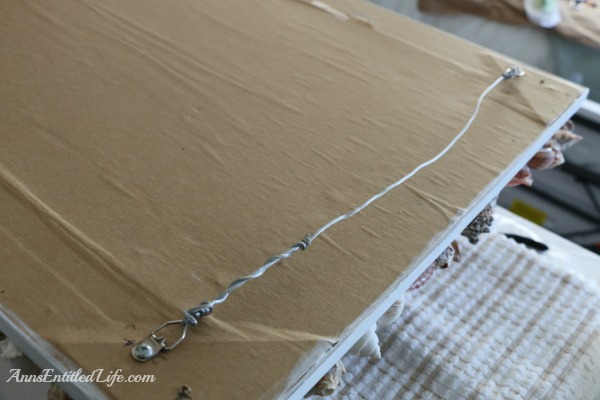
Well, after I finished the mirror Hubby picked up the frame to hold it against the wall for hanging… and the wire snapped! We were told at purchase that the wire would support 50 pounds (the mirror weighs less than 20 pounds finished), but apparently it was old or not well twisted or something. Hubby ended up rewiring it with all the shells attached! before it was hung!
I think I would advise anyone doing this project to hang a 50 pound weight off the hanging wire before one shell is attached just to be certain it will hold the weight.
Then it was back to testing where I wanted the mirror hung before we took off the paint tape and mask. After the rewiring, we saw the wire was going to probably show the top of the hanger, so the hanger and pins were painted white.
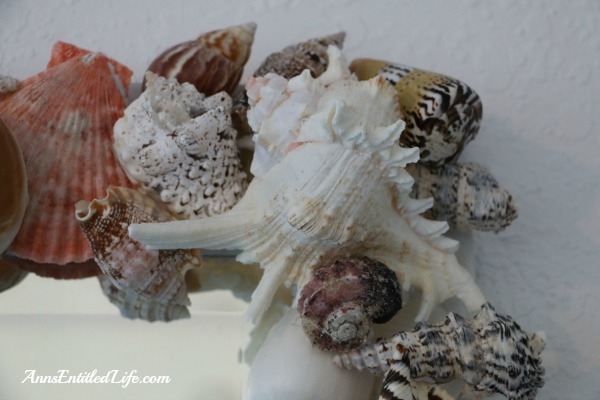
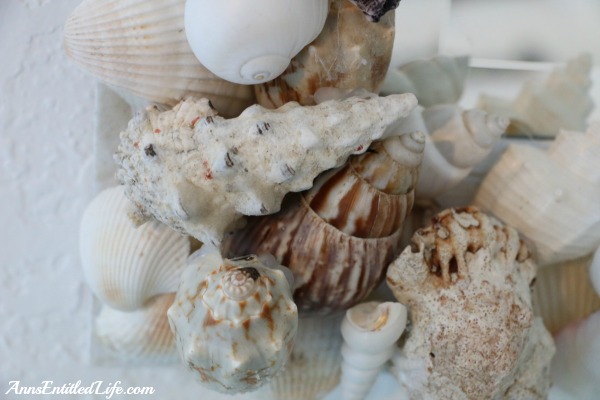
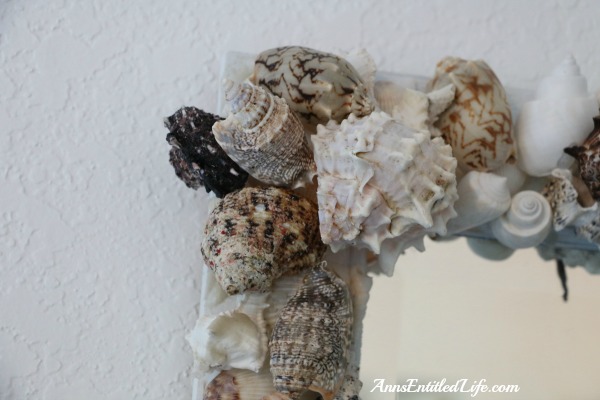
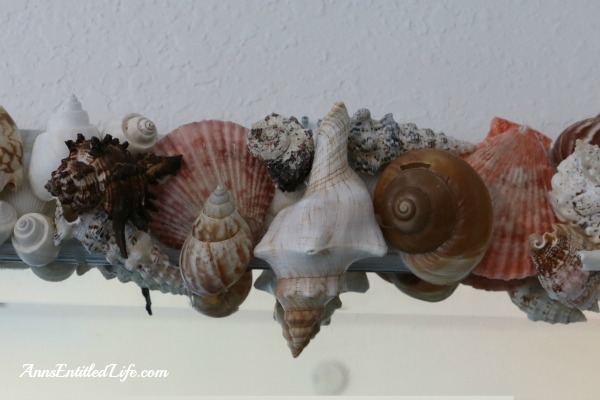
This is a close-up of the upper right of the mirror.
This is a close-up of the lower right of the mirror.
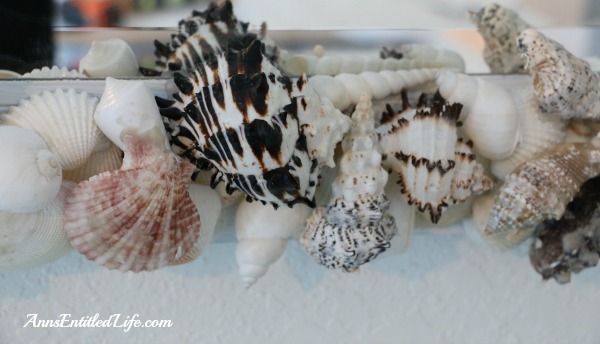
This is a close-up of the bottom of the mirror.
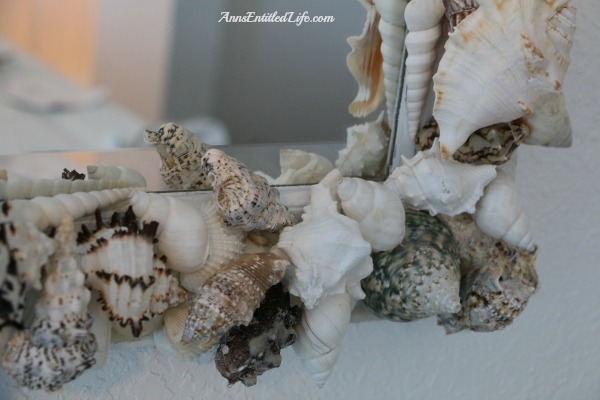
This is a close-up of the lower left of the mirror.
This is a close-up of the upper left of the mirror.
This is a close-up of the top center of the mirror.
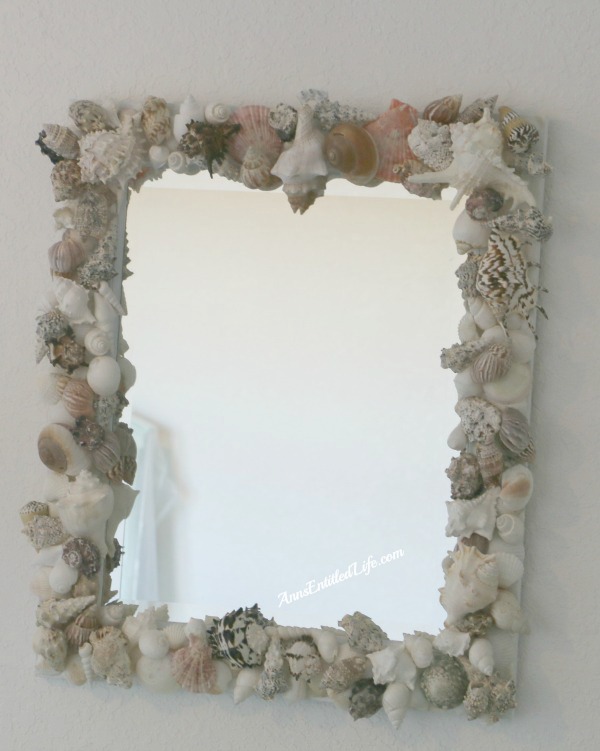
All in all I am thrilled with how this came out. For about $125 total (for three projects, more later), I saved a minimum of $575 over the lowest priced real seashell frame I could find online that I would actually hang in my house.
If you are interested in a seashell mirror, this project could not possibly be easier! Go for it, and do it yourself!
● For more Florida posts on Ann’s Entitled Life, click here.
● For more Craft posts on Ann’s Entitled Life, click here.
● If you enjoyed this post, be sure to sign up for the Ann’s Entitled Life weekly newsletter, and never miss another article!
Stephanie K. says
I’m impressed! It turned out really cute. I can so see my daughter making this for my in-laws to hand in their Florida house.
Ann says
It was pretty easy, Stephanie. The main tips are don’t burn yourself (which I of course did), and lay out before you glue!
Ann
Didi says
That is absolutely beautiful Ann! I don’t think you saved $575, I think you saved more like $1000. The quality of shells and work you put into it, they would of charged you an arm and a leg. One of hubby’s arms’ too! 🙂
Ann says
Thanks, Didi!
Well, when I was looking they were running $700-$1000 for real shells, so I figured .at the low end. 😛
Ann
Laura Smith says
I made a seashell mirror the other day. All the shells are from S.Carolina and N.Carolina beaches. I’m trying to sell it.
Didi says
I’m hoping that the “latest subscription” I placed will work this time. It’s never asked me to confirm before, so I’m hoping this one will take! 😉
Jenna says
I would love to do this for my already bathroom mirror that does not have a frame. Is this possible do you think or would the hot glue probably not stick to mirror? If you have any other helpful suggestions for this I would appreciate those too!
Ann says
Jenna, I considered doing this to our frameless mirrors. First, I was going to add a poly frame (with glue), then add the seashells. I am sure it can be done if you have enough room, we didn’t, so I abandoned the idea.
You can buy a frameless mirror kit online, or go to Home Depot. The trick will be to get one that is flat, and making sure the adhesive can withstand humidity. If that mirror adhesive is clear, I’d probably use that to adhere the seashells (because you know it could withstand the heat and humidity of a bathroom).
Ann
Jenna says
Ann,
Thank you for the tips. I unfortunately already have a mirror up in my bathroom and it does not provide space for a frame. Would a frameless mirror kit just go on top of the mirror like a frame in that case? Just applying it to the top of the mirror like a frame? Hoping to make something that won’t fall apart! lol Thanks for the help.
Ann says
Yes, Jenna. You buy the mirror kit to fit the existing mirror, and adhere in place.
Good luck! And email me some pictures when you are done, please!
Ann
Sheryl says
Thank you! This is detailed and gives everything I need to get this long awaited project a go.
Ann says
I am sure yours will turn out to be beautiful, Sheryl!
Ann
Rhonda says
Perfect for the beach house! What a great tutorial! Rhonda
MeliG says
I’ve been making seashell mirrors for several years. One thing I will tell you, don’t use hot glue! Use Loctite Clear Adhesive. It dries clear and gives just the right amount of “open ” time (*time before it sets up). Also, there is no way a mirror should cost $125 to make! I also purchase shells online. Thrift stores and even TJMAXX carries seashells and faux seaglass.
You need a variety of smaller shells to fill in and cover up unwanted gaps. Take a look at my Facebook page for examples of my work. Melissa’s Vintage Goods.
Angie Kelly says
I love your mirror! My Dad & step-mom live in Jacksonville and I have been to St. Augustine quite a lot so I am sure this fits in great with your other Florida decor. I have traveled to both coasts of Florida and both coasts of Mexico so I have many shells myself and would really love to give this a try. Yes, I live in Colorado but I don’t care. Most of our inside style of decorating has a beachy feel and you’d be surprised at all the great beachy things I find at the thrift stores around here as lot of people move from all over to live in Colorado for our great climate…we have no humidity. The weather here is awesome…most of the time. Can’t wait to try this…now I just have to find a mirror or I might make a wreath instead. Thanks so much for your directions.
Ann says
Good luck, Angie! I hope you are as happy with your mirror as I am with mine.
Ann
Maureen says
This mirror is stunning.
Just wondering how it is holding up? I have heard the only way to make the sea shells stay attached is using epoxy rather than a glue gun….?
Ann says
Maureen, our condo was on the ocean. A few of the bottom seashells fell off, and those I reattached with Marine Goop. They never came off again. I am not sure if it was the humidity or the weight of what I put up (or both) that caused the shells to fall off. If you are worried, use Marine Goop – will not allow anything to fall of due to humidity, and it does dry clear.
I will tell you that when we sold the condo last month, I left the mirror in Florida, so I can only say how it held up for three years.
Ann
L says
This is beautiful! I love the shells. I have a plain piece of glass mirror I want to use. No frame or hooks. But I’m concerned about how to hang it on the wall and if the glue will stick to the glass. Hopefully someone will have an idea. Thanks
L
Shirley Barker says
Love this! Very pretty. I may have to do this! A little tip for you…to get rid of hot glue strings just use a hair dryer or heat tool. They just disappear!
Linda Lewis says
Also, use strap hangers to hang the mirror, a little harder to put up, but ultimately safer. No large mirror should be hung by wire. Just a retired picture framer.