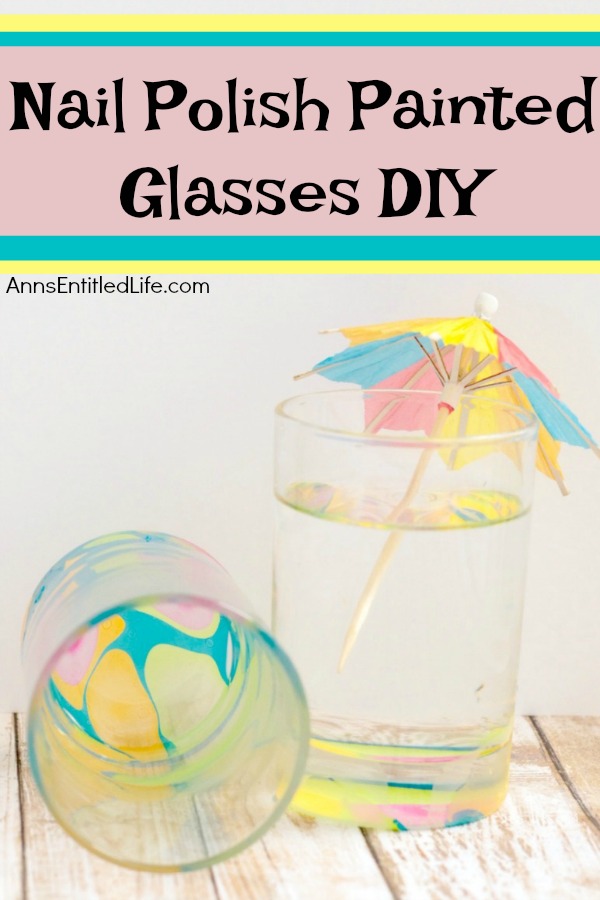
Nail Polish Painted Glasses DIY
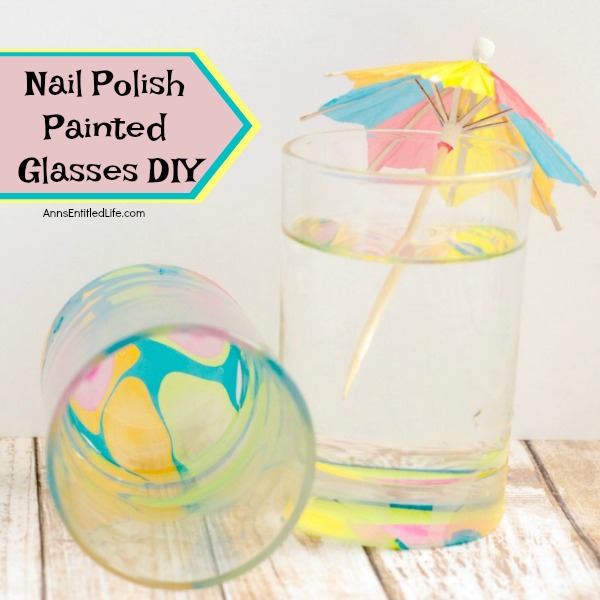
These nail polish-painted glasses are fun and easy to make. Since they are so unique, they make the perfect talking piece or a wonderful gift! Make a set and pair it with a bottle of wine or liquor to give as a special birthday present, shower gift, or housewarming gift! These interesting nail polish designs will be a popular gift for nearly everyone.
These are super cute, highly customizable, and simple to make. The next time you need to give a gift or want special glasses for a holiday function, give these a try.
Here are some holiday and event color combination ideas for your nail polish design:
● Red, Pink, and White for Valentine’s Day
● Green, Lime, and White for St Patrick’s Day
● Light Green, Light-Blue, Pink, White, Yellow, Lavender for Easter, Spring
● Yellow, Blue, Green for Summer
● Red, White, and Blue nail polish for Independence Day
● Brown, Orange, Dark Green for Fall or Thanksgiving
● Orange, Green, Purple, White for Halloween
● Red, Green, and White for Christmas
● Navy, Blue, White for New Year’s, Winter, Chanukah
● Shades of gold or silver for a wedding, bridal or anniversary party
The possibilities are endless. You could do 1, 2, 3 or more colors. Consult a color wheel and do opposite complementary color schemes, or perhaps a monochromatic blue, green, purple, etc for a shower (when colors have been chosen), or a kaleidoscopic pattern for something really fun!
Nail Polish Painted Glasses DIY Materials:
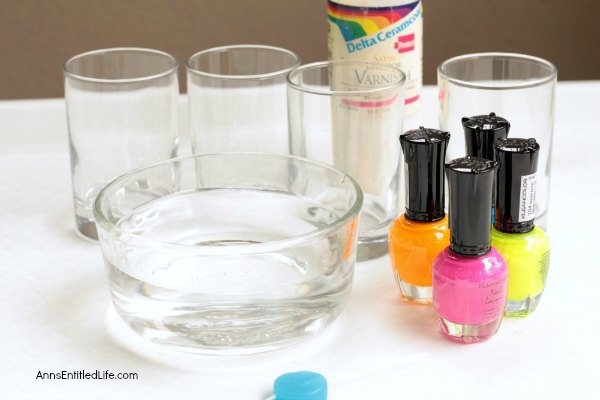
● Drinking Glasses (any kind)
● Glass Bowl (large enough that the glasses easily fit inside)
● Nail Polish (various colors)
● Nail Polish Remover
● Waterproof Sealer
● Paint Brush (to apply sealer)
Nail Polish Painted Glasses DIY Directions:
● Clean the glasses being used in this craft with soap and hot water. Make certain they are completely dry and lint free before starting.
● Fill the bowl with water.
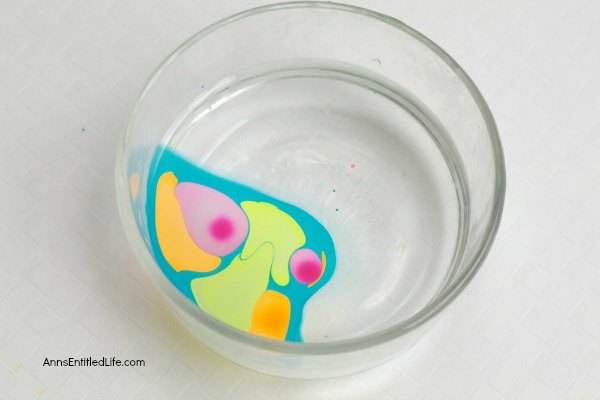
● Drop a few drops of nail polish onto the surface of the water. Use whatever color combination you like. This tutorial uses blue, orange, yellow, and pink.
● Jiggle the bowl a tiny bit to force the nail polish design to spread. If you like, you can use a toothpick and draw across the surface of the nail polish to make intricate designs.
● Once you are happy with the design in the bowl, slowly lower a glass bottom side down into the bowl of water. You do not want to hit the design straight on as it will create an air pocket that will mess up your design. It is best to lower one edge down, and then slowly straighten the glass out over the surface of the water to prevent air bubbles from getting trapped inside the design.
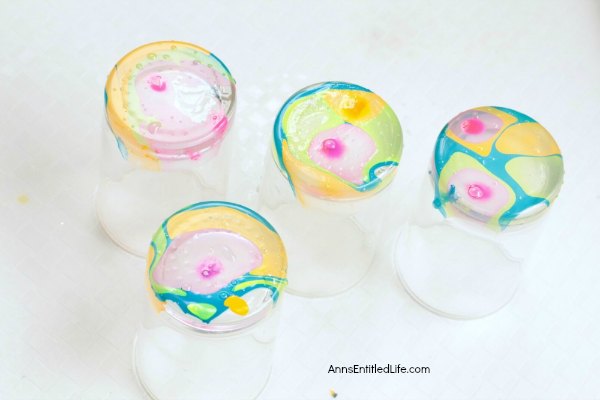
● Pull the glass out of the water slowly. Flip it upside down.
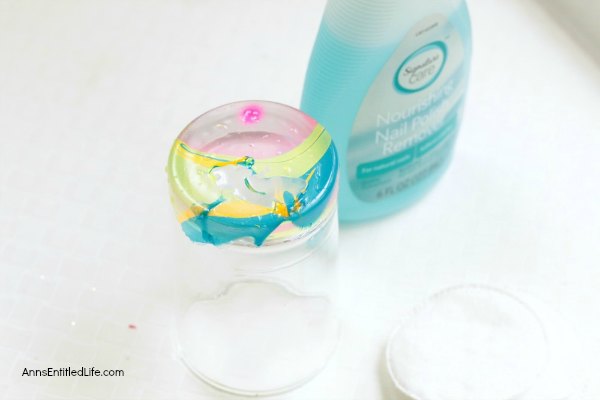
● If you are not happy with the design, just wipe it away with nail polish remover and start over.
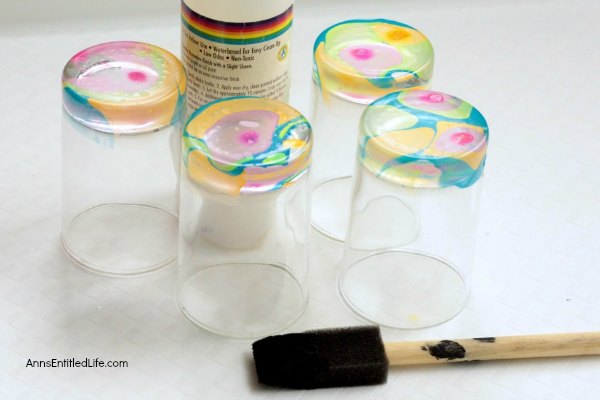
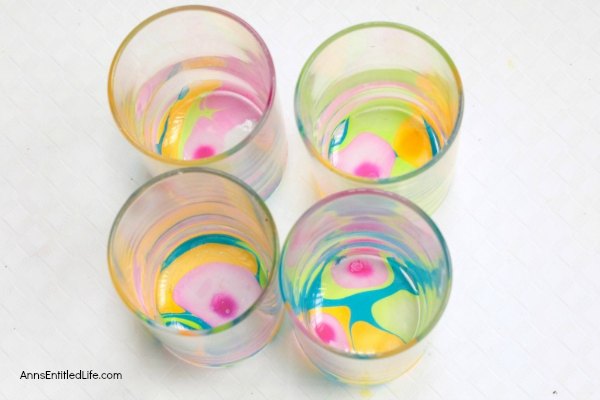
● Keep the glasses bottom side up until they are completely dry. This can take an hour or more, depending on how humid it is in the room. You do not want to wipe the glasses dry as touching them before the nail polish is dry and set it will mess up the design.
● Once the designs are fully dry, apply a coat of waterproof sealer over the designs using a paint brush to apply.
● Let this dry for 24 hours.
● After you apply the waterproof sealer the design is locked in and you should be able to wash the glasses on the top rack of the dishwasher. Eventually, with prolonged dishwasher cleanings the design will come off a bit, so if you really want to keep the design intact, hand wash the glasses as the design should last longer.
● To print the Nail Polish Painted Glasses DIY instructions, click here.
● Disclosure: the links in this post may be affiliate links.
● If you enjoyed this post, be sure to sign up for the Ann’s Entitled Life weekly newsletter, and never miss another article!
● For more Craft posts on Ann’s Entitled Life, click here.
joleisa says
lovely idea that i will definitely steal. Thanks for sharing
Ann says
Thanks, Joleisa!
Ann
Marie says
These are so much fun! What a fun DIY to add some color to your dishes. Thanks for sharing your tutorial with us at Merry Monday this week!
Pamela Barnes says
How original is this!! ❤️ It!!!
Ann says
Thanks, Pamela!
Ann
Donna says
The waterproof sealer you recommend is Delta Ceramcoat /exterior/Interior Varnish. I have a bottle of that varnish for my crafts and would never use it on something to coat a glass or dish people drink/eat from because the WARNING on the back of the bottle says: “This product contains a chemical known to the State of California to cause birth defects or other reproductive harm.”
Ann says
Donna, I am not sure how you are using a drinking glass, but people generally do not drink on the exterior of one (not even sure how that would work). However, if you feel better using a different sealer, by all means do so!
Ann
Donna says
Ooops, sorry Ann. I misunderstood your instructions and thought you did the design on the inside rather than the outside of the glass. Duh, lol.
Ann says
Ah, ok! If you feel more comfortable doing a different sealer though, Donna, you should! (And let us all know what you used!!)
Ann
Ingrid Ric says
can you paint the outside of a glass with nail polish and then seal it?
Ann says
Yup, Ingrid. Outside only.
Ann
Cindy Whyte says
Looking at the sealer you used, could you see brush strokes on the glass? Did the glass still look normal or did it look like it was cloudy?
Heather says
I just did one of the on a coffee mug. I did the design right up to top, so drinking from it won’t work- is there a sealant out there I can use that will make my mug safe to drink from? Thank you
Ann says
Heather, maybe a high heat spray? You’d have to make sure by reading the can that it wasn’t harmful to people, however.
Ann