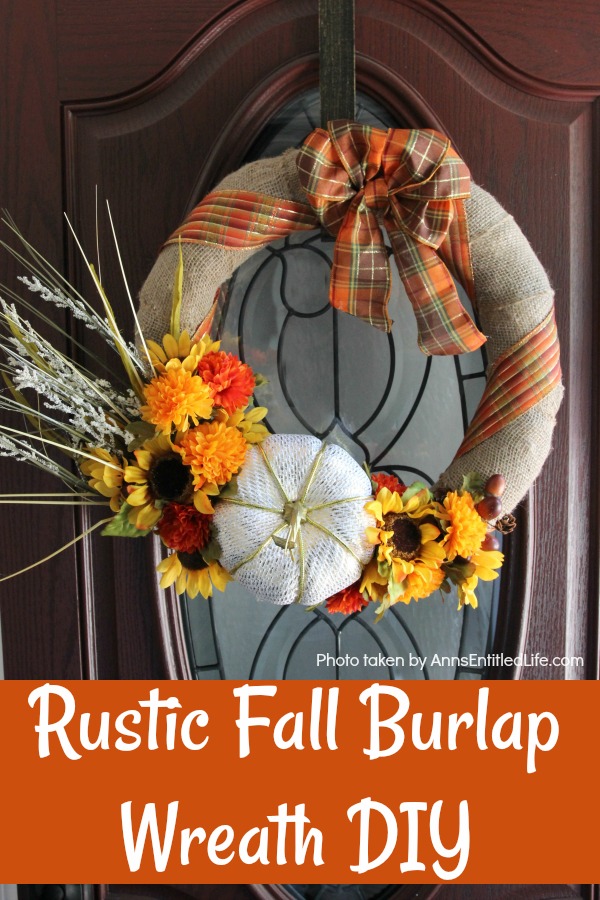
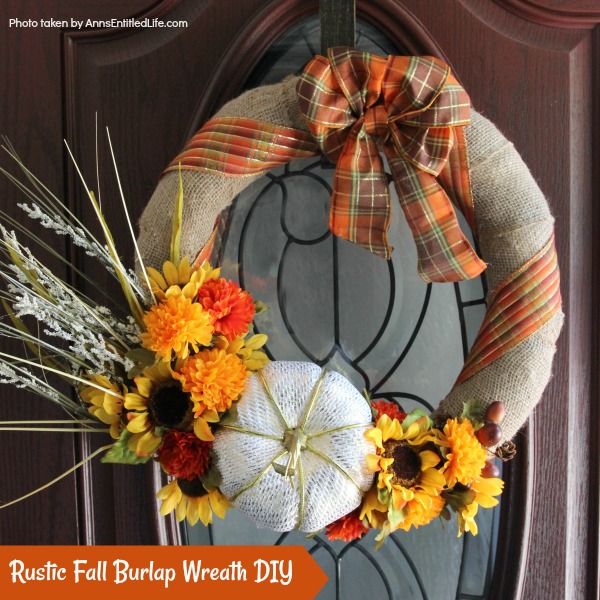
This DIY tutorial on how to make a Rustic Fall Burlap Wreath has easy to follow, step-by-step instructions. Less than an hour or so of your time results in a lovely autumn wreath that is highly customizable, and a lot less expensive than a store-bought wreath! Perfect fall decor for your front door.
Rustic Fall Burlap Wreath DIY
This is a simple, easy to put together autumn wreath that will look great hanging on your door. If you wanted to increase the sizes, it would also look quite nice hanging on a wall.
Tips on making this Rustic Fall Burlap Wreath
● A pre-wrapped burlap wreath was using for this tutorial. There is nothing stopping you from using a plain foam wreath and wrapping it in burlap as your first step.
● Take a minute to fluff your bow. If you purchase a store-bought bow simply insert your fingers in each part of the bow-loops, and open them up. That is truly all there is to it. You may have to straighten or curve the wires (depending on the look you like) after opening up those loops, but fluffing a bow is simple. You just don’t want it to look flat or squashed when looking at it head-on or from the side.
If you are interested in easy wreath crafts, you may be interested in these homemade wreaths. I am all about easy to make crafts! So, nearly any adult can make the crafts on my blog, including these wreaths:
● Sunflower Knot Wreath – probably the simplest wreath you will ever make! You can change the colors to make it other flowers rather than a sunflower.
● Shabby Chic Autumn Wreath
● Easy Thanksgiving Wreath DIY – for the “forgotten” holiday between Halloween and Christmas.
Rustic Fall Burlap Wreath DIY:
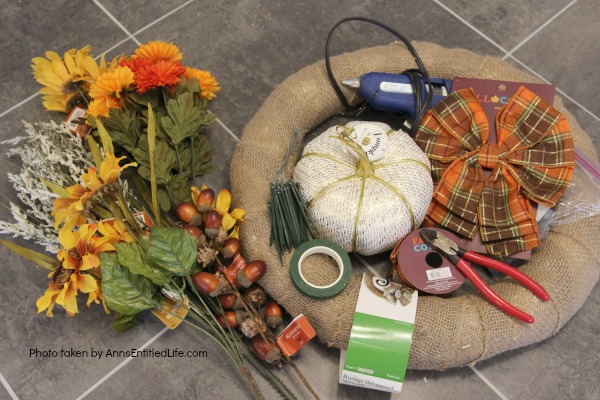
● 18″ Wrapped Burlap Wreath (the one in this tutorial was purchased in-store at Joann Fabric
● 12′ 2 1/2″ wide Wire Edged Ribbon
● Bow
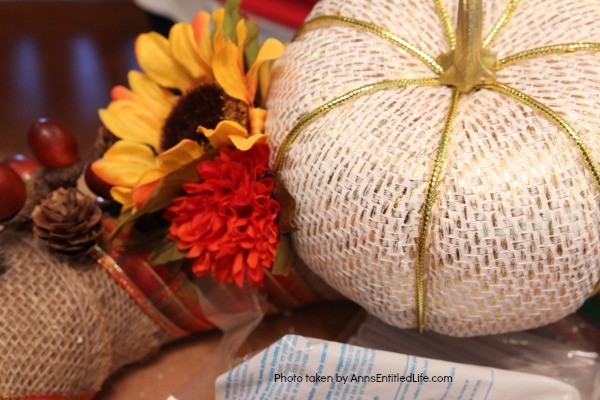
● Pumpkin – light weight, wrapped foam
● Assorted Fall Flowers
● Floral Picks
● Wire Cutters
● Glue Gun
● Hot Glue Sticks
● Floral Tape
Rustic Fall Burlap Wreath DIY:
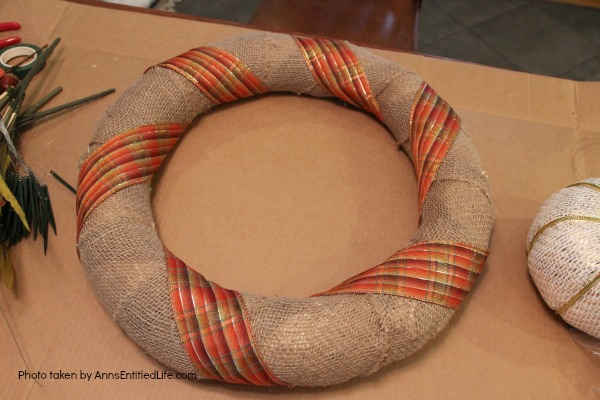
● Wrap your burlap wreath with wire-edged ribbon. Decide on your spacing (if any) before you cut. The wreath in this tutorial has a generous spacing as we wanted the burlap to show. You may decide to make the spacing tighter or have no spacing at all (if no spacing, you are gonna need another spool of ribbon).
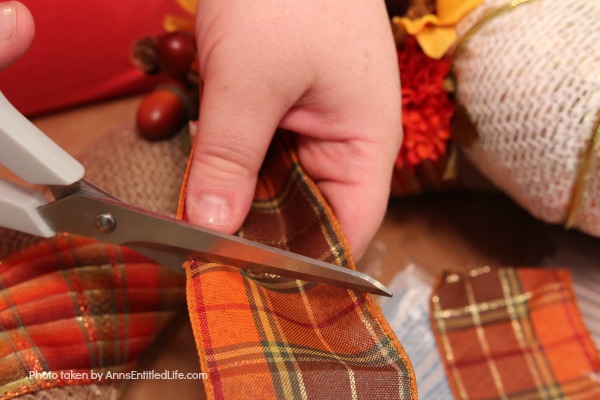
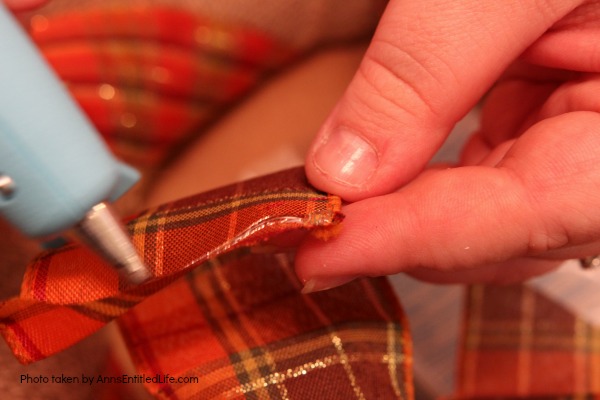
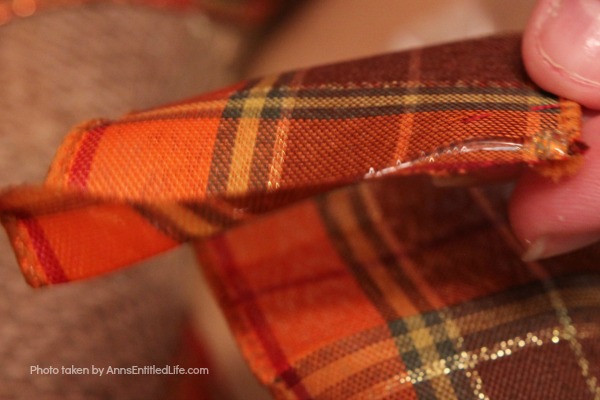
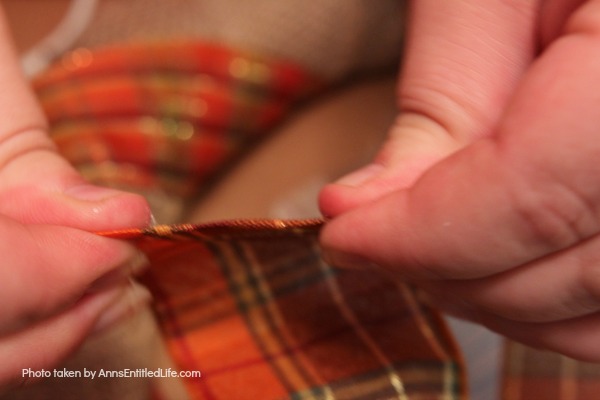
● When you cut your ribbon, hot glue the edges down. This will prevent raveling. If you are making a bow or cutting a pre-made bow’s tail on a diagonal, you will want to also seal that edge. Simply take the end of your cut, hot glue across the bottom of that cut, flip it over to the hot glue is sealing about 1/8″ – 1/4″ above that edge, and then press with your finger. You have sealed the edge!
● Hot glue the ribbon in place to the burlap wreath.
● If you purchased bushes of flowers, clip them off the bush. You want individually stemmed flowers.
● Measure the flowers against the wreath and eyeball where they will hit when inserted. That is where you want to cut the stem.
● Tall wisps will be inserted third (usually first on a wreath, last on a flower arrangement, but that did not work in this case). You can pull them out a time or two (be careful of the foam) if you need to move the placement to better accommodate your flowers and pumpkin.
● On this wreath, everything was laid out before cutting or inserting. I honestly thought the pumpkin chosen was going to be too large, but because of the very long wisps used on the side, it ended up “just right”! The pumpkin is the focal point, so everything played to that.
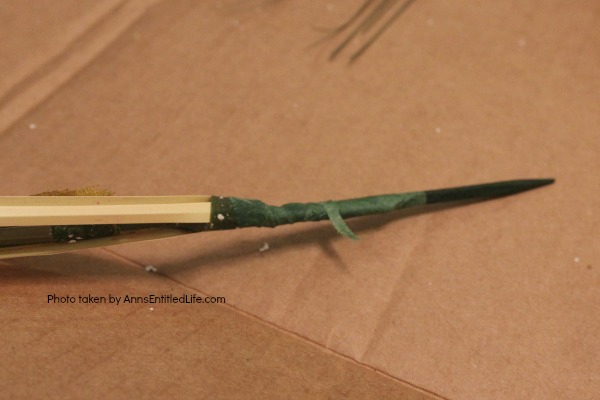
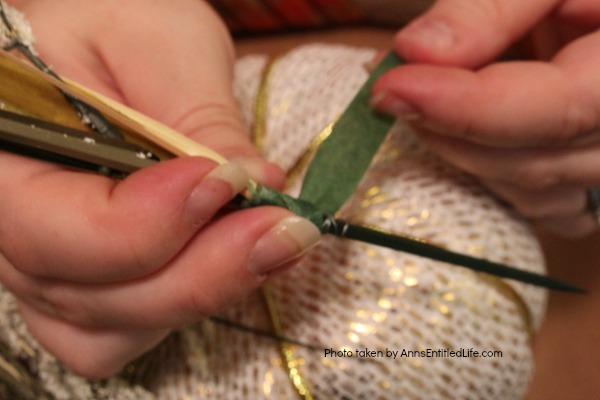
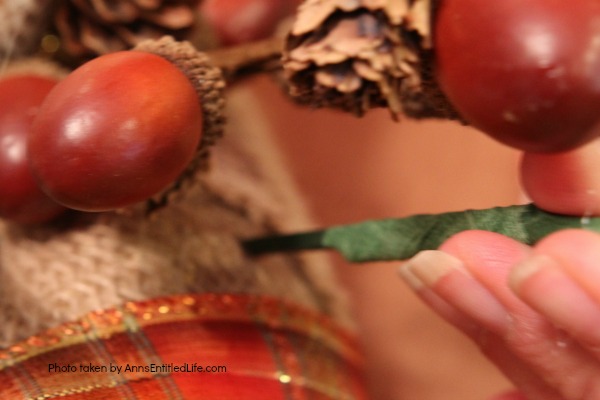
● Take a floral pick and wrap it around the floral stem.
● Cover that pick with floral tape. The nice thing about floral tape is it sticks to itself. You can cover just about anything with it!
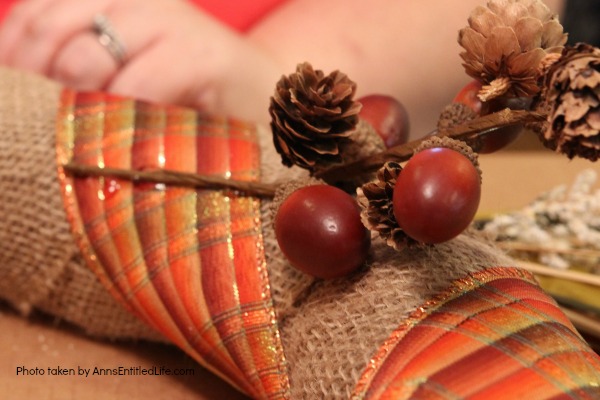
● The very autumn acorns were the base underneath the pumpkin. They were laid down, and then the pumpkin placed on top. This was for spacing purposes.
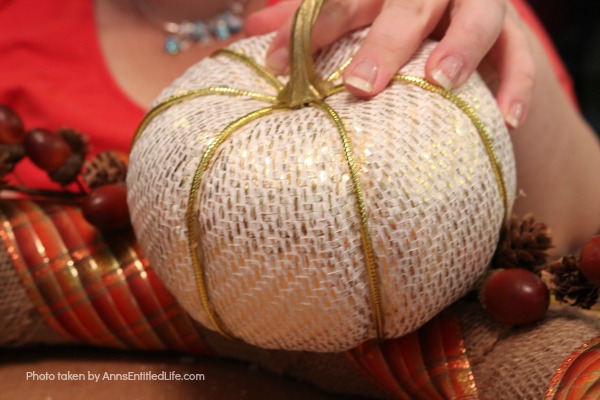
● The acorns were wrapped and inserted, and so was the pumpkin, but the pumpkin was also hot-glued in place. Make very certain your pumpkin is lightweight and foam underneath the covering.
● Sunflowers and other fall-ish flowers were used to fill in the hole between the acorns and the pumpkin. All floral was picked and wrapped on this wreath.
● The wisps were added. This is one-sided, so all the wisps flowed out (if you ever took a printing class, white-space flows out. The same principle applies here.)
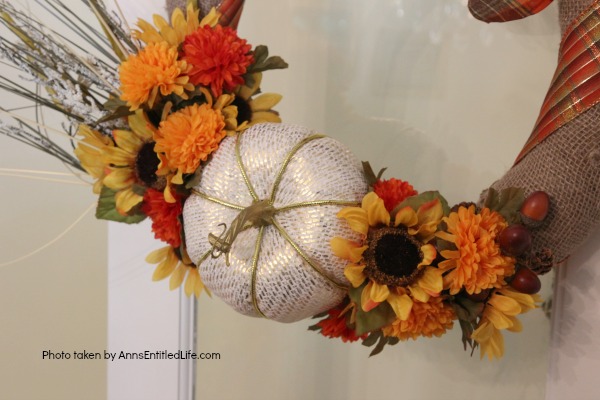
● This is a close-up of the floral.
● A bow was added close to the top. Depending on how you plan on orienting the hanging, you may want to bow across from the floral, or at the top (or somewhere in between!).
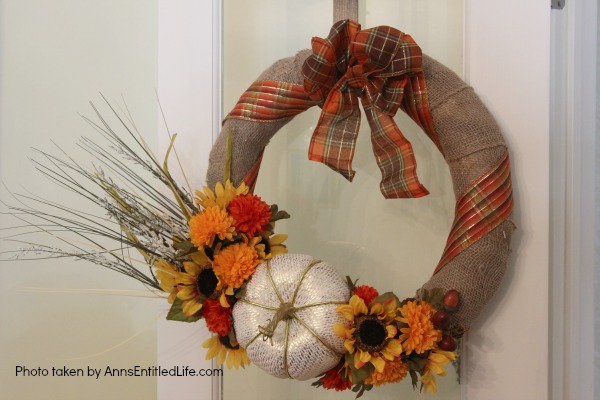
● This is what the Rustic Fall Burlap Wreath looks like hanging on my dining room doors.
● This is what the Rustic Fall Burlap Wreath looks like hanging on one of my front doors (I have two front entrances, a total of five entrances to our house, seven if you count the garage and garage door!)
● This is a simple wreath craft to make. Just be certain your pumpkin has a foam underlay (I cannot stress this enough), that your flowers have a “theme” (in this case autumn), that you wrap and pick your flowers (for easy adjustments), and that you check proportions and space before hot gluing anything down.
Rustic Fall Burlap Wreath DIY
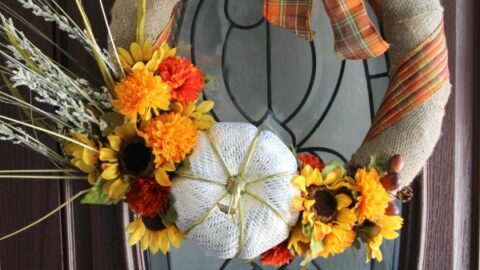
Easy fall wreath.
Materials
- 18″ Wrapped Burlap Wreath (the one in this tutorial was purchased in-store at Joann Fabric
- 12′ 2 1/2″ wide Wire Edged Ribbon
- Bow
- Pumpkin – light weight, wrapped foam
- Assorted Fall Flowers
- Floral Picks
Tools
- Wire Cutters
- Glue Gun
- Hot Glue Sticks
- Floral Tape
Instructions
- Wrap your burlap wreath with a wire-edged ribbon. Decide on your spacing (if any) before you cut. The wreath in this tutorial has a generous spacing as we wanted the burlap to show. You may decide to make the spacing tighter or have no spacing at all (if no spacing, you are gonna need another spool of ribbon).
- When you cut your ribbon, hot glue the edges down. This will prevent raveling. If you are making a bow or cutting a pre-made bow’s tail on a diagonal, you will want to also seal that edge. Simply take the end of your cut, hot glue across the bottom of that cut, flip it over to the hot glue is sealing about 1/8″ – 1/4″ above that edge, and then press with your finger. You have sealed the edge!
- Hot glue the ribbon in place to the burlap wreath.
- If you purchased bushes of flowers, clip them off the bush. You want individually stemmed flowers.
- Measure the flowers against the wreath and eyeball where they will hit when inserted. That is where you want to cut the stem.
- Tall wisps will be inserted third (usually first on a wreath, last on a flower arrangement, but that did not work in this case). You can pull them out a time or two (be careful of the foam) if you need to move the placement to better accommodate your flowers and pumpkin.
- On this wreath, everything was laid out before cutting or inserting. I honestly thought the pumpkin chosen was going to be too large, but because of the very long wisps used on the side, it ended up “just right”! The pumpkin is the focal point, so everything played to that.
- Take a floral pick and wrap it around the floral stem.
- Cover that pick with floral tape. The nice thing about floral tape is it sticks to itself. You can cover just about anything with it!
- The very autumn acorns were the base underneath the pumpkin. They were laid down, and then the pumpkin placed on top. This was for spacing purposes.
- The acorns were wrapped and inserted, and so was the pumpkin, but the pumpkin was also hot-glued in place. Make very certain your pumpkin is lightweight and foam underneath the covering.
- Sunflowers and other fall-ish flowers were used to fill in the hole between the acorns and the pumpkin. All floral was picked and wrapped on this wreath.
- The wisps were added. This is one-sided, so all the wisps flowed out (if you ever took a printing class, white-space flows out. The same principle applies here.)
- A bow was added close to the top. Depending on how you plan on orienting the hanging, you may want to bow across from the floral, or at the top (or somewhere in between!)
- Display as desired.
Recommended Products
As an Amazon Associate and member of other affiliate programs, I earn from qualifying purchases.
-
 Darby Creek Trading Autumn Cashmere - Vanilla Rose, Blooming Artichoke & Fall Magnolia Leaf Front Door Wreath
 -
 The Wreath Depot Genesee Silk Spring Door Wreath 24 Inch, White Storage Gift Box Included
 -
 The Wreath Depot Montgomery Hollow Silk Fall Door Wreath, 26 inch, Beautiful White Gift Box Included
● For more Craft posts on Ann’s Entitled Life, click here.
● If you enjoyed this post, be sure to sign up for the Ann’s Entitled Life weekly newsletter, and never miss another article!


Carol says
Your wreath is cute and really says fall.
Julie Briones says
Your burlap fall wreath is so pretty, Ann! And I love the pumpkin detail! So happy to be featuring your post at Tuesday Turn About’s pumpkin palooza this week! Pinned!
Barbara Gould says
This is a very helpful and informative site
Thanks